

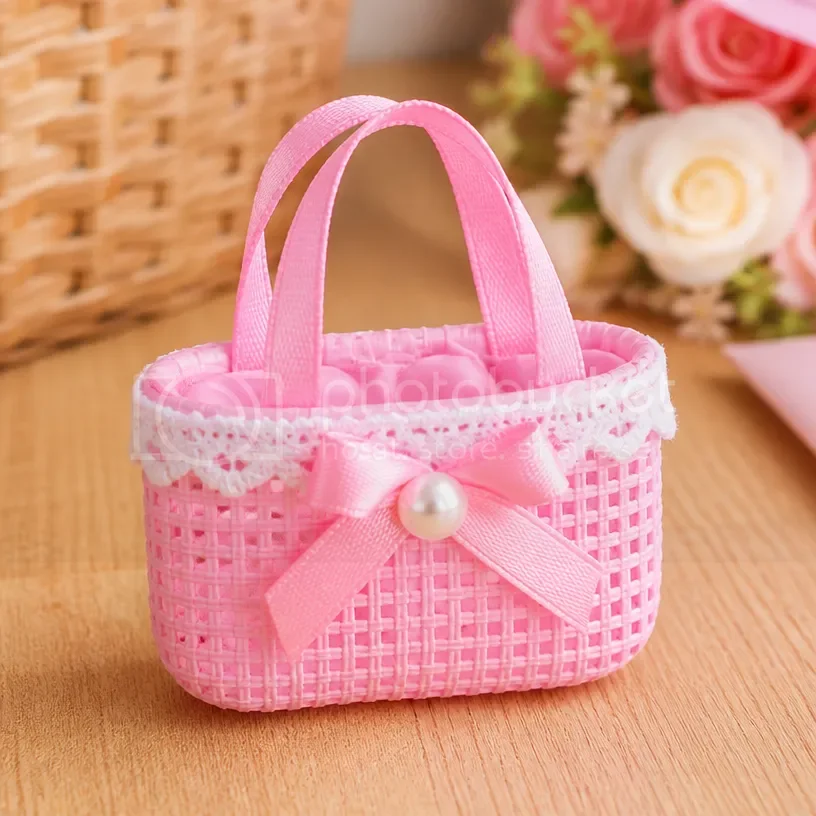
As you juggle your daily activities, you might find yourself in need of a quick, engaging project that sparks creativity and provides a satisfying outcome. Imagine your kids calling out for something fun to do on a rainy afternoon. This is the perfect time to explore how to make a tiny doll bag! Not only is this craft simple, but it also uses materials you likely already have around the house. This project can turn into a wonderful opportunity for creative expression, turning basic supplies into something delightful. Plus, it gives you a chance to bond with your little ones as they create bags perfect for their dolls. You may also find How To Make Rainbow Leaf Hedgehog Diy Craft Tutorial useful.
Why This How to Make a Tiny Doll Bag: Easy Craft Tutorial Works So Well
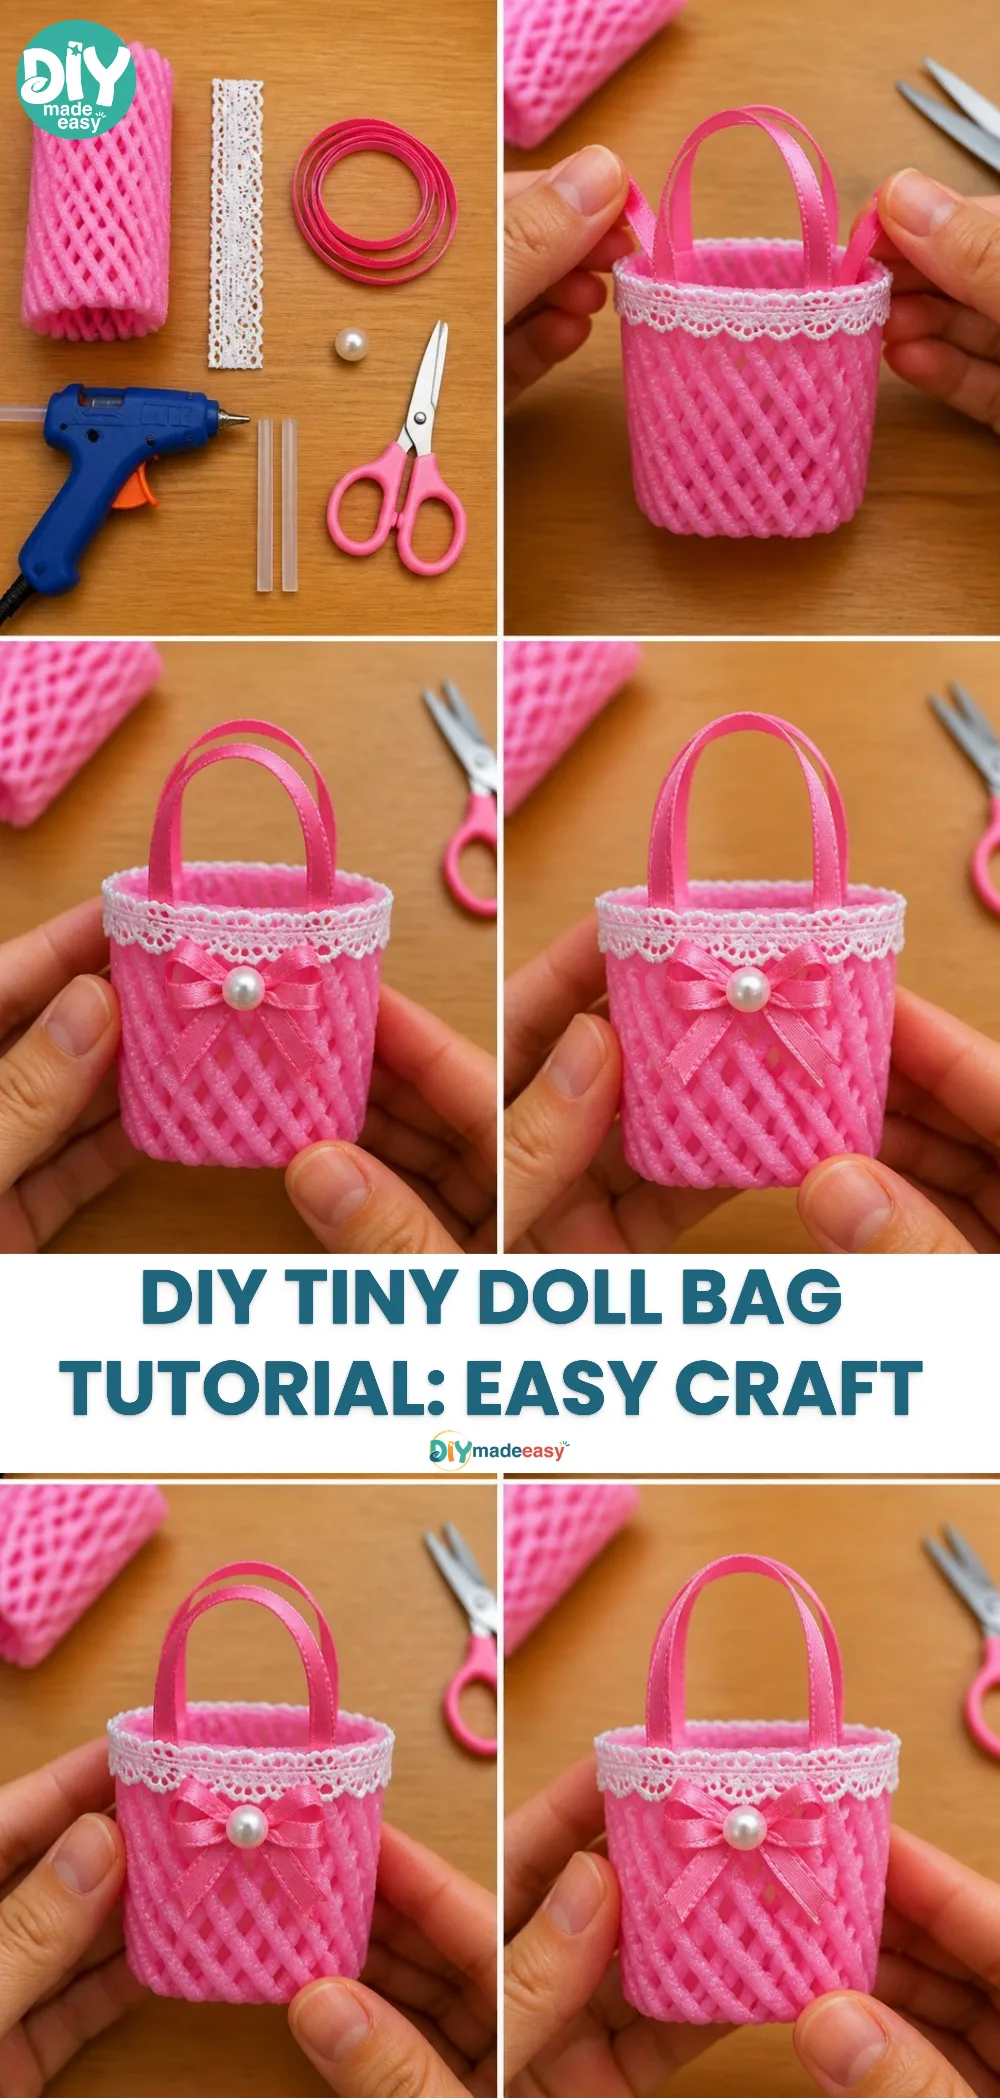
You may also find How To Make A Butterfly Craft From Paper Plates useful.
This DIY project is perfect for young creators for several reasons. First, it requires minimal preparation, making it an excellent choice for those spontaneous crafting sessions. You won’t need to embark on a lengthy shopping trip; instead, gather a handful of materials from your home. When you teach your kids how to make a tiny doll bag, you’re introducing them to a reliable craft that delivers satisfying results every time. The simplicity of the steps involved ensures that even the youngest crafters can participate, making it perfect for mixed-age groups. You may also find Diy Coffee Filter Jellyfish Craft Tutorial useful.
A Quick Look Before You Begin
Before diving into the crafting process, it’s beneficial to set realistic expectations. This project typically takes around 30 minutes, depending on the age and skill set of your little ones. The setup involves just a workspace perhaps your dining table where you can lay out all your materials. The mess level is quite low, so worry not about extensive cleanup afterward. You’ll likely just have a few threads and fabric scraps to tidy up. Most importantly, kids won’t require constant supervision, allowing you to participate in a relaxed way, encouraging creativity at their own pace. You may also find Diy Crystal Growing Star Tutorial At Home Crafts useful.
Materials You’ll Need
Here’s a concise list of materials you’ll need for this DIY project:
- Fabric scraps (cotton works well)
- Scissors (adult supervision recommended for safety)
- Needle and thread (or fabric glue for younger kids)
- Ribbon or string (for handles)
- Optional: embellishments like buttons or stickers
Each of these items is common and easy to find, making this an accessible craft for everyone.
Step-by-Step Directions
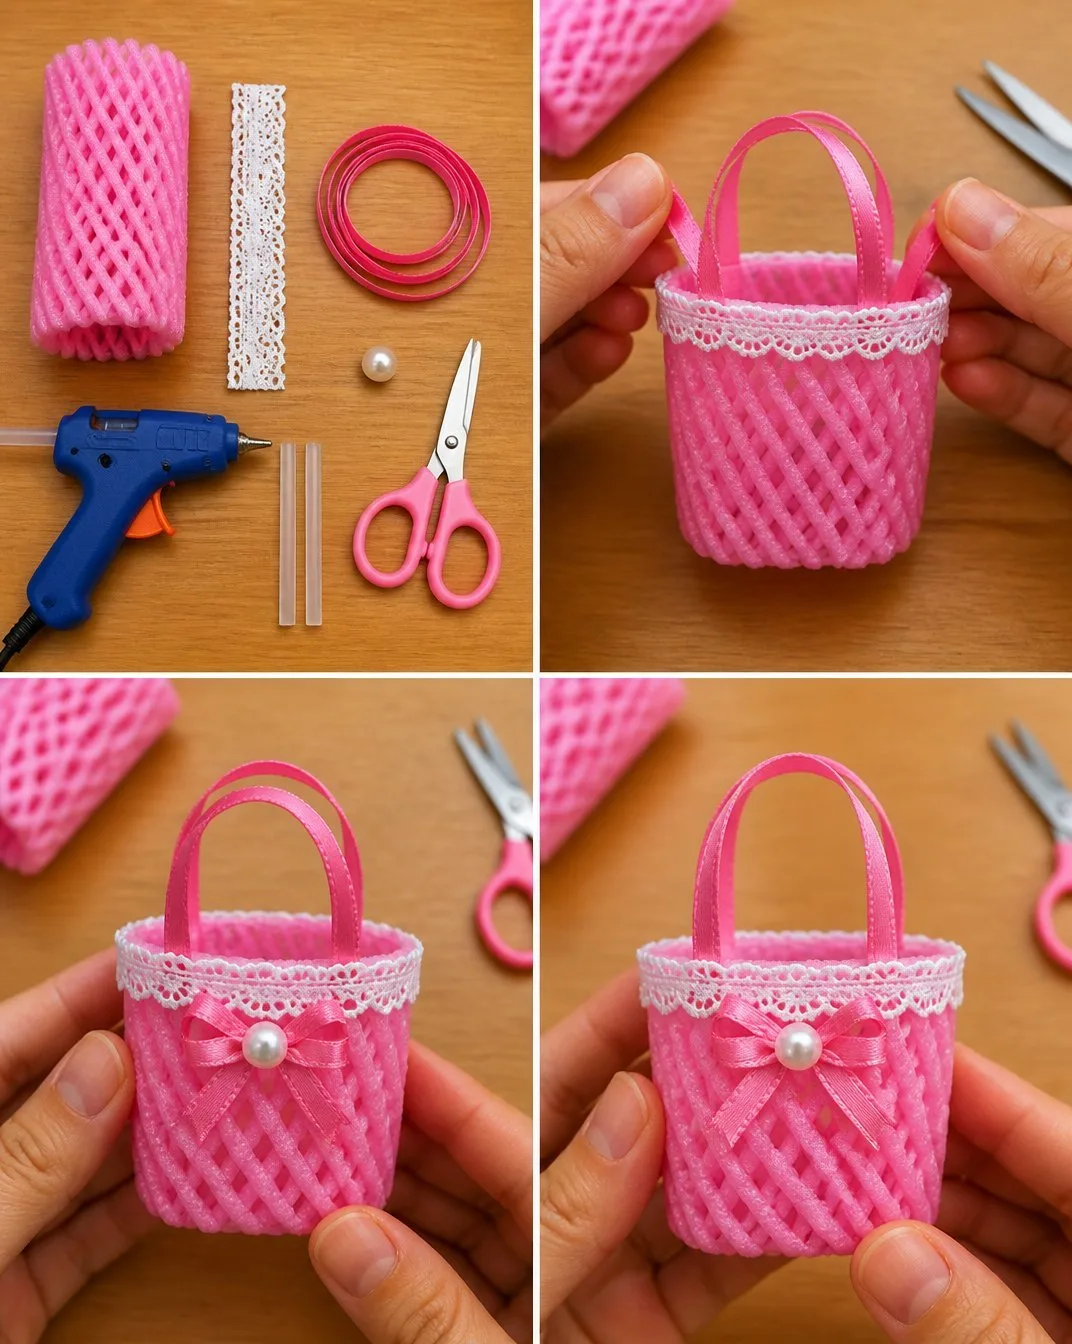
Cut the Fabric: Start by cutting two rectangles of fabric for the front and back of your tiny doll bag. A size of about 5×7 inches works well.
Prepare the Sides: Place the rectangles on top of each other, with the inside sides facing out. Make sure the edges align smoothly.
Sew the Bottom Edge: Using a needle and thread (or fabric glue), stitch or glue along the bottom edge. Make sure to secure it well to prevent any mishaps during use.
Form the Sides: Next, fold the side edges inward to create the sides of the bag. Sew or glue these edges, again securing them properly.
Add the Ribbon Handles: With the bag shape formed, it’s time to create the handles. Cut a length of ribbon or string, then attach it securely to the inside of the bag at each end. This step permits easy carrying for your dolls.
Turn It Inside Out: Once everything is securely in place, flip the bag right-side out. Your tiny doll bag should now be taking shape!
Decorate: Encourage your kids to get creative by decorating their bags with embellishments like buttons or stickers. This personal touch will make each bag unique.
Fill It Up: Now that your tiny doll bags are complete, let the kids fill them with doll accessories or treasures they want to keep.
By following these steps, you’ll create a lovely craft that invites creativity and playful imagination.
What Kids Practice While Making This
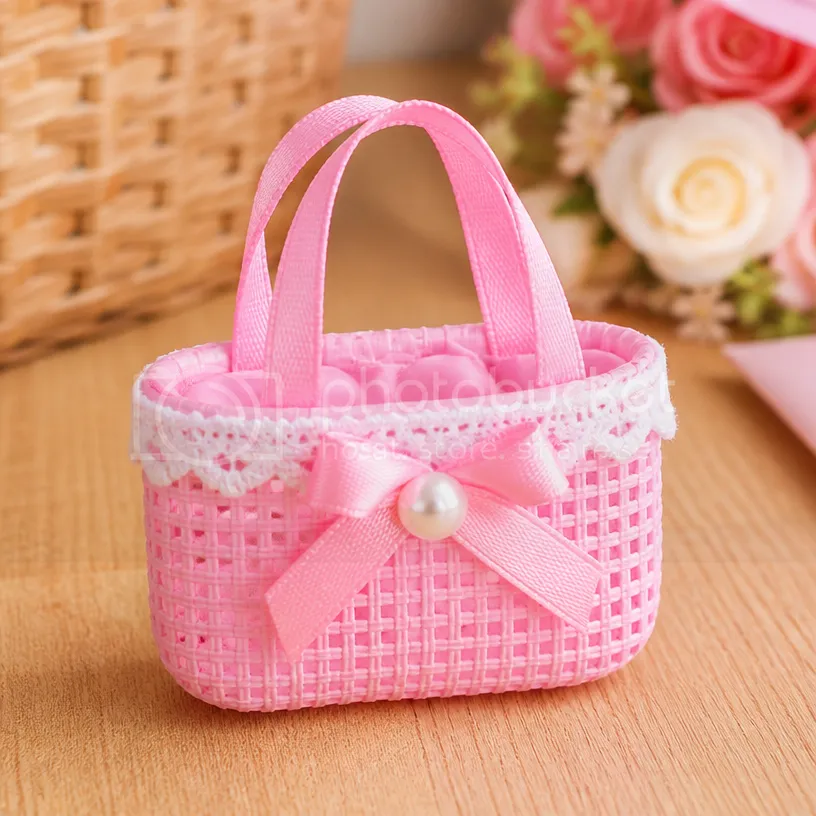
Making a tiny doll bag isn’t just about the final product; it involves learning and growing in various ways. First, kids practice fine motor skills through sewing or gluing, which enhances their hand-eye coordination. They also explore concepts like color matching and design, using their creativity to personalize their bags. Additionally, this project encourages essential life skills, such as patience and planning, as they visualize their final product and make it come to life. Each stitch or glue application reinforces their dexterity, confidence, and a sense of achievement.
Troubleshooting Common Issues
While crafting can be rewarding, it’s not uncommon for things not to go exactly as planned. If the fabric seems too thick to sew through easily, consider switching to fabric glue, which can be a hassle-free alternative. Another common issue is the bag’s shape not turning out as expected; in this case, encourage your kids to adjust or reshape their work until it feels right. If handles break easily, make sure they’re securely sewn or glued. Remember, with any craft project, flexibility and problem-solving are key ingredients to success.
Easy Variations to Try
To keep things fresh and exciting, consider trying a few variations with this basic doll bag concept:
Change Fabric Types: Experiment with different types of fabric, such as felt or denim, for varying textures.
Add Pockets: Encourage kids to sew on additional pockets for extra doll accessories.
Make Seasonal Bags: Craft bags with seasonal themes, like fall colors in autumn, or bright pastels for spring.
Create Matching Sets: If your child loves multiple dolls, challenge them to create matching bags for each one.
Swap Handles: Use colorful ribbons, or even braided fabric pieces, for a unique flair.
These twists ensure the crafting experience remains dynamic and fun.
Storing or Reusing This Project
When the crafting fun winds down, think about the best ways to store the tiny doll bags. They can be hung on a small hook or placed in a designated box for safe keeping. If your child finishes the crafting prompt and doesn’t want to keep their bag, consider donating it to a local charity or gifting it to a friend. This thoughtful gesture could spark joy in another little one’s life. Encouraging reuse not only helps with decluttering but also fosters a sense of generosity.
FAQs About How to Make a Tiny Doll Bag: Easy Craft Tutorial
Is this project safe for younger children?
Yes, but with careful adult supervision. The scissors and sewing materials can pose risks, so be sure to guide younger kids closely during these parts.
Can I use other materials instead of fabric?
Definitely! You can experiment with paper or recycled materials, adapting the steps while ensuring they’re still secure enough for play.
What if the final bag doesn’t look perfect?
The beauty of crafting lies in its imperfections. Encourage your children to embrace their unique creations, as each bag will hold special meaning.
How can we store our finished doll bags?
You can designate a special box for doll accessories and neatly place the bags inside. This method keeps everything organized and makes playtime more enjoyable.
Conclusion
Crafting a tiny doll bag offers not just a fun activity but also promotes various skills in kids as they enjoy the hands-on experience. With its ease of execution, this project allows for plenty of creativity and personal touches. For other simple crafting ideas, you might want to check out how to create tote bags for dolls or learn about making cozy sleeping bags for dolls. These projects can complement the doll bag perfectly while ensuring your little ones stay engaged and entertained.
For more exciting crafting tips, you can explore resources like How to Make Doll Tote Bags – Pin Cut Sew Studio or dive into making a doll’s sleeping bag with Easy Doll Sleeping Bag + a Tiny Kitten Tutorial. Happy crafting!
PrintHow to Make a Tiny Doll Bag: Easy Craft Tutorial
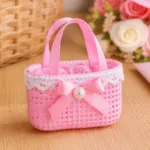
A simple and creative project for kids to make tiny doll bags using basic materials.
- Prep Time: 10 minutes
- Cook Time: 30 minutes
- Total Time: 40 minutes
- Yield: 1 tiny doll bag
- Category: Craft
- Method: Crafting
- Cuisine: N/A
- Diet: N/A
Ingredients
- Fabric scraps (cotton works well)
- Scissors (adult supervision recommended)
- Needle and thread (or fabric glue)
- Ribbon or string (for handles)
- Optional: embellishments like buttons or stickers
Instructions
- Cut the fabric into two rectangles, about 5×7 inches.
- Prepare the sides by placing the rectangles with inside sides facing out.
- Sew the bottom edge securely using needle and thread or fabric glue.
- Form the sides by folding inward and securing them.
- Add ribbon handles, attaching it securely to the inside of the bag.
- Turn the bag inside out to reveal the finished shape.
- Decorate the bags with buttons or stickers for a personal touch.
- Fill the bags with doll accessories for playtime.
Notes
Make sure to supervise younger children during cutting and sewing.
Nutrition
- Serving Size: 1 bag
- Calories: 0
- Sugar: 0g
- Sodium: 0mg
- Fat: 0g
- Saturated Fat: 0g
- Unsaturated Fat: 0g
- Trans Fat: 0g
- Carbohydrates: 0g
- Fiber: 0g
- Protein: 0g
- Cholesterol: 0mg