

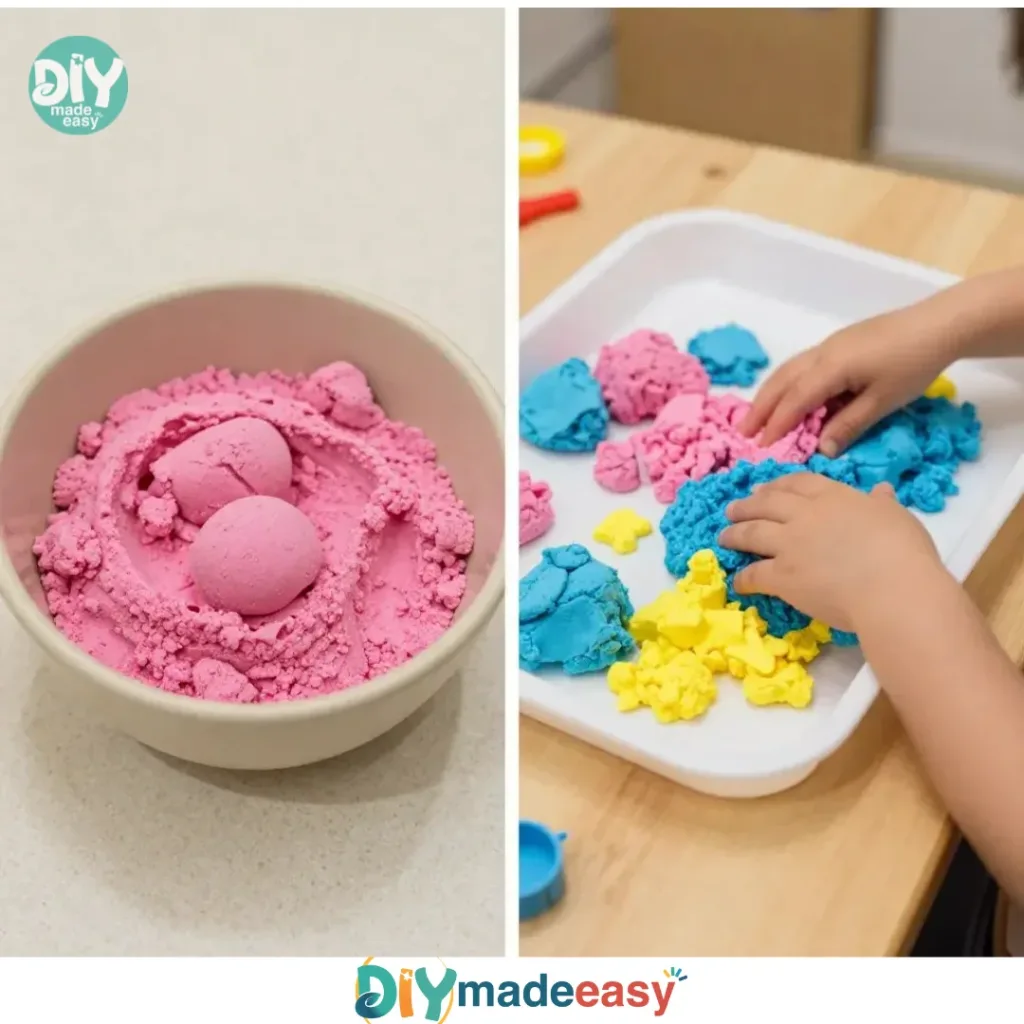
The busy afternoons often call for something quick and fun. If your kids have been wanting to make a sensory project that is not only engaging but also safe, you’ll find making DIY Taste-Safe Sensory Sand to be a perfect solution. It captures the essence of tactile play while ensuring that it’s safe if little hands happen to taste it. Not only does it provide hours of imaginative play, but it’s also easy to whip up with just a few household items, making it a perfect addition to your activity list. You may also find Colorful Diy Bioplastic Suncatchers useful.
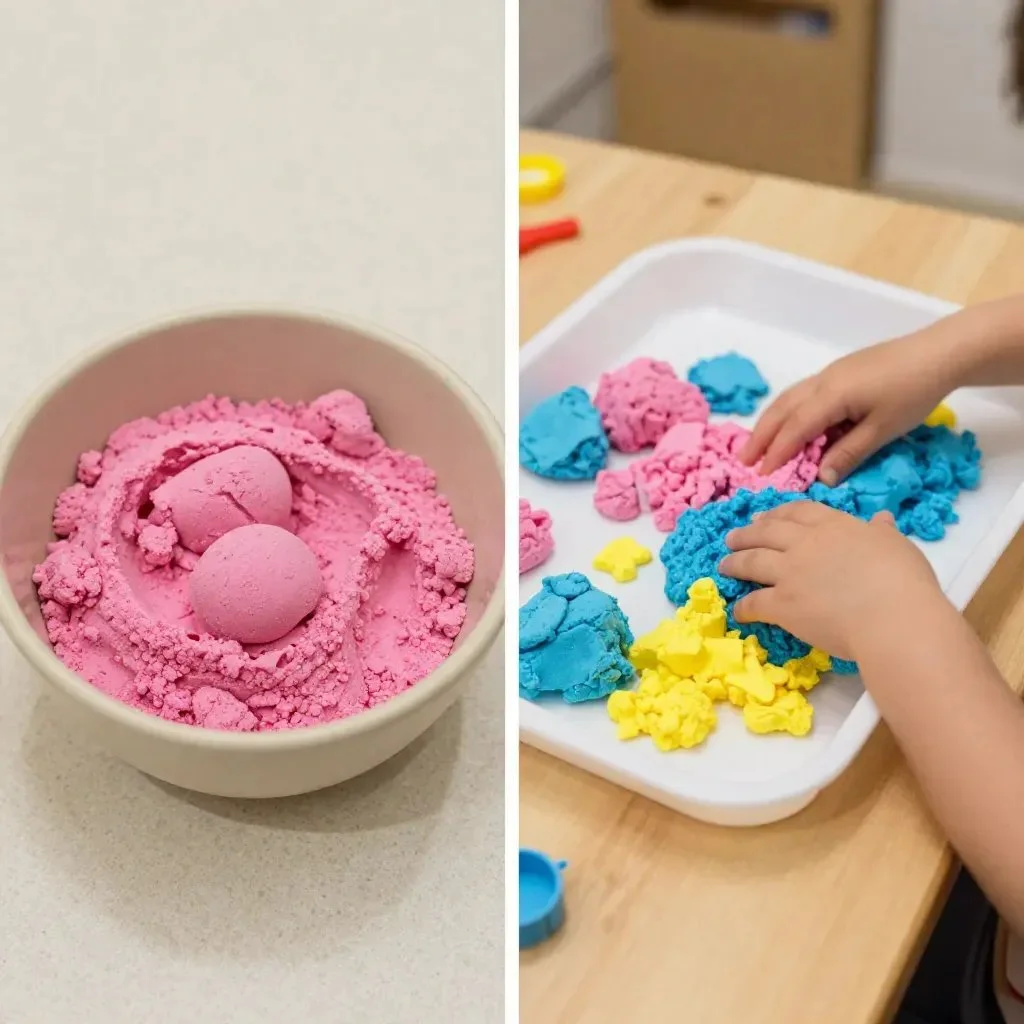
Why You’ll Love Making DIY Taste-Safe Sensory Sand
You may also find Cornstarch Dish Soap Kinetic Sand useful.
Making DIY Taste-Safe Sensory Sand is enjoyable and requires minimal preparation. You need only a few ingredients that you likely already have on hand—no last-minute trips to the store necessary. This project is approachable for everyone, regardless of your crafting experience. Involving your kids in this activity also encourages sensory exploration, which enhances their creativity while ensuring safety. Plus, it’s a reliable recipe that yields consistently good results, so you can feel confident trying this even on a busy day. You may also find Diy Bioplastic From Cornstarch useful.
A Quick Look Before You Begin
Before diving in, let’s reassure you about the process. It takes only about 15-20 minutes to prepare the sensory sand, so it fits easily into your afternoon schedule. Set up a large mixing bowl on the kitchen table, and you’ll see that the mess level is quite manageable. With adult supervision, your kids can help out by measuring and mixing, so it becomes a family bonding moment. You will delight in watching their faces light up as they explore the textures and colors together. You may also find Diy Bioplastic Suncatchers Colorful Swirls useful.
Materials You’ll Need
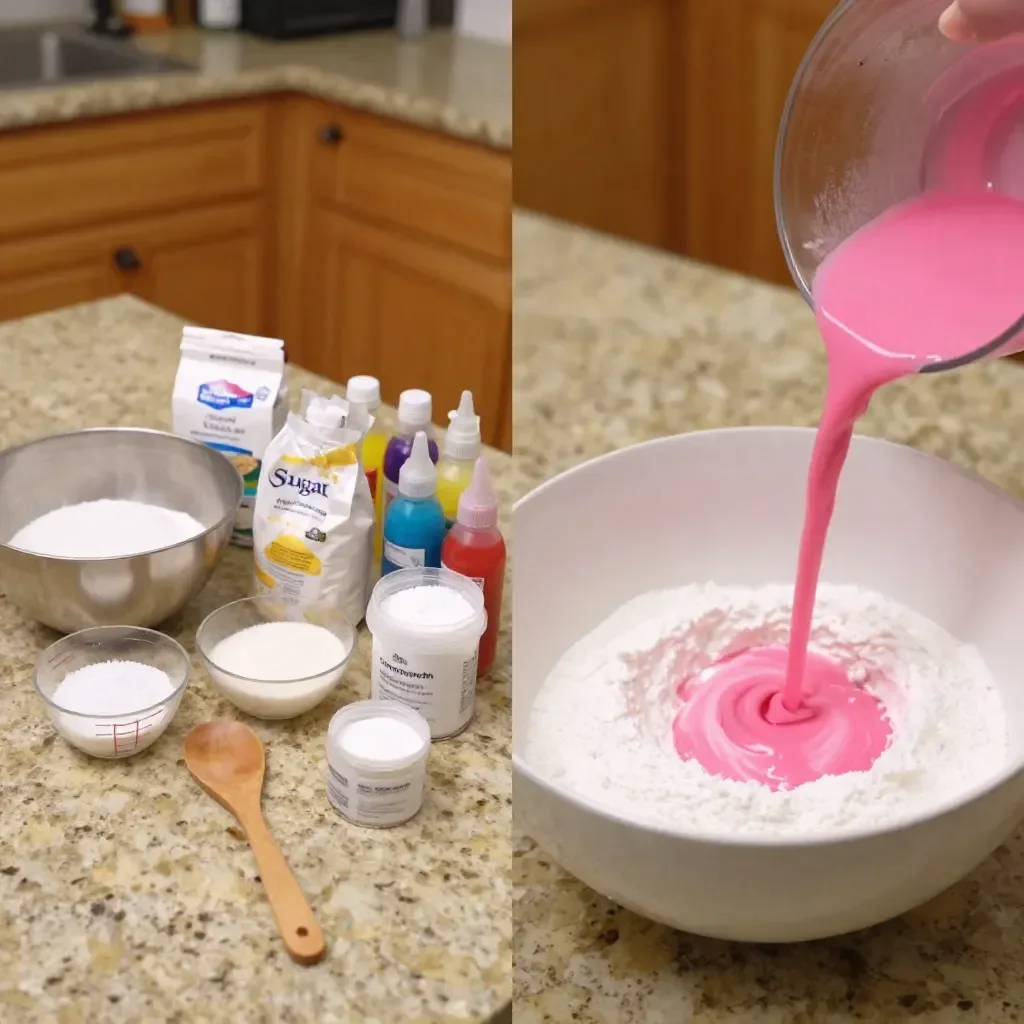
Gather these simple ingredients before you start:
- 1 cup fine sand or cornstarch
- 2 cups flour
- 1 cup edible oil (coconut or vegetable oil)
- Natural food coloring (optional)
- Scented extracts (like vanilla or almond, optional)
These items are easy substitutes for one another. For example, if you don’t have fine sand, cornstarch works equally well. You might even find using different oils or scents to be a fun experiment in your kitchen!
Step-by-Step Directions
- In a large mixing bowl, combine 1 cup of fine sand or cornstarch with 2 cups of flour. This mix creates a great base for your sensory sand, providing both texture and structure.
- Gradually add 1 cup of edible oil into the mixture. Stir continuously until the oil is fully incorporated. The oil makes it moldable and fun to play with, so take your time mixing.
- If desired, add a few drops of natural food coloring and mix well. This is where the project turns colorful and engaging. Kids will love to see the change as they stir.
- Carefully incorporate scented extracts starting with a teaspoon. You control the fragrance level, which can enhance the sensory experience immensely.
- Once the mixture reaches a soft, moldable consistency, use your hands to feel and adjust it as needed. This is the part that encourages them to touch and explore; it’s a great moment of discovery.
What Kids Practice While Making This
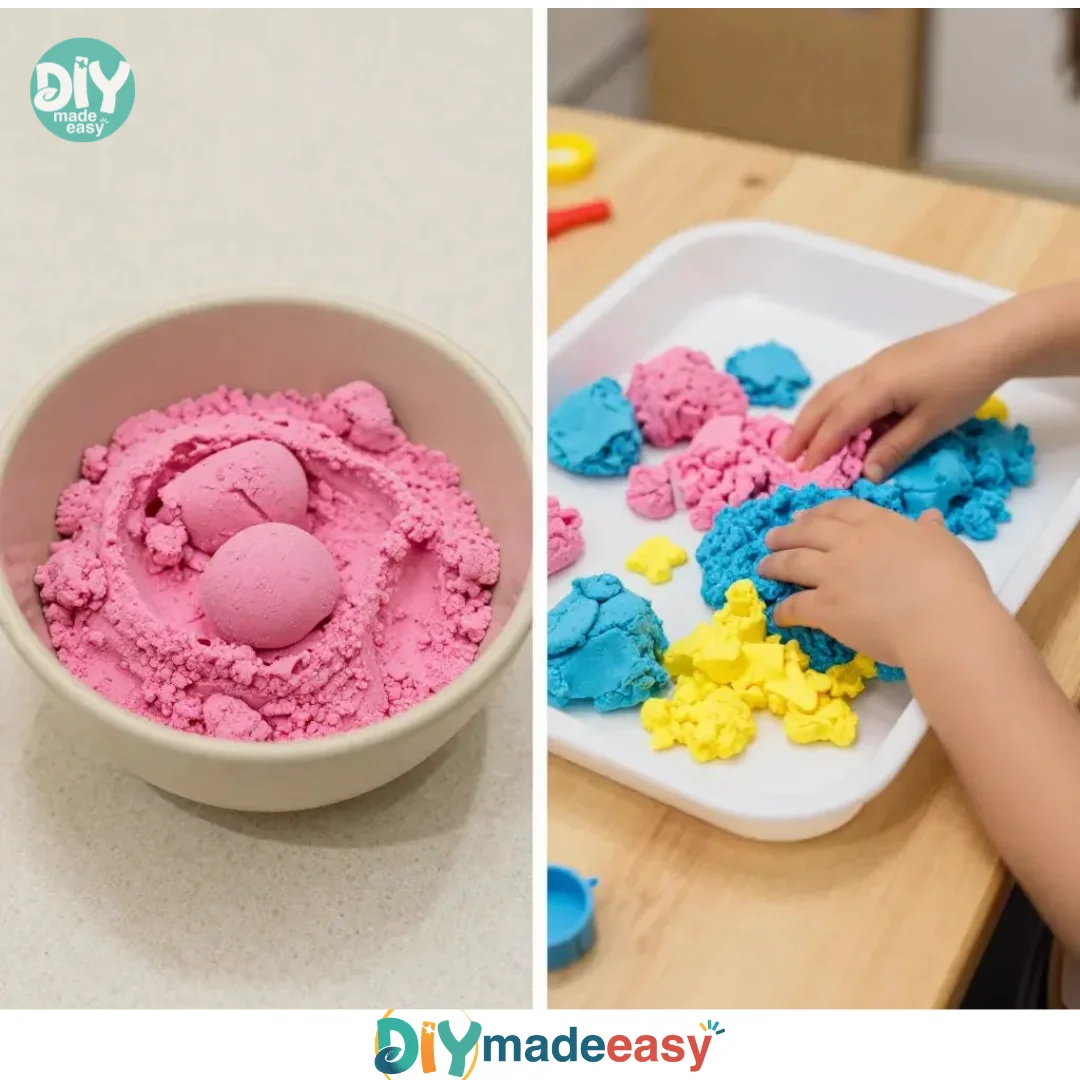
As children create their own DIY Taste-Safe Sensory Sand, they practice several skills. Sensory play helps develop fine motor skills as they manipulate the sand, pour, and mix the ingredients. They also learn cause and effect—observing how adding oil changes the texture. This activity supports coordination as they handle different materials, and it provides a rich opportunity for imaginative play.
Troubleshooting Common Issues
If the sensory sand doesn’t turn out as expected, don’t worry. If it’s too dry, gradually add more oil until it becomes moldable. On the other hand, if it’s too wet, adding a little more flour can help. Keep experimenting with proportions until you find the right consistency that works for you.
Easy Variations to Try
Change it up a bit by adding some seasonal twists. Try using autumn spices like cinnamon during fall, or vibrant colors for holidays. You could even host a family competition on who can create the best shape or design with the sensory sand. These variations can keep the activity fresh and exciting, inviting kids back for more.
Storing or Reusing This Project
After the play session, store your sensory sand in an airtight container to keep it fresh. This way, the kids can enjoy it multiple times. Encourage them to clean up together; this not only takes some of the burden off you but teaches them responsibility in maintaining their play space.
FAQs About DIY Taste-Safe Sensory Sand
Many parents often ask about the mess involved with sensory play. It’s perfectly normal for some spills to happen, but laying down some newspaper or a tablecloth can mitigate the clean-up. As for safety, all the ingredients are food-safe, so you don’t need to worry if little ones decide to taste. If you find yourself without some of the supplies, remember that substitutions are okay.
Another common concern might be how to store or reuse the materials. I recommend keeping the sand in a sealed container to maintain its consistency. Lastly, there’s no need to stress about perfection—kids enjoy the process just as much as the final product, so let them explore freely!
A Final Helpful Note
As you embark on making DIY Taste-Safe Sensory Sand, remember that simplicity is key. This project is all about enjoying time together and nurturing creativity without the pressure of perfection. Encourage your kids to experiment and have fun; the joy they find in the process will be more rewarding than the final result.
Conclusion
Making taste-safe sensory sand is an excellent way to foster interactive play while ensuring safety. If you’re looking for additional ideas related to sensory activities, you might find edible sensory activities for babies useful. Moreover, for another fun project, check out how to make taste-safe play sand with just two ingredients. These resources can further expand your safe, sensory exploration adventures!
PrintDIY Taste-Safe Sensory Sand
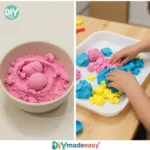
A fun and safe recipe for making edible sensory sand that promotes imaginative play while being safe for kids.
- Prep Time: 15 minutes
- Cook Time: 0 minutes
- Total Time: 15 minutes
- Yield: 4 servings 1x
- Category: Craft
- Method: Mixing
- Cuisine: N/A
- Diet: N/A
Ingredients
- 1 cup fine sand or cornstarch
- 2 cups flour
- 1 cup edible oil (coconut or vegetable oil)
- Natural food coloring (optional)
- Scented extracts (like vanilla or almond, optional)
Instructions
- Combine 1 cup of fine sand or cornstarch with 2 cups of flour in a large mixing bowl.
- Add 1 cup of edible oil and stir continuously until fully incorporated.
- Add a few drops of natural food coloring and mix well.
- Incorporate scented extracts starting with a teaspoon.
- Use your hands to feel and adjust the mixture until it reaches a soft, moldable consistency.
Notes
Store sensory sand in an airtight container to keep it fresh for multiple uses. Encourage kids to clean up together to learn responsibility.
Nutrition
- Serving Size: 1 serving
- Calories: 100 per serving
- Sugar: 0g
- Sodium: 5mg
- Fat: 11g
- Saturated Fat: 1g
- Unsaturated Fat: 10g
- Trans Fat: 0g
- Carbohydrates: 8g
- Fiber: 1g
- Protein: 1g
- Cholesterol: 0mg