

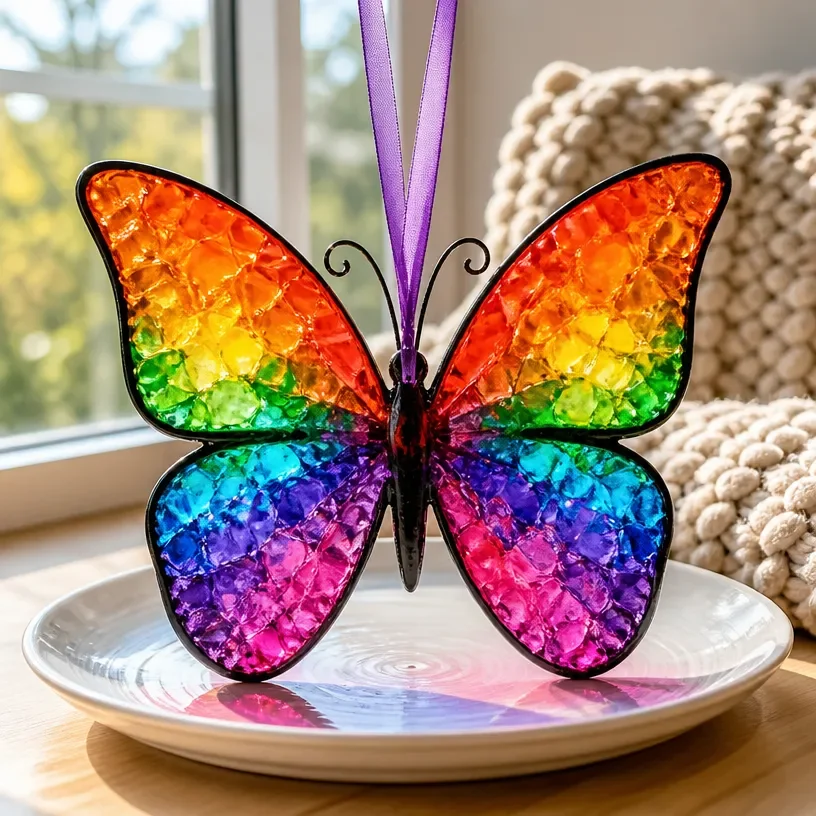
It’s a bustling afternoon, and the kids are clamoring for something fun and creative to do. As they rush around, their eyes light up at the sight of colorful crayons scattered on the table. You realize that a DIY Rainbow Butterfly Suncatcher with Melted Crayons could be just the project to calm the chaos and engage their creativity. This art activity is perfect for a spontaneous crafting session and allows the kids to experiment with colors while creating something beautiful to hang in the window. You may also find Diy Melted Crayon Rainbow Haunted House Suncatcher useful.
Why You’ll Love Making DIY Rainbow Butterfly Suncatcher with Melted Crayons
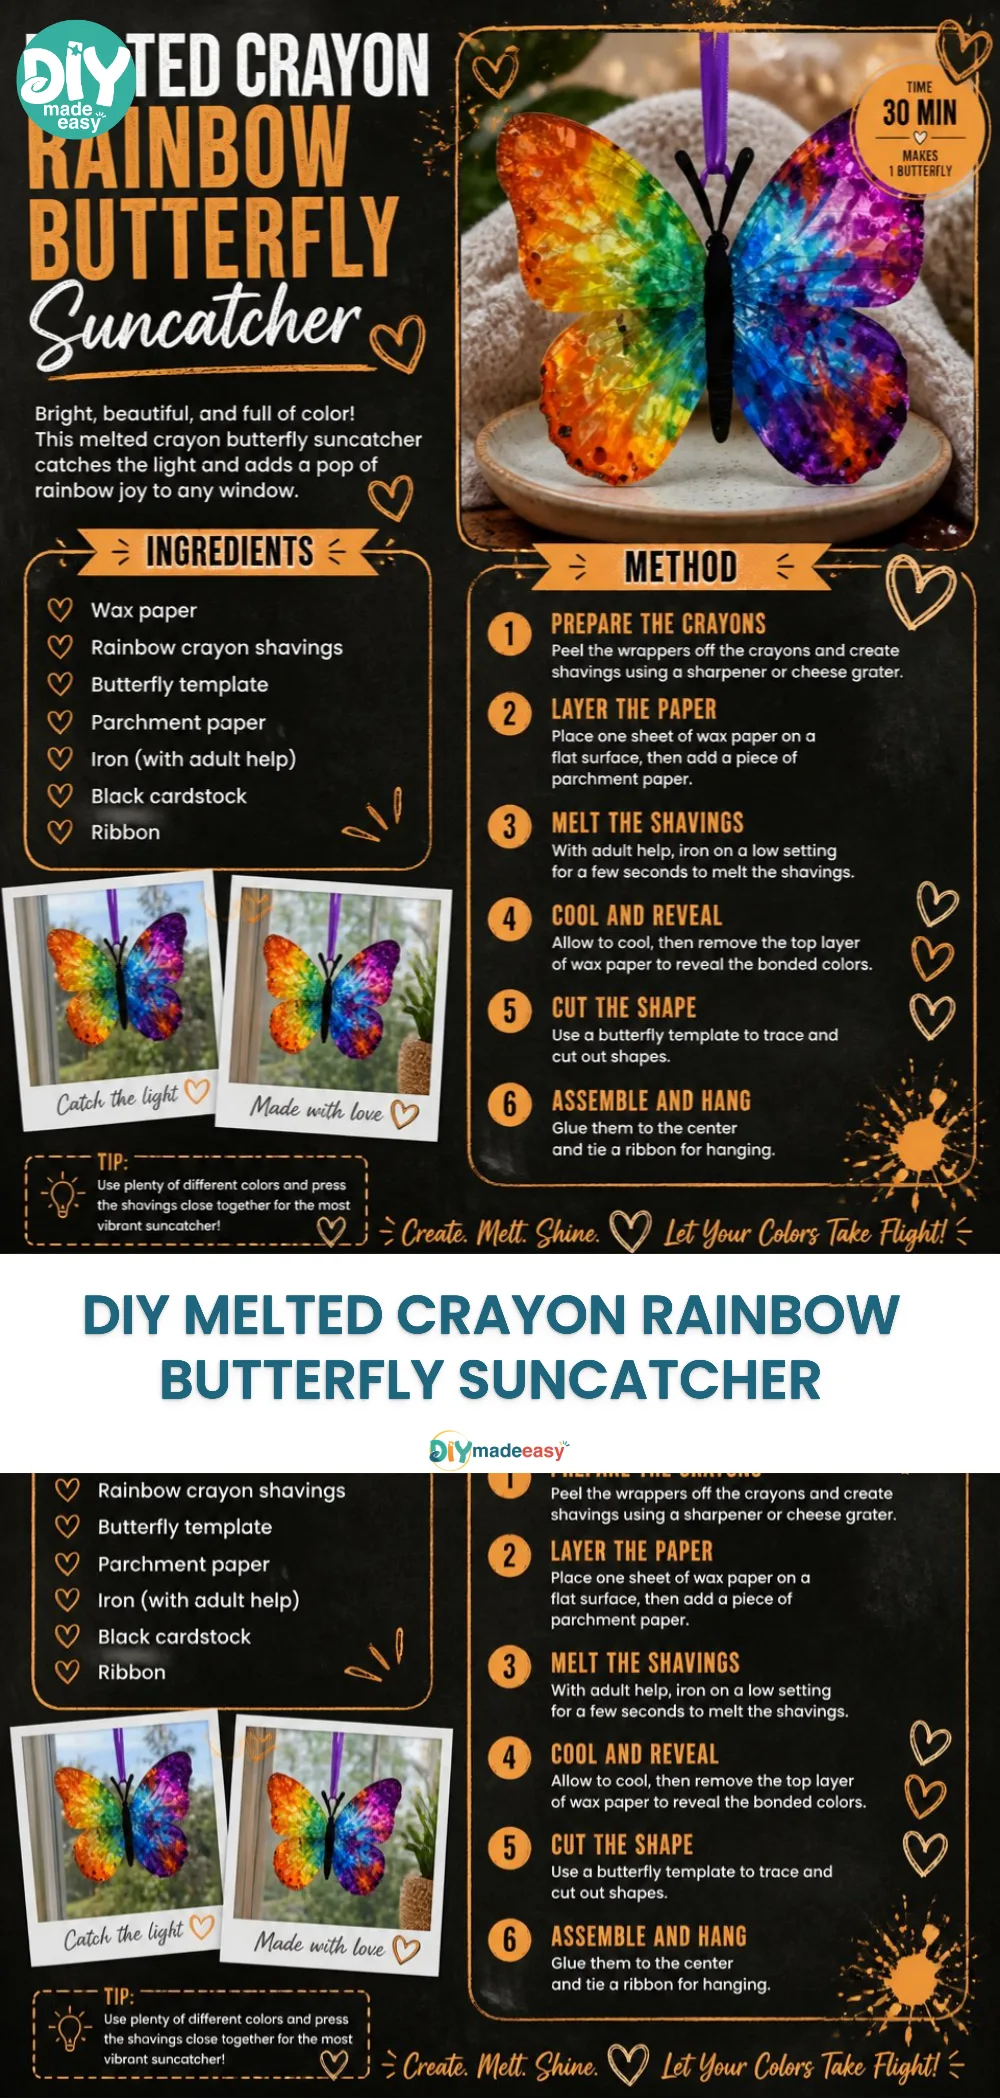
You may also find Diy Rainbow Crayon Butterfly Suncatcher useful.
This project is genuinely low-prep and simple, making it a delightful experience for both kids and adults. It requires minimal materials and setup, allowing you to jump right in without stress. Kids can express their creativity as they select and melt their crayon colors, observing the vibrant outcomes. Plus, it’s a reliable project: if they follow the steps, they will succeed in creating a beautiful suncatcher that brightens up any space.
A Quick Look Before You Begin
Before diving into the fun, it’s good to know what to expect. The entire process typically takes about an hour from start to finish. You’ll want to dedicate 30 minutes for melting the crayons and assembling the suncatcher, with the remaining time for cleanup. Setting up is easy, as all you need are some basic materials that you likely have at home. The mess level tends to be manageable, especially with adult supervision to help monitor the melting process and handle any spills.
Materials You’ll Need
For this DIY Rainbow Butterfly Suncatcher, gather the following supplies:
- Wax paper – a common household item
- Crayons – use broken or old ones for eco-friendliness
- An iron – an adult should handle this
- Butterfly template – easy to print online
- Pencil or scissors – basic cutting tools
- Clear tape – for assembly
These materials provide a straightforward way to create the suncatcher without needing to purchase anything special.
Step-by-Step Directions
- Prepare Your Workspace: Find a flat, clean surface for melting the crayons. Lay down some newspaper to catch any drips.
- Create Crayon Pieces: Remove wrappers from the crayons and break them into small pieces. Aim for a variety of colors for that rainbow effect.
- Lay Out Crayons: On one piece of wax paper, arrange the crayon pieces in a butterfly shape based on your template.
- Cover with Wax Paper: Place another piece of wax paper on top to sandwich the crayons, securing everything in place.
- Ironing Time: Set your iron to low heat and gently press down on the top wax paper for about 10 seconds, watching as the crayons melt and blend together.
- Let It Cool: Allow the melted crayon sandwich to cool for a few minutes until it’s solidified.
- Cut Out the Butterfly: Once cooled, carefully cut out the butterfly shape, following your template.
- Display Your Masterpiece: Use clear tape to attach your suncatcher to a sunny window, letting the colors shine!
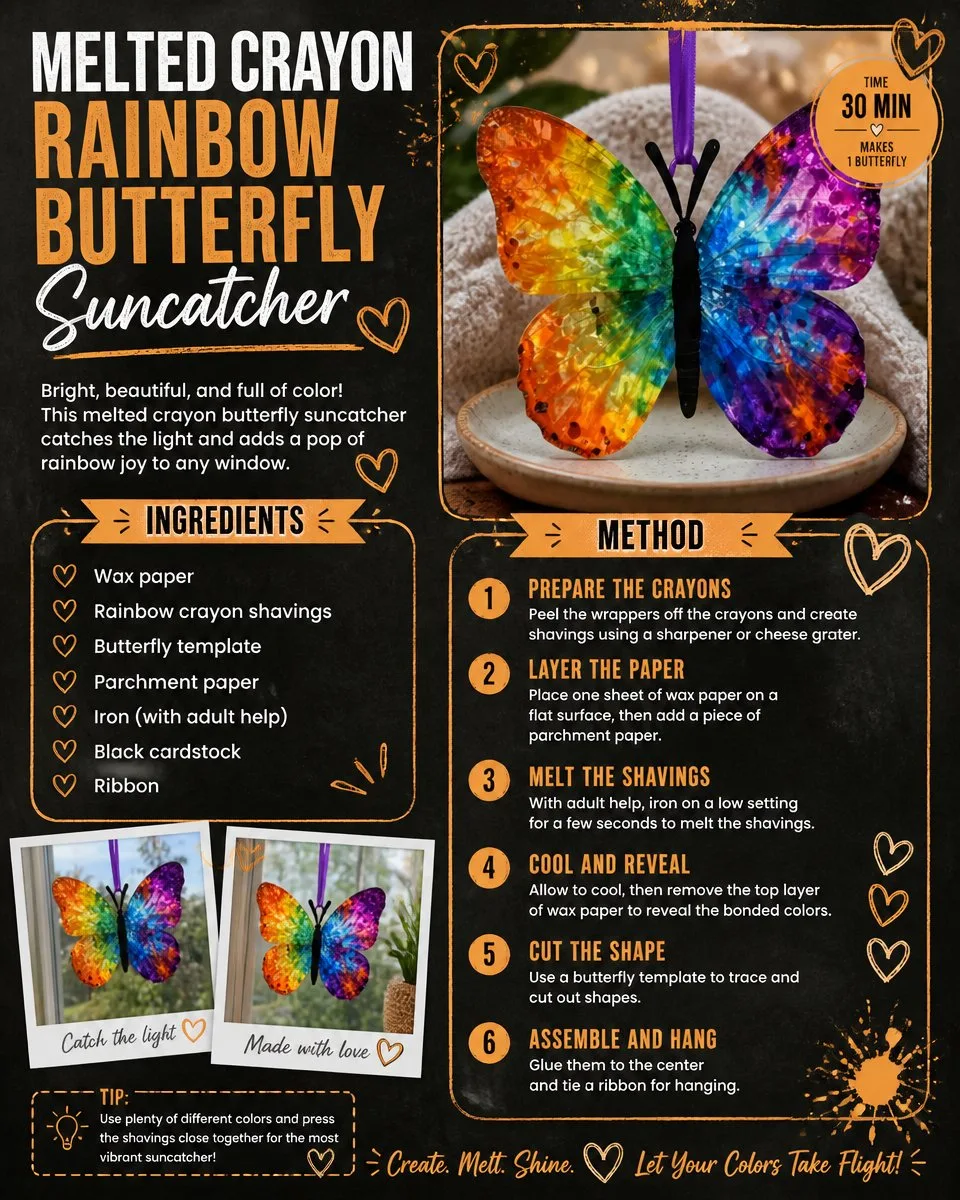
The Learning Behind This DIY
As kids engage with the DIY Rainbow Butterfly Suncatcher, they practice several valuable skills. Fine motor skills improve as they handle crayons and scissors. They also learn cause and effect; melting the crayons and observing how the colors blend teaches them about physical properties and creativity. This project is also an excellent opportunity to discuss color theory, as they see firsthand how different hues interact when melted together.
Troubleshooting Common Issues
If things don’t go as planned, don’t click the panic button just yet! One common issue is the crayons not melting evenly, which can happen if the iron is too hot or held too long. If this happens, simply reposition the iron for better even heat distribution. Sometimes, if the paper sticks too much, it could be an issue of too much pressure applied; a gentler touch works wonders here.
Easy Variations to Try
To keep the creative juices flowing, consider these simple variations:
- Try Different Shapes: Instead of butterflies, use cookie cutters to make various shapes like stars or hearts.
- Seasonal Colors: Change the crayon colors based on the season think pastels for spring or warm tones for autumn.
- Layering Techniques: Melt multiple layers of crayons for a textured effect; this adds depth to the suncatcher.
Storing or Reusing This Project
Once your project is complete, you can easily store it or even reuse the materials. The suncatcher can last for several seasons if kept in a safe place. If you’re looking to minimize waste, consider repurposing leftover crayons for future art projects, or keep the materials ready for spontaneous crafting sessions down the line.
FAQs About DIY Rainbow Butterfly Suncatcher with Melted Crayons
At what age can kids start this project?
This project is ideal for elementary-aged children. However, younger kids can participate under close adult supervision, especially during the melting steps.
Can I use other types of crayons?
While standard crayons work best, you can experiment with crayons made from different materials. Just be cautious, as not all will melt the same way.What if I don’t have a butterfly template? You can create your own template! Simply draw a butterfly shape on paper or print one from an online source. For more inspiration, explore additional projects like the DIY melted crayon rainbow heart suncatcher.
Conclusion
Creating a DIY Rainbow Butterfly Suncatcher with Melted Crayons is a fun project that enriches creativity while being manageable for busy parents and their children. It’s a perfect way to spend an afternoon while brightening up your home. For even more artistic ideas, check out this melted crayon sun catcher project or discover a variety of fun activities in this list of cool craft projects for kids. Dive in and enjoy the colorful adventure!