

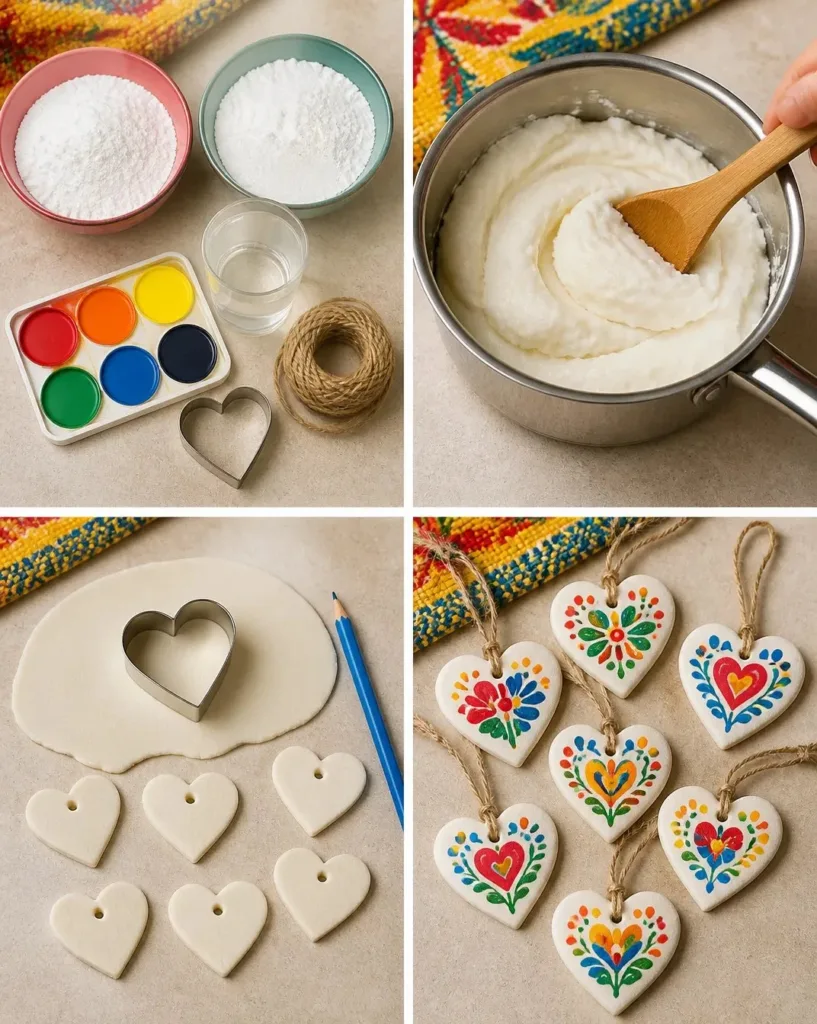
DIY Cornstarch Heart Charms: Handmade Folk Craft Ideas You may also find Craft Resin Epoxy Diy Resin Art Handmade Crafts useful.
A busy afternoon often calls for some creative fun, especially when the kids are eager to make something special right away. If you’re looking for a quick and engaging project, consider making DIY Cornstarch Heart Charms. This simple and delightful craft not only brings out your inner artist but also provides a wonderful way to bond with your children while creating lovely keepsakes. You may also find Diy Flower Hearts Craft Clear Glue useful.
The Simple Appeal of DIY Cornstarch Heart Charms: Handmade Folk Craft Ideas
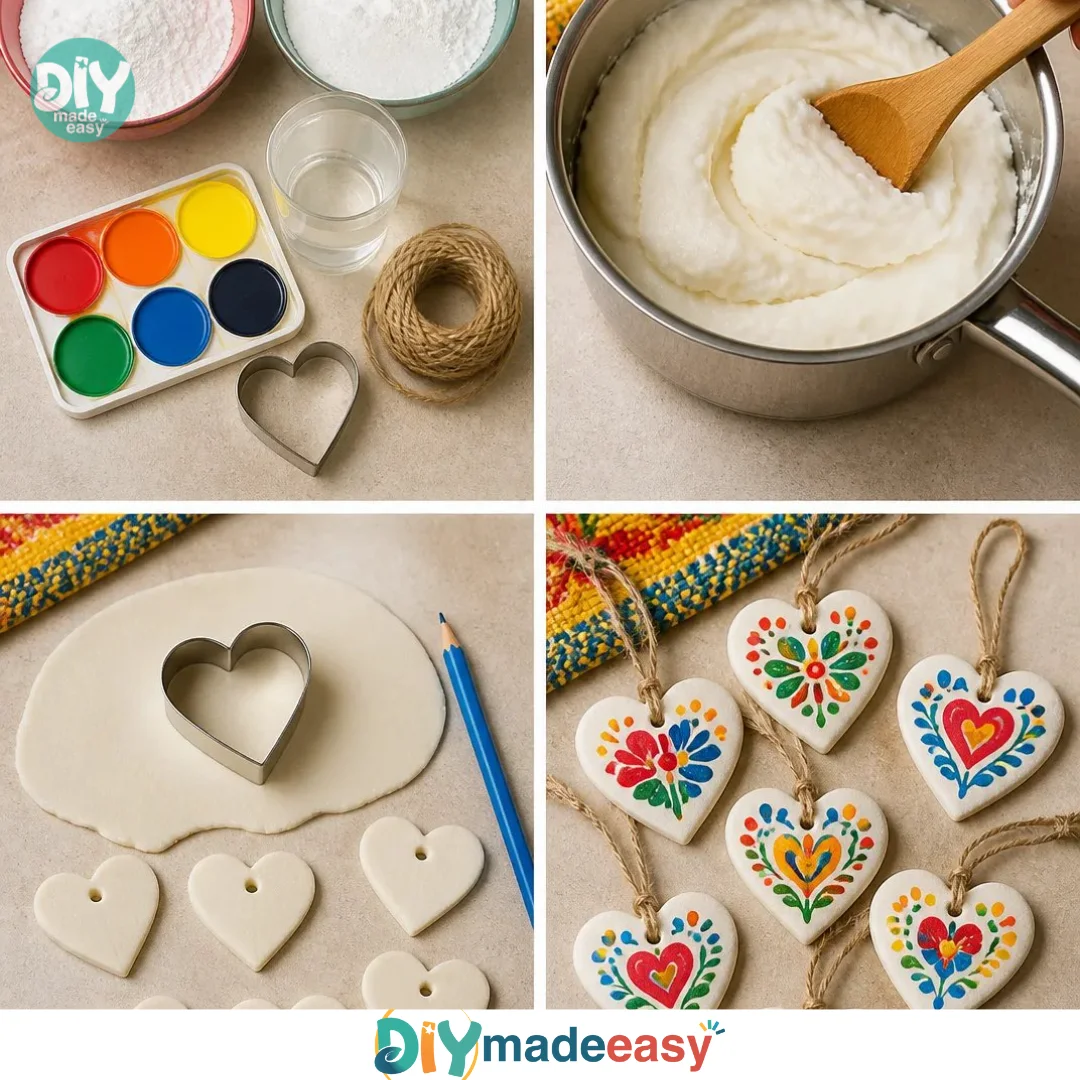
You may also find Diy Pool Noodle Ocean Creatures Craft Ideas useful.
This project works so well for several reasons. First, it’s low-prep; you likely already have most of the materials in your home. Cornstarch, baking soda, and some water are all you need to get started, making it a budget-friendly option for families. Second, the process is straightforward and approachable, perfect for kids of various ages. They will feel accomplished as they see their creations take shape. You may also find Diy Resin Coasters Custom Craft Ideas useful.
Also, this craft allows for a bit of artistic freedom. Once the charms are cooled and dried, the children can personalize them with acrylic paint, designing their own unique folk patterns. This opens a conversation about art and creativity, allowing kids to express themselves freely.
A Quick Look Before You Begin
Starting this project requires minimal setup and no intense planning. All you need is a clean workspace and a bit of time about an hour for preparation and drying. Expect a moderate mess level when mixing the ingredients, but it’s all part of the fun! A quick cleanup afterward will keep your area tidy. Although adult supervision is advisable, kids can easily accomplish most tasks with minimal assistance, making this a family-friendly activity.
Materials You’ll Need
To make DIY Cornstarch Heart Charms, gather these simple supplies:
1 cup cornstarch
A common household item.2 cups baking soda
This is widely available and quite budget-friendly.1 1/4 cups water
You can use regular tap water for this craft.Cookie cutter
Choose any shape you like, but heart shapes are especially lovely for this project!Acrylic paint
Optional but adds a personal touch once the charms are fully dried.Twine
Use this for hanging the charms, making them a great decorative piece.
Step-by-Step Directions
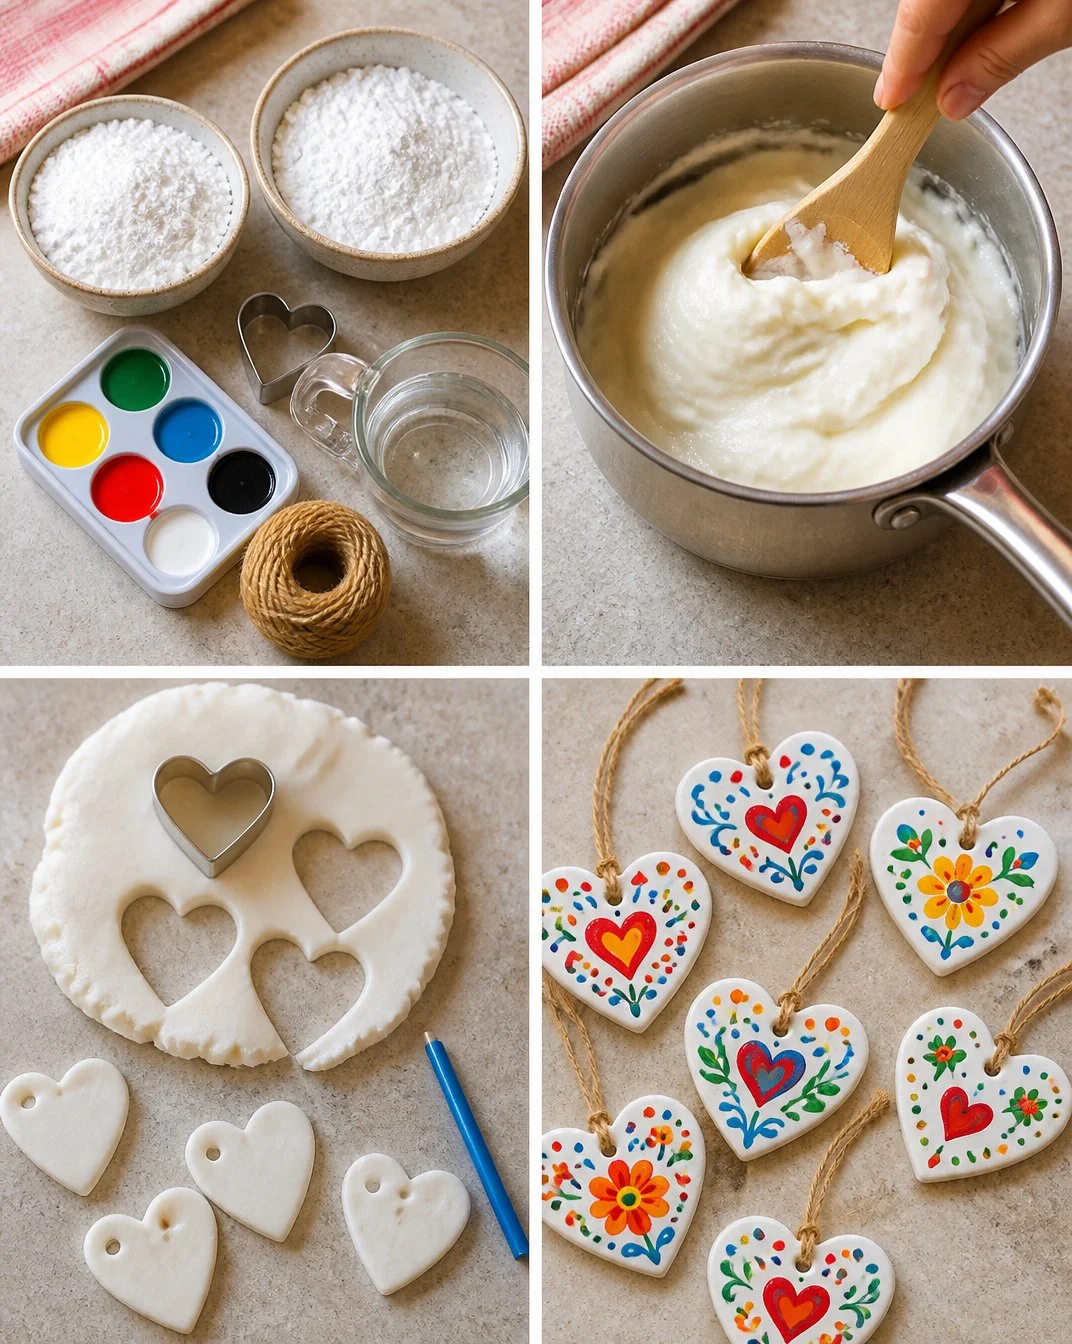
Cook the mixture: In a medium saucepan, combine the cornstarch, baking soda, and water. Cook over medium heat while stirring continuously. The mixture will start bubbling and then transform into a dough-like consistency. This usually takes around 5 to 10 minutes.
Cool the dough: Once it forms a dough, remove it from heat and let it cool for a few minutes. You’ll want it warm but manageable to handle. Roll it out on a clean surface to your desired thickness, about 1/4 inch thick.
Cut out heart shapes: Using the cookie cutter, press it into the rolled dough to create heart shapes. You can also pierce a hole at the top with a straw or toothpick for twine later on. When done, transfer them onto parchment paper to air-dry for at least 24 hours.
Paint and decorate: After the charms are completely dry, use acrylic paint to add colors and patterns as desired. Once painted and dry, thread the twine through the holes to hang your beautiful heart charms.
What Kids Practice While Making This
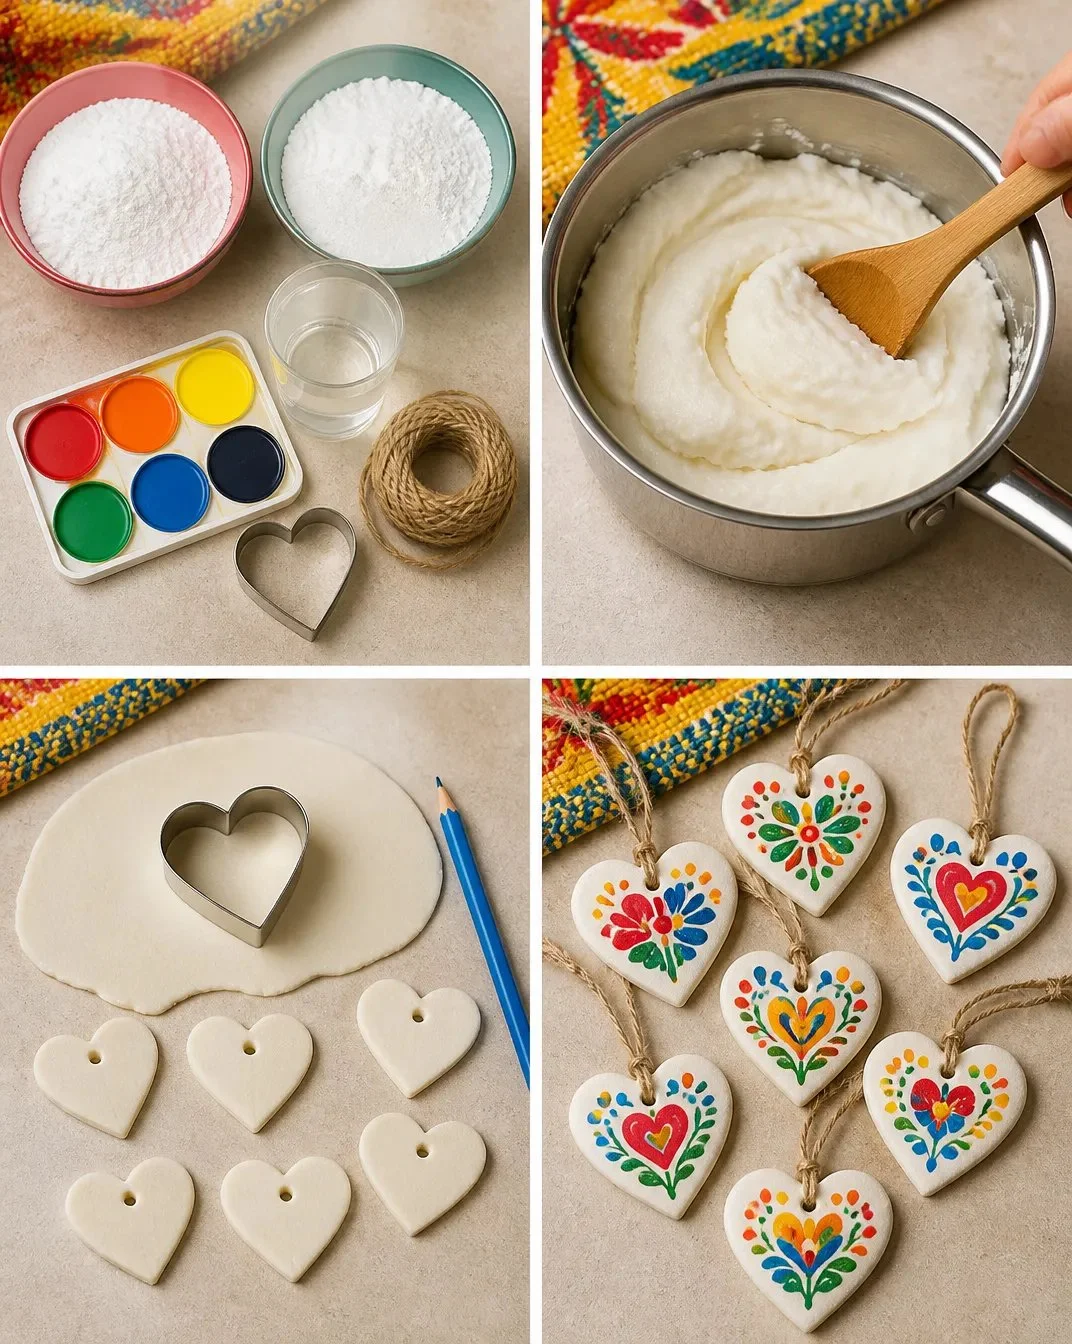
This project not only sparks creativity but also helps children develop fine motor skills. Rolling out the dough and using cookie cutters enhances their hand-eye coordination. They also learn about measurement and mixing, which introduces basic science concepts like states of matter and chemical reactions as they observe the transformation of ingredients when heated.
Troubleshooting Common Issues
Sometimes, things may not go exactly as planned. If the mixture seems too dry while cooking, add a bit more water, one tablespoon at a time. If the dough is too sticky, dust your work surface with a little cornstarch to make it easier to roll out. If your charms break during handling or drying, don’t fret just paint them and turn them into pieces of abstract art!
Easy Variations to Try
To keep the project exciting, you can try a few variations:
- Instead of hearts, use different cookie cutter shapes, like stars or flowers, to match various seasons or events.
- For more texture, add natural materials like dried flowers or leaves into the dough before cutting.
- Encourage older kids to write uplifting messages on their charms with the acrylic paint.
Storing or Reusing This Project
Once your cornstarch charms are completed, you can showcase them in various places. This project not only makes beautiful decorations but can also serve as thoughtful gifts. If you need to store any unpainted charms, keep them in a cool, dry place to prevent moisture damage. Clean up is easy with soap and water for any surfaces that got sticky during the process.
FAQs About DIY Cornstarch Heart Charms: Handmade Folk Craft Ideas
If you’re on the fence about starting this craft, you might wonder about cleanup. The mixture can be a bit messy, but with warm water and a sponge, everything should clean up easily. Another common hesitation is the age suitability for kids. Younger children might need help with mixing and cutting, but with supervision, even toddlers can participate. You might also have questions regarding ingredient substitutions if you’re out of cornstarch or baking soda, consider using flour, which can work in a pinch, although results may vary. Lastly, you can reuse any leftover materials for future crafts, minimizing waste and maximizing creativity.
Conclusion
Conclusion
Making DIY Cornstarch Heart Charms can be a wonderful addition to your crafting adventures. As you delve into this project, consider exploring the possibilities of natural decorations with ideas found in
natural Christmas tree ornaments. If you're feeling inspired to keep crafting, check out another engaging project like the
Clay coil potto continue your creative journey. These activities not only promote creativity but also provide the opportunity for bonding, learning, and fun in a simple, memorable way.