

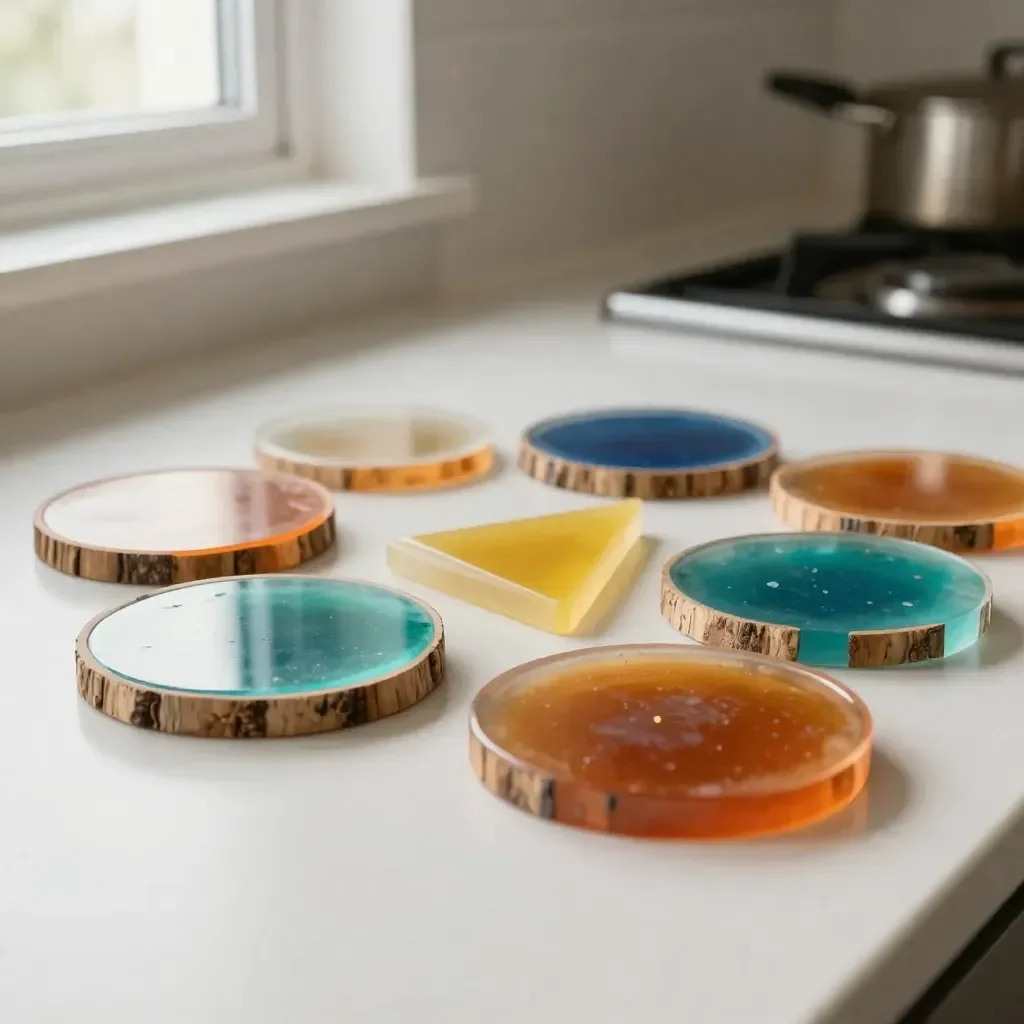
Custom Resin Coaster Crafts are a fantastic way to spend a busy afternoon when kids suddenly want to create something meaningful. With just a few materials, you can transform everyday moments into decorative pieces that brighten up your home. This project is approachable for families because it combines creativity with hands-on fun. Plus, it’s a great way to keep kids engaged and excited about making something unique. You may also find Crafts For Kids Fun Projects useful.
Why This Custom Resin Coaster Crafts Works So Well
This project is low-prep and incredibly approachable, making it perfect for busy schedules. You don’t need to gather a lot of special materials, as many can be found around the house. The reliability of this craft brings peace of mind, knowing you can get clear results. Even if you’re a beginner, you can feel confident tackling this project. It’s designed to fit seamlessly into real-life activities without overwhelming you or your kids. You may also find Pin On Crafts useful.
A Quick Look Before You Begin
Before starting your Custom Resin Coaster Crafts, it’s helpful to understand the overall flow of the process. Plan for about 1 to 2 hours for the whole activity, which allows time for setup and clean-up as well. Consider that adults will need to be involved for the mixing and pouring of resin to ensure safety. The setup can be done on a kitchen counter or a table covered with newspaper to contain any potential mess. This project can be low-mess, especially if you prepare everything before diving in. You may also find Teal Moon Unicorn Resin Suncatcher useful.
Materials You’ll Need
You only need a few simple supplies to create amazing resin coasters. Here’s what you’ll need:
- Epoxy resin (you can find this at craft stores)
- Hardener (often included with the resin)
- Mixing cups (disposable ones work well)
- Stirring sticks (like popsicle sticks)
- Colorants or glitter (optional for a personal touch)
- Coaster molds (silicone molds work best)
- A workspace covered with protective materials (like newspaper)
These materials are generally easy to find, and many families might already have them at home. With this simple list, you’re on your way to making beautiful coasters!
Step-by-Step Directions
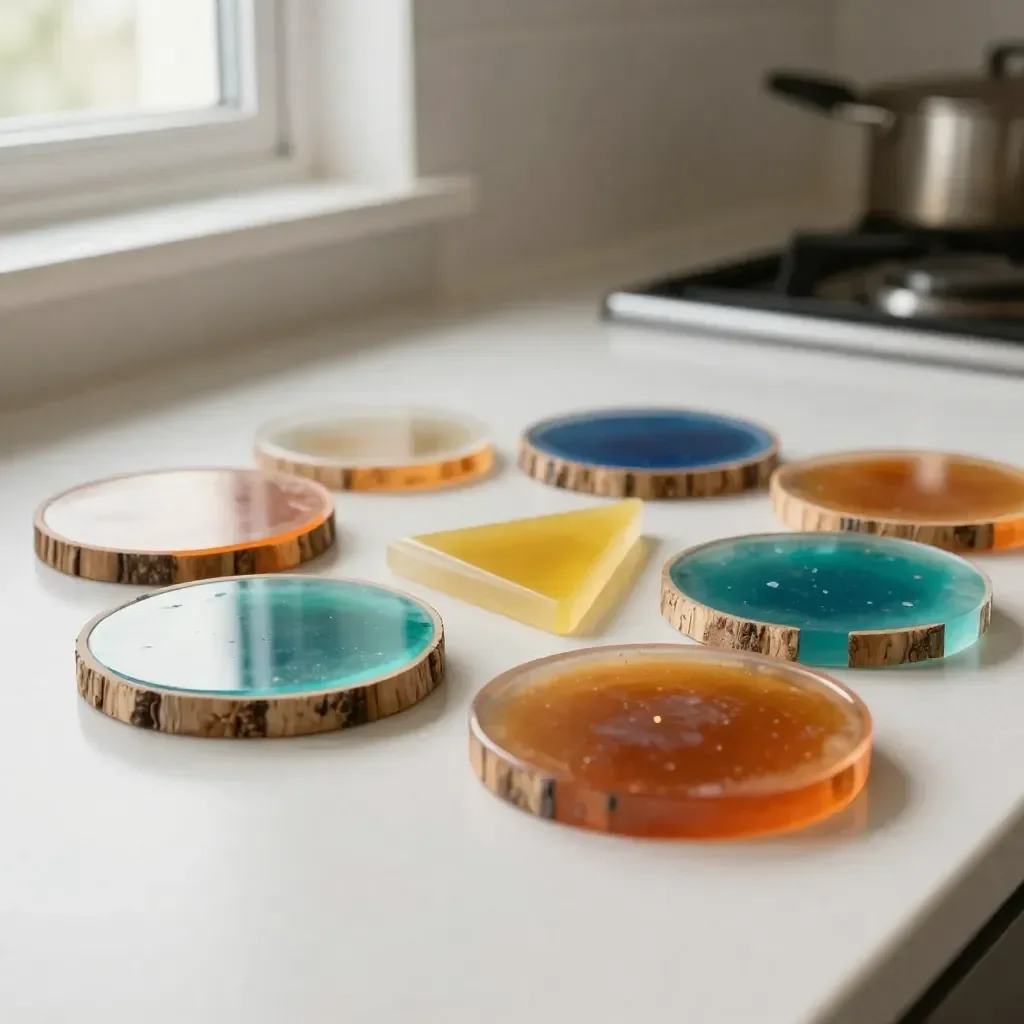
Prepare Your Workspace: Lay down newspaper or a drop cloth to create a clean area for your project. Make sure you have all materials at hand.
Mix the Resin: In a mixing cup, pour the epoxy resin and hardener according to the instructions. It’s important to measure accurately for the best results. Stir slowly for about 3 minutes.
Add Color and Glitter: If you’d like to customize your coasters, add a few drops of colorant or a sprinkle of glitter to the resin mixture. Stir thoroughly to combine.
Pour Into Molds: Carefully pour the mixture into your coaster molds, filling each about halfway. If making multiple coasters, divide the resin evenly among the molds.
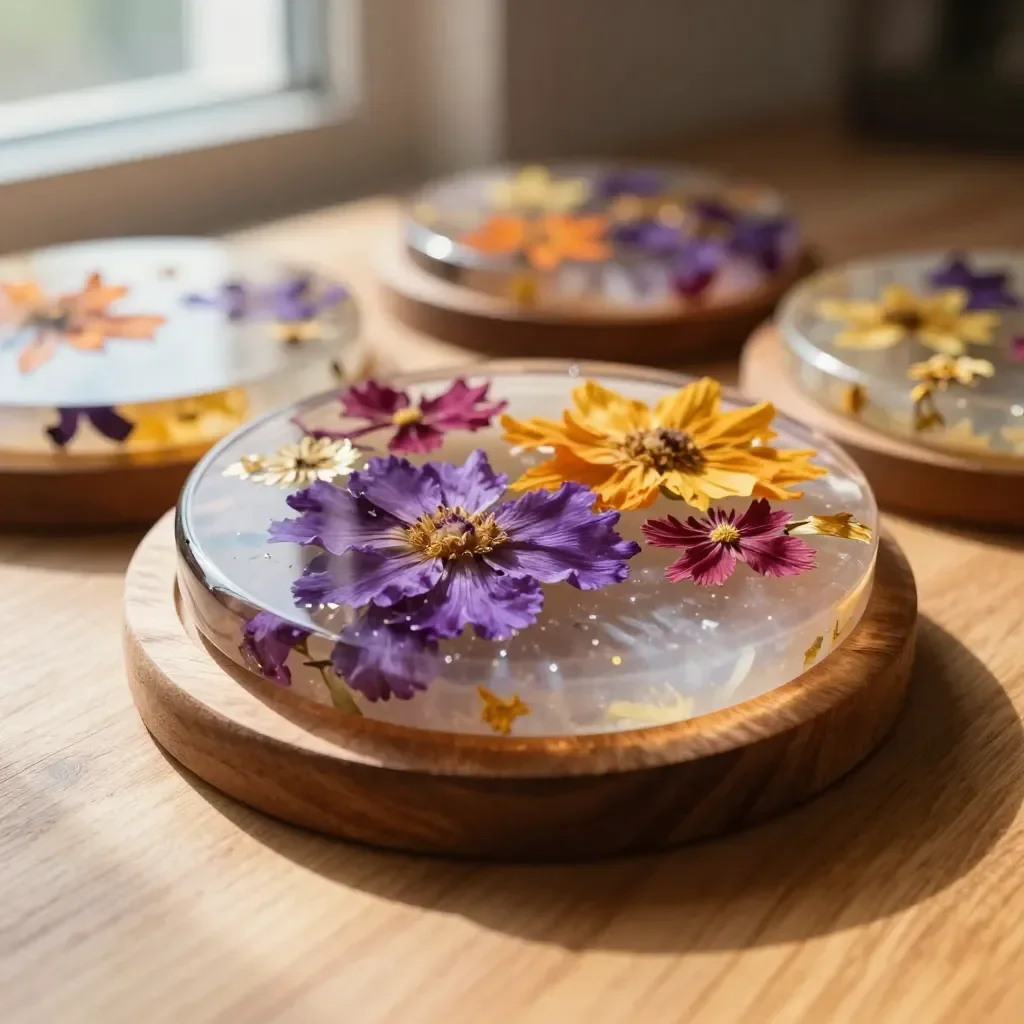
Create Designs: Use a toothpick or a stick to swirl the colors or add decorative items like dried flowers if desired. This is where you can feel free to get creative!
Cure the Coasters: Allow the resin to cure according to the product’s instructions, usually for 24 hours. It should harden completely during this time.
Demold Your Coasters: Once fully cured, gently remove the coasters from the molds. They should pop out easily.
Finishing Touches: If there are any sharp edges, you can lightly sand them to smooth out the surface.
Display Proudly: Your custom coasters are now ready to use or gift! Enjoy seeing your children excitedly using their handmade creations.
The Simple Appeal of Custom Resin Coaster Crafts

Not only are these coasters beautiful, but the project also encourages creativity and fine motor skills. When kids mix colors or place decorative items into the resin, they practice coordination and focus. There’s a delightful cause-and-effect aspect to working with resin that pulls children in—they can see instant results from their creative choices. This activity is a great way to bond while also developing skills necessary for future crafting adventures!
Troubleshooting Common Issues
If something doesn’t go as planned, don’t worry! Here are a few tips to help:
Bubbles in the Resin: If bubbles form during mixing, gently warming the mixture can help. Run a lighter or heat gun over the surface to pop them before curing.
Incomplete Hardening: If your coasters feel tacky or soft, it could be due to improper mixing or measuring. Be sure to double-check your proportions next time.
Mistakes in Design: If you’re not happy with the look, remember that you can always sand it down and restart with a new layer of resin on top after the first one is set.
Easy Variations to Try
Here are some fun ideas to customize your coasters even more:
Seasonal Themes: Change the colors or inclusions to match different seasons—bright pastels for spring, warm tones for fall.
Nature-Inspired: Use small, pressed flowers or leaves for a lovely natural look.
Personalized Gifts: Incorporate initials or meaningful symbols using molds or stencils.
Glow-in-the-Dark: Add glow-in-the-dark powder to make coasters that light up at night.
Storing or Reusing This Project
After making the coasters, you might wonder about storage or reusing the materials. If you have leftover resin, it’s best to store it in a sealed container, but be aware it might not last for a long time once mixed. Cleaning up after this project is straightforward too; wipe down surfaces with paper towels and dispose of any used materials responsibly.
FAQs About Custom Resin Coaster Crafts
Is this project messy? It’s fairly easy to manage the mess. Just make sure to cover surfaces and prepare your workspace beforehand. A bit of planning goes a long way.
What age group is this suitable for? Kids aged 8 and up can handle most aspects, but younger children should have adult supervision especially during mixing and pouring of resin.
Can I use different molds? Absolutely! Silicone variety molds come in many shapes and designs which can add personality to your coasters.
What if I don’t have resin? If you need alternatives, you can explore options like air-dry clay for a different crafting project.
Will my coasters be waterproof? Once fully cured, resin coasters are water-resistant but avoid soaking them for extended periods.
Conclusion
There’s something incredibly rewarding about making resin coasters as a family project. Not only do they serve a functional purpose, but they also become keepsakes that capture creativity. If you’d like to explore similar crafts, you can check out this helpful resource on how to make craft resin coasters or dive into a fun challenge with how to create monogram epoxy coasters. Happy crafting!
PrintCustom Resin Coaster Crafts
Create beautiful and personalized resin coasters with this fun and engaging craft project for kids and families.
- Prep Time: 15 minutes
- Cook Time: 0 minutes
- Total Time: 120 minutes
- Yield: 4 coasters
- Category: Craft
- Method: Crafting
- Cuisine: N/A
- Diet: N/A
Ingredients
- Epoxy resin
- Hardener
- Mixing cups
- Stirring sticks
- Colorants or glitter (optional)
- Coaster molds
- A workspace covered with protective materials
Instructions
- Prepare your workspace: Lay down newspaper or a drop cloth to create a clean area for your project.
- Mix the resin: Pour the epoxy resin and hardener into a mixing cup according to the instructions and stir for about 3 minutes.
- Add color and glitter: If desired, add drops of colorant or sprinkle glitter into the resin mixture and stir thoroughly.
- Pour into molds: Carefully pour the mixture into your coaster molds, filling each one about halfway.
- Create designs: Use a toothpick or stick to swirl colors or add decorative items like dried flowers.
- Cure the coasters: Allow the resin to cure according to the instructions, usually for 24 hours.
- Demold your coasters: Gently remove the coasters from the molds after they are fully cured.
- Finishing touches: Lightly sand any sharp edges for a smooth surface.
- Display proudly: Your custom coasters are ready to use or gift!
Notes
Encourage creativity while creating these coasters! Adult supervision is recommended during mixing and pouring.
Nutrition
- Serving Size: 1 coaster
- Calories: 50
- Sugar: 0g
- Sodium: 0mg
- Fat: 0g
- Saturated Fat: 0g
- Unsaturated Fat: 0g
- Trans Fat: 0g
- Carbohydrates: 0g
- Fiber: 0g
- Protein: 0g
- Cholesterol: 0mg