

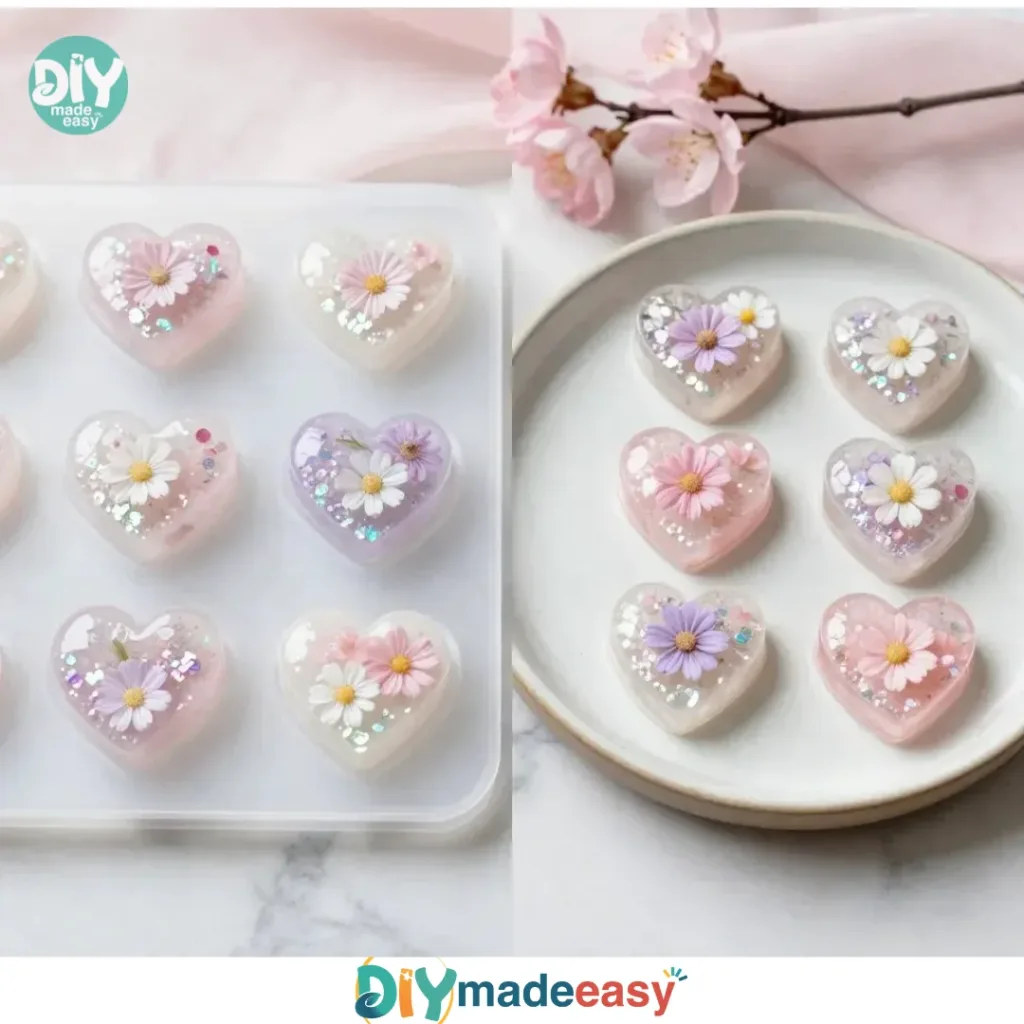
When the kids come racing into the living room on a busy afternoon, eager to create something special, DIY projects can truly become a lifesaver. One delightful choice that always brings smiles is the DIY Flower Heart Craft. This creative activity not only allows for hands-on fun but also lets kids express their artistic sides using beautiful blooms. By using simple materials and following easy steps, you’ll find that making a heart-shaped floral arrangement can become a cherished family moment. You may also find Diy Cornstarch Glass Floral Hearts Flowers useful.
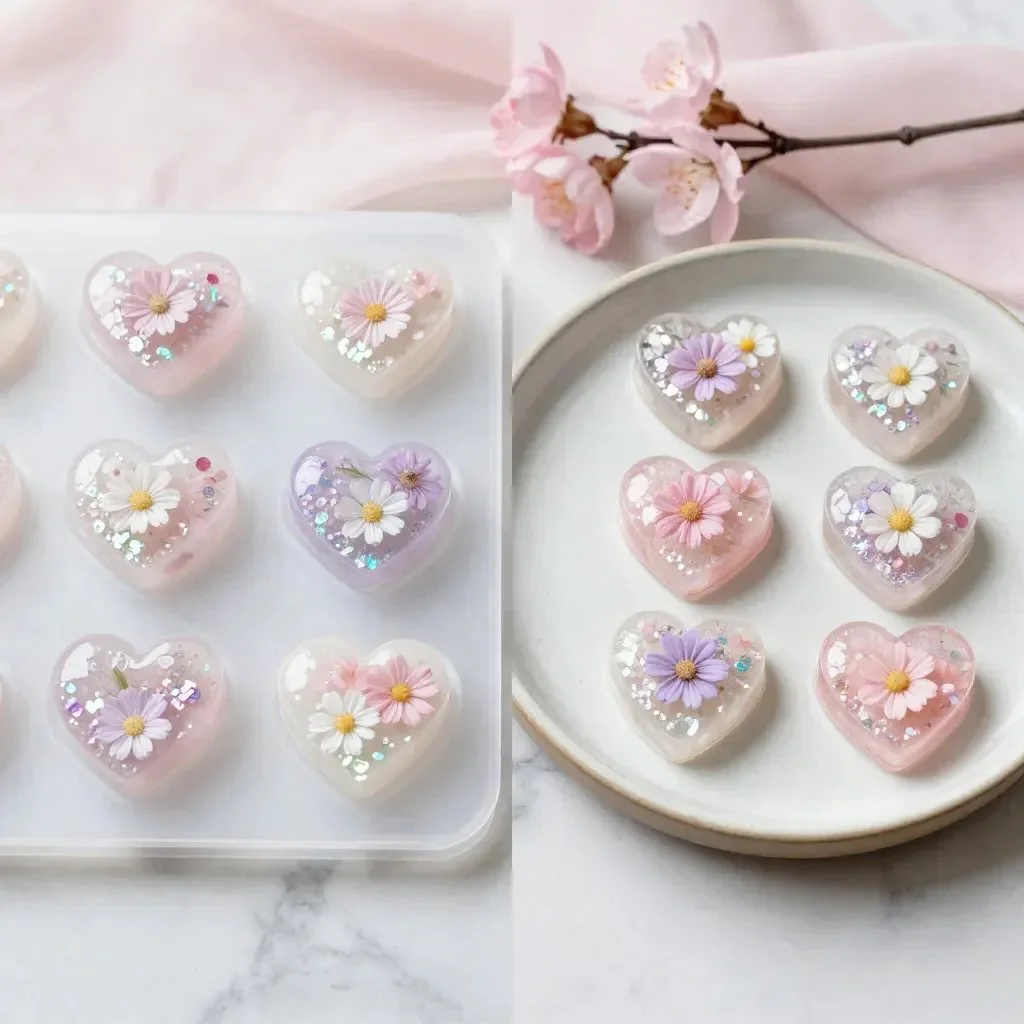
Why This DIY Flower Heart Craft Works So Well
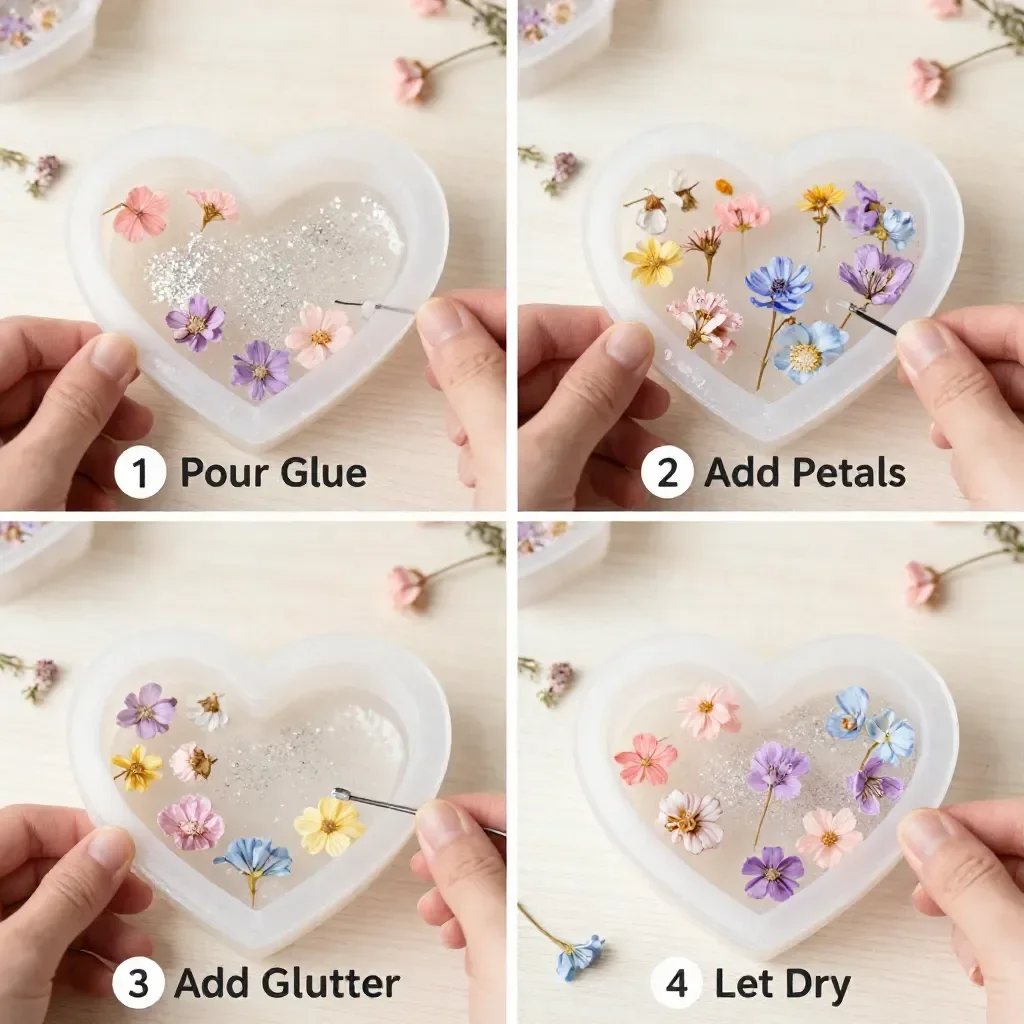
You may also find Crystal Heart Craft useful.
This DIY Flower Heart Craft is a wonderful project for families, as it involves minimal preparation yet offers maximum creative potential. The simplicity of the steps makes this craft accessible for children and reluctant crafters alike. You won’t need many materials, and most can be found right in your home, which keeps things low-prep and budget-friendly. Plus, the outcome is always rewarding; kids can see tangible results as their floral hearts come together beautifully. You may also find Diy Glass Bead Heart Suncatcher useful.
The Flow of Making DIY Flower Heart Craft
Before diving into the actual crafting, it’s helpful to take a moment to outline what the experience will look like. You can expect to set aside a manageable chunk of time depending on how elaborate your project will become. Overall, this activity shouldn’t feel overwhelming. The mess level is low since you will primarily work with flowers, wire, and a few other easy-to-handle materials. Parents can enjoy participating and guiding their little ones through the craft without needing to step into a strict instructional role. You may also find Glowing Flowers Diy useful.
Materials You’ll Need
Gather these essential materials to ensure a successful crafting session:
- Fresh or dried flowers (your favorites)
- Strong floral wire
- Wire cutters
- Floral tape
- Greenery (for added texture)
- A heart-shaped frame or cardboard cutout (optional)
- Hot glue gun (optional for added support)
- Ribbon (to finish the craft beautifully)
Most of these items are common household supplies or can be easily acquired from craft stores. The only potentially tricky item might be a heart-shaped frame, but don’t worry! You can create a sturdy base using cardboard if needed.
Step-by-Step Directions
Creating your DIY Flower Heart Craft is both straightforward and enjoyable. Here’s how to make it happen:
- Begin by selecting your flowers. Choose pieces that resonate with you, focusing on their colors and textures for a harmonious heart.
- If you’re using a heart-shaped frame, wrap floral wire around its edges to create a base for the flowers. If you opt for cardboard, leave the base bare.
- Trim your flowers to varying lengths, keeping in mind the visual balance of the arrangement.
- Securely attach your greenery first, starting from the bottom of your heart shape. Use floral tape or wire to keep everything in place.
- Layer your flowers, starting from the outside and moving toward the center, making sure to fill in gaps with smaller blooms.
- As you work, step back occasionally to assess your composition. Adjust the positioning of flowers for a harmonious blend.
- When satisfied with the arrangement, secure any loose pieces with a hot glue gun for added stability.
- Finish by adding a ribbon at the top, creating a loop for hanging, or simply for decoration.
This step-by-step guide will help you and your children enjoy the process. The tactile experience of handling flowers and arranging them will create fond memories and beautiful decorations.
The Learning Behind This DIY
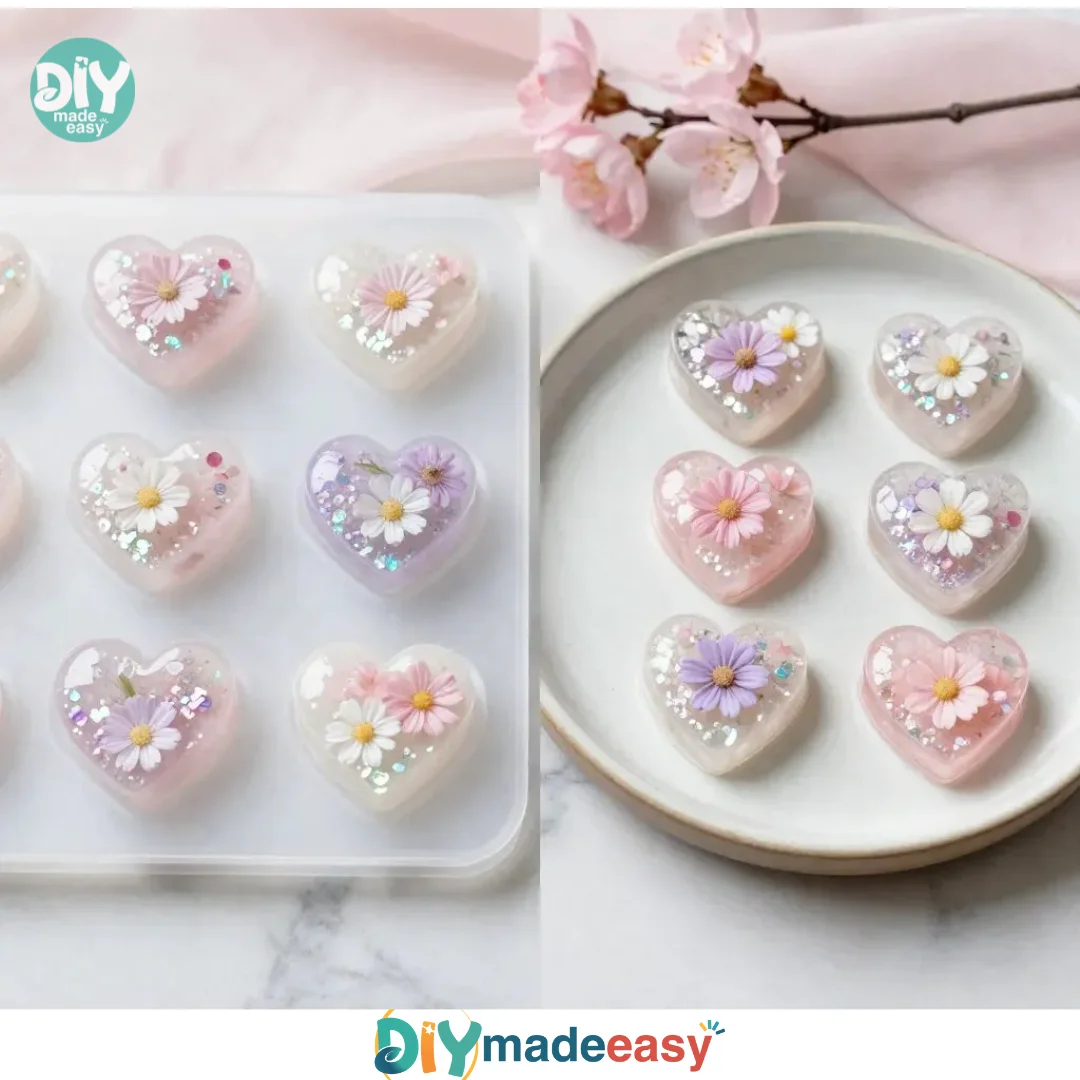
While your little ones engage in this creative project, they’re not just playing around—they’re also learning valuable skills. The process of arranging flowers fosters fine motor skills as they carefully cut and place each bloom. Kids practice coordination as they balance different elements and make adjustments for an aesthetically pleasing result. Furthermore, this craft presents a simple lesson in cause and effect, illustrating how placement can change the overall look of their creation.
Troubleshooting Common Issues
Sometimes, things might not go as planned, and that’s completely normal! If flowers seem to droop or the overall design doesn’t feel right, consider these common issues and their easy fixes. If certain blooms don’t seem to fit, simply reposition or replace them with smaller flowers. Keeping a few extra flowers on hand ensures you can easily fill in any gaps. If your greenery feels loose, reinforcing it with additional floral tape or wire can provide the support it needs.
Easy Variations to Try
If you’re feeling adventurous or your kids want to personalize their crowns further, here are a few variations to consider:
- Use a mix of fresh and dried flowers for added texture throughout different seasons.
- Introduce colors that represent a holiday or event, like reds and greens for Christmas.
- Participants of different ages can craft smaller hearts using more delicate flowers or create a larger arrangement as a family project.
- Incorporate decorative elements such as beads, ribbons, or even paints for a unique flair.
Storing or Reusing This Project
After the crafting session, you might wrangle with what to do next. Storing or reusing this project is simple. If you want to preserve the heart arrangement, allow it to air dry and hang it in a dry, cool place. You can also consider using a clear spray sealant to maintain the blooms for a longer duration. Cleanup involves tossing any unwanted plant materials into compost if you have it; this respects the environment while reducing waste.
FAQs About DIY Flower Heart Craft
How messy is this project?
The craft should be relatively clean, primarily involving floral materials. It’s a good idea to work on a surface that can handle a little mess, in case of any fallen petals or dirt.
Is this activity safe for kids of all ages?
This craft is suitable for children old enough to manipulate scissors and wire cutters safely, typically around age five and up, with close adult supervision.
What if I run out of flowers?
Don’t fret! Many types of flowers complement each other beautifully, so feel free to use a combination of what you have or run to the store for more. You can even use paper flowers in a pinch.
How can I store the project after finishing?
If you plan to preserve the flower heart, allow it to dry completely before putting it in a safe, dry place. Alternatively, enjoy it fresh for a while and then compost it when it begins to wilt.
A Final Helpful Note
This DIY Flower Heart Craft is more than just an activity; it’s a way for families to bond and create something special together. Remember to embrace the process and allow for flexibility in your designs. Confidence comes from trying something new, and every person’s touch brings richness to the final product.
Conclusion
To inspire even more creativity, you may want to explore a DIY Flower By Hearts Card Tutorial that complements your floral heart. Additionally, if you’re looking for a broader range of floral creations, check out this DIY Fresh Flower Heart Wreath for useful ideas! Enjoy creating together, and let your flowers express your love.
PrintDIY Flower Heart Craft
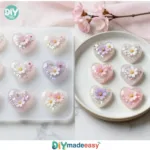
Create beautiful heart-shaped floral arrangements with this fun and engaging DIY project suitable for families.
- Prep Time: 10 minutes
- Cook Time: 0 minutes
- Total Time: 10 minutes
- Yield: 1 heart craft
- Category: Crafts
- Method: Handmade
- Cuisine: N/A
- Diet: N/A
Ingredients
- Fresh or dried flowers (your favorites)
- Strong floral wire
- Wire cutters
- Floral tape
- Greenery (for added texture)
- A heart-shaped frame or cardboard cutout (optional)
- Hot glue gun (optional for added support)
- Ribbon (to finish the craft beautifully)
Instructions
- Select your flowers. Choose pieces that resonate with you, focusing on their colors and textures for a harmonious heart.
- Wrap floral wire around the edges of the heart-shaped frame to create a base for the flowers. If using cardboard, leave the base bare.
- Trim your flowers to varying lengths, keeping in mind the visual balance of the arrangement.
- Attach your greenery first, starting from the bottom of your heart shape. Use floral tape or wire to keep everything in place.
- Layer your flowers, starting from the outside and moving toward the center, making sure to fill in gaps with smaller blooms.
- Step back occasionally to assess your composition. Adjust the positioning of flowers for a harmonious blend.
- Secure any loose pieces with a hot glue gun for added stability when satisfied with the arrangement.
- Finish by adding a ribbon at the top, creating a loop for hanging, or simply for decoration.
Notes
This craft is suitable for children aged five and up with close adult supervision. Embrace flexibility in designs for unique creations.
Nutrition
- Serving Size: 1 craft
- Calories: 0
- Sugar: 0g
- Sodium: 0mg
- Fat: 0g
- Saturated Fat: 0g
- Unsaturated Fat: 0g
- Trans Fat: 0g
- Carbohydrates: 0g
- Fiber: 0g
- Protein: 0g
- Cholesterol: 0mg