

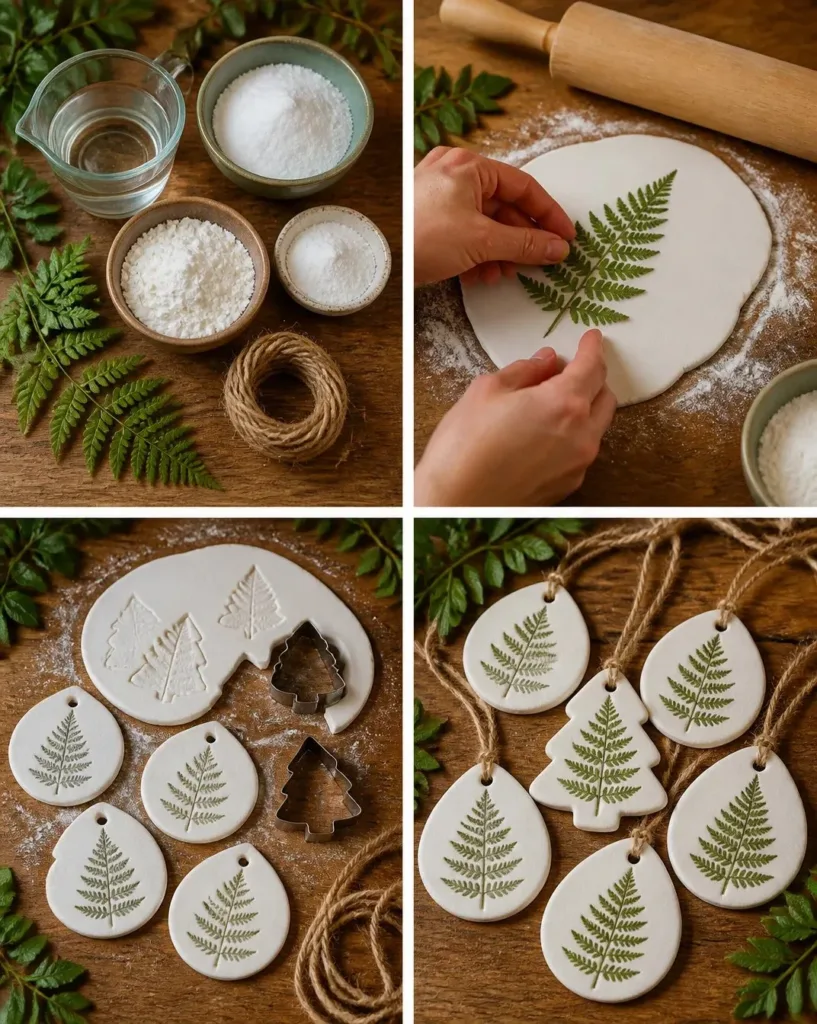
A busy afternoon might find you and your kids searching for a quick and enjoyable project to keep their hands busy. When looking for fun activities that require minimal setup and can transform everyday items into delightful creations, try the DIY Cornstarch Leaf Ornaments: Step-by-Step Tutorial. Crafting these beautiful leaf ornaments not only engages their creative minds but also offers a fun way to spend time together while embracing the beauty of nature. You may also find Diy Beaded Snail Craft Step By Step Tutorial useful.
Why You’ll Love Making DIY Cornstarch Leaf Ornaments: Step-by-Step Tutorial
You may also find How To Create Transparent Cornstarch Heart Charms Diy Tutorial useful.
This DIY project is perfect for families because it is low-prep and straightforward. You’ll find that the materials needed are likely to be at hand, making it easy to start without delaying your plans. Kids love working with soft dough and real leaves, and this project allows for creativity while staying simple and approachable. That’s the beauty of making these ornaments; they can fit seamlessly into busy schedules, offering a sense of accomplishment without the stress of complicated procedures. You may also find How To Make Rainbow Leaf Hedgehog Diy Craft Tutorial useful.
A Quick Look Before You Begin
Before you dive in, here’s a calm overview of what to expect during your crafting session. You’ll set aside approximately 30 minutes to an hour for the entire process, including drying time. You’ll only need a few supplies and a little countertop space, so set up in your kitchen or dining area to keep things manageable. This project can be done with minimal mess, especially if you lay down a tablecloth or some newspaper. Adult supervision will be necessary during the cooking stage but let the kids take the lead when it comes to rolling and impressing their leaves. You may also find Rainbow Leaf Hedgehog Craft Diy Tutorial useful.
Materials You’ll Need
To create your beautiful cornstarch leaf ornaments, gather the following materials:
- 1 cup baking soda
- Common household item
- 1/2 cup cornstarch
- A standard pantry staple
- 3/4 cup water
- Easy to measure
- Small leaves
- Gathered from your yard or nearby parks
- Twine
- Optional, for hanging your finished ornaments
These materials combine to create a soft dough that’s perfect for molding and impressing your favorite leaves.
Step-by-Step Directions
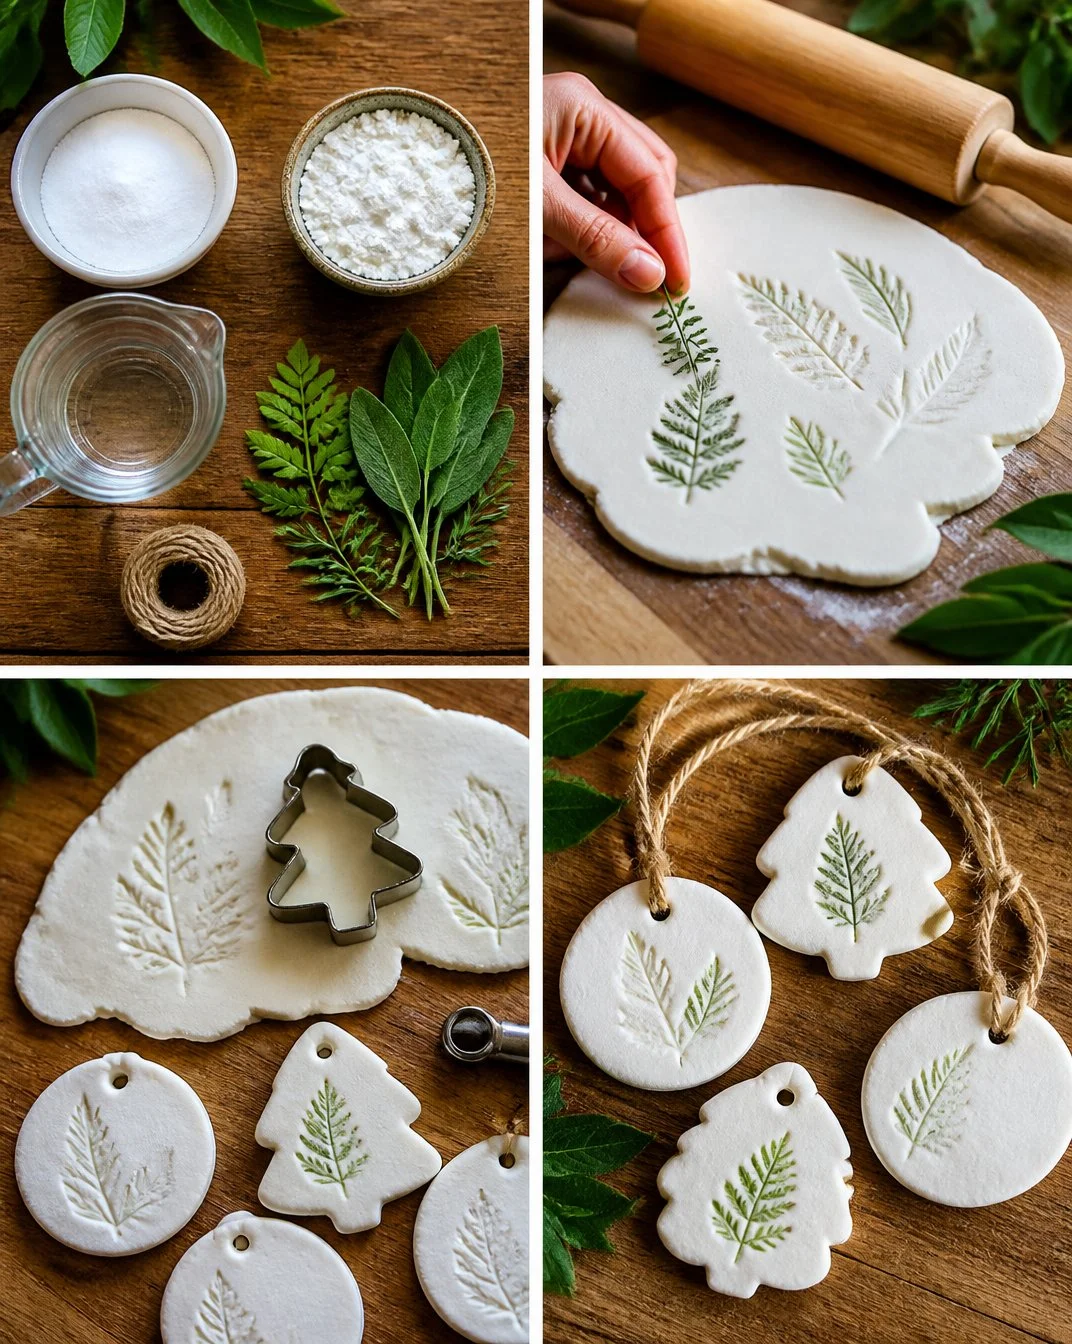
Combine Ingredients: Start by mixing 1 cup of baking soda, 1/2 cup of cornstarch, and 3/4 cup of water in a medium saucepan. Stir until the mixture is smooth.
Cook Mixture: Place the saucepan over medium-low heat. Continuously stir the mixture until it thickens into a soft dough. This will usually take about 5-10 minutes. Keep an eye on it to prevent burning.
Cooling Time: Once you have your dough, remove it from heat and allow it to cool until it is comfortable to handle. This could take around 10-15 minutes.
Rolling the Dough: On a clean surface, sprinkle a little cornstarch to prevent sticking, and roll out the dough to about 1/4 inch thick using a rolling pin.
Create Impressions: Take your small leaves and press them firmly into the surface of the dough to create botanical impressions. Carefully lift them away to reveal your design.
Cut Out Shapes: Use cookie cutters or a knife to cut the dough into ornament shapes. Make sure to create a small hanging hole near the top of each one.
Drying: Place your cut-out ornaments on a baking sheet lined with parchment paper or directly on the counter. Allow them to dry completely, which may take up to 24 hours.
Final Touch: Once dry, thread twine through the holes and hang your beautiful creations.
The Learning Behind This DIY
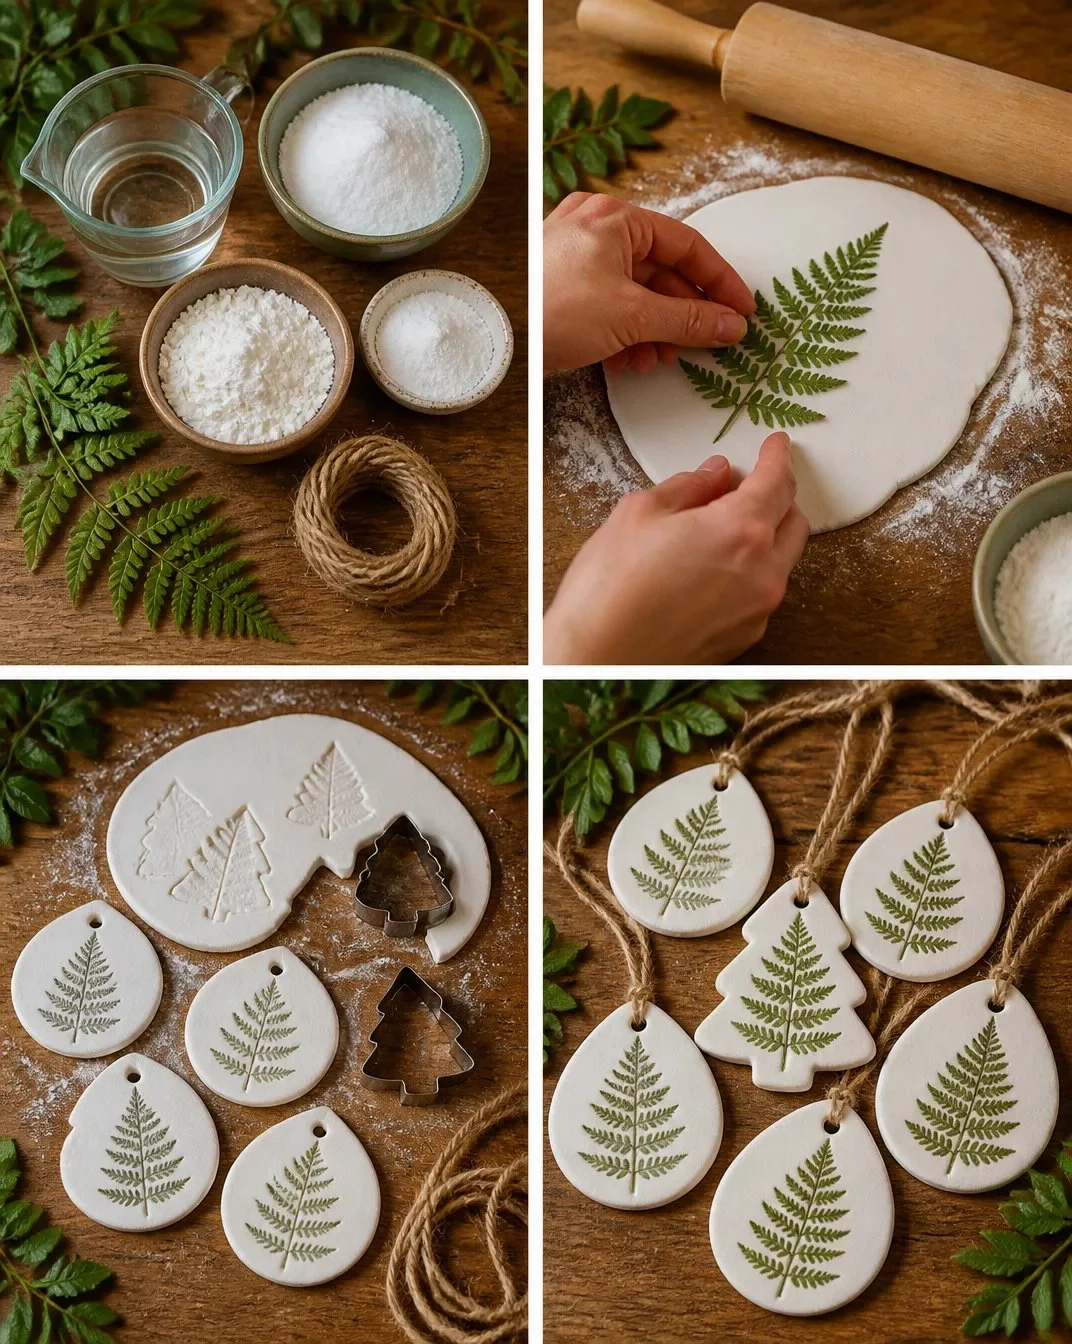
While making these cornstarch leaf ornaments, children are practicing valuable skills without even realizing it! They’re engaging in fine motor activities, as the rolling, pressing, and cutting require control and coordination. Additionally, this project introduces them to basic science concepts, such as change of state when the mixture is heated. It’s a delightful way to combine art and learning, allowing kids to explore creativity while developing practical skills.
Troubleshooting Common Issues
If something doesn’t go as planned, don’t worry! Here are a few common issues and simple fixes.
- Dough Too Sticky: If your dough sticks to your hands or the surface while rolling, simply sprinkle a bit more cornstarch to help with the consistency.
- Impressions Not Clear: Ensure you press the leaves firmly into the dough to get a lasting impression. If impressions are fuzzy, try rolling the dough thinner.
- Cracks When Drying: If you notice cracks forming during the drying process, it could be that the ornaments were too thick. For future batches, aim for 1/4 inch or thinner.
Easy Variations to Try
Consider experimenting with different approaches to the project. Here are a few simple variations:
- Add Color: Before rolling out your dough, you can mix in some food coloring to give your ornaments a vibrant touch.
- Seasonal Themes: Use seasonal leaves and shapes. For instance, maple leaves for autumn or flowers for spring.
- Air Fresheners: Add a few drops of essential oils to the dough before shaping to create scented ornaments for your home.
Storing or Reusing This Project
Once you finish crafting, think about how to store leftover materials or completed projects. It’s best to keep unused dough sealed in an airtight container at room temperature for future use. The ornaments themselves can last a long time if kept in a cool, dry place. Consider hanging them on decor or incorporating them into seasonal displays.
FAQs About DIY Cornstarch Leaf Ornaments: Step-by-Step Tutorial
Is this project going to make a mess?
While some flour can get on the counter during the rolling, it’s manageable. Just have a damp cloth handy for quick cleanup afterward.
What’s the ideal age range for kids to do this activity?
Kids as young as four can participate with supervision, but older kids might enjoy the independence of making the ornaments on their own.
Can we substitute ingredients?
If you don’t have cornstarch, you can try using flour, but this may change the texture.
How long will the ornaments last?
Properly dried and stored ornaments can last for years! Treat them with care to preserve your beautiful creations.
What’s the best way to display the ornaments?
These ornaments can be hung from trees, used as gift tags, or simply displayed in a lovely bowl.
Conclusion
Crafting projects like the DIY Cornstarch Leaf Ornaments can be a joyful way to engage with nature and your creative side. They blend simplicity with fun, allowing anyone to make beautiful reminders of the changing seasons. For more delightful Thanksgiving ideas, check out The Great Pumpkin Pie Recipe. If you’re looking for a different kind of creative project, consider making a DIY Mini Clay Star Garland as well. Enjoy creating!
PrintDIY Cornstarch Leaf Ornaments
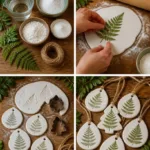
Engage your kids in a fun and easy crafting project with these delightful cornstarch leaf ornaments, perfect for embracing nature’s beauty.
- Prep Time: 10 minutes
- Cook Time: 10 minutes
- Total Time: 40 minutes
- Yield: 8 ornaments 1x
- Category: Craft
- Method: Crafting
- Cuisine: N/A
- Diet: N/A
Ingredients
- 1 cup baking soda
- 1/2 cup cornstarch
- 3/4 cup water
- Small leaves (gathered from your yard or nearby parks)
- Twine (optional, for hanging)
Instructions
- Combine the baking soda, cornstarch, and water in a medium saucepan and stir until smooth.
- Cook the mixture over medium-low heat, stirring continuously until it thickens into a soft dough (about 5-10 minutes).
- Remove from heat and allow to cool for 10-15 minutes.
- Roll out the dough on a clean surface to about 1/4 inch thick.
- Press the small leaves into the dough to create impressions.
- Cut shapes using cookie cutters or a knife and make a small hanging hole.
- Dry the ornaments on a baking sheet for up to 24 hours.
- Thread twine through the holes and hang your creations.
Notes
Adult supervision is recommended during the cooking stage. This project is best done with minimal mess, so consider laying down a tablecloth.
Nutrition
- Serving Size: 1 ornament
- Calories: 50
- Sugar: 0g
- Sodium: 5mg
- Fat: 0g
- Saturated Fat: 0g
- Unsaturated Fat: 0g
- Trans Fat: 0g
- Carbohydrates: 13g
- Fiber: 0g
- Protein: 0g
- Cholesterol: 0mg