

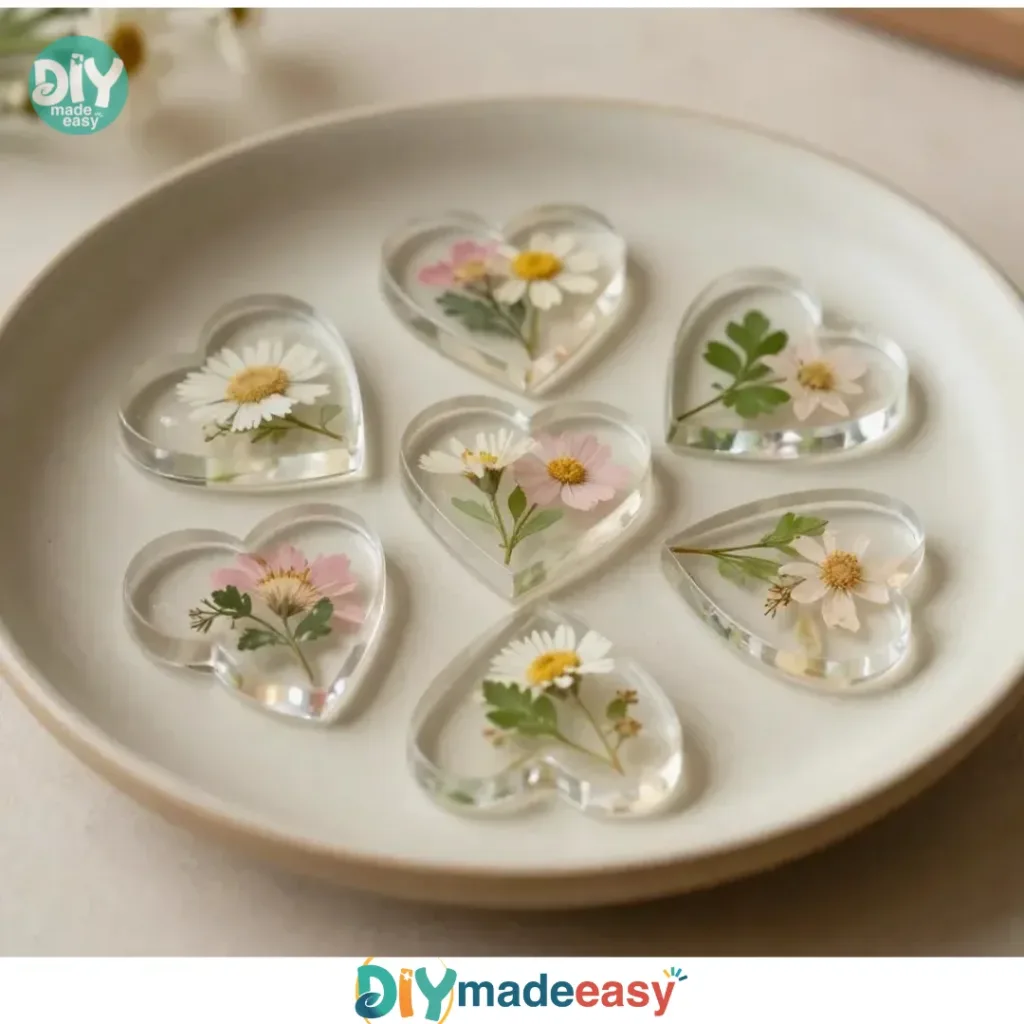
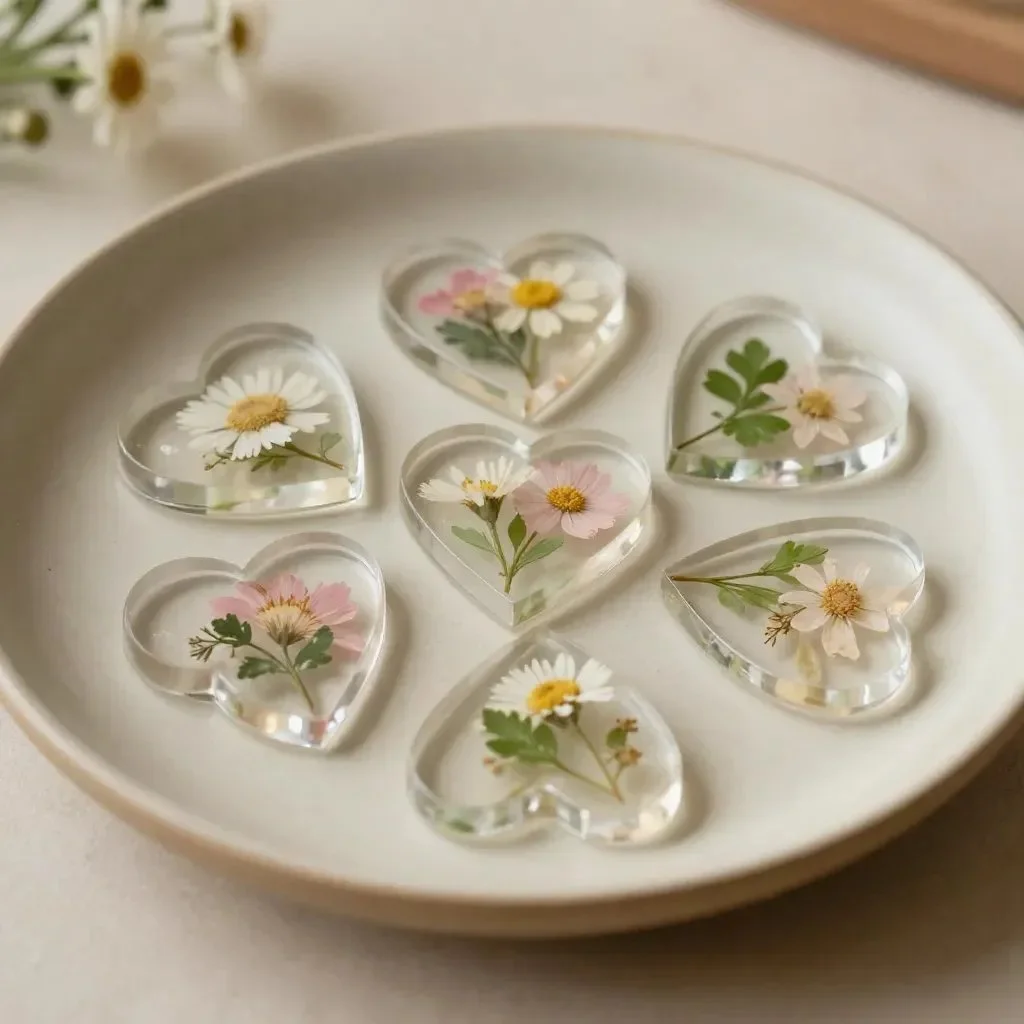
Making something together can often ignite creativity, especially during a busy afternoon when kids are looking for a fun project. Sometimes, all it takes is a quick kitchen setup and a few simple ingredients to create something beautiful and expressive. One of those delightful projects is making DIY Cornstarch Glass Floral Hearts and Flowers. It’s not only a fun activity but also an opportunity for kids and adults alike to engage with materials in a creative way. You may also find Diy Cornstarch Glass Floral Hearts Flowers useful.
Why You’ll Love Making DIY Cornstarch Glass Floral Hearts and Flowers
You may also find Cornstarch And Dish Soap Bubble Dough useful.
This project works so well because it requires minimal preparation and materials. With just a few items found in many kitchens, you can create beautiful pieces of art. The tactile nature of the process allows for hands-on exploration, which is rewarding for both children and adults. The reliability of the ingredients means you can feel confident that the project will turn out, making it perfect for real-life schedules. There’s something magical about the transformation from simple homemade dough to beautiful floral shapes that brightens up a room or makes for a thoughtful gift. You may also find Cornstarch Bioplastic Pressed Flowers Recipe useful.
A Quick Look Before You Begin
Before diving into the fun, let’s take a moment to overview how this DIY comes together. The project requires a bit of time for drying, so plan for 24 to 48 hours before the finished pieces are ready to be enjoyed. The setup is uncomplicated; you’ll need a mixing bowl, a spatula, and molds. On the mess scale, this DIY falls nicely on the low end—great for doing with kids. Adult supervision might be handy, especially for stirring and handling any small spills, but overall, it’s very approachable. You may also find Cornstarch Bioplastic Pressed Flowers useful.
Materials You’ll Need
1 cup cornstarch
1/2 cup clear glue
Water (as needed)
Food coloring (optional)
Floral molds or heart shapes (common household item)
Having these materials ready will allow you to jump into the fun as quickly as possible. The cornstarch is easy to find, and the clear glue is likely already in your crafting supplies. If you want to add a colorful twist, the food coloring is optional, letting you personalize your creations.
Step-by-Step Directions
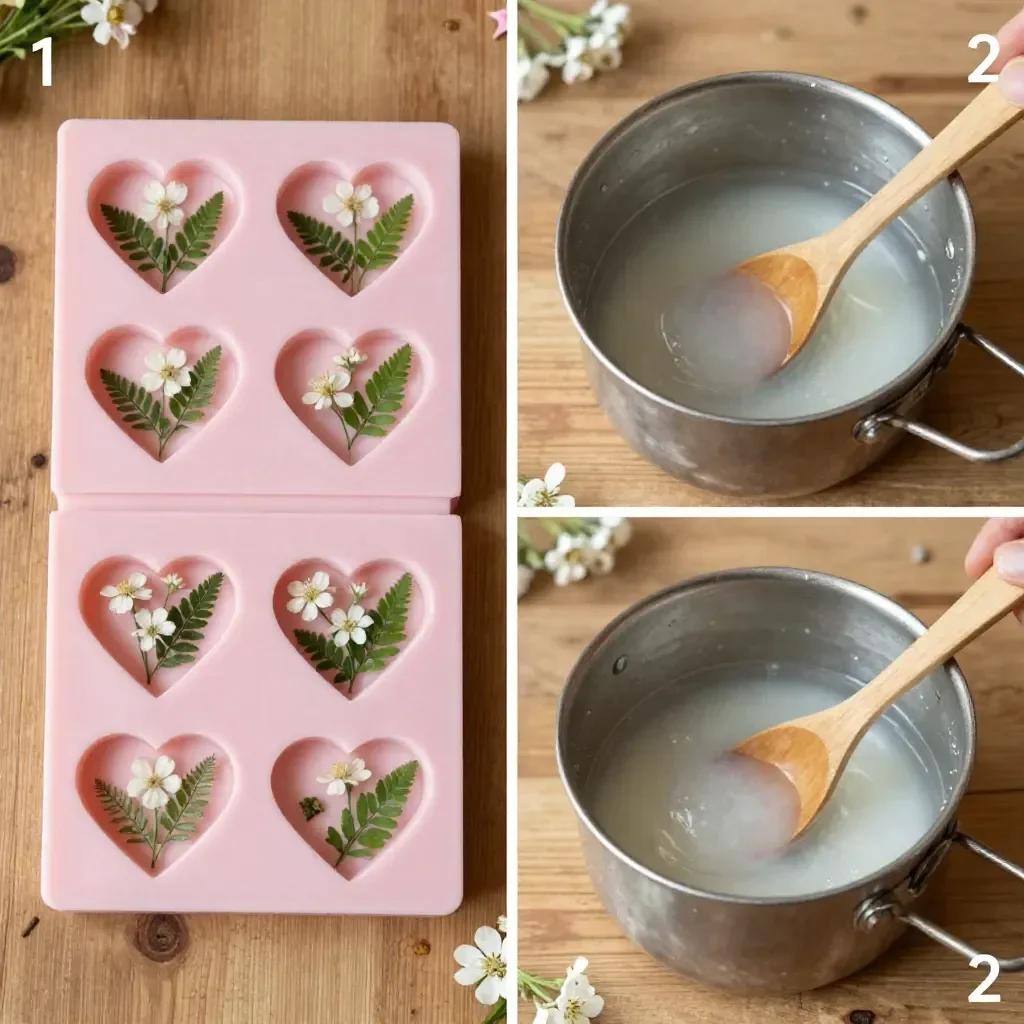
In a mixing bowl, combine 1 cup of cornstarch and 1/2 cup of clear glue. Pour in a small amount of water to help blend the two ingredients. This initial mixing is crucial as it forms the base of your dough, and you want it well-combined.
Use your hands or a spatula to mix until smooth, resembling dough. Don’t worry if it feels a touch sticky at first; that’s normal. Just keep blending until it’s a consistent texture.
If desired, knead in food coloring until you reach the desired shade. This is a fun part where kids can experiment with colors, mixing to create unique shades.
Press a portion of the mixture into your molds tightly to avoid air pockets. Make sure to pack it in firmly, as this ensures your shapes hold well after drying.
Place the molded shapes on a flat surface to dry for 24 to 48 hours. Depending on the environment, like humidity, this might take a little longer, but it’s worth the wait.
Once dry, gently remove them from the molds and refine edges with fine sandpaper if needed. This final touch can make a big difference in the look of your floral hearts and flowers.
What Kids Practice While Making This
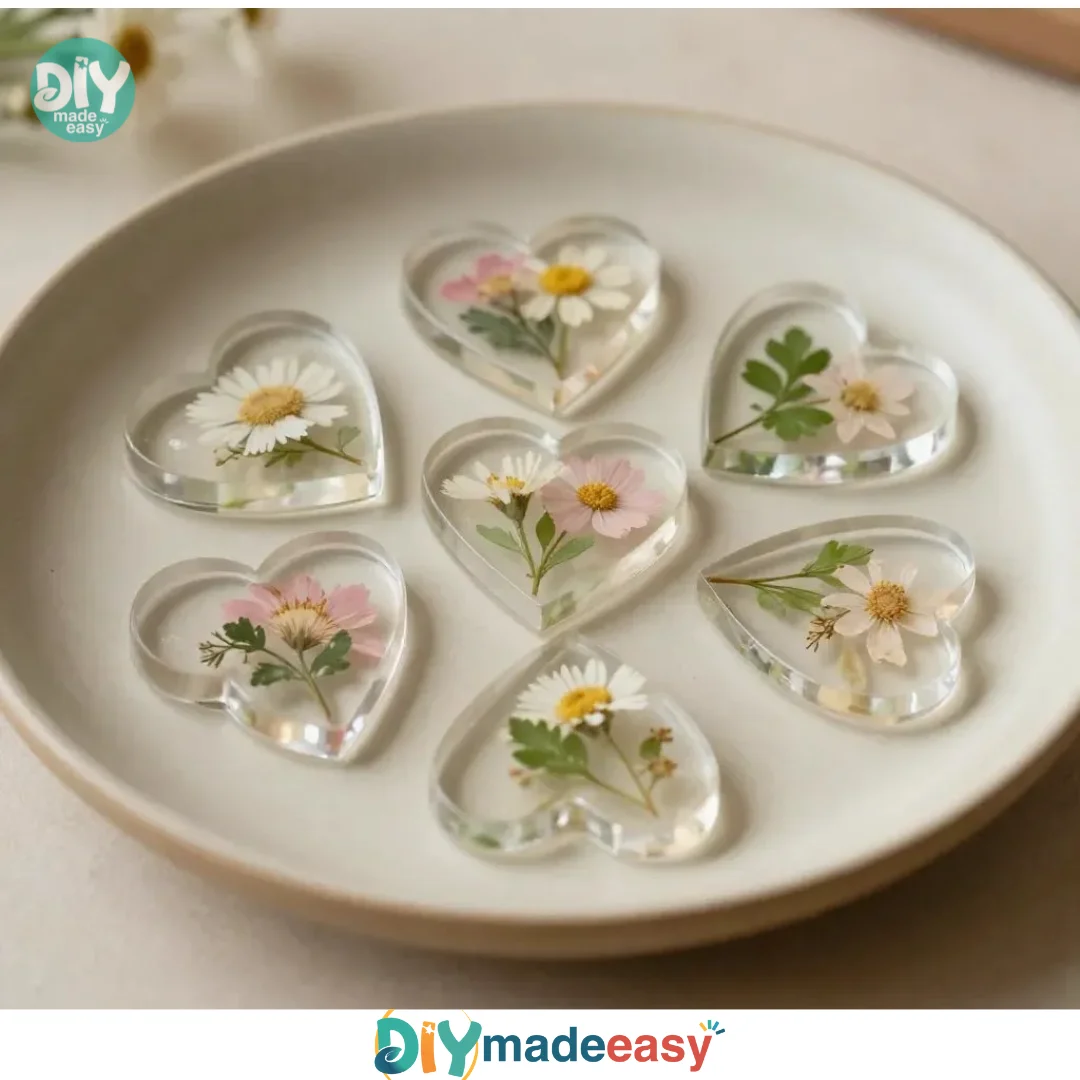
While crafting DIY Cornstarch Glass Floral Hearts and Flowers, children engage various skills like fine motor coordination as they mix, knead, and mold the dough. This project also offers a practical application of basic science concepts, like the reaction between glue and cornstarch, demonstrating how solids and liquids can combine to form a new material. They learn about patience while waiting for the creations to dry and enjoy the cause-and-effect relationship between their actions and the final product.
Troubleshooting Common Issues
If you find that your mixture is too dry, it’s likely because not enough water was added. Just add a bit more water gradually until the texture feels right. If the pieces crack while drying, it might be due to overly quick drying in a warm area. You can cover them gently with a cloth to slow the process or simply ensure that they dry in a cooler part of the house.
Easy Variations to Try
You can enhance this project by trying different molds, experimenting with layering colors, or adding glitter for a sparkly effect. Kids can also create themed shapes based on seasons or holidays, like pumpkins for fall or stars for nighttime projects. Another fun idea is to use cookie cutters shaped like different animals and creatures.
Storing or Reusing This Project
After the creations are complete and fully dried, they make lovely decorations or gifts. If you’re looking at potentially reusing the materials, store any leftover dough in airtight containers if it hasn’t been molded yet. Cleanup is simple; just wipe down surfaces and wash mixing bowls with warm soapy water.
FAQs About DIY Cornstarch Glass Floral Hearts and Flowers
Q: How messy is this project?
A: This DIY is fairly low-mess, but some cornstarch dust may escape while mixing. Just place a mat under your workspace for easy cleanup.
Q: Are the materials safe for children to use?
A: Yes, all the materials used are safe for kids, especially when supervised during the mixing and handling stages.
Q: Can I use different colors in the dough?
A: Absolutely! You can knead in various colors to create swirls or pattern designs.
Q: What if I don’t have clear glue?
A: White glue can work as a substitute, but it may result in a slightly different finish.
Q: How can I store my pieces after they are dried?
A: Dried pieces can be displayed as is or stored in a cool, dry place to prevent moisture, ensuring they last longer.
Conclusion
With creativity and a few household supplies, making DIY Cornstarch Glass Floral Hearts and Flowers becomes a joyful activity for families. Not only do these projects foster important skills in children, but they also lead to the creation of beautiful art pieces. For more in-depth floral projects, consider exploring Eggshell Extract or WCA. Additionally, if you’re interested in trying out a comforting dessert after your crafts, check out this Lebanese Rice Pudding recipe perfect for a wholesome family treat.
PrintDIY Cornstarch Glass Floral Hearts and Flowers
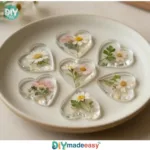
A fun and easy project for kids and adults to create beautiful floral shapes using cornstarch and glue.
- Prep Time: 15 minutes
- Cook Time: 0 minutes
- Total Time: 1440 minutes
- Yield: Varies
- Category: Craft
- Method: Crafting
- Cuisine: N/A
- Diet: N/A
Ingredients
- 1 cup cornstarch
- 1/2 cup clear glue
- Water (as needed)
- Food coloring (optional)
- Floral molds or heart shapes
Instructions
- Combine 1 cup of cornstarch and 1/2 cup of clear glue in a mixing bowl. Add a small amount of water to help blend.
- Mix until smooth, resembling dough. If sticky, keep blending until consistent.
- Knead in food coloring until desired shade is achieved.
- Press a portion of the mixture tightly into molds to avoid air pockets.
- Place molded shapes on a flat surface to dry for 24 to 48 hours.
- Remove them gently from the molds and refine edges with fine sandpaper if needed.
Notes
This project is low-mess and perfect for kids with adult supervision. Different molds and colors can enhance creativity.
Nutrition
- Serving Size: 1 piece
- Calories: 50 (per piece, approx.)
- Sugar: 0g
- Sodium: 0mg
- Fat: 0g
- Saturated Fat: 0g
- Unsaturated Fat: 0g
- Trans Fat: 0g
- Carbohydrates: 12g
- Fiber: 0g
- Protein: 0g
- Cholesterol: 0mg