

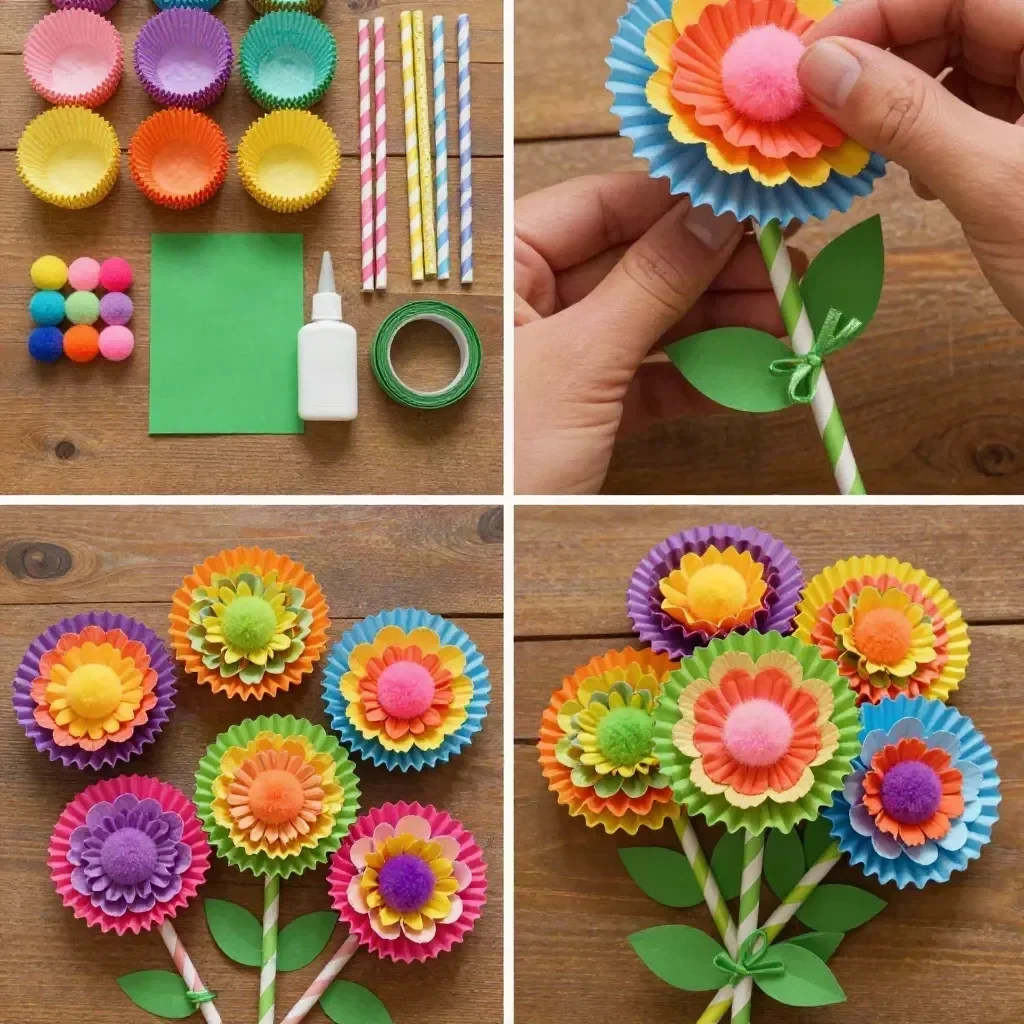
Colorful Cupcake-Liner Flower Bouquet can turn an ordinary afternoon into a delightful crafting experience. Picture this: it’s a busy day, and the kids are eager to create something vibrant and fun right now. This simple DIY project harnesses everyday materials to produce beautiful handmade flowers, perfect for brightening up a room or giving as a thoughtful gift. By using colorful cupcake liners, we’re tapping into a creative outlet that not only fulfills that spontaneous urge to make but also promises an enjoyable time for everyone involved. You may also find Diy Sunflower Wreath Colorful Cupcake Liners useful.
Why This Colorful Cupcake-Liner Flower Bouquet Works So Well
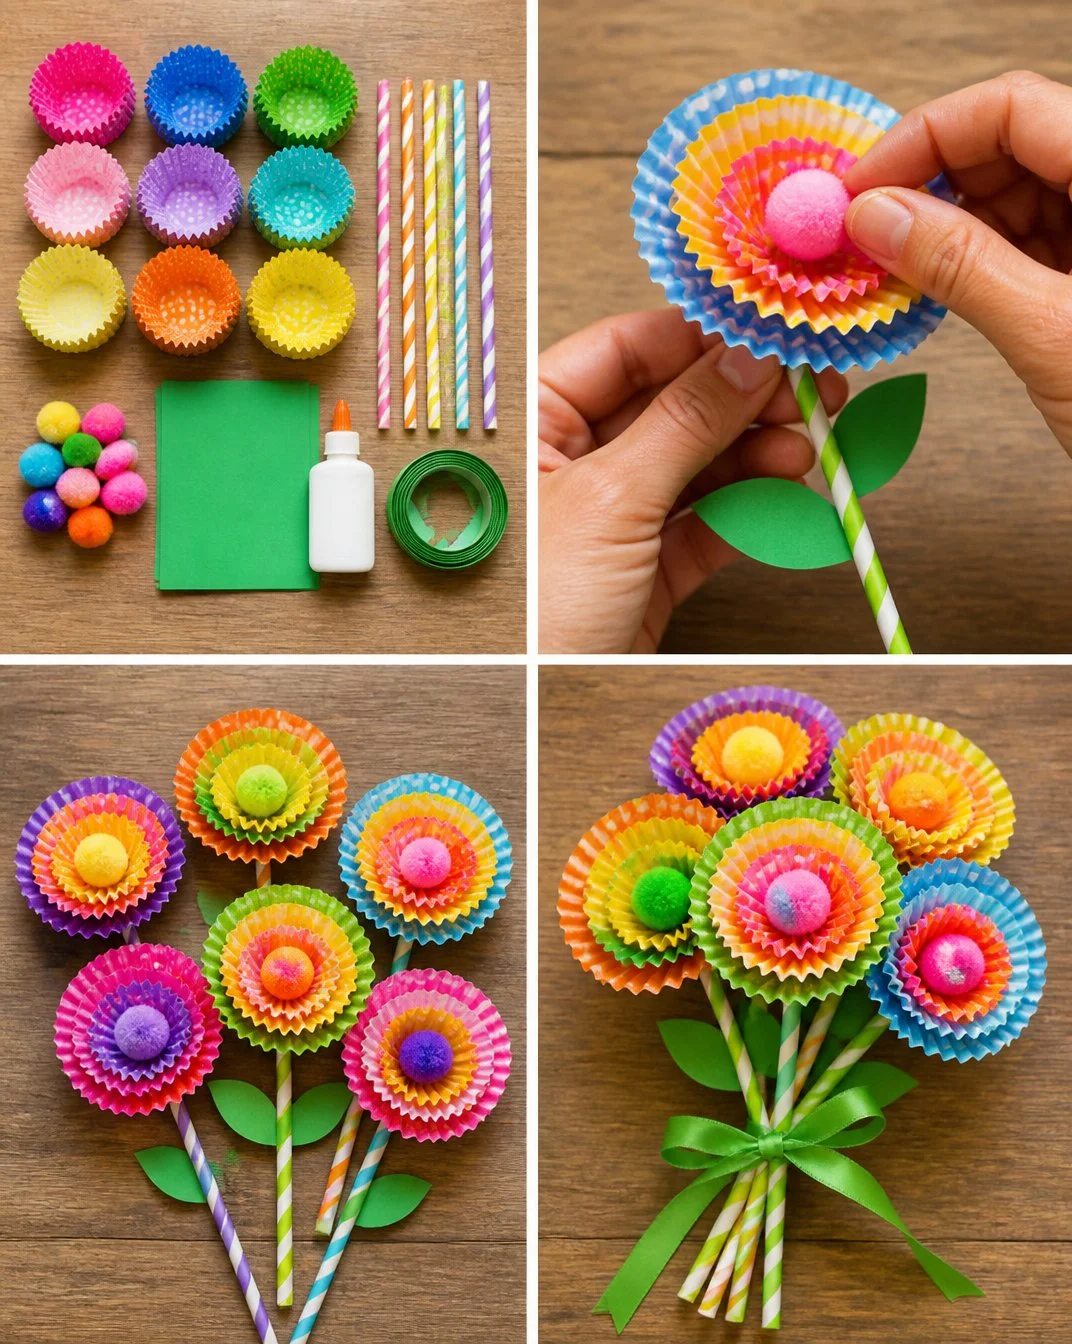
This project shines because it’s low-prep and incredibly approachable. Gathering supplies takes just a few moments, and the crafting process flows smoothly, making it suitable for all ages. You might find that working with cupcake liners opens up a world of possibilities, stirring up excitement and imagination. Plus, the reliable steps ensure that your creations will turn out beautifully and can even be adjusted to the skill levels of different participants. Whether you’re juggling a family schedule or just looking for a quick afternoon activity, this project easily fits right in without feeling overwhelming. You may also find Diy Tropical Flower Bouquet Rainbow Cupcake Liners useful.
A Quick Look Before You Begin
Before diving in, let’s take a moment to set the scene. You’ll want to gather everything in one place, ideally at a large table or even on the living room floor. The setup is minimal, with only a few materials to keep track of. Expect a low mess level, mainly consisting of glue and paper trimmings. While kids dive into the fun, it’s great for them to gain hands-on experience while adults can lend a hand when assistance is needed. This project is not just about making flowers; it’s about creating memories together! You may also find Colorful Flower Garden Decor Rainbow Painted Rocks useful.
Materials You’ll Need
- 18 colorful cupcake liners
- 6 paper straws
- 6 pom-poms
- Green cardstock
- Glue
- Ribbon
You probably have most of these materials at home already, making this an easy project to undertake. The cupcake liners and pom-poms are common household items, while the cardstock and glue are often found in craft supplies. The ribbon is optional but can add a thoughtful finishing touch to your bouquet. You may also find Colorful Rainbow Cupcake Liner Hydrangeas useful.
Step-by-Step Directions
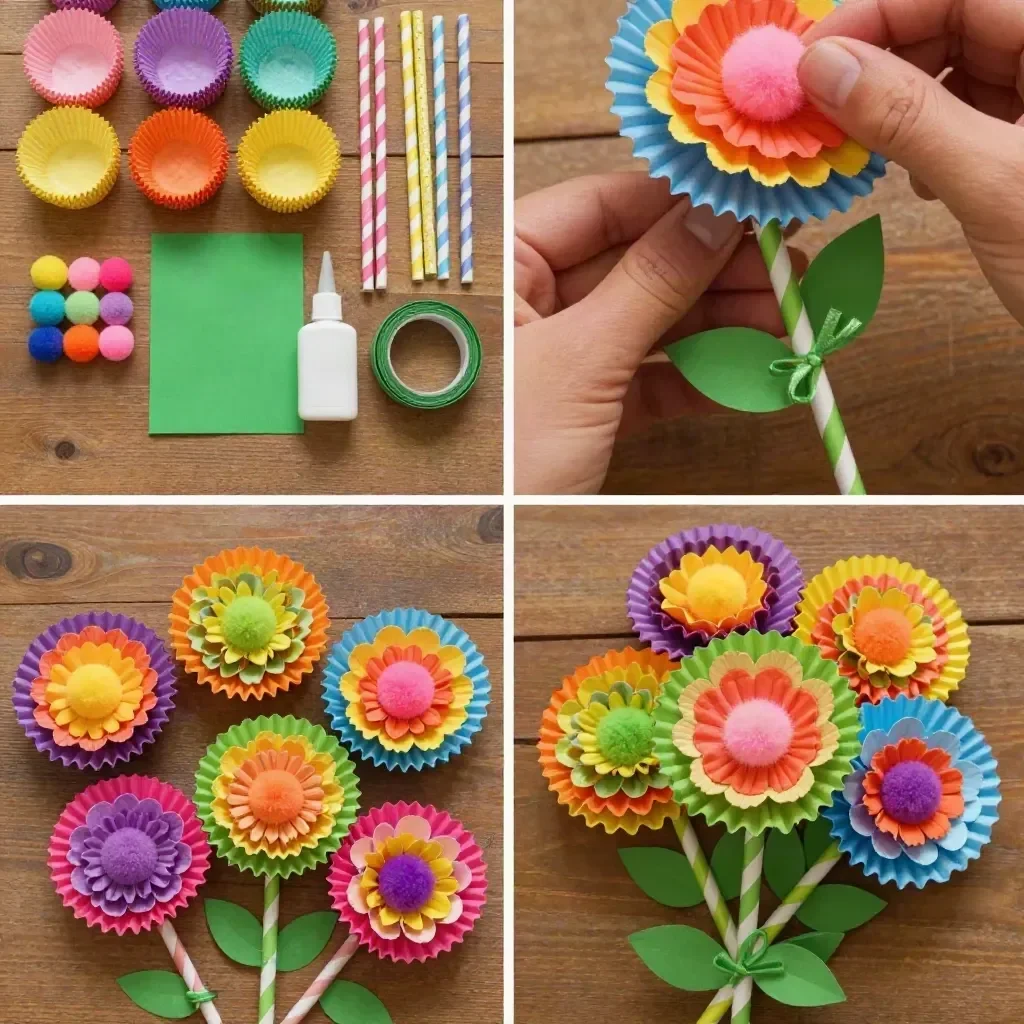
Start by taking three cupcake liners in different colors. Stack them together to create the flower’s petals. You’ll want to choose colors that complement each other for a pleasing effect.
Once your liners are stacked, apply glue to the center of the stacked cupcake liners and press down firmly. Take a moment to ensure they adhere well; this will be the base of your flower.
Next, place a pom-pom in the center of your layered cupcake liners and glue it down firmly. This adds a fun pop of texture and color to the flower’s heart.
Now it’s time to attach the flower to a paper straw. Glue the bottom of the flower to the straw and hold it in place for a few seconds until the glue sets.
For an extra touch, cut out leaf shapes from the green cardstock. Glue these leaf shapes to the straw below your flower, giving your creation a more natural appearance.
Once you’ve made all six flowers, gather them together and tie them with a ribbon. Adjust the arrangement as needed to create a beautiful bouquet that you’ll be proud to display.
The Learning Behind This DIY
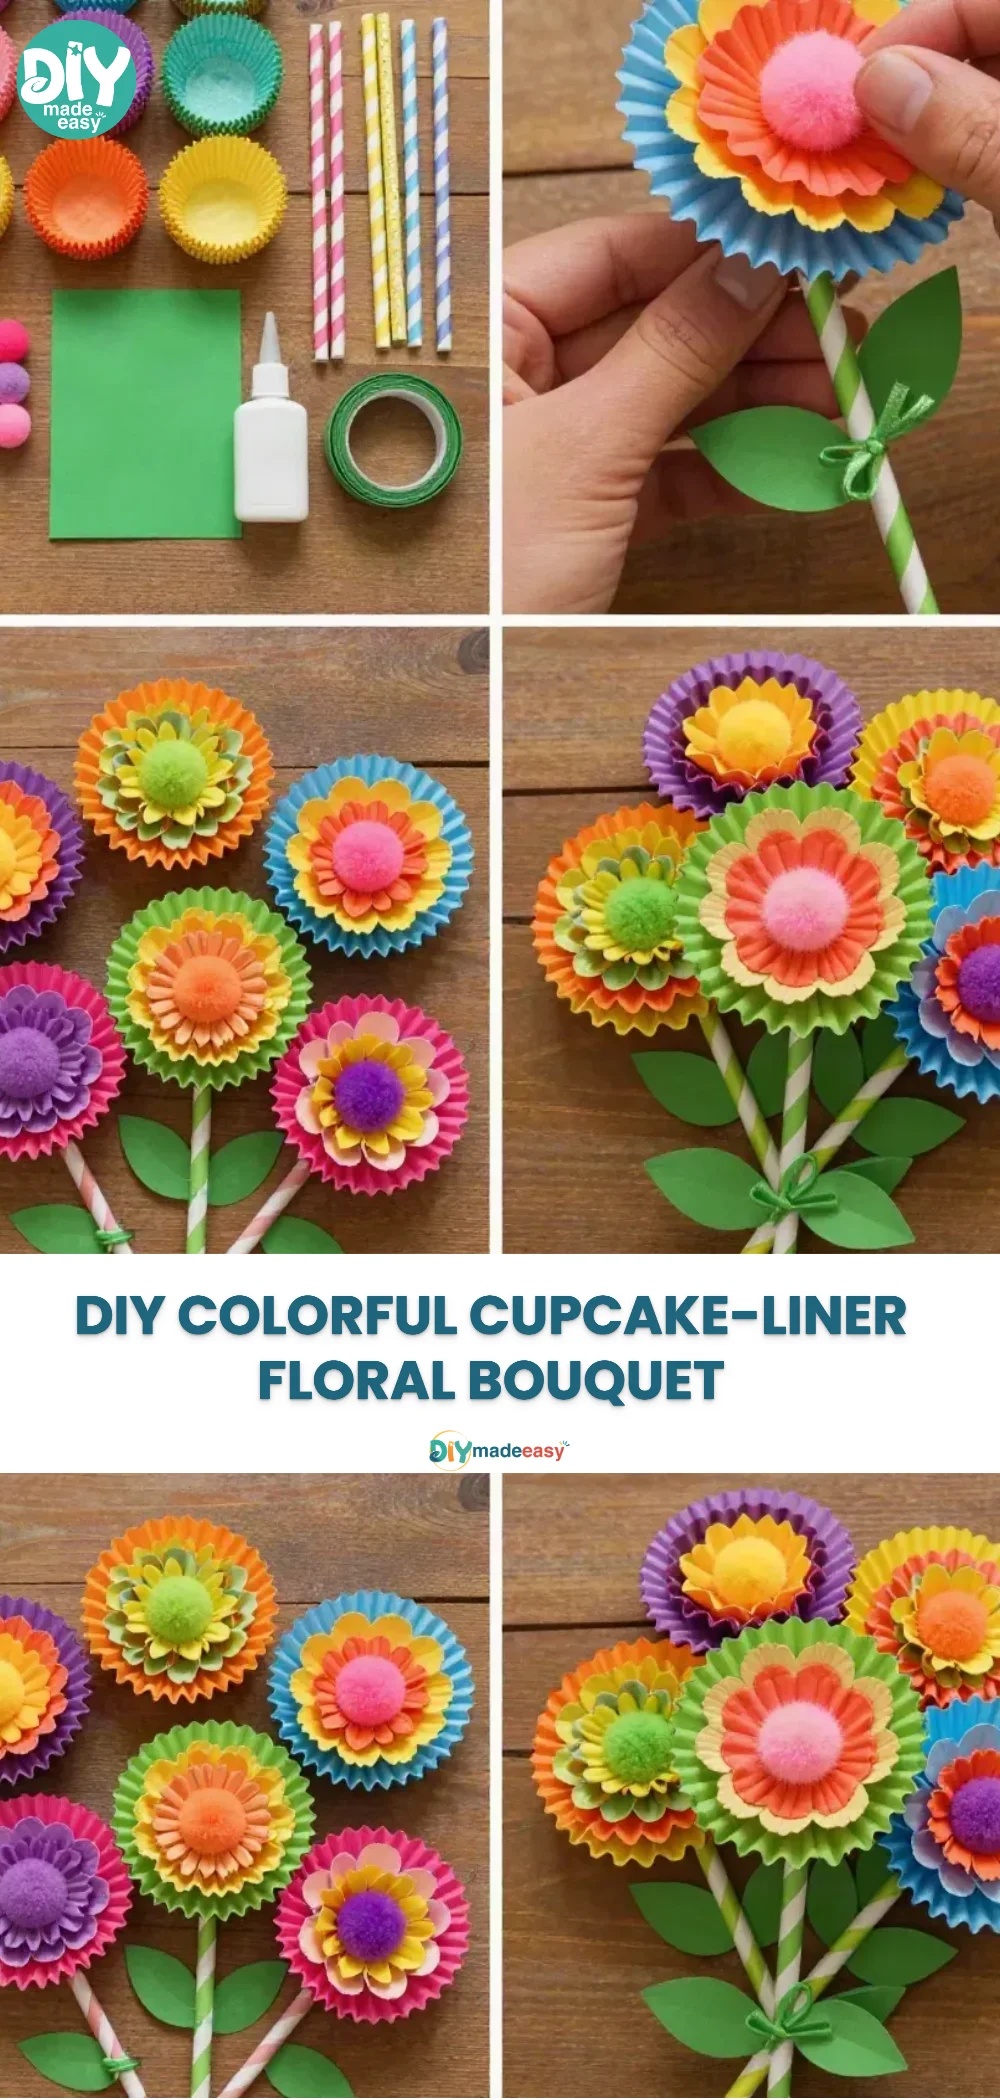
Making the Colorful Cupcake-Liner Flower Bouquet is more than just crafting; it’s a way for kids to practice valuable skills, including fine motor coordination as they glue and stack. The activity also introduces basic concepts of design – exploring color combinations and flower shapes. Engaging in this project encourages creativity and reinforces the connection between cause and effect, as children see how their actions impact the final look of their flowers.
Troubleshooting Common Issues
If your flowers seem to flop over or the petals don’t stack nicely, don’t worry. This can happen if the glue doesn’t set properly or if the liners are too far off-balance. For a quick fix, add extra glue and hold the pieces together for a bit longer. If the pom-poms don’t stick, try reinforcing them with more glue or a small dab of tape for added stability. These small adjustments can make a big difference in achieving that picture-perfect look!
Easy Variations to Try
Consider trying out a few variations for added creativity! You can use themed cupcake liners for specific holidays or events, turning your flowers into festive decorations. Another idea is to incorporate other materials, such as fabric scraps or beads, to personalize each flower. For younger kids, simply assembling the liners without glue can still produce colorful arrangements that are fun to display.
Storing or Reusing This Project
As with any craft project, it’s important to think about what to do with your creations afterward. Consider displaying your bouquet in a vase to brighten up a room or giving them as gifts to friends or family. If you’d like to preserve your materials, make sure to store the extra liners and supplies in a clean, dry place for future use. This not only reduces waste but also prepares you for another crafting session down the line.
FAQs About Colorful Cupcake-Liner Flower Bouquet
How messy is this activity?
You can expect a little glue here and there, but nothing that a quick cleanup can’t handle. Just keep some paper towels nearby for easy wiping!
What age is this project suitable for?
This DIY is ideal for kids aged 3 and up, but with adult supervision, even younger children can enjoy it too. Adjust the complexity by helping them with glue or cutting.
Can I substitute any materials?
Absolutely! If you don’t have cupcake liners, any colorful paper can serve as an alternative. Just cut it into circles!
What if my flowers don’t look perfect?
Remember, the beauty of crafting lies in the process, not just the end result. Encourage kids to embrace the uniqueness of their flowers.
How can I store the finished bouquet?
Keep your bouquet in a cool, dry area. If you plan to make more, storing the leftover materials carefully will keep them ready for next time!
Conclusion
Conclusion
The Colorful Cupcake-Liner Flower Bouquet is a fantastic way to engage creatively while making something delightful. With just a few supplies, children can explore crafting and learn valuable skills through play. For more inspiration, visit the creative page on cupcake paper flowers or check out Super Easy Cupcake Liner Flowers to take your crafting to the next level. Enjoy the moments spent together and let your creativity bloom!
PrintColorful Cupcake-Liner Flower Bouquet
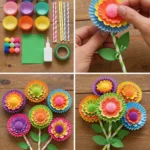
A delightful DIY project for creating vibrant flowers using colorful cupcake liners, perfect for all ages and occasions.
- Prep Time: 10 minutes
- Cook Time: 0 minutes
- Total Time: 10 minutes
- Yield: 6 flowers 1x
- Category: Craft
- Method: Crafting
- Cuisine: N/A
- Diet: N/A
Ingredients
- 18 colorful cupcake liners
- 6 paper straws
- 6 pom-poms
- Green cardstock
- Glue
- Ribbon (optional)
Instructions
- Start by taking three cupcake liners in different colors and stack them together.
- Apply glue to the center of the stacked liners and press down firmly.
- Place a pom-pom in the center and glue it down.
- Glue the bottom of the flower to a paper straw and hold in place.
- Cut out leaf shapes from the green cardstock and glue them to the straw.
- Tie the flowers together with a ribbon to create a bouquet.
Notes
Encourage creativity by exploring different materials or colors for themed flowers.
Nutrition
- Serving Size: 1 bouquet
- Calories: 0
- Sugar: 0g
- Sodium: 0mg
- Fat: 0g
- Saturated Fat: 0g
- Unsaturated Fat: 0g
- Trans Fat: 0g
- Carbohydrates: 0g
- Fiber: 0g
- Protein: 0g
- Cholesterol: 0mg