

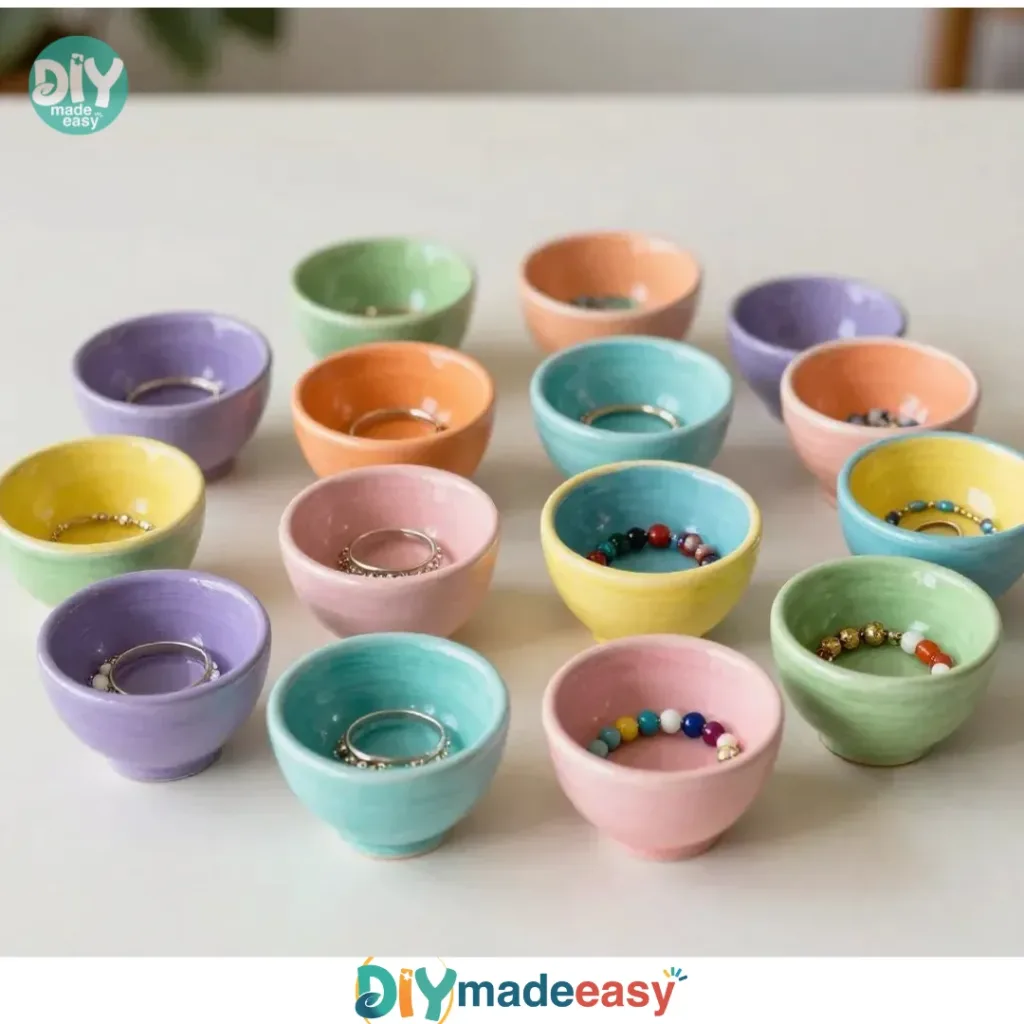
Creating DIY Clay Bowls can be a delightful weekend project, especially during a busy afternoon when kids are eager to engage in something creative. You might find yourself searching for an activity to keep little hands busy. The beauty of these clay bowls is that they don’t require extensive prep work, making them perfect for those spontaneous crafting days. Plus, you’ll end up with charming, functional pieces that everyone can enjoy! You may also find Colorful Diy Bioplastic Suncatchers useful.
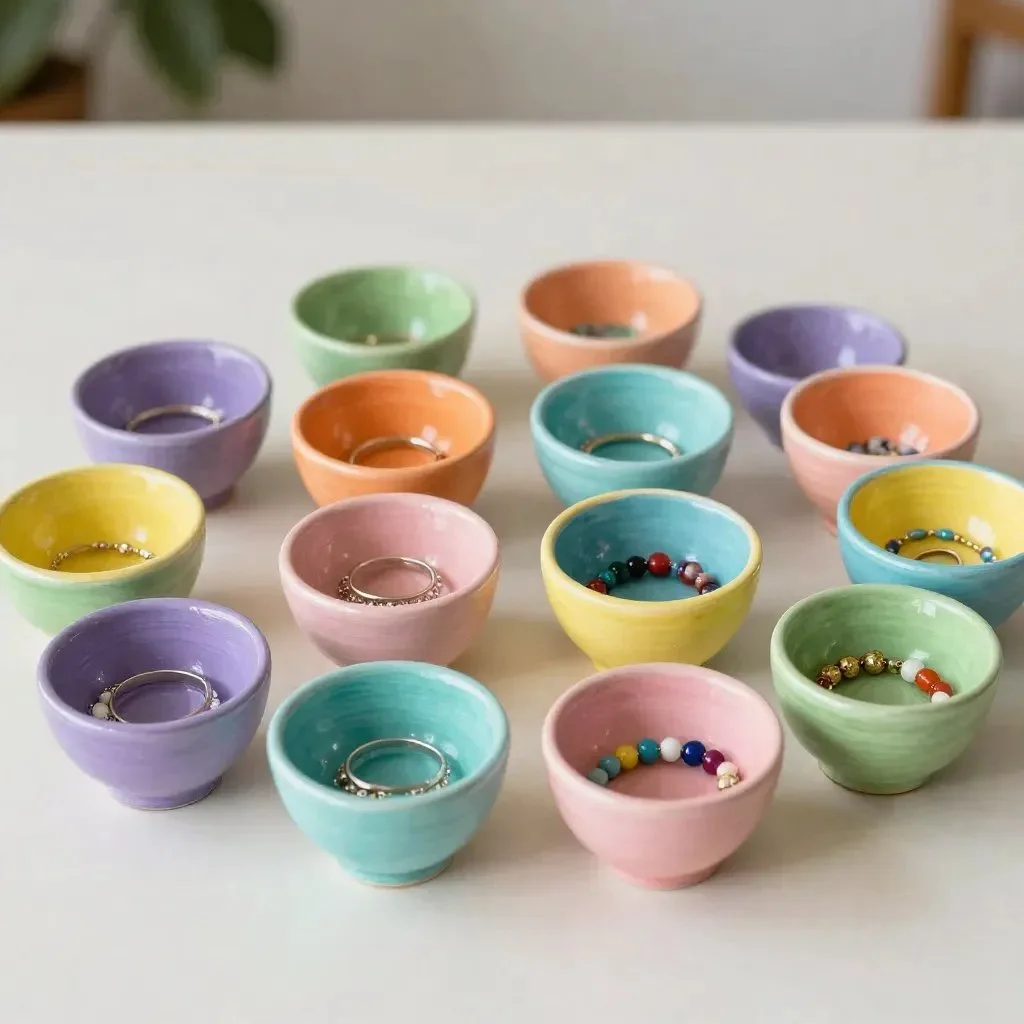
Why You’ll Love Making DIY Clay Bowls
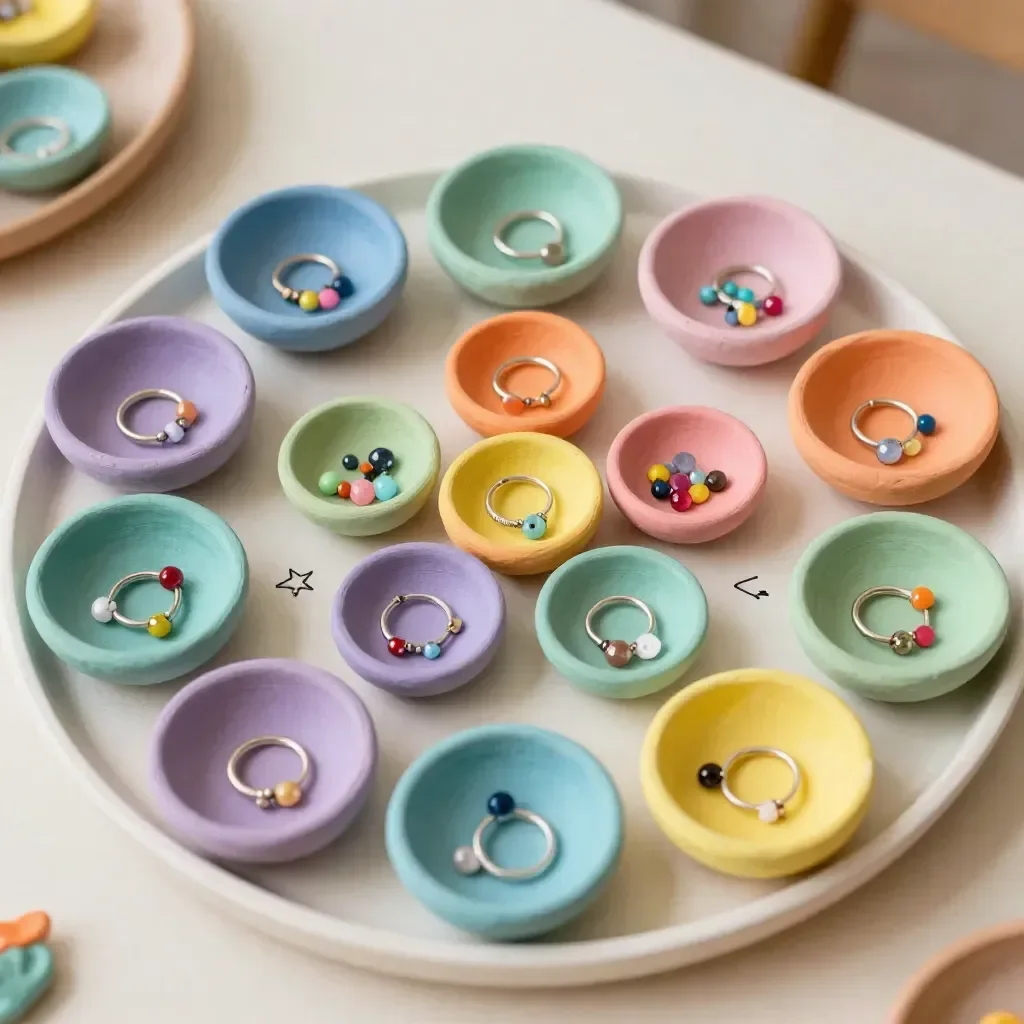
You may also find Diy Bioplastic From Cornstarch useful.
DIY Clay Bowls work wonders for a variety of reasons. First, they require minimal prep and cleanup, allowing you to focus more on the fun moments. This project is also approachable, whether you’re a seasoned DIY enthusiast or just starting out. Even children can join in the fun, developing their creativity and fine motor skills as they shape their clay. The end results are not only satisfying but also functional, making this project a reliable choice for family crafting days. You may also find Diy Bioplastic Suncatchers Colorful Swirls useful.
A Quick Look Before You Begin
Crafting these clay bowls can be surprisingly straightforward. The total time involved is usually around 24 hours, taking into account the drying process. Set-up is as easy as laying out your materials, making it a relaxed endeavor. You might find there’s a small mess involved, which can usually be managed with a quick wipe down afterward. Overall, this project is perfect for those with busy schedules as it fits in seamlessly and keeps things light and enjoyable. You may also find Diy Bioplastic Suncatchers Crayon Method useful.
Materials You’ll Need
To create these beautiful DIY Clay Bowls, here’s what you’ll be using:
- Air-dry clay
- Acrylic paint (optional)
- Paintbrushes
- Rolling pin
- Bowl or mold
- Water
- Cutting tool
Each of these materials is commonly found at home or can easily be obtained on a budget. The air-dry clay is particularly useful, as there’s no need for baking, making this project even more approachable!
Step-by-Step Directions
Now, let’s dive into the fun part: making your clay bowls! Follow these easy steps to craft these delightful items.
Knead a small piece of air-dry clay until soft and pliable. Make sure to warm it up in your hands to create a nice workable texture.
Roll the clay into a ball and flatten it into a disc about half an inch thick using a rolling pin. This step is quite satisfying as you feel the clay shaping beneath the pin.
Place the flattened clay on a bowl or mold and press it gently to form the desired shape. Take your time here, ensuring that the edges curve smoothly.
Carefully remove the clay from the mold and smooth the edges with water and your fingers. Wetting your fingers slightly can help create a refined finish.
Allow the bowl to dry completely, usually 24 hours. Find a safe spot where it’s undisturbed to ensure it holds its shape.
Paint the bowl if desired and let the paint dry completely before use. This last step adds a fun pop of color and customization to your creations.
What Kids Practice While Making This
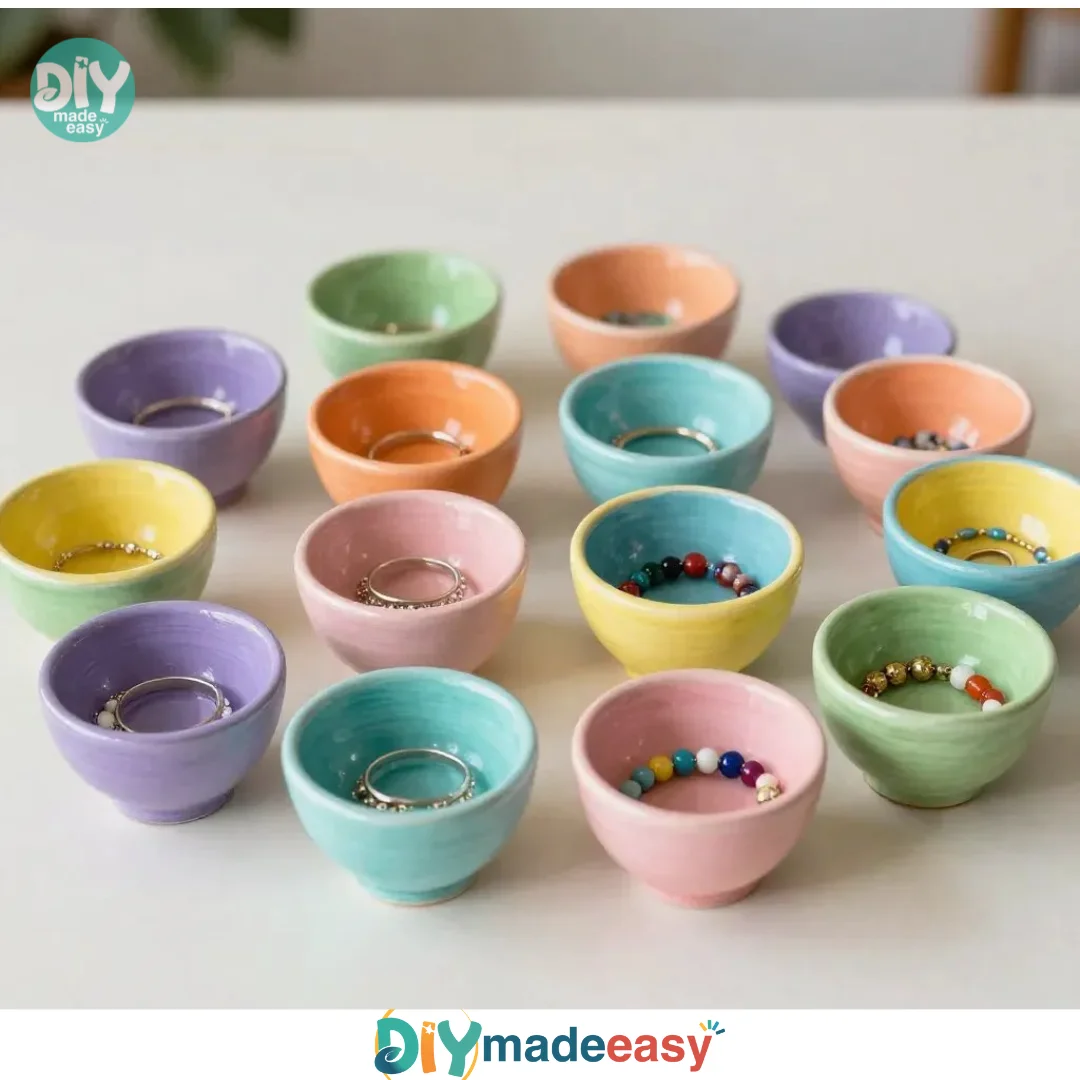
Making DIY Clay Bowls is not just about the end product; it’s a rich learning experience. Children engage in several developmental skills during the process. As they knead and mold the clay, they practice fine motor skills and hand-eye coordination. The act of rolling and shaping requires focus and spatial awareness. Additionally, crafting these bowls introduces concepts of patience and success, as they wait for their creations to dry and transform. Kids also gain a hands-on understanding of materials and their properties, further igniting their curiosity in science.
Troubleshooting Common Issues
Sometimes, projects don’t go as planned, and that’s perfectly okay. A common problem you might encounter is the clay becoming too dry or cracked during the drying process. This usually happens when the clay is exposed to air for too long. If you find that happening, simply knead in a little water to soften it again, then reshape and continue. If the edges of your bowl aren’t smooth, wet fingers can do wonders to refine them. Expect some trial and error, and embrace the learning experience together.
Easy Variations to Try
To keep things fresh and exciting, consider some fun variations for your DIY Clay Bowls:
Decorative Techniques: Use stamps or textured fabrics while flattening the clay to add patterns.
Color Mixing: Blend different acrylic paints into your clay before starting to create marbled effects.
Seasonal Themes: Shape your bowls like leaves in autumn or snowflakes in winter for a festive touch.
These variations not only change the aesthetics but also keep the crafting experience engaging for repeat projects.
Storing or Reusing This Project
After you’ve created your wonderful clay bowls, consider how to best manage the project materials. If you have extra clay left over, wrap it tightly in plastic to keep it moist for future use. Make sure to store your finished bowls in a safe place to prevent breakage or scrapes. By being careful with handling and storage, you’ll reduce waste and ensure that your creations can be enjoyed for a long time.
FAQs About DIY Clay Bowls
One common concern is the level of mess that comes with this activity. While it’s true there will be some clay crumbs, they can be easily managed with a damp cloth afterward. Another frequent question is about the safety and age range of the project. The air-dry clay is non-toxic, making it safe for most ages, though adult supervision is recommended for younger children, especially when handling cutting tools. People also often ask if they can substitute ingredients; yes, materials like clay can be substituted with other air-drying options if needed. Lastly, for those wondering about realistic results, remember that each bowl will be unique! Embrace the individuality of each creation.
Conclusion
Conclusion
Crafting DIY Clay Bowls offers not just a rewarding project but also beautiful opportunities for learning and creativity. For more fun ideas, you can check out this guide on How To Make Air Dry Clay Bowls or explore seasonal options like DIY Clay Leaf Bowls. Embrace the simplicity, enjoy the crafting process, and create memories as you make your unique bowls together!
PrintDIY Clay Bowls
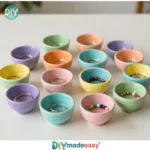
A fun and engaging DIY project to create charming air-dry clay bowls, perfect for family crafting days.
- Prep Time: 30 minutes
- Cook Time: 1440 minutes
- Total Time: 1470 minutes
- Yield: 2-4 bowls
- Category: Crafts
- Method: Crafting
- Cuisine: N/A
- Diet: N/A
Ingredients
- Air-dry clay
- Acrylic paint (optional)
- Paintbrushes
- Rolling pin
- Bowl or mold
- Water
- Cutting tool
Instructions
- Knead a small piece of air-dry clay until soft and pliable.
- Roll the clay into a ball and flatten it into a disc about half an inch thick.
- Place the flattened clay on a bowl or mold and press it gently to form the desired shape.
- Carefully remove the clay from the mold and smooth the edges with water and your fingers.
- Allow the bowl to dry completely, usually 24 hours.
- Paint the bowl if desired and let the paint dry completely before use.
Notes
Ensure to handle clay carefully to avoid cracks. Wet fingers can help refine edges.
Nutrition
- Serving Size: 1 bowl
- Calories: 100
- Sugar: 0g
- Sodium: 0mg
- Fat: 0g
- Saturated Fat: 0g
- Unsaturated Fat: 0g
- Trans Fat: 0g
- Carbohydrates: 25g
- Fiber: 0g
- Protein: 0g
- Cholesterol: 0mg