

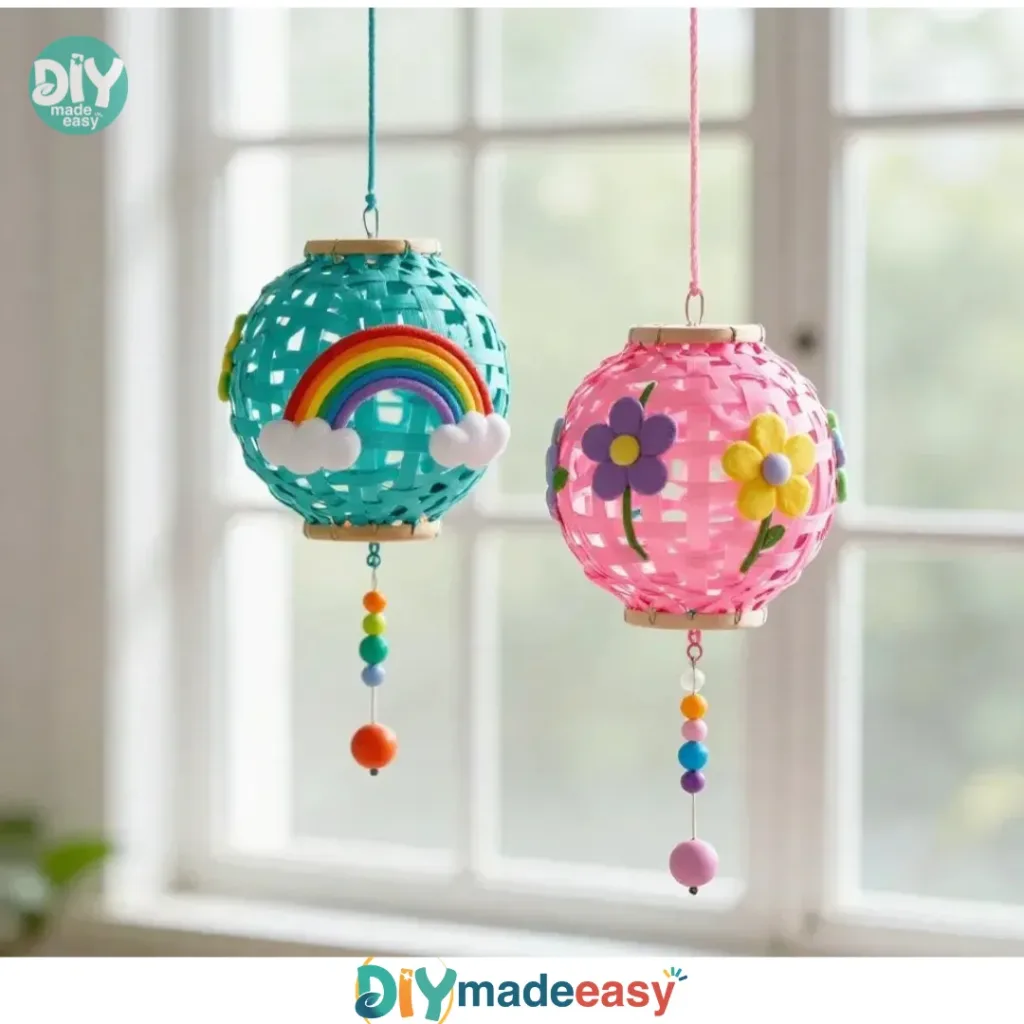
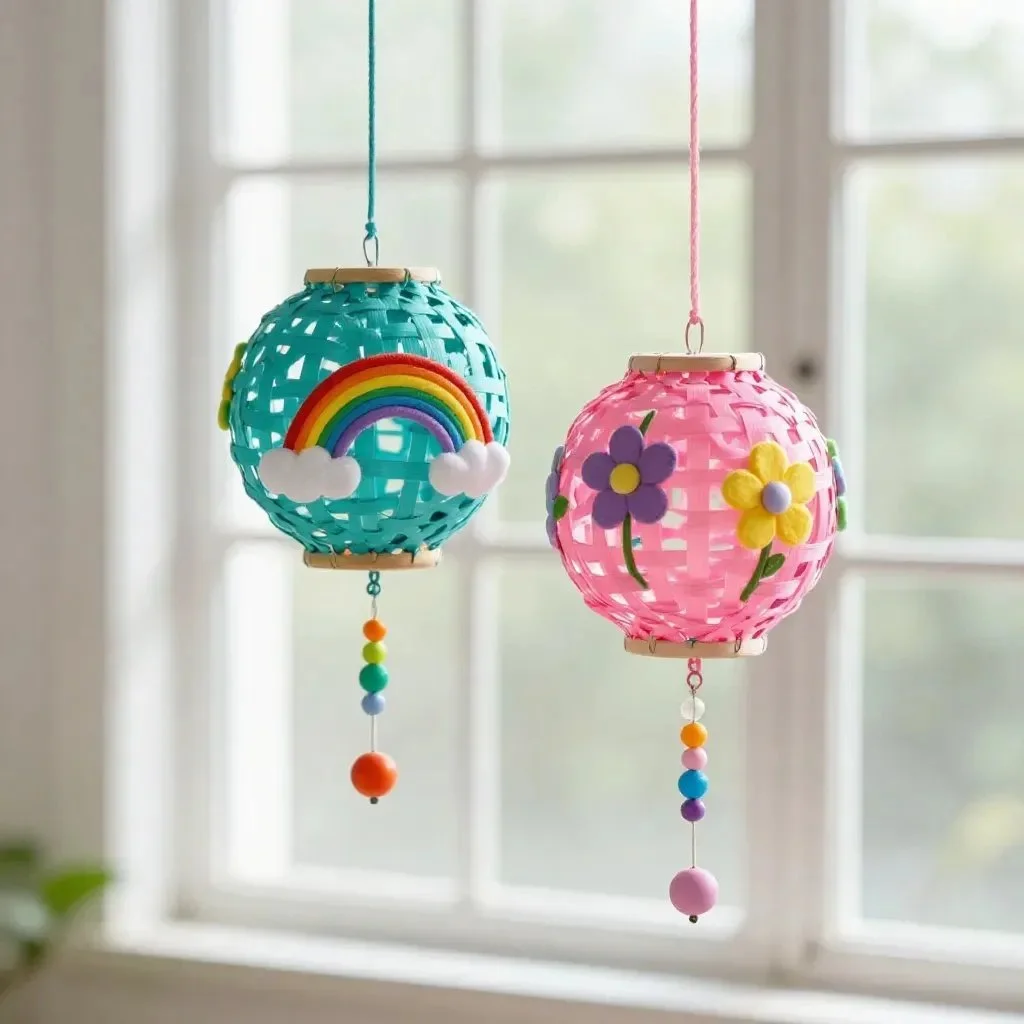
It was one of those busy afternoons when the kids suddenly express the need for a creative activity. What do you do when they want to make something beautiful, but time is tight? This is where DIY Beaded Hanging Lanterns come in. Not only are these lanterns simple to create, but they also harness the energy of imagination, allowing little ones to explore colors and shapes while crafting something magical for their space. You may also find Colorful Diy Bioplastic Suncatchers useful.
Why You’ll Love Making DIY Beaded Hanging Lanterns
You may also find Diy Bioplastic From Cornstarch useful.
Making DIY Beaded Hanging Lanterns is a project that stands out for its simplicity and joy. It’s low-prep, requiring just a few materials you’ll likely have at home, which makes it perfect for busy days. The steps are straightforward, ensuring that everyone can join in without feeling overwhelmed. With just a few beads and a glass jar, you can create a charming lantern that brightens up any room. The beauty of this project is its reliability; it leads to real results that spark pride in both children and adults alike. You may also find Diy Bioplastic Suncatchers Colorful Swirls useful.
A Quick Look Before You Begin
Creating a beaded hanging lantern can be a wonderfully calm experience. You’ll find that the overall setup and cleanup are manageable, making this project great for busy afternoons. It usually takes about 30 minutes from start to finish, depending on how elaborate you want your design to be. You might even consider decorating the glass jar before making the beads to get the creativity flowing. Remember, adult supervision is a good idea, especially when using scissors or working with any small items. You may also find Diy Bioplastic Suncatchers Crayon Method useful.
Materials You’ll Need
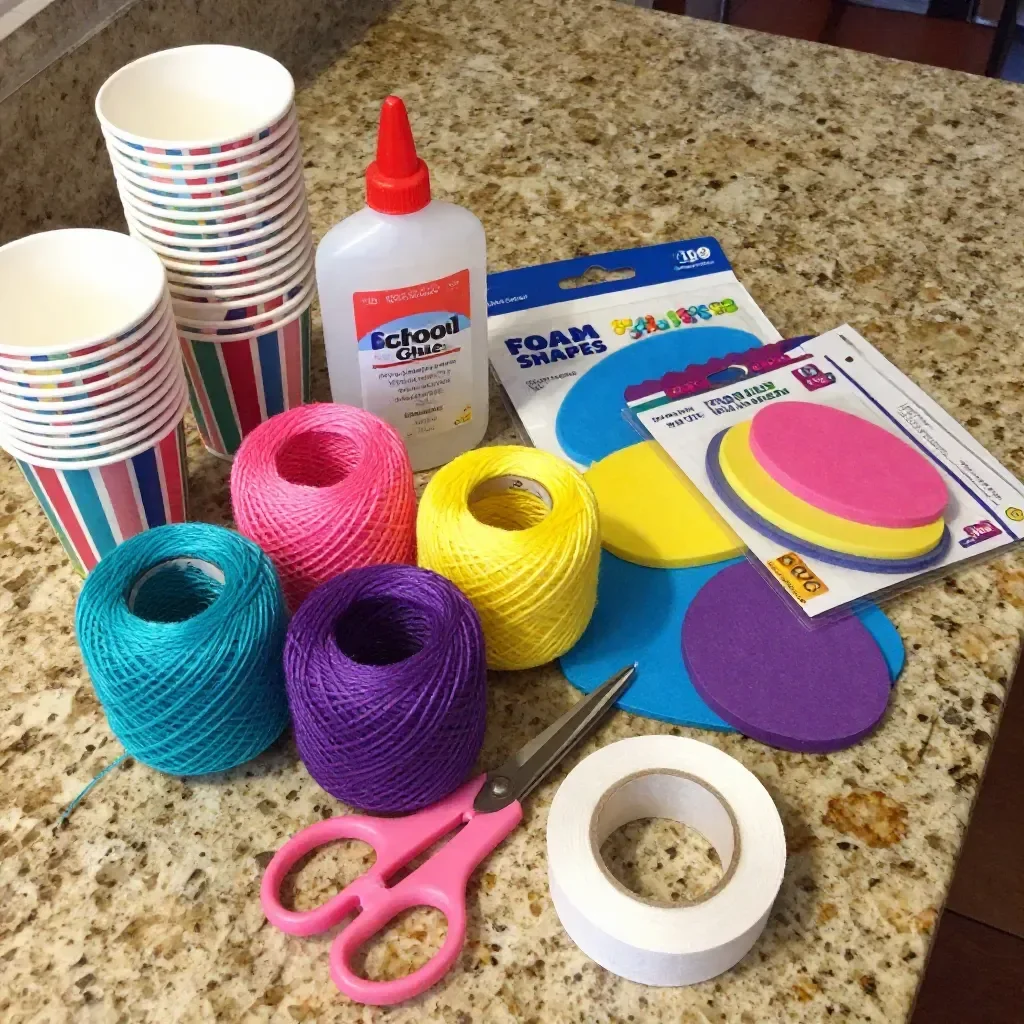
- Wide-mouth glass jar (such as a mason jar)
- Thin wire or string (lightweight and flexible)
- Variety of beads (different shapes, sizes, and colors)
- Scissors
- Tealight candle or LED tea light (for safety)
- Optional: Paint or markers to decorate the jar
These materials are mostly common household items. If you don’t have specific beads, feel free to substitute with anything colorful and fun you might find around the house.
Step-by-Step Directions
- Begin by prepping your glass jar, making sure it is clean and dry. Optionally, you can decorate the outside with paint or markers, allowing your kids to add their unique touch.
- Cut a length of wire or string, about two feet long, for threading the beads. A slightly longer piece gives more room to work with.
- Start threading your beads onto the wire or string in any pattern you choose. This is the fun part—mix and match colors to see what looks best!
- Once you have the desired length, leave space on either end for securing. It’s good to have about an inch of wire or string left empty so you can tie it off later.
- Create a loop at the top of the wire or string for hanging. Twist the ends for security, making sure everything feels tight.
- Place an LED tea light into the jar and position the beaded string around the neck. This will create a lovely glow when lit.
- Find a safe spot to enjoy the glow of your completed DIY Beaded Hanging Lantern. You can hang it outside or place it on a shelf inside for a touch of charm.
The Simple Science or Skills at Work
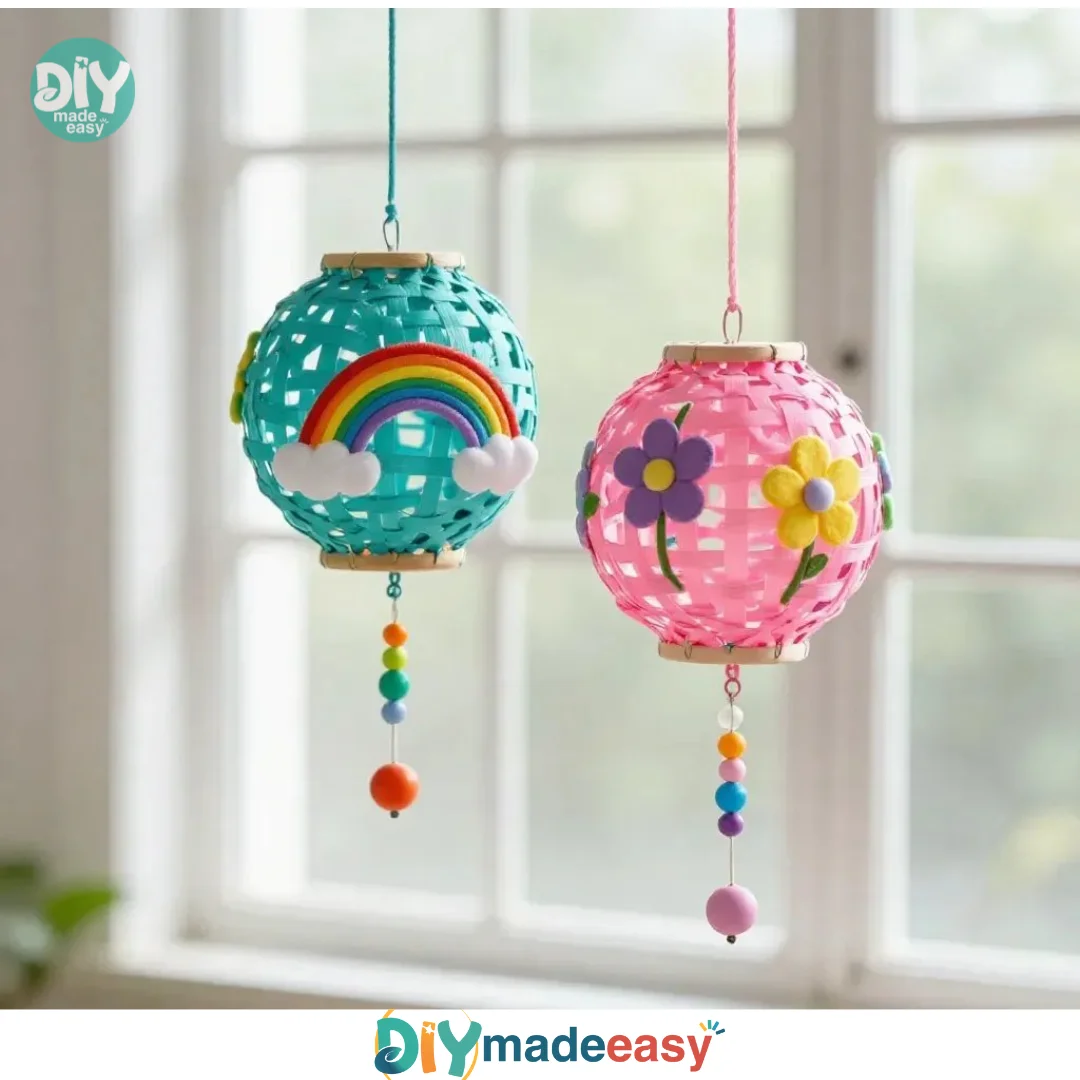
While crafting these lanterns, kids engage in fine motor skills through threading beads and manipulating wire. They also explore creative design choices, learning how different colors and shapes can create distinct looks. This activity introduces basic principles of light and shadow as they see how the glow shines through the beads, creating delightful patterns.
Troubleshooting Common Issues
If the beads seem to slip off the wire or string, double-check your securing technique on either end. You might want to twist them tighter. Sometimes, using a thicker wire can prevent the beads from falling through the loop. Another common issue is the jar’s stability. Ensure that the LED tea light is seated firmly at the bottom of the jar to avoid any accidental tipping.
Easy Variations to Try
Here are a few optional ideas to make your beaded lantern even more special:
- Use seasonal colors or different themes, like holiday colors or nature-inspired hues.
- Experiment with different shapes of beads, including stars or hearts, for added fun.
- Make smaller hanging versions with mini jars and fewer beads for a clustered look.
Storing or Reusing This Project
After enjoying your lantern, consider using materials for other projects. The beads can be saved for future crafting, while the jar can often be washed and reused for various purposes. If the lantern is too lovely to part with, find a nice spot for it in your home where it can continue to bring joy.
FAQs About DIY Beaded Hanging Lanterns
Q: Will this project create a lot of mess?
A: It can be pretty tidy, but you might have small beads rolling around. Keeping a tray or mat underneath where you’re working can catch any droppings.
Q: Is it safe for younger children to use?
A: Supervision is key. While older children can handle scissors or small beads, younger kids might need help threading and cutting.
Q: Can I substitute any materials if I don’t have the exact items?
A: Absolutely! Get creative with string, or even use thicker thread if you don’t have wire. Just ensure that it’s sturdy enough to hold your beads.
A Final Helpful Note
At the end of the day, creating these DIY Beaded Hanging Lanterns should be a carefree experience. Enjoy the process, allow for creative freedoms, and encourage your kids to voice their ideas. Remember, it’s about having fun and feeling proud of what you create together, not about getting everything perfect.
Conclusion
Once you’ve mastered making these lovely lanterns, you might want to explore further DIY projects such as Hanging Sea Glass Lanterns or check out another charming project with this DIY Beaded Plant Hanger and Lantern. Enjoy crafting and brightening up your spaces with these simple yet effective projects!
PrintDIY Beaded Hanging Lanterns
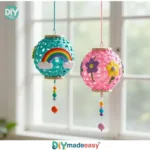
Simple and imaginative DIY project for creating colorful beaded hanging lanterns using household materials.
- Prep Time: 10 minutes
- Cook Time: 20 minutes
- Total Time: 30 minutes
- Yield: 1 lantern
- Category: Crafts
- Method: Crafting
- Cuisine: N/A
- Diet: N/A
Ingredients
- Wide-mouth glass jar (such as a mason jar)
- Thin wire or string (lightweight and flexible)
- Variety of beads (different shapes, sizes, and colors)
- Scissors
- Tealight candle or LED tea light (for safety)
- Optional: Paint or markers to decorate the jar
Instructions
- Begin by prepping your glass jar, making sure it is clean and dry.
- Cut a length of wire or string, about two feet long, for threading the beads.
- Start threading your beads onto the wire or string in any pattern you choose.
- Once you have the desired length, leave space on either end for securing.
- Create a loop at the top of the wire or string for hanging.
- Place an LED tea light into the jar and position the beaded string around the neck.
- Find a safe spot to enjoy the glow of your completed DIY Beaded Hanging Lantern.
Notes
Adult supervision is recommended, especially when using scissors or small items.
Nutrition
- Serving Size: 1 lantern
- Calories: 0
- Sugar: 0g
- Sodium: 0mg
- Fat: 0g
- Saturated Fat: 0g
- Unsaturated Fat: 0g
- Trans Fat: 0g
- Carbohydrates: 0g
- Fiber: 0g
- Protein: 0g
- Cholesterol: 0mg