

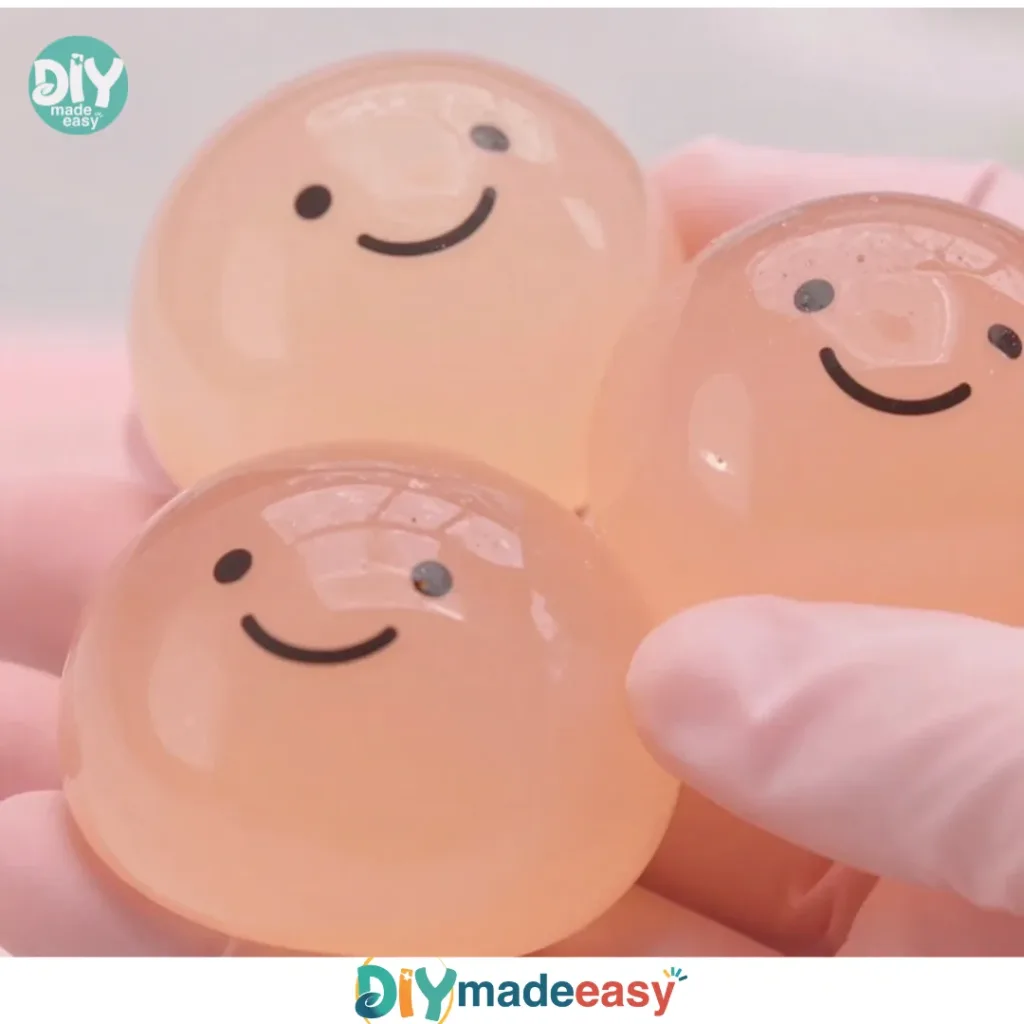
Creating family-friendly activities can be both fun and challenging, especially when juggling the demands of a busy afternoon. Kids often spring spontaneous ideas, wanting to make something exciting right away. If you find yourself in need of a quick, engaging project, the Crystal-Clear Bubble Ball can be the perfect solution. With just a few simple materials and a bit of finesse, you can create beautiful, crystal-clear spheres that sparkle and shine, capturing the imagination of everyone involved.
Why You’ll Love Making Crystal-Clear Bubble Ball
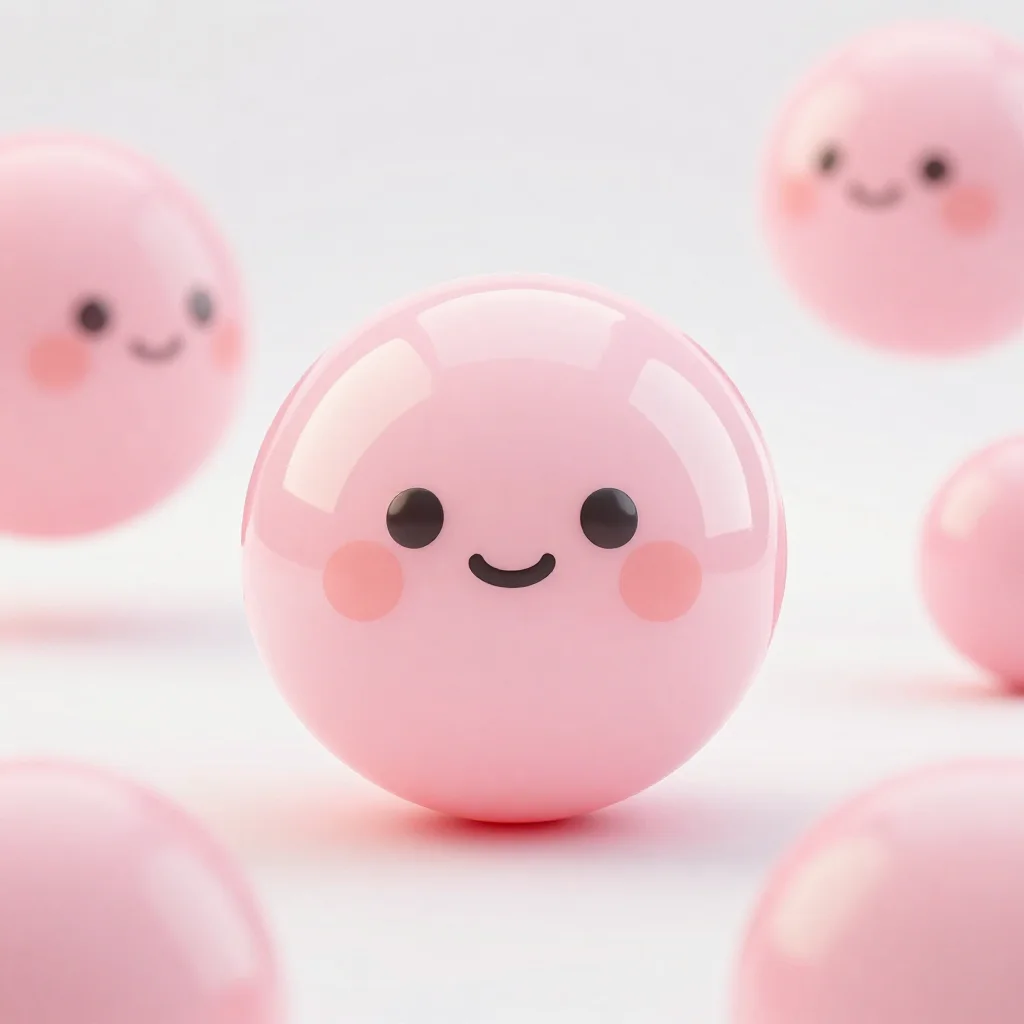
The Crystal-Clear Bubble Ball is not just visually stunning; it embodies ease and accessibility. You don’t need to be an expert in crafting or have an extensive toolkit readily available. This project taps into the beauty of clear epoxy resin, something many may not think to explore, but it’s straightforward and satisfying.
First, let’s talk about preparation time. You can set aside an afternoon or even an hour. The process is low-prep, meaning you can dive right in without excessive planning. You’ll find that assembling the materials is quick, and the most time-consuming part will be waiting for your pieces to cure, allowing you plenty of time for other activities in the meantime.
Next, this project is approachable for various age groups. Younger kids can easily assist while older kids can take on more responsibilities, making it an inclusive family experience. Everyone gets to participate in a shared goal. Plus, the reliability of this project means it’s built to deliver results. While nothing is perfect, the joy of creating these bubble balls is in the journey.
Finally, this activity fits seamlessly into real-life schedules, as the cleanup tends to be manageable. With the right preparation, the cleanup process often feels effortless, letting you end on a high note.
A Quick Look Before You Begin
The Crystal-Clear Bubble Ball is made through a series of manageable steps that are easy to follow. You can expect to spend about 1-2 hours actively crafting, with an additional time for the resin to cure. Most of the waiting occurs while you tackle other tasks or enjoy some relaxation.
To help maintain sanity and minimize mess, it’s important to prepare your workspace in advance. Setting up a clean, dust-free area not only avoids sticky situations but also ensures a smoother process. A bit of adult guidance goes a long way, especially during the initial mix of resin.
Discover Easy Kids Activities
Looking for simple, fun ideas for kids? Explore our Low Prep Kids Activities and find quick projects that spark creativity without long prep time.
Materials You’ll Need
Here’s a simple list of the supplies you will need for creating your Crystal-Clear Bubble Ball. Most of these are common household items, making it easy to gather what you need before starting:
- Clear epoxy resin and slow hardener
- Silicone sphere mold
- Mixing cups and sticks
- Nitrile gloves and respirator
- Thermometer (optional)
- Isopropyl alcohol, 91% or higher
- Mini torch or heat gun
- Toothpicks and silicone-tipped tools
- Clear polish compound or fine sandpaper (600 to 2000)
- Small drill with diamond bit (optional)
- Soft cloths and cotton swabs
- Clean, dust-free workspace
Having everything at hand will set you up for success. Note that while a thermometer and small drill are handy, they are entirely optional and can be omitted if not available.
Step-by-Step Directions
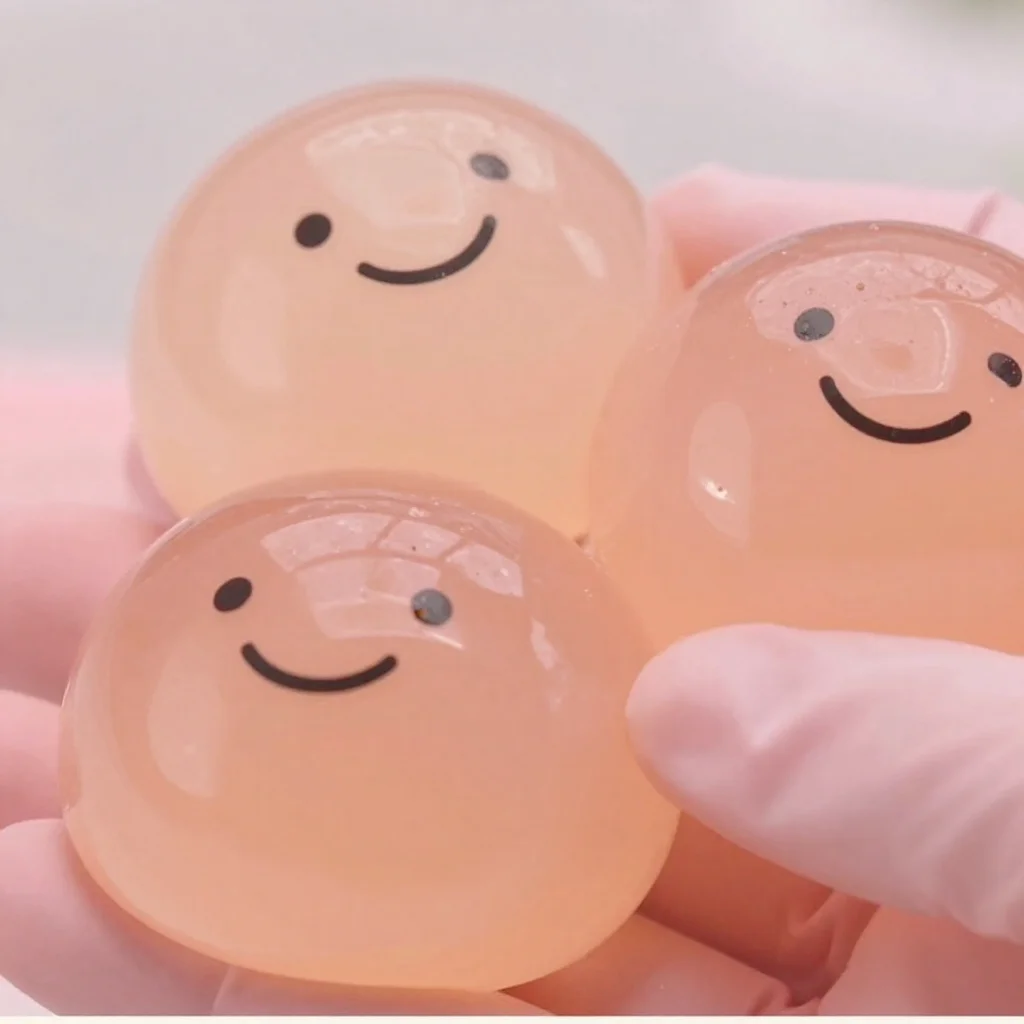
Here’s a friendly guide to help you turn your materials into stunning Crystal-Clear Bubble Balls. Follow these steps to ensure a smooth crafting experience.
- Prepare your space and tools. Start by finding a clean, dust-free area to work in. Lay down some protective covering for your surfaces to catch any spills.
- Put on gloves and respirator. Safety comes first. Wearing gloves and a respirator protects your skin and lungs from the chemicals in the resin. It’s a small but important step.
- Cover your surface and arrange everything within reach. Gather all your supplies, placing them close at hand. Keeping everything organized will help make the process much smoother.
- Measure and mix the resin slowly. Following the instructions on your epoxy resin container, carefully measure out equal parts resin and hardener. Mix slowly to avoid introducing unnecessary bubbles.
- Warm the mixed resin a little if allowed. If your instructions allow warming the resin slightly, this can help in mixing, but be cautious and follow the manufacturer’s guidelines.
- Pour a thin base layer into the sphere mold. Start by pouring a small amount of resin into the mold, just enough to coat the bottom.
- Add a controlled inner inclusion or let a single bubble form. You can choose to add a small inclusion, like glitter or a charm, or simply let the resin form a bubble.
- Allow the first layer to reach a tacky stage. Wait until the resin is tacky to the touch it will create a better bond for the subsequent layers.
- Pour the remaining resin in gentle layers. Slowly pour more resin into the mold, layering softly to avoid disturbing the existing layer.
- Use isopropyl alcohol to clear small surface bubbles. If you spot any small bubbles on the surface, lightly spray them with isopropyl alcohol to pop them. A mini torch can also work wonders if you have one.
- Let the piece fully cure in a dust-free spot. Place your mold in an area free of dust for the resin to cure completely. Depending on the brand, this may require several hours to a day.
- Demold gently once cured. When everything has hardened, take care when removing the bubble ball from the mold to avoid any cracks or chips.
- Sand and polish for crystal clarity. Use fine sandpaper or a polish compound to smooth out any imperfections. Gently buff it until you achieve the shine you desire.
- Add a hanging eye or mount if desired. If you want to display your bubble ball, you can drill a tiny hole and add a hanging eye or mount.
Each step invites you to witness the transformation, bringing both anticipation and excitement. The process is meant to be enjoyable and rewarding.
The Simple Science or Skills at Work
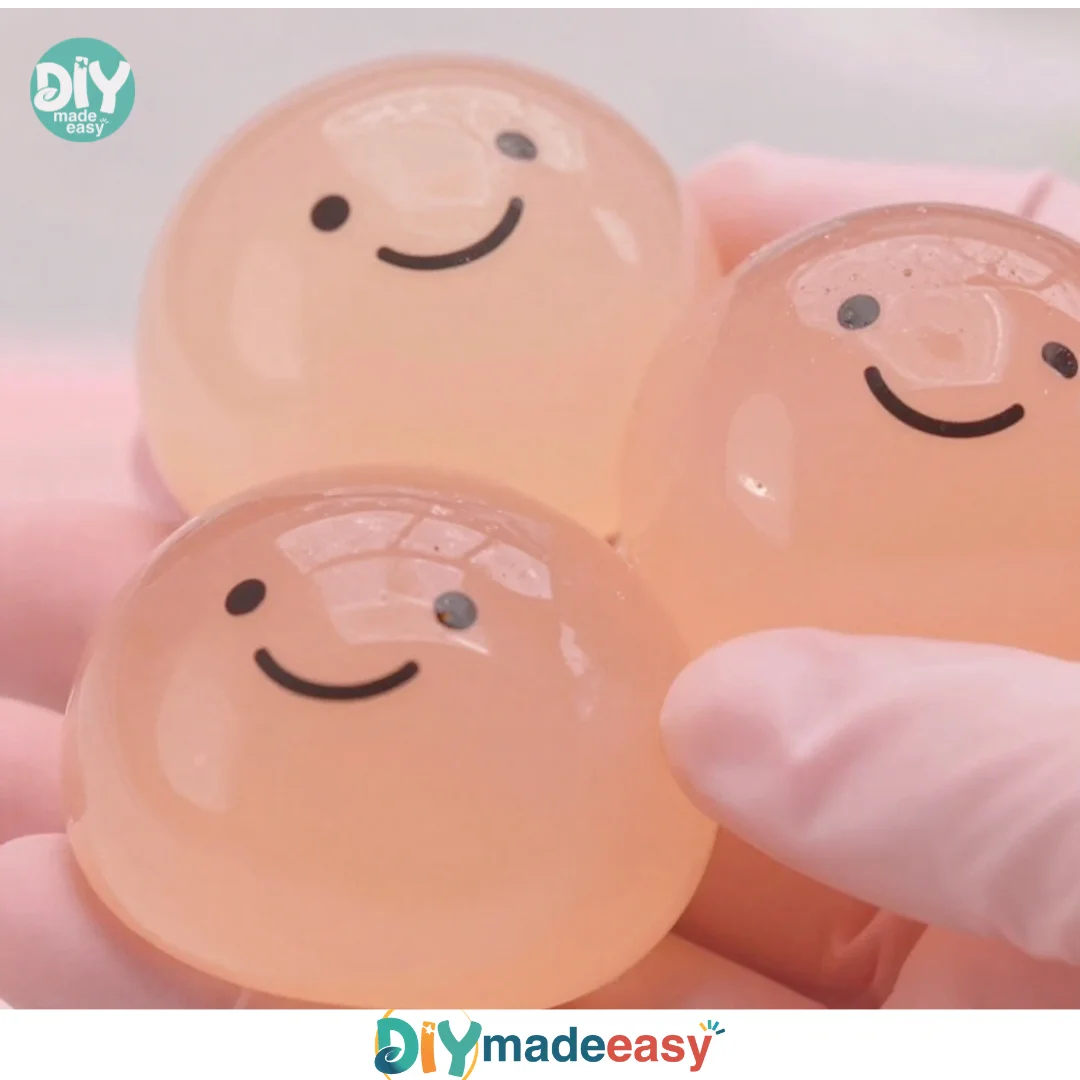
Creating a Crystal-Clear Bubble Ball ties together several science concepts and practical skills. First and foremost, you engage in chemistry when mixing the epoxy resin and hardener. Understanding the cause and effect of mixing these specific proportions helps you see how different components work together to create the final product.
Beyond chemistry, this project encourages coordinated movements and fine motor skills. Measuring, pouring, and polishing all require a gentle touch. These tasks develop better hand-eye coordination and dexterity in both kids and adults.
While crafting, kids also practice patience as they wait for layers to cure. The anticipation fosters an understanding of time management. Each bubble ball becomes a tangible result of their efforts, showcasing their skill and creativity all within a short time.
Troubleshooting Common Issues
In any DIY project, things may not always go as planned. If you encounter problems along the way, here are a few common issues and their easy fixes.
For instance, if your resin doesn’t cure properly, it could be due to inaccurate mixing ratios. Make sure you’re following the exact measurements on the resin packaging. If you accidentally mix too quickly, air bubbles may develop. The isopropyl alcohol method will help you clear those surface bubbles.
If you notice any sticky patches after demolding, this may indicate incomplete curing. Ensure you allow ample time for the pieces to settle in a dust-free environment. Trust your instincts here; if something feels off, take a closer look at the instructions.
Easy Variations to Try
Creating Crystal-Clear Bubble Balls opens up possibilities for fun variations. Here are a few suggestions to mix things up:
- Incorporate colored resin: Instead of clear resin, try adding resin dyes for vibrant creations.
- Seasonal themes: Create holiday-themed bubble balls by using small decorations suitable for that time of year.
- Texture add-ins: Experiment with different materials like dried flowers or beads to add interesting textures inside your bubble ball.
- Size variations: Consider using different molds to create various-sized bubbles. You might find that larger balls stand out nicely as decorations around your home.
These variations allow for creativity and individuality in each project, making each bubble ball a unique expression.
Storing or Reusing This Project
To maximize your materials and possibly create more bubble balls in the future, storing your supplies properly is key. After you clean up, ensure all unused resin is sealed correctly in a cool, dry location.
If you have leftover resin, make sure to pour it into a separate cup to prevent leftover material in your mixing container from hardening inside. Storing it in an airtight container will keep it usable for later projects.
And as for displaying your newly created bubble balls, while they make for beautiful decor, be sure to find a safe place so they won’t be bumped or broken easily.
FAQs About Crystal-Clear Bubble Ball
What kind of cleanup should I expect when working with resin?
Cleanup can be quite manageable. Just use some isopropyl alcohol to wipe up any resin spills. Make sure to keep everything covered while you work to limit dust accumulation.
What age range is this project suitable for?
Kids aged eight and above can enjoy this project with adult supervision. Younger kids can help with mixing and pouring under guidance.
Can I substitute the materials if I don’t have exactly what’s listed?
Yes, many basic crafting materials have substitutes. Just ensure any resin or hardener used is safe and compatible for similar projects.
How realistic are the results?
Your bubble balls may not turn out perfectly, but they will definitely be unique and charming. Enjoy the process, knowing each piece tells a story of its creation.
Conclusion
Creating a Crystal-Clear Bubble Ball is an enjoyable, confidence-building activity that can captivate the whole family. With a handful of materials and a bit of patience, you can craft something lovely. Remember, every small step toward achieving your project is a reason to feel proud. If you’re looking for some extra inspiration or supplies, consider checking out beautiful glass crystal door knobs or learn even more with how to make crystal clear ice cubes and balls. Enjoy your crafting adventure!
PrintCrystal-Clear Bubble Ball
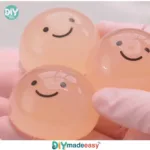
Create beautiful, crystal-clear bubble balls with ease using simple materials and epoxy resin.
- Prep Time: 30 minutes
- Cook Time: 120 minutes
- Total Time: 150 minutes
- Yield: 1 bubble ball
- Category: Craft
- Method: Crafting
- Cuisine: N/A
- Diet: N/A
Ingredients
- Clear epoxy resin and slow hardener
- Silicone sphere mold
- Mixing cups and sticks
- Nitrile gloves and respirator
- Thermometer (optional)
- Isopropyl alcohol, 91% or higher
- Mini torch or heat gun
- Toothpicks and silicone-tipped tools
- Clear polish compound or fine sandpaper (600 to 2000)
- Small drill with diamond bit (optional)
- Soft cloths and cotton swabs
- Clean, dust-free workspace
Instructions
- Prepare your space and tools. Start by finding a clean, dust-free area to work in. Lay down some protective covering for your surfaces to catch any spills.
- Put on gloves and respirator. Safety comes first. Wearing gloves and a respirator protects your skin and lungs from the chemicals in the resin.
- Cover your surface and arrange everything within reach. Gather all your supplies, placing them close at hand.
- Measure and mix the resin slowly. Carefully measure out equal parts resin and hardener. Mix slowly to avoid introducing unnecessary bubbles.
- Warm the mixed resin a little if allowed. This can help in mixing, but be cautious and follow the manufacturer’s guidelines.
- Pour a thin base layer into the sphere mold. Just enough to coat the bottom.
- Add a controlled inner inclusion or let a single bubble form.
- Allow the first layer to reach a tacky stage. Wait until the resin is tacky to the touch.
- Pour the remaining resin in gentle layers. Slowly pour more resin into the mold.
- Use isopropyl alcohol to clear small surface bubbles.
- Let the piece fully cure in a dust-free spot.
- Demold gently once cured.
- Sand and polish for crystal clarity.
- Add a hanging eye or mount if desired.
Notes
Ensure to work in a well-ventilated area and follow the safety instructions on the epoxy resin packaging.
Nutrition
- Serving Size: 1 bubble ball
- Calories: 0
- Sugar: 0g
- Sodium: 0mg
- Fat: 0g
- Saturated Fat: 0g
- Unsaturated Fat: 0g
- Trans Fat: 0g
- Carbohydrates: 0g
- Fiber: 0g
- Protein: 0g
- Cholesterol: 0mg