

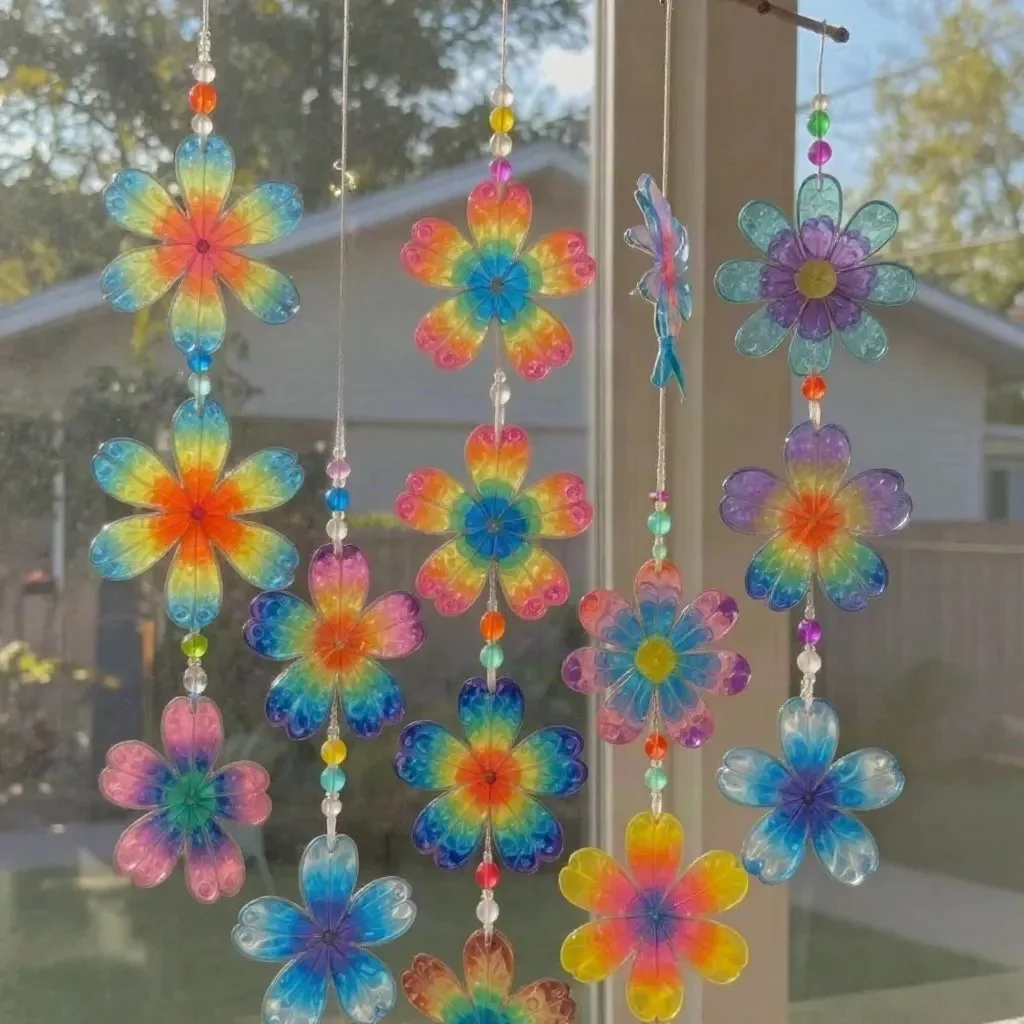
A busy afternoon often leads to a quick and engaging activity that keeps little hands busy and imaginations soaring. If your kids are eager to make something colorful and fun right now, DIY Bottle Window Art can be the perfect solution. This project is easy to start, doesn’t require a long list of supplies, and all ages can participate. You can use simple plastic bottles to create beautiful decorations that catch the sunlight beautifully, adding joy to your home and providing a great platform for creativity. Plus, you can find more inspiring projects, such as DIY glass bead heart suncatchers, to explore once you’ve finished this one.
Why This DIY Bottle Window Art Works So Well
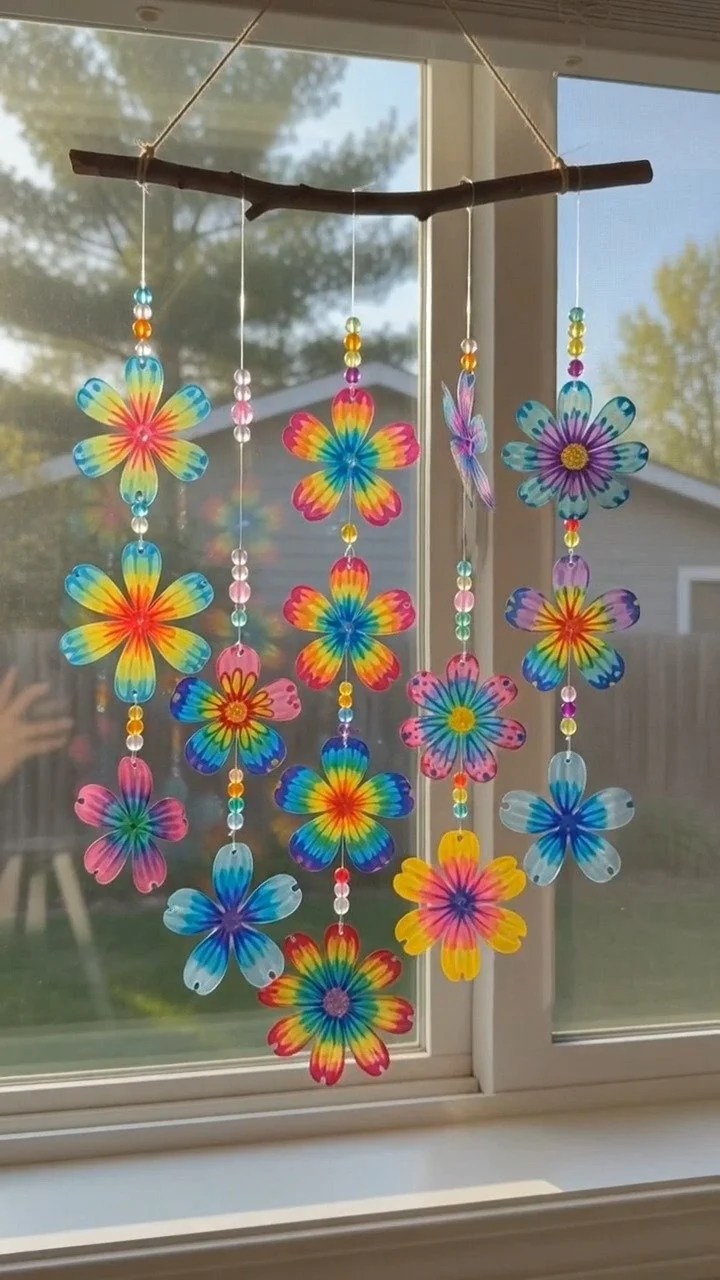
This DIY Bottle Window Art project is low-prep and highly approachable, making it perfect for busy families. The steps are straightforward, and you can accomplish this project together in an afternoon. With just a few materials, anyone can create something special without feeling overwhelmed. The friendly nature of this project is one of its biggest appeals; it doesn’t ask for perfection but rather encourages joy in the creative process. It’s also a reliable activity for kids of all ages, as it can spark ongoing interest in art and crafting. You may also find Diy Self Watering Planters Recycled Bottles useful.
A Quick Look Before You Begin
Getting started with DIY Bottle Window Art is simple and fun, with minimal cleanup. The entire process can be done in about an hour, from gathering materials to hanging your creations. If you consider laying down newspaper or a cloth to catch any spills, that’s smart, as it keeps cleanup easy and relaxing. Adult supervision is advised, especially when using scissors, but kids can take the lead with guidance, making it an educational activity that fosters independence. You may also find Whimsical Bubble Painting Art Kids Diy Fun useful.
Materials You’ll Need
To create your DIY Bottle Window Art, you will need just a handful of basic supplies. Here’s your shopping list: You may also find Baking Soda Crystals Transform Into Glassy Art useful.
- 4 clear plastic water bottles, 16 ounces each
- 1 set of colorful permanent markers
- 1 pair of craft scissors
- 1 single-hole punch
- 10 feet of clear fishing line
- 1 small wooden branch or twig, 12 inches long
The best part? Many of these materials are common household items you might already have on hand. The clear plastic water bottles are particularly budget-friendly, making this project accessible for everyone.
Step-by-Step Directions
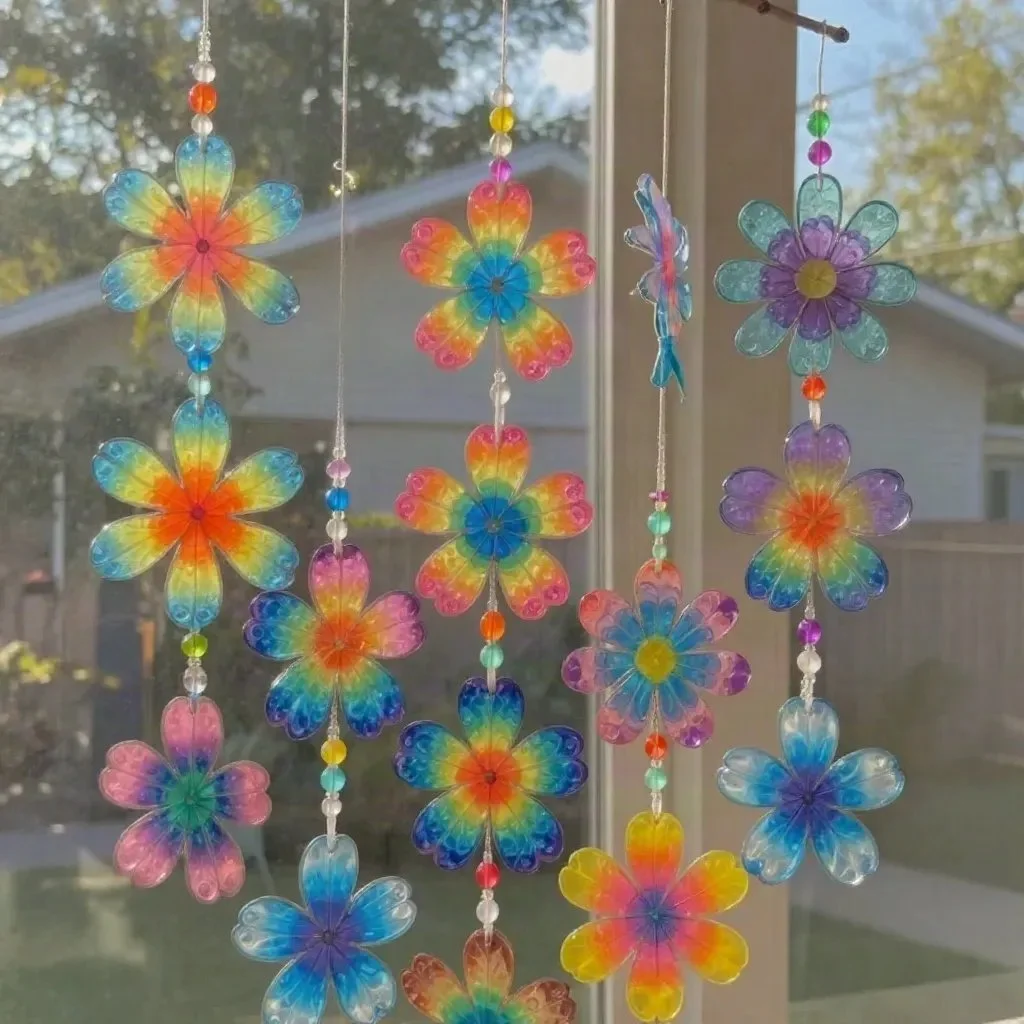
Under adult supervision, cut the plastic bottles into simple flower shapes using the craft scissors. Feel free to create different sizes and styles for a variety of shapes!
Color both sides of each plastic cutout with bright permanent markers. This is where your kids can really express their creativity with different colors and patterns.
Use the single-hole punch to create a small hole at the top edge of each flower. Ensure the hole is just big enough to thread the fishing line without tearing the cutout.
Thread pieces of fishing line through the holes and tie them at varying lengths along the branch. Experiment with the lengths to create a fun visual effect when hung up.
Hang your beautiful creations near a sunny window to enjoy the glowing colors they create! Watch as the sunlight filters through the flowers, creating beautiful shadows and a lively ambiance in your space.
The Learning Behind This DIY

DIY Bottle Window Art is not only about the final product but also offers valuable learning opportunities. While crafting, kids practice fine motor skills as they cut and color their plastic flowers. They get to explore basic science concepts, like light reflection and color mixing, when they engage with different colors and observe how light interacts with their creations. These hands-on activities foster coordination and stimulate creativity, enriching their everyday learning experiences.
Troubleshooting Common Issues
If something doesn’t go as planned during the DIY Bottle Window Art process, don’t worry. Here are a few common problems you might encounter and their solutions. Sometimes, when cutting the plastic bottles, the edges might be sharp. If that happens, you can smooth them down with the scissors or cover them lightly with tape. If the flowers don’t hang well, double-check the holes and ensure they are large enough for the fishing line but not too big to tear. And keep in mind that creativity can sometimes lead to unexpected results, so embrace any unique designs your kids come up with!
Easy Variations to Try
There are multiple fun variations to try with DIY Bottle Window Art. For an extra burst of creativity, consider decorating the flowers with glitter or stickers. You could also paint the bottles instead of coloring them with markers—acrylic paints can provide a different texture and finish. Seasonally themed designs are another great idea; think snowflakes for winter or leaves for fall. If you’re crafting with younger children, you might simplify the shapes or set up pre-cut designs for them to color.
Storing or Reusing This Project
After your beautiful window art has brightened your home, think about how to store or reuse your creations. You can easily take apart the flowers and save the plastic for future projects, thus reducing waste. If the flowers are still in good condition, consider switching them out seasonally to refresh your decor. A small bucket or box can keep them tidy until they’re ready to be displayed again.
FAQs About DIY Bottle Window Art
What if my kids make a mess while coloring? Messes are a part of the creative process! Lay down some newspaper or an old tablecloth to catch spills, and have some baby wipes or damp cloths ready for quick cleanups.
Can younger kids participate? Absolutely! Just supervise closely when using scissors, and help them with cutting shapes if needed. The coloring and assembly can be done by younger children with a little guidance.
How can I store the finished art? You can hang the finished creations or store them in a box for future seasons, which keeps them fresh without cluttering your space.
What if the flowers don’t hang properly? Experiment with different lengths of fishing line to achieve the look you want. Adding some weight to the bottom of the flowers can help them hang more naturally.
Is this project suitable for a school activity? Definitely! This DIY project can engage children creatively while also teaching them about colors and shapes. Just make sure there is adequate adult supervision for the cutting steps.
Conclusion
Conclusion
DIY Bottle Window Art offers a wonderful opportunity for creativity and learning in a relaxed setting. With simple materials and clear steps, it is a project you can easily take on with your kids. Once you’re inspired by this fun activity, you might also want to explore other creative ideas like making a beautiful Christmas wreath or dive into building projects such as how to make a bottle building. These activities can complement your DIY experience and keep the creative momentum going!
PrintDIY Bottle Window Art
Engage your kids in a colorful and fun DIY project that turns plastic bottles into beautiful window decorations.
- Prep Time: 15 minutes
- Cook Time: 45 minutes
- Total Time: 60 minutes
- Yield: 1 project 1x
- Category: Crafts
- Method: Crafting
- Cuisine: N/A
- Diet: N/A
Ingredients
- 4 clear plastic water bottles, 16 ounces each
- 1 set of colorful permanent markers
- 1 pair of craft scissors
- 1 single-hole punch
- 10 feet of clear fishing line
- 1 small wooden branch or twig, 12 inches long
Instructions
- Under adult supervision, cut the plastic bottles into simple flower shapes using the craft scissors.
- Color both sides of each plastic cutout with bright permanent markers.
- Use the single-hole punch to create a small hole at the top edge of each flower.
- Thread pieces of fishing line through the holes and tie them at varying lengths along the branch.
- Hang your beautiful creations near a sunny window to enjoy the glowing colors they create!
Notes
Encourage creativity and let kids express themselves with colors and designs. Adult supervision is advised during cutting steps.
Nutrition
- Serving Size: 1 creation
- Calories: 0
- Sugar: 0g
- Sodium: 0mg
- Fat: 0g
- Saturated Fat: 0g
- Unsaturated Fat: 0g
- Trans Fat: 0g
- Carbohydrates: 0g
- Fiber: 0g
- Protein: 0g
- Cholesterol: 0mg