

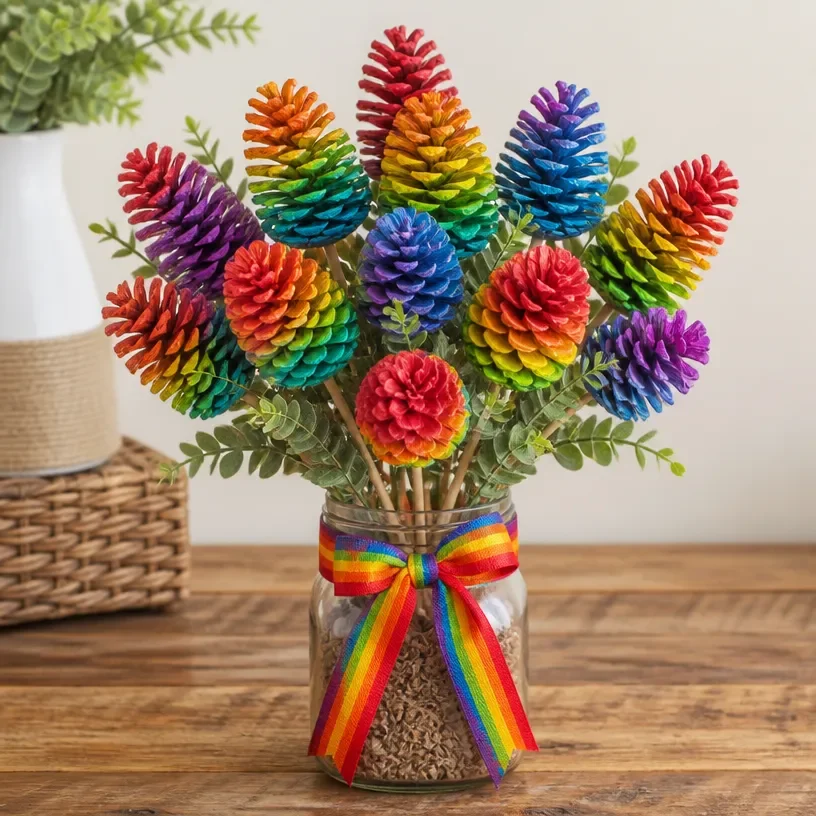
Creating decorations with kids is often the highlight of a busy afternoon. Whether you’re looking for a last-minute activity to keep the little ones engaged or want to add some vibrant flair to your home, making a Vibrant Rainbow Pinecone Bouquet for Home Decor can be both fun and fulfilling. This project is not only easy but also allows for creativity while using items you might already have at home. You may also find Colorful Rainbow Pinecone Bouquet Home Decor useful.
Why This Vibrant Rainbow Pinecone Bouquet for Home Decor Works So Well
You may also find Vibrant Rainbow Feather Window Art Home Decor useful.
This DIY project stands out because it’s incredibly low-prep and approachable, making it a great choice for families. It uses everyday materials that you likely have lying around, so there’s no need for extensive shopping or planning. The instant happiness and colorful appeal of the completed bouquet bring a sense of joy and achievement, perfect for busy schedules where time is often limited. Moreover, it’s an excellent way to engage children in crafting, promoting their creativity while also enhancing their fine motor skills. You may also find Vibrant Rainbow Mandala Window Art Home Decor useful.
A Quick Look Before You Begin
Before diving into the crafting, let’s go over what to expect. This project typically takes about an hour, depending on how elaborately you wish to decorate your pinecone bouquet. The setup is straightforward clear a space on a table where everyone can gather, ensuring you have enough room for all the materials. While there’s a chance for some mess (glitter will be involved!), a simple cover-up with newspaper can make cleanup easier. It’s a relaxing activity, and adult supervision is helpful, especially when using glue or scissors. You may also find Colorful Home Decor Diy Rainbow Spoon Petal Wreath useful.
Materials You’ll Need
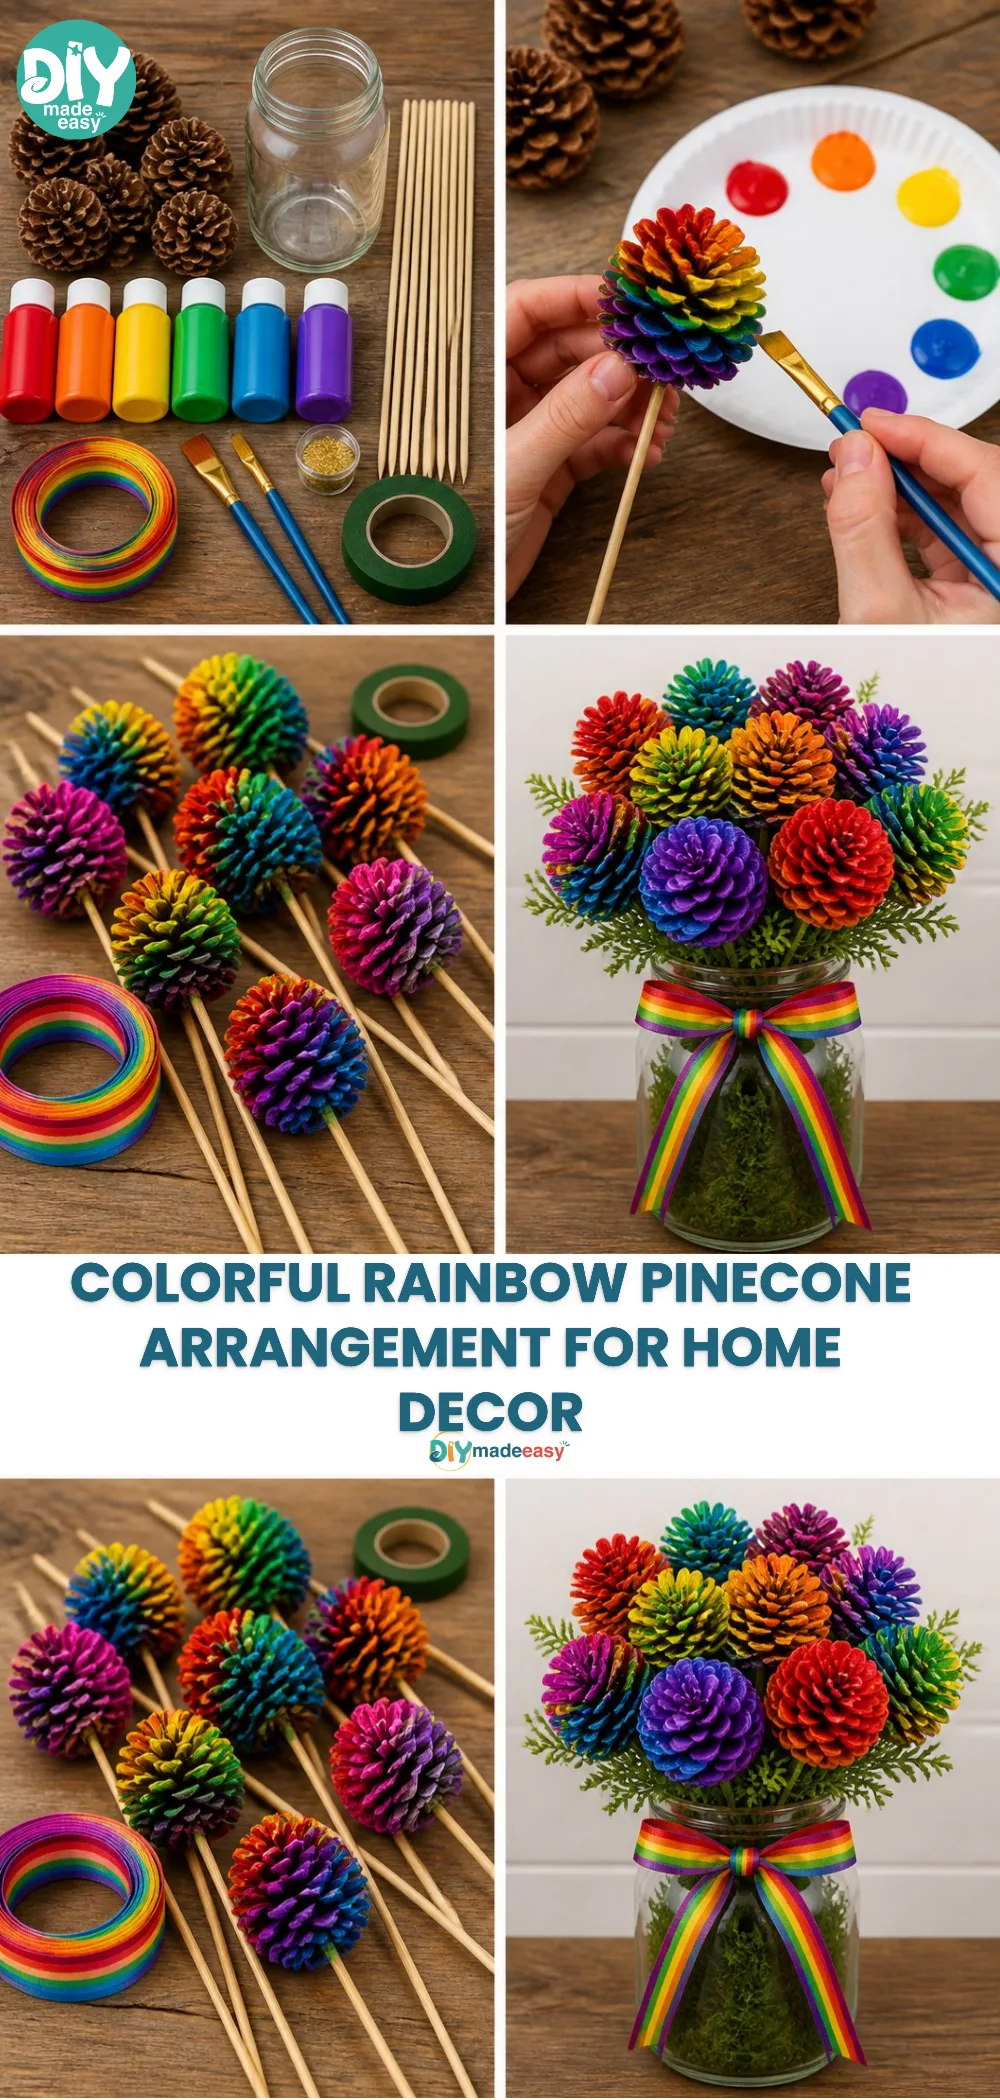
Here’s a simple list of what you’ll need to create your Vibrant Rainbow Pinecone Bouquet:
- Pinecones: these are common in the fall but can be gathered any time.
- Acrylic paints: choose a variety of vibrant colors.
- Paintbrushes: you can use different sizes for varied effects.
- Glue: for securing decorations.
- Decorative items: glitter, ribbons, or faux flowers to embellish.
- Vase or container: to hold your bouquet.
- Water for cleanup: since paint can be messy.
Gathering these materials will prepare you for a creative adventure!
Step-by-Step Directions
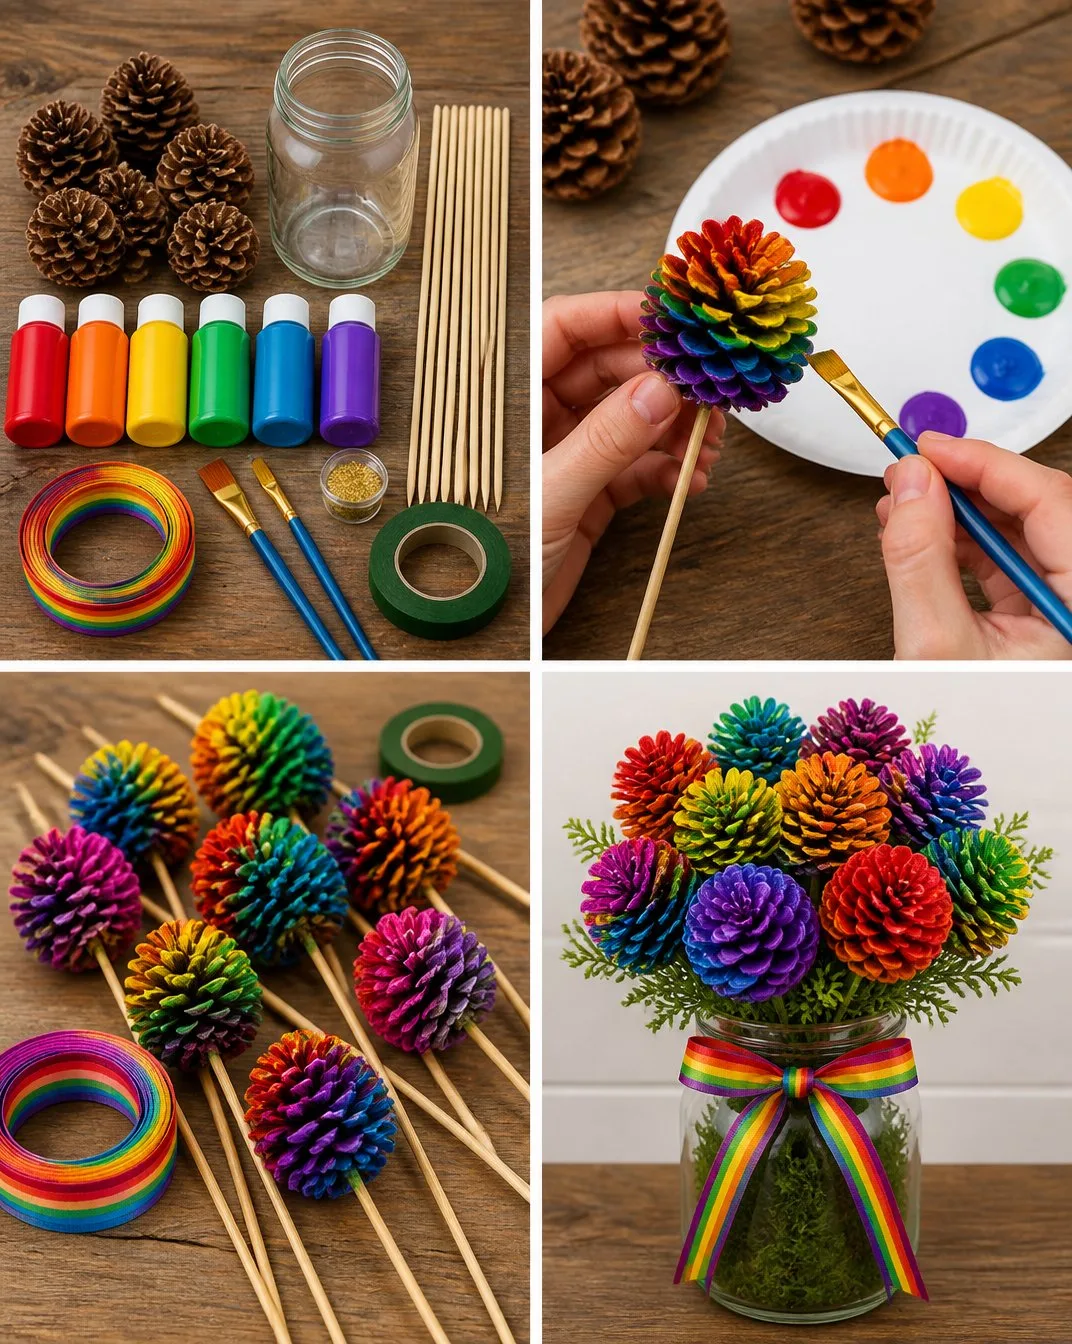
- Collect your pinecones: Start by gathering a handful of pinecones. Ensure they are clean and dry to allow for better paint adherence.
- Prepare your workspace: Cover the table with newspaper or an old cloth to catch any paint spills. Set up your materials within easy reach.
- Paint the pinecones: Using your paintbrush, start painting the pinecones in vibrant colors. Feel free to let the kids express their creativity by mixing colors.
- Add embellishments: Once the paint is dry, apply glue to areas of the pinecones and sprinkle glitter or attach decorative items like ribbons or faux flowers for extra flair.
- Assemble the bouquet: Arrange the finished pinecones in your chosen vase or container. You can cluster them or place them in a pattern that pleases you.
- Display your creation: Find a bright spot in your home to show off your colorful bouquet, bringing a burst of color and joy to your space.
What Kids Practice While Making This
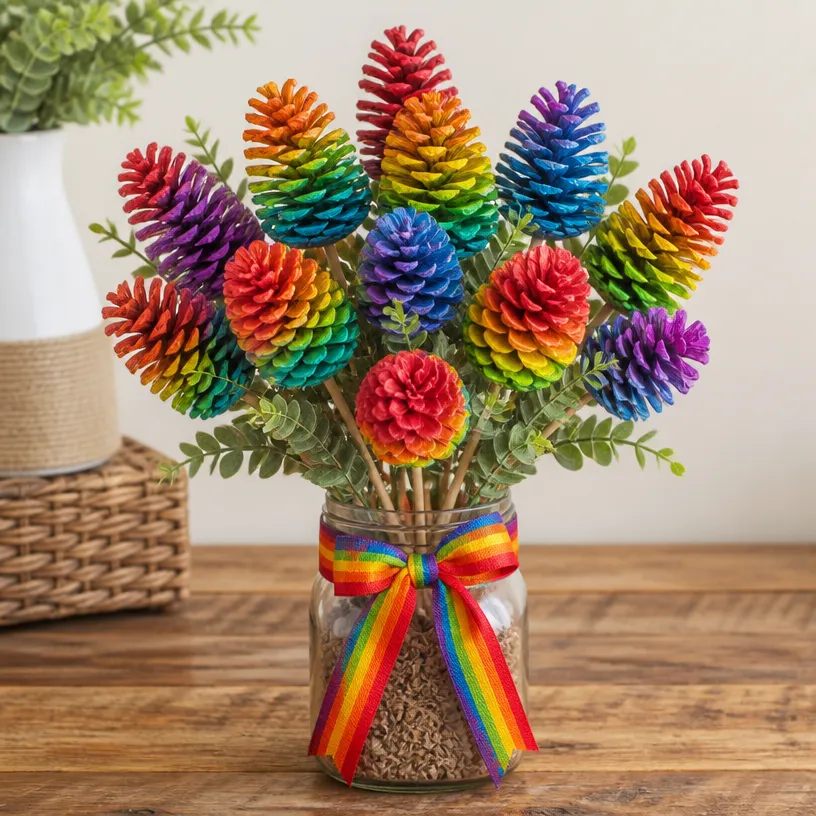
This DIY craft isn’t just about creating a beautiful centerpiece; it also encourages kids to practice several beneficial skills. As they paint, they improve their fine motor skills, enhancing their hand-eye coordination. The act of choosing colors and arranging decorations instills decision-making skills. Additionally, this project teaches patience, as they wait for paint and glue to dry. Best of all, they gain a sense of accomplishment from completing a project they can proudly display at home.
Troubleshooting Common Issues
If you find your paint isn’t sticking well, it might be due to moisture on the pinecones, so always ensure they are thoroughly dry. If the paint starts to chip, applying a sealer can protect the colors. Sometimes, glitter may seem too sparse when added; consider applying more glue for better adhesion or mixing glitter with paint for a more dramatic effect.
Easy Variations to Try
If you’re looking to switch things up, consider these variations:
- Seasonal Themes: Try painting the pinecones in pastel colors for spring or warm tones for fall.
- Mini Bouquets: Make smaller versions using mini pinecones for a cute table setting.
- Nature Elements: Combine pinecones with other nature finds like acorns or dried leaves for added texture.
- Themed Colors: Create a bouquet based on a favorite holiday or seasonal celebration, like bright red and green for Christmas.
Storing or Reusing This Project
After enjoying your beautiful bouquet, you can either store it for future use or reuse the materials creatively. If you choose to keep it, find a safe spot where it won’t get damaged. When it’s time to clean up, avoid throwing anything away just yet those glue bottles can be refilled, and you can use leftover paints in future crafts!
FAQs About Vibrant Rainbow Pinecone Bouquet for Home Decor
How messy will this project be?
Mess can vary, especially with paint and glitter. It’s best to cover your workspace and have cleanup supplies handy.
What’s the suitable age range for this activity?
This project is suitable for ages five and up, but younger kids can participate with adult supervision.
Can I use different types of glue?
Yes, you can use any type of glue, but a school glue or craft glue is easiest for little hands to manage.
What if I don’t have pinecones?
You can use items like paper mâché shapes or cardboard cutouts for a similar effect.
How can I store this project after it’s completed?
Consider placing it in a cool, dry area, and you can reuse the materials for future crafts or seasonal decor.
Conclusion
Conclusion
Crafting a Vibrant Rainbow Pinecone Bouquet is not just a fun DIY project; it’s an opportunity to create lasting memories with your kids. It allows you to use basic materials to make something beautiful and unique. For further inspiration, you can explore a delightful Pride Flower Arrangement on Etsy or consider creating a Rainbow Dahlia Bouquet with Cupcake-Liner Accents for even more festive decoration ideas. Both options can enhance your home decor creatively!
PrintVibrant Rainbow Pinecone Bouquet for Home Decor

A fun DIY project to create a colorful and vibrant bouquet using pinecones and craft supplies, perfect for home decor.
- Prep Time: 10 minutes
- Cook Time: 50 minutes
- Total Time: 60 minutes
- Yield: 1 bouquet
- Category: Craft
- Method: DIY Crafting
- Cuisine: N/A
- Diet: N/A
Ingredients
- Pinecones
- Acrylic paints (various vibrant colors)
- Paintbrushes (different sizes)
- Glue
- Decorative items (glitter, ribbons, faux flowers)
- Vase or container
- Water (for cleanup)
Instructions
- Collect your pinecones: Gather a handful of clean and dry pinecones.
- Prepare your workspace: Cover the table with newspaper or an old cloth.
- Paint the pinecones: Using paintbrushes, paint the pinecones in vibrant colors.
- Add embellishments: Apply glue to the pinecones and sprinkle glitter or attach decorative items.
- Assemble the bouquet: Arrange the painted pinecones in your vase or container.
- Display your creation: Find a bright spot in your home to showcase your colorful bouquet.
Notes
Encourage creativity and patience while crafting. Adult supervision is recommended, especially with glue and scissors.
Nutrition
- Serving Size: 1 bouquet
- Calories: 0
- Sugar: 0g
- Sodium: 0mg
- Fat: 0g
- Saturated Fat: 0g
- Unsaturated Fat: 0g
- Trans Fat: 0g
- Carbohydrates: 0g
- Fiber: 0g
- Protein: 0g
- Cholesterol: 0mg