

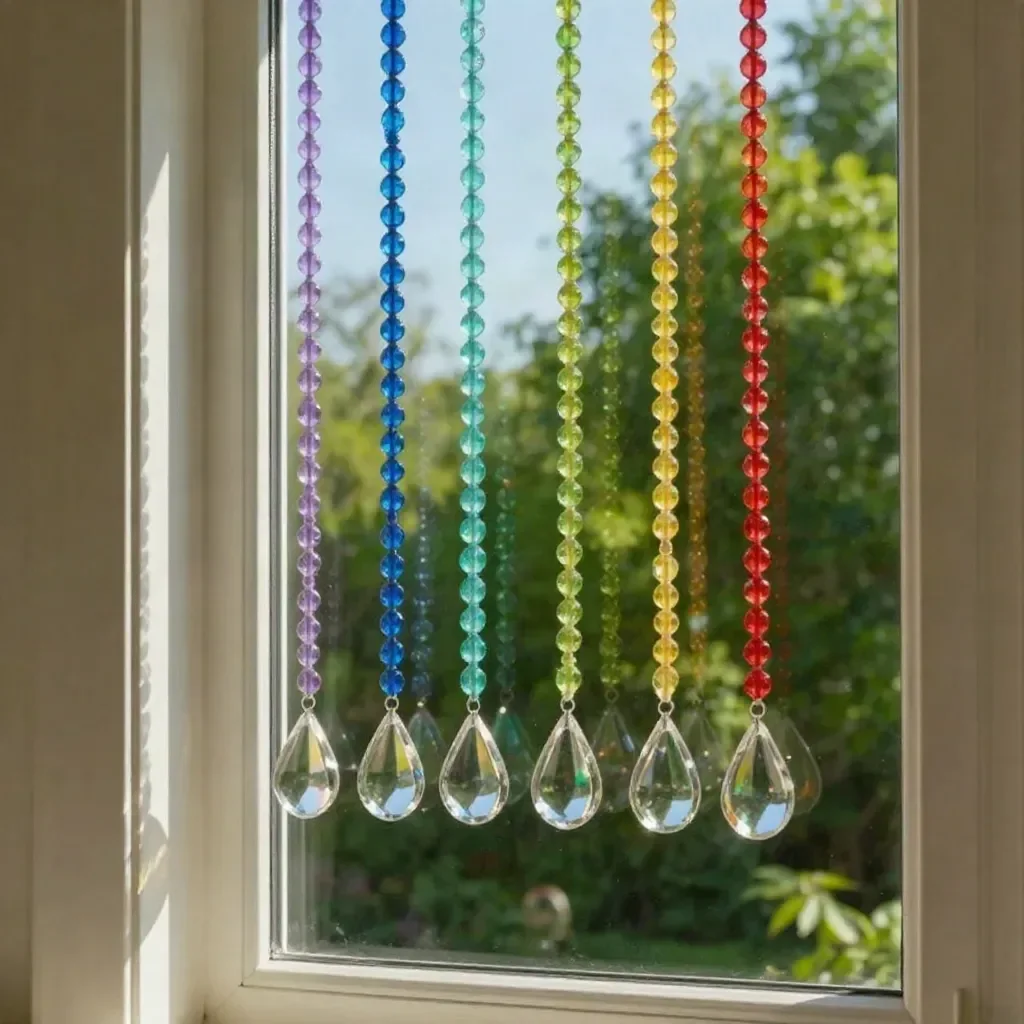
Creating a Colorful Rainbow Bead Curtain for Windows might just be the perfect weekend project for families. With a busy afternoon ahead, your kids may be eager to dive into a creative activity that would brighten up their room and make their space feel warm and welcoming. The fun part of making a colorful bead curtain is that it combines artistry with simple crafting techniques, which leads to an engaging experience. Beyond just being a decorative item, this project brings together colors and light to create an enchanting atmosphere inside your home. Plus, it’s a delightful way to spend time together while encouraging creativity. You may also find Baking Soda Rainbow Crystal Forest useful.
Why This Colorful Rainbow Bead Curtain for Windows Works So Well
This project stands out for its low-prep nature and simplicity. You don’t need advanced art skills or a long list of materials; in fact, I would say it’s very forgiving, which helps keep the stress at bay. Another great aspect is that it’s a reliable activity for various age groups. Younger children might need a little extra help, while older kids can take charge and make it their own. By using the vibrant transparent beads and prisms, you can create a visual treat that enhances any space. It makes for a satisfying result without lengthy setup or cleanup times, making it ideal for busy families. You may also find Colorful Rainbow Crystal Leaf Sun Catcher useful.
A Quick Look Before You Begin
Making your Colorful Rainbow Bead Curtain is an engaging activity that requires approximately an afternoon. Setting up your materials will take just a few minutes, and the crafting itself is quite straightforward. This project has a low mess level since it mostly involves stringing beads, and with a little preparation, adult involvement can be minimal. You’ll find it easy to manage the time, making it a delightful experience for everyone. You may also find Colorful Rainbow Jellyfish Salt Art Tutorial useful.
Materials You’ll Need
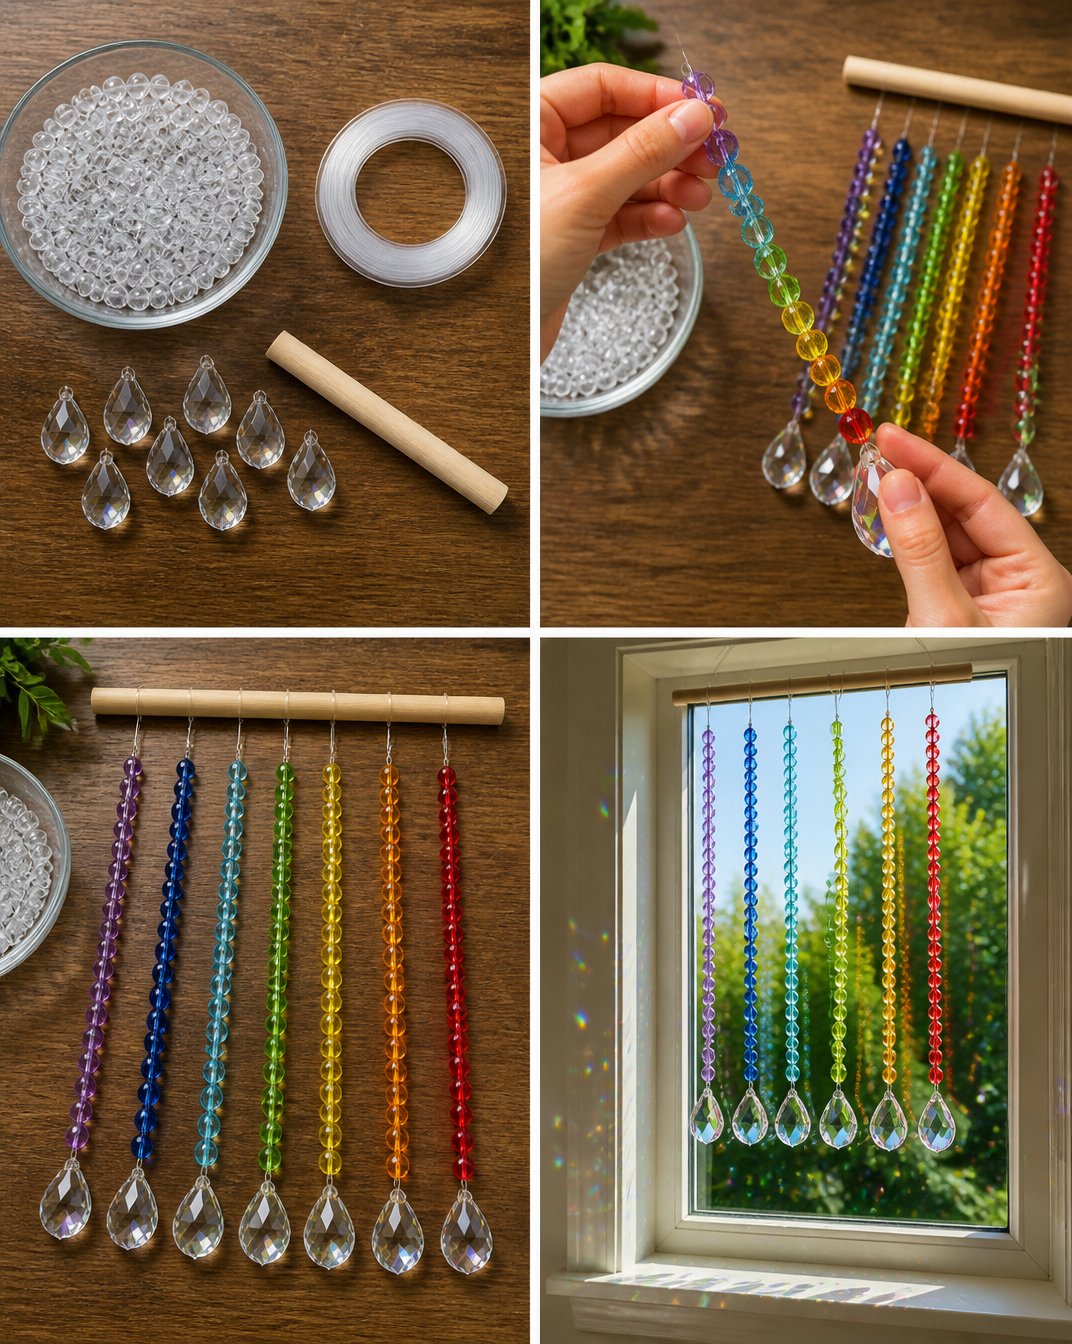
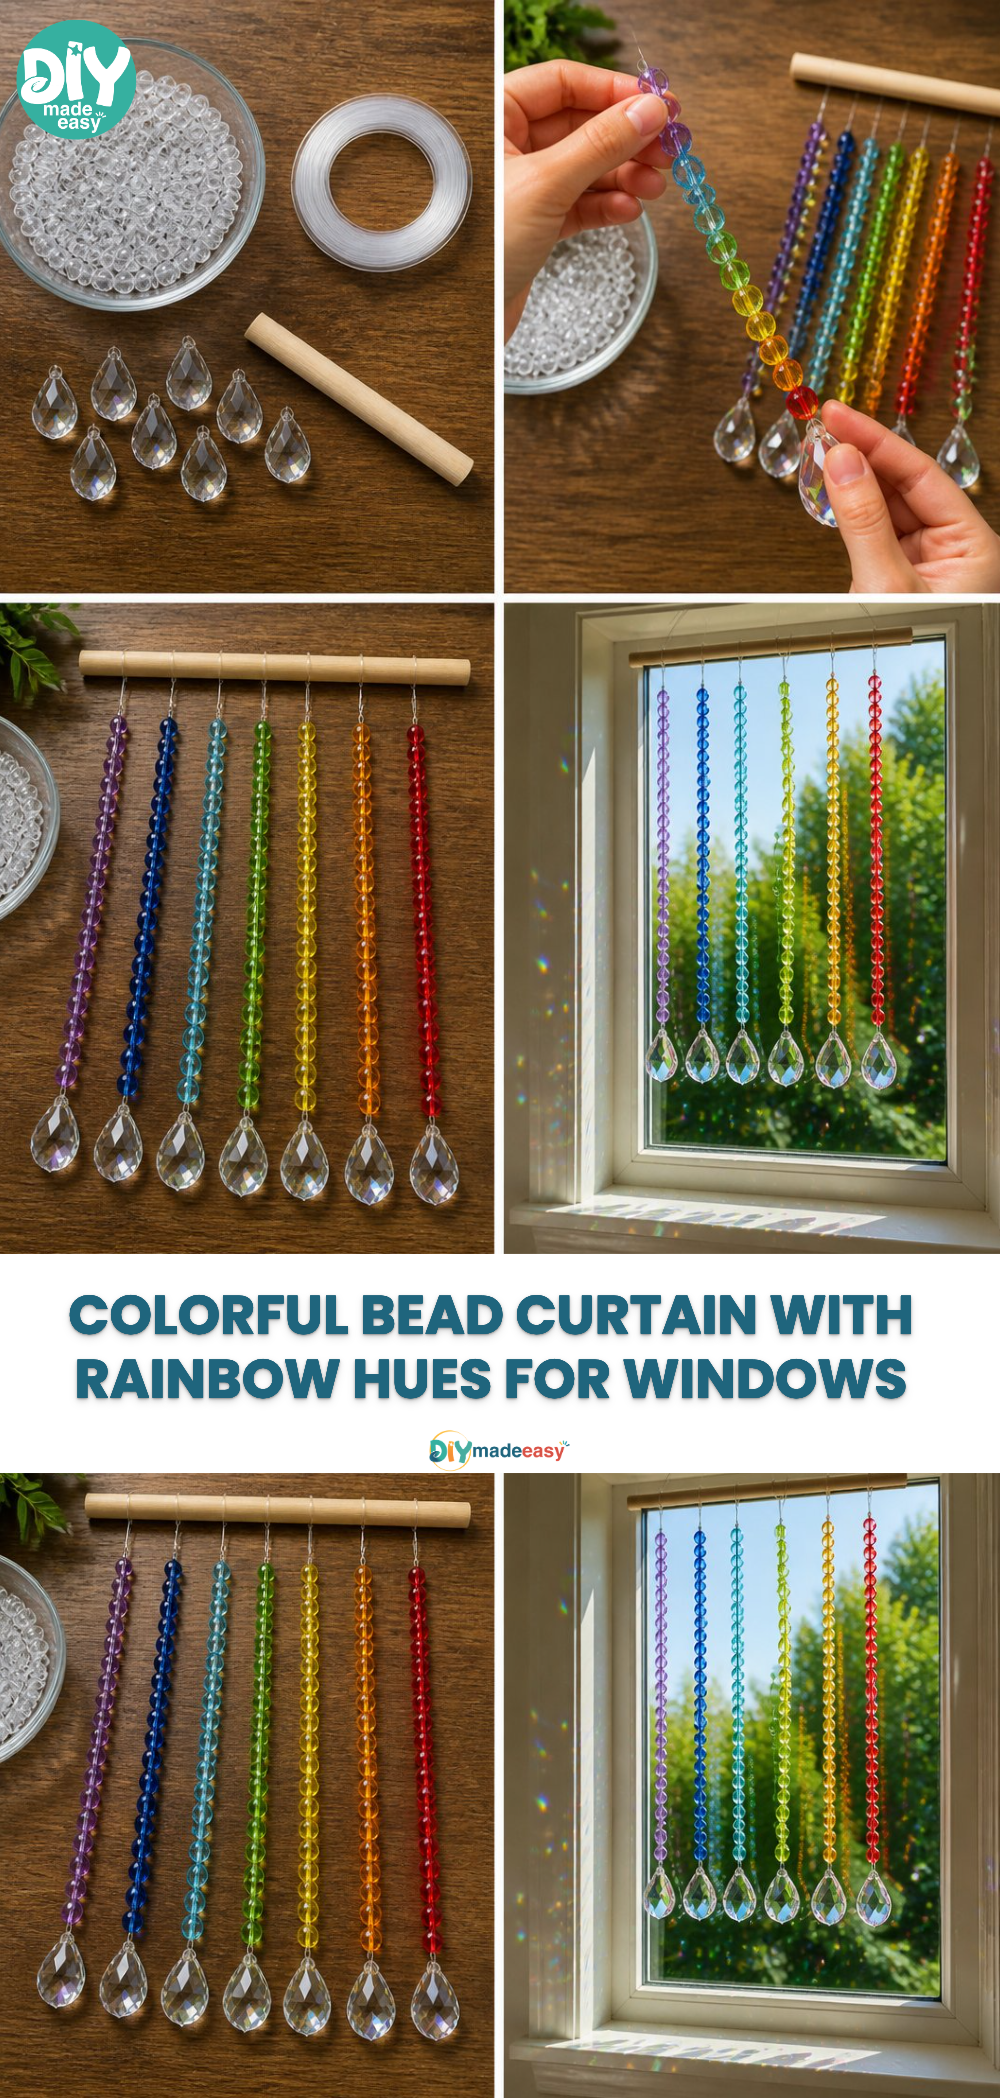
To create your own Colorful Rainbow Bead Curtain, gather the following materials:
- 300 transparent beads
- Fishing line
- Small wooden dowel
- 7 prism drops
These items are likely easy to find around your home or at a local craft store; many families have fishing line, and wooden dowels are often available in crafting kits. The beads and prisms will add a beautiful touch and help catch the light beautifully. Create an inviting atmosphere without spending too much money or time.
Step-by-Step Directions
String the Beads: Begin by stringing seven graduated rainbow strands of beads. Consider an arrangement of colors that flow naturally from one to the next.
Adding the Prisms: Once you reach the desired length on each strand, attach a prism to each end. This will not only add elegance to your curtain but also reflect light beautifully through your window.
Secure the Strands: After your strands are created, tie them to the small wooden dowel. Ensure they are spaced evenly, so everything hangs nicely.
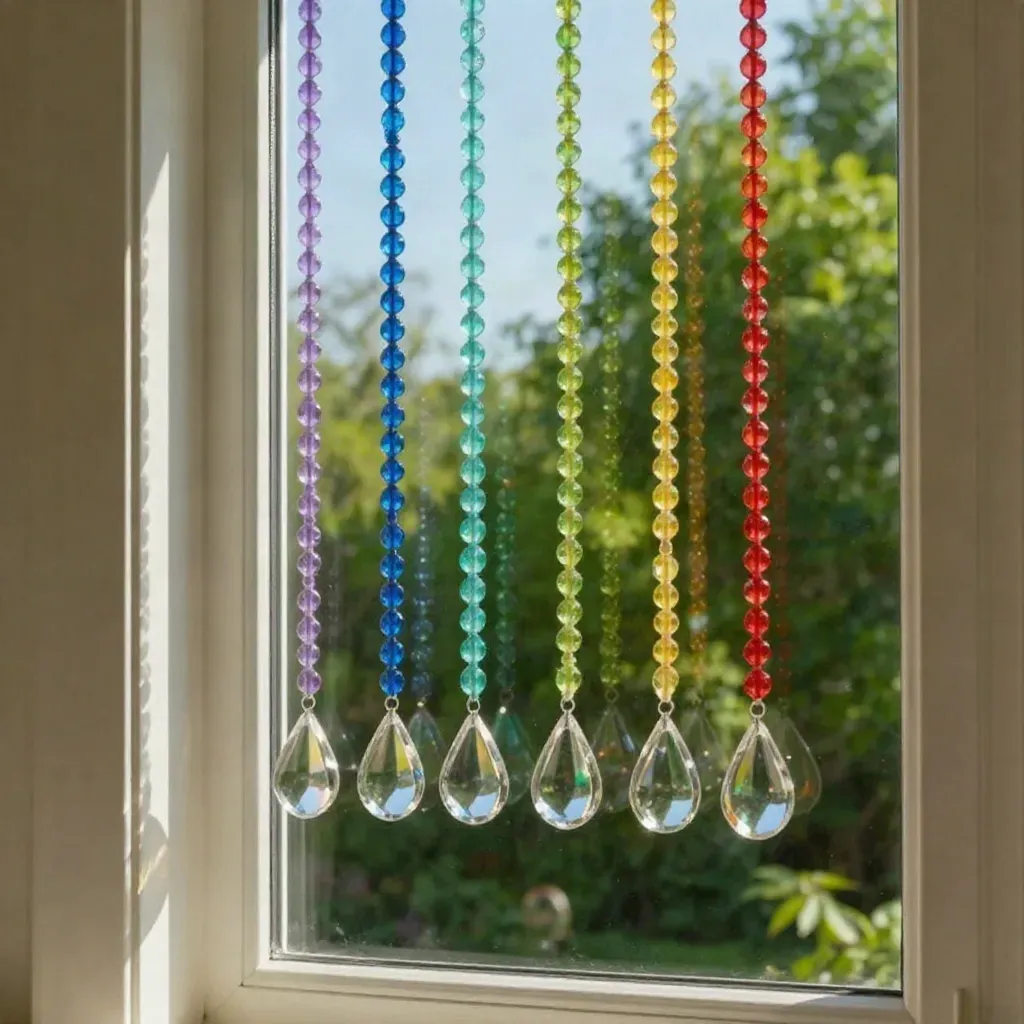
Final Setup: Hang your completed bead curtain on a window. You may need to adjust things slightly to ensure the curtain hangs just right and looks balanced.
Creating this colorful curtain can be a lovely and rewarding experience. The moment you hang your creation up and see how it transforms the space, you’ll feel a great sense of accomplishment.
The Learning Behind This DIY
Crafting this Colorful Rainbow Bead Curtain isn’t just about aesthetics; it’s also a great opportunity for kids to build various essential skills. The activity involves fine motor skills as children learn to string the beads carefully without dropping them. It encourages coordination by aligning the patterns they want to create and managing the lengths of string used. Moreover, working with the prisms introduces a basic understanding of light and how different directions and angles affect the way we see colors. It’s a wonderful blend of creativity and education.
Troubleshooting Common Issues
As with any DIY project, certain challenges may arise. If the strands become tangled or the beads don’t slide smoothly, take a moment to slow down and untangle them gently. Sometimes, the fishing line can be tricky to manage; using a bead mat can help prevent spills and keep things organized. If the prisms don’t seem to catch the light as you expected, consider the placement of your curtain. It needs to be in direct sunlight to maximize that beautiful rainbow effect.
Easy Variations to Try
Seasonal Themes: Change up your bead colors to reflect the seasons, like pastels for spring or rich reds and oranges for autumn.
Additional Decorations: Add charms, small feathers, or even paper flowers strung between beads for extra visuals and a personal touch.
Different Arrangements: Instead of traditional rainbow order, experiment with patterns, such as striped or corner gradients.
By thinking outside the box, you can keep the project fresh and exciting each time you create a bead curtain.
Storing or Reusing This Project
After enjoying your Colorful Rainbow Bead Curtain, consider carefully storing or reusing the materials for future projects. If you decide to take it down, hang the curtain neatly in a storage box or bag to prevent tangling. The beads can always be reused for new crafts, such as making colorful organizers or other decorative items. Embracing the reusable nature of these materials can help in reducing waste while also keeping your crafting alive.
FAQs About Colorful Rainbow Bead Curtain for Windows
Q: Will making this project create a big mess?
A: Generally, no. While you may drop a few beads here and there, the project can be managed with a simple mat or tray to catch items as you work.
Q: What age group is suitable for this activity?
A: This project works well for various ages; younger kids might need extra supervision, while older children can work independently.
Q: Can I use different types of beads?
A: Absolutely! If you have beads from past projects, feel free to mix and match. Just keep in mind that the transparency and weight can affect the final look and light effect.
Q: How can I store the materials after the project?
A: Consider using a zippered bag or a plastic container to keep the beads and tools organized for next time.
Q: What if I want to change the colors later?
A: Simply take the strings down, and you can easily switch out the beads for new colors to match your mood or season.
A Final Helpful Note
Don’t stress if things don’t turn out perfectly; the goal is to enjoy the process of creating something special together. Embrace the exploration, and remember, it’s okay to be flexible with plans. Each bead you string together is a step towards a more colorful life, and the memories made while crafting together are priceless.
Conclusion
If you’re feeling inspired to add a decorative touch to your home, you might want to explore more options like rainbow beaded curtains available on Amazon for a ready-made solution. Additionally, for something with a bubbly appeal, consider checking out the bubbles beaded curtain from Shop Wild Things. Both can enhance your home aesthetic in unique ways. Happy crafting!
PrintColorful Rainbow Bead Curtain for Windows
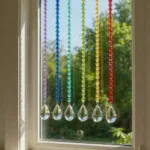
A fun and engaging DIY project to create a colorful rainbow bead curtain that brightens up any window and enhances your home’s atmosphere.
- Prep Time: 5 minutes
- Cook Time: 0 minutes
- Total Time: 180 minutes
- Yield: 1 curtain 1x
- Category: Crafts
- Method: DIY
- Cuisine: N/A
- Diet: N/A
Ingredients
- 300 transparent beads
- Fishing line
- Small wooden dowel
- 7 prism drops
Instructions
- String the beads: Begin by stringing seven graduated rainbow strands of beads.
- Adding the prisms: Attach a prism to each end of the strands.
- Secure the strands: Tie them to the small wooden dowel, spacing evenly.
- Final setup: Hang your completed bead curtain on a window, adjusting for balance.
Notes
This project is perfect for families and encourages creativity while building essential skills. It’s also low-mess and can be adapted for various ages.
Nutrition
- Serving Size: 1 curtain
- Calories: 0
- Sugar: 0g
- Sodium: 0mg
- Fat: 0g
- Saturated Fat: 0g
- Unsaturated Fat: 0g
- Trans Fat: 0g
- Carbohydrates: 0g
- Fiber: 0g
- Protein: 0g
- Cholesterol: 0mg