

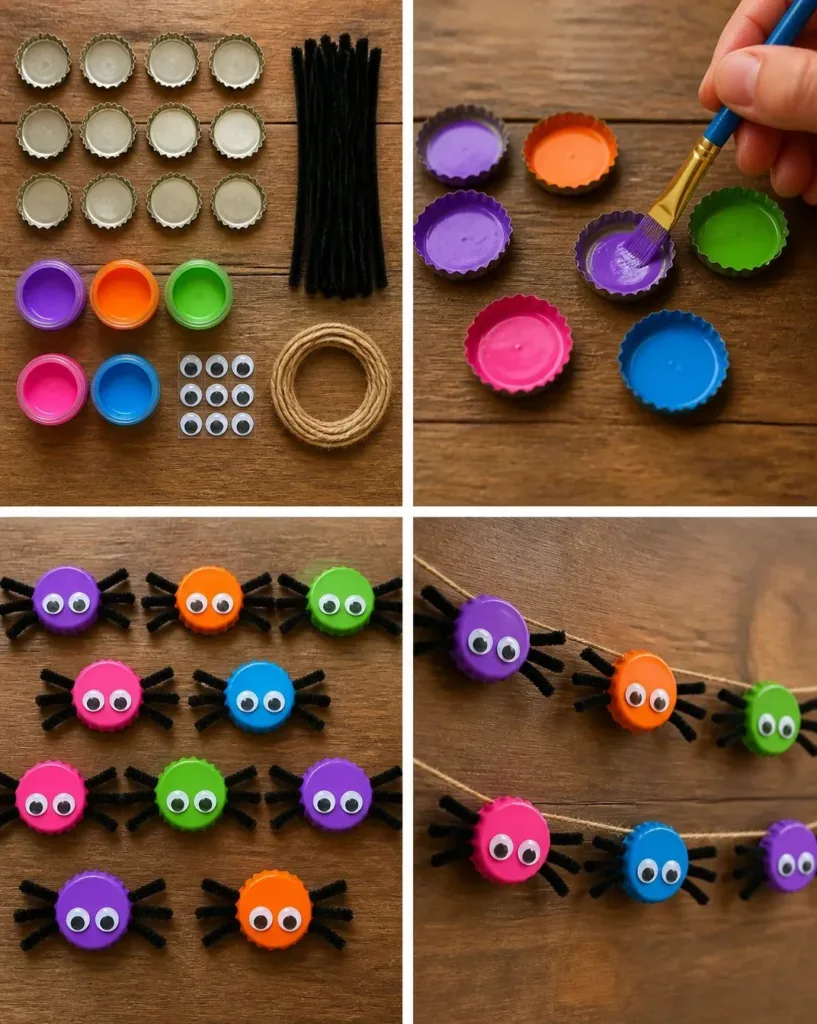
Creating decorations for Halloween can sometimes feel overwhelming, especially as the holiday approaches and kids express their need for creative projects. Whether you have a busy afternoon or a last-minute request for something fun, the DIY Halloween Decor: Bottle-Cap Spider Garland project offers a perfect solution. This whimsical garland not only adds a playful touch to your home but also invites little hands to create spooky decorations that spark joy and imagination. Plus, it uses simple materials you likely have around the house, making it both accessible and entertaining. You may also find Colorful Halloween Decor Bottle Cap Spider Garland useful.
Why You’ll Love Making DIY Halloween Decor: Bottle-Cap Spider Garland
You may also find Diy Rainbow Coffee Filter Ghost Garland Halloween Decor useful.
The DIY Halloween Decor: Bottle-Cap Spider Garland is a fantastic project because it’s low-prep and almost mess-free, allowing you to quickly dive into crafting without spending hours on setup. With just a few easily obtainable supplies, you’ll find that it’s approachable and reliable, fitting seamlessly into even the tightest schedules. This garland can appeal to a range of ages, from younger kids who can help with painting to older children who can take on the entire creation process. It’s all about engaging together in something that feels festive and fun. You may also find Diy Bat Garland Tie Dye Coffee Filters useful.
A Quick Look Before You Begin
The flow of making the Bottle-Cap Spider Garland moves quickly, making it a perfect afternoon activity. The total time from start to finish isn’t much, and most of it is simply allowing the paint to dry. Expect a bit of excitement as the colors come together and your little ones express their creativity. You may also find Diy Cheesecloth Ghosts Halloween useful.
Having an adult present can help assist with glue, cutting pipe cleaners to size, and keeping the workspace organized, but the kids can absolutely lead the project. Overall, you’ll be bringing together a celebration of creativity and the Halloween spirit with this cheerful decoration.
Materials You’ll Need
- 12 bottle caps
- Something you can save from drinks; budget-friendly option.
- Purple paint
- Adds a spooky Halloween feel.
- Orange paint
- Creates that classic Halloween vibe.
- Green paint
- A fun pop of color.
- Pink paint
- For some unexpected charm.
- Blue paint
- Adds an extra fun element.
- Black pipe cleaners
- A must for furry spider legs.
- Googly eyes
- Makes your spiders look alive.
- String
- To hang your creepy creation.
Gathering these supplies will be hassle-free, with most items often found around your home or easily accessible at local stores. Not only will this save you time, but it will also keep your project budget-friendly.
Step-by-Step Directions
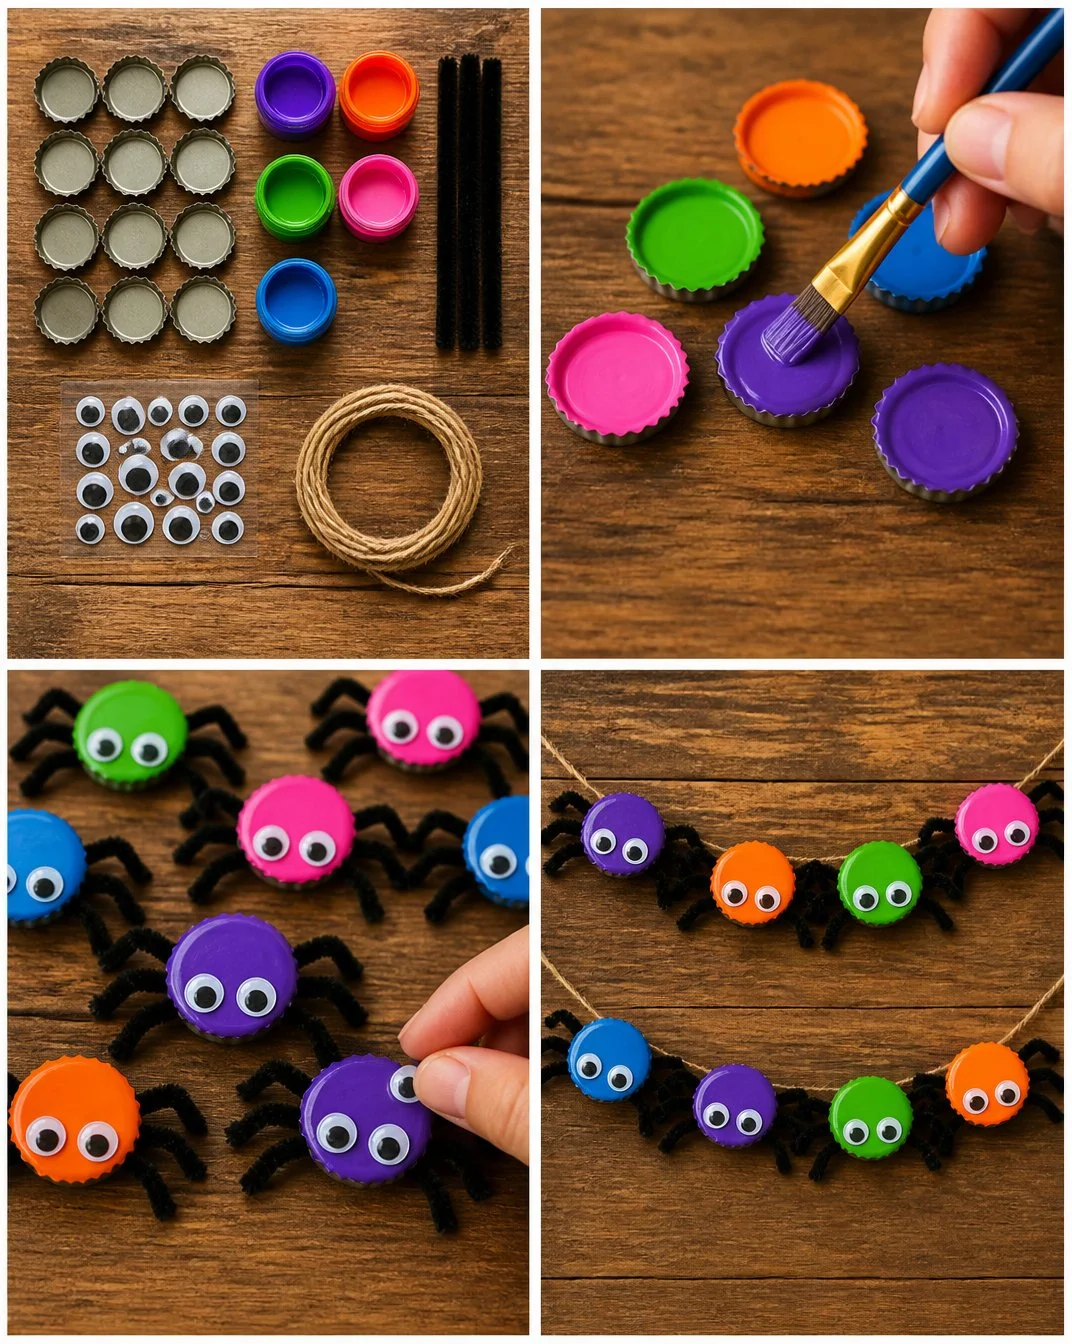
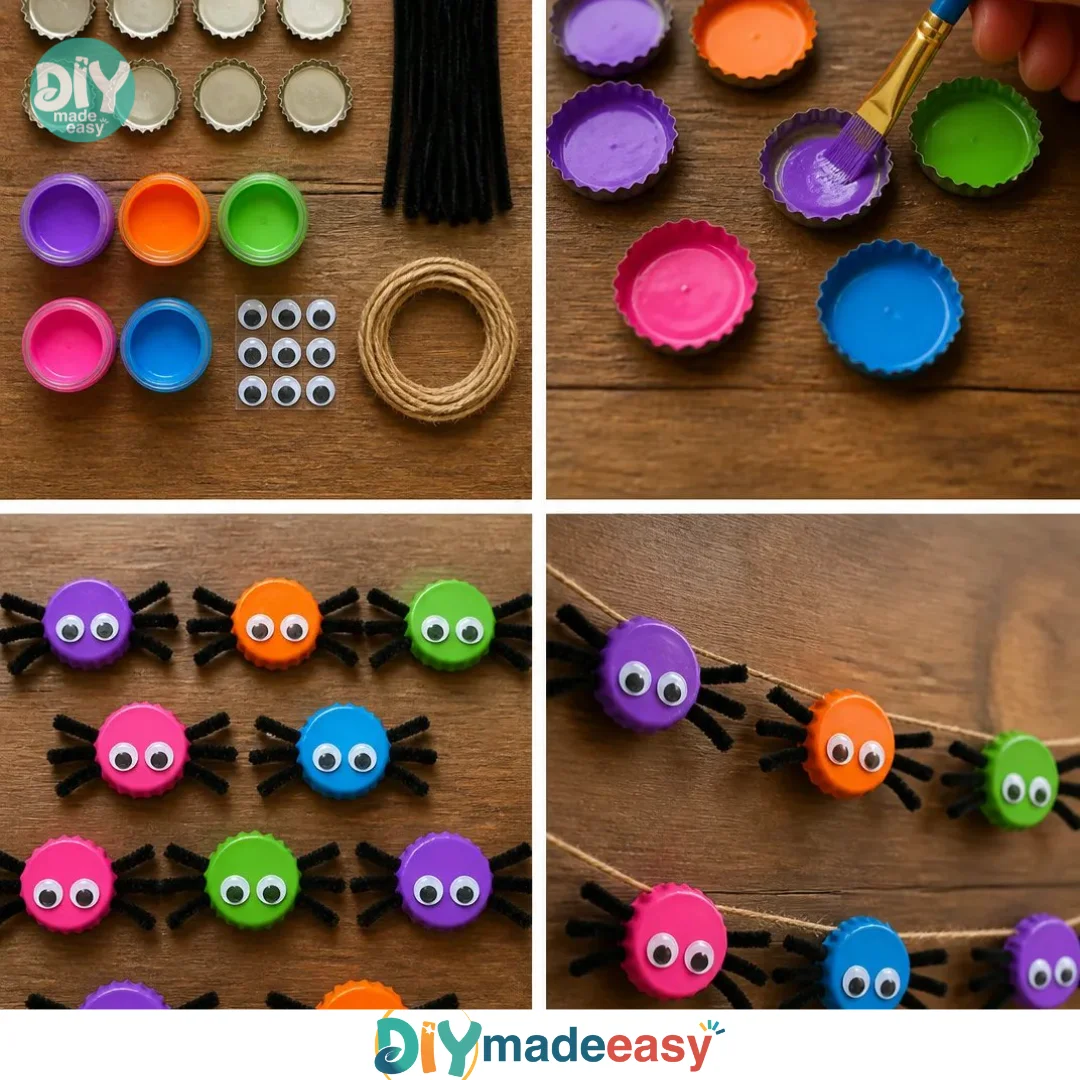
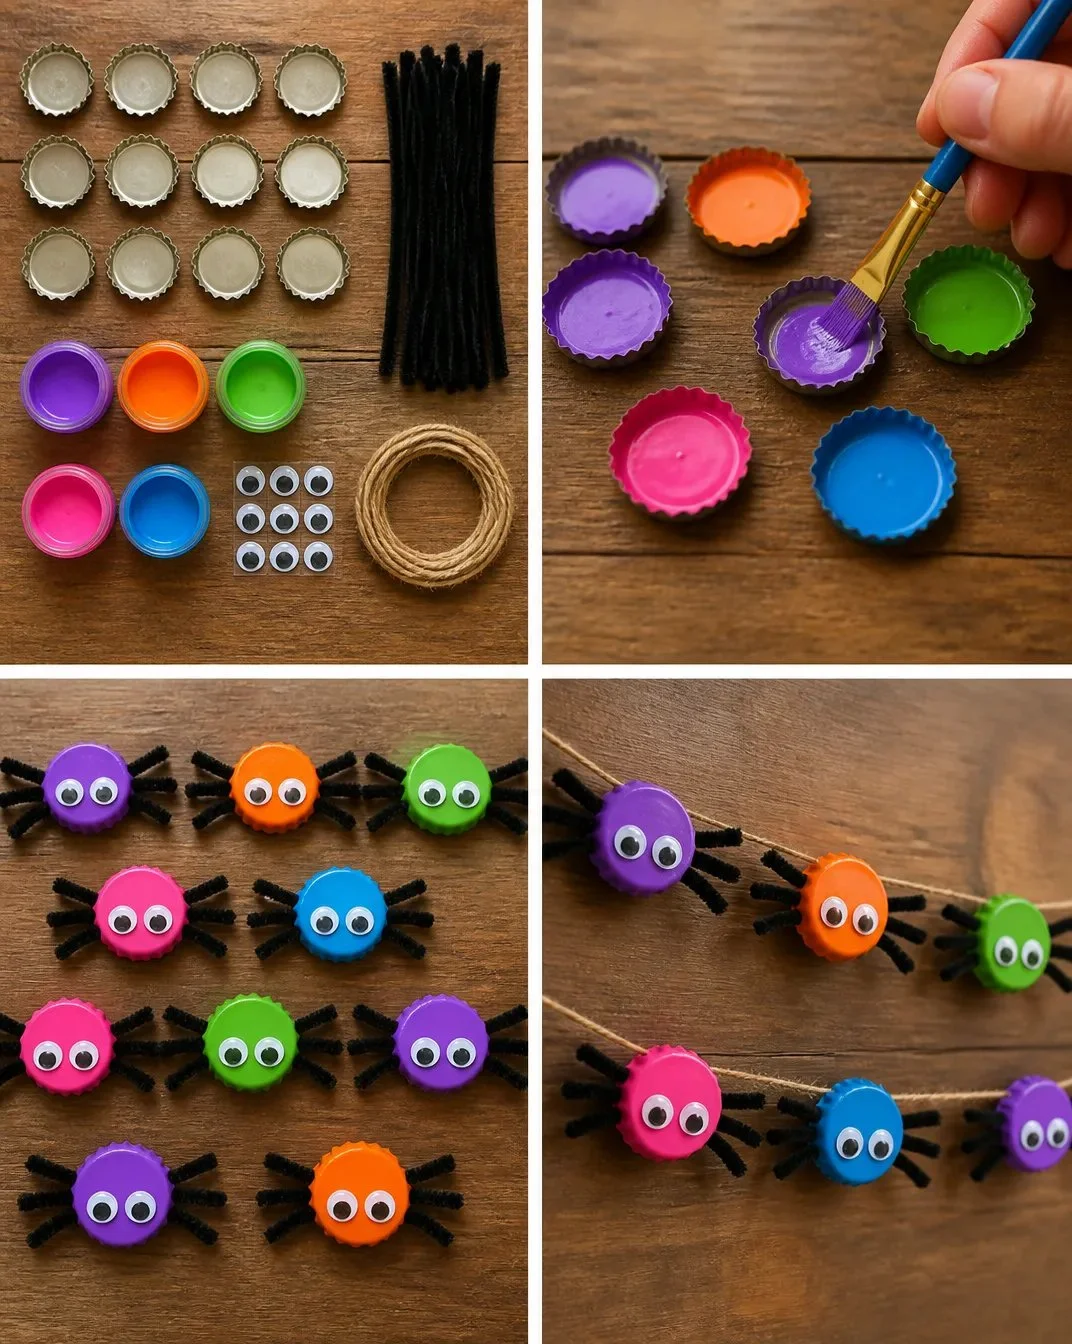
Paint the Bottle Caps: Start by painting the 12 bottle caps in a mix of purple, orange, green, pink, and blue. Let them sit and dry completely to create a vibrant foundation for your spiders. This step is where the fun begins, as kids can choose their colors based on their personality and Halloween spirit.
Prepare the Legs: Once the paint is dry, cut the black pipe cleaners into short leg pieces. Aim for about 4 legs for each spider, ensuring they’ll stand out when attached to the caps.
Build the Spiders: Take each painted bottle cap and glue four legs to each side, giving your spider a spidery appearance. Kids will enjoy this part as they can get creative with where they want to place the legs.
Add the Eyes: Now, glue googly eyes onto the front of each spider. Watch as the spiders begin to come alive! Allow all the parts to set firmly before moving on to the final assembly.
Finish the Garland: Tie or glue the completed spiders at even intervals along a length of string. Make sure they’re spaced out nicely to create a playful Halloween garland that will look great whether you hang it indoors or outdoors.
What Kids Practice While Making This
As your kids engage in making the Bottle-Cap Spider Garland, they are not just having fun; they are also developing valuable skills. This activity encourages fine motor skills as they paint, cut, and glue. They’ll learn to coordinate their movements, improving hand-eye coordination and dexterity.
Additionally, they’ll experience a sense of cause-and-effect by seeing how their actions lead to the final product. The colorful variety of paints allows for creativity, while the themed focus on Halloween introduces a gentle lesson on the seasons and celebrations around us.
Troubleshooting Common Issues
Common issues might arise during your crafting session, such as paint not sticking or legs that feel wobbly. If the paint seems to peel or the bottle caps are too slippery, make sure they are thoroughly cleaned before applying paint.
In case leg pieces fall off, simply re-glue them and add extra pressure, ensuring they stay affixed. If used loosely, pipe cleaners can sometimes bend easily, making the spiders look uneven; you can always cut longer pieces and adjust them accordingly.
Easy Variations to Try
Changing up the bottle-cap spider design can keep your project feeling fresh. Here are a few creative twists you might consider trying:
- Glow-in-the-Dark Paint: Use glow-in-the-dark paint to add a spooky effect that shines in dim light, creating an added layer of fun for Halloween night.
- Different Shapes: Instead of just spiders, consider creating other Halloween shapes, such as ghosts or bats, using the same materials.
- String Lengths: Vary the lengths of string for a more dynamic garland hanging with spiders at different levels.
- Color Theme: Choose a specific color theme based on your decor or a favorite Halloween character for a unique twist.
Storing or Reusing This Project
Once Halloween is over, storing the Bottle-Cap Spider Garland can be a breeze. Simply untie or cut the string, and carefully place the spiders in a ziplock bag or a box to keep them intact for the next year. You can also encourage kids to think about repurposing the decorations for other events or crafts.
FAQs About DIY Halloween Decor: Bottle-Cap Spider Garland
Is this project suitable for younger children?
Yes, with adult supervision for cutting and gluing, younger children can participate in the fun aspects of painting and assembling the spiders.
What if I don’t have all the exact colors?
You can easily substitute with whatever paint colors you have on hand! The key is to have fun and be creative, so don’t worry about being exact.
Can I use another type of glue?
Absolutely! If you prefer, school glue or a hot glue gun can work well. Just remember to supervise closely with younger kids when using hot tools.Will these decorations last? With proper care while handling, your bottle-cap spiders can last through the Halloween season. Be cautious about exposure to moisture or direct sunlight, as these factors can deteriorate the materials over time.
A Final Helpful Note
Crafting your own DIY Halloween Decor: Bottle-Cap Spider Garland offers a great blend of creativity and fun, making it easier to relish the spirit of the holiday. Encourage your kids to embrace their creativity in a flexible, stress-free manner. Enjoy the time spent together, and remember that the outcome is more about having fun than perfection!
Conclusion
For additional festive crafting ideas, check out this guide on Halloween Decorations – Spooky Ghost Garland or explore a collection of crafts with 10+ Easy Spider Crafts that can complement your Halloween decorations!
PrintDIY Halloween Decor: Bottle-Cap Spider Garland

This DIY project creates a fun and whimsical bottle-cap spider garland perfect for Halloween, allowing kids to engage in a creative activity while enhancing their fine motor skills.
- Prep Time: 10 minutes
- Cook Time: 30 minutes
- Total Time: 40 minutes
- Yield: 1 garland 1x
- Category: Craft
- Method: Crafting
- Cuisine: N/A
- Diet: N/A
Ingredients
- 12 bottle caps
- Purple paint
- Orange paint
- Green paint
- Pink paint
- Blue paint
- Black pipe cleaners
- Googly eyes
- String
Instructions
- Paint the bottle caps in a mix of purple, orange, green, pink, and blue, then let them dry completely.
- Prepare the legs by cutting black pipe cleaners into short pieces, aiming for 4 legs per spider.
- Build the spiders by gluing four legs to each painted bottle cap.
- Add googly eyes to the front of each spider and let set firmly.
- Finish the garland by tying or gluing the spiders at even intervals along a length of string.
Notes
Encourage creativity by allowing kids to choose their colors and placements. Supervision is recommended, especially for cutting and glueing.
Nutrition
- Serving Size: 1 decoration
- Calories: 0
- Sugar: 0g
- Sodium: 0mg
- Fat: 0g
- Saturated Fat: 0g
- Unsaturated Fat: 0g
- Trans Fat: 0g
- Carbohydrates: 0g
- Fiber: 0g
- Protein: 0g
- Cholesterol: 0mg