

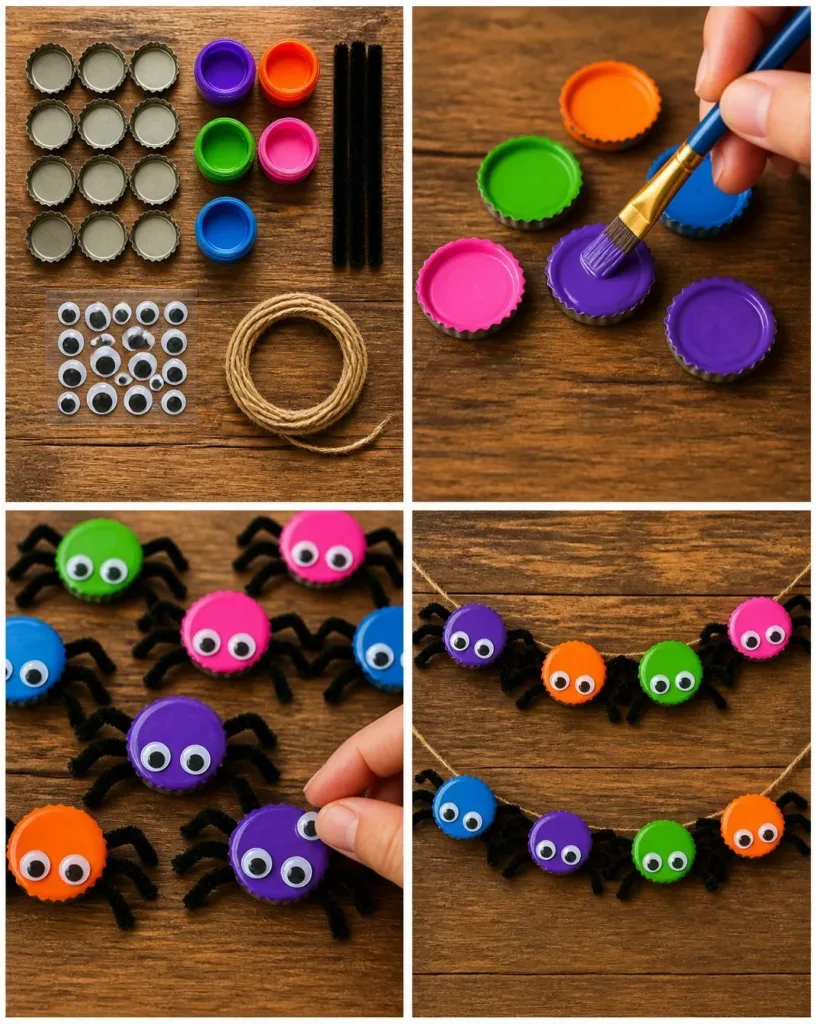
Kids have a knack for transforming ordinary moments into creative bursts, especially on a busy afternoon or when they suddenly feel inspired to craft something unique. If you’re struggling to find a quick and fun project, look no further than the Colorful Halloween Bottle-Cap Spider Garland. This project not only keeps your little ones engaged but also gives them a chance to explore their artistic side with colorful bottle caps. What you’ll love about this activity is that it combines simple materials with a hands-on approach that yields quick results, making it perfect for a last-minute craft session. You may also find Colorful Baking Soda And Vinegar Reaction useful.
Why This Colorful Halloween Bottle-Cap Spider Garland Works So Well
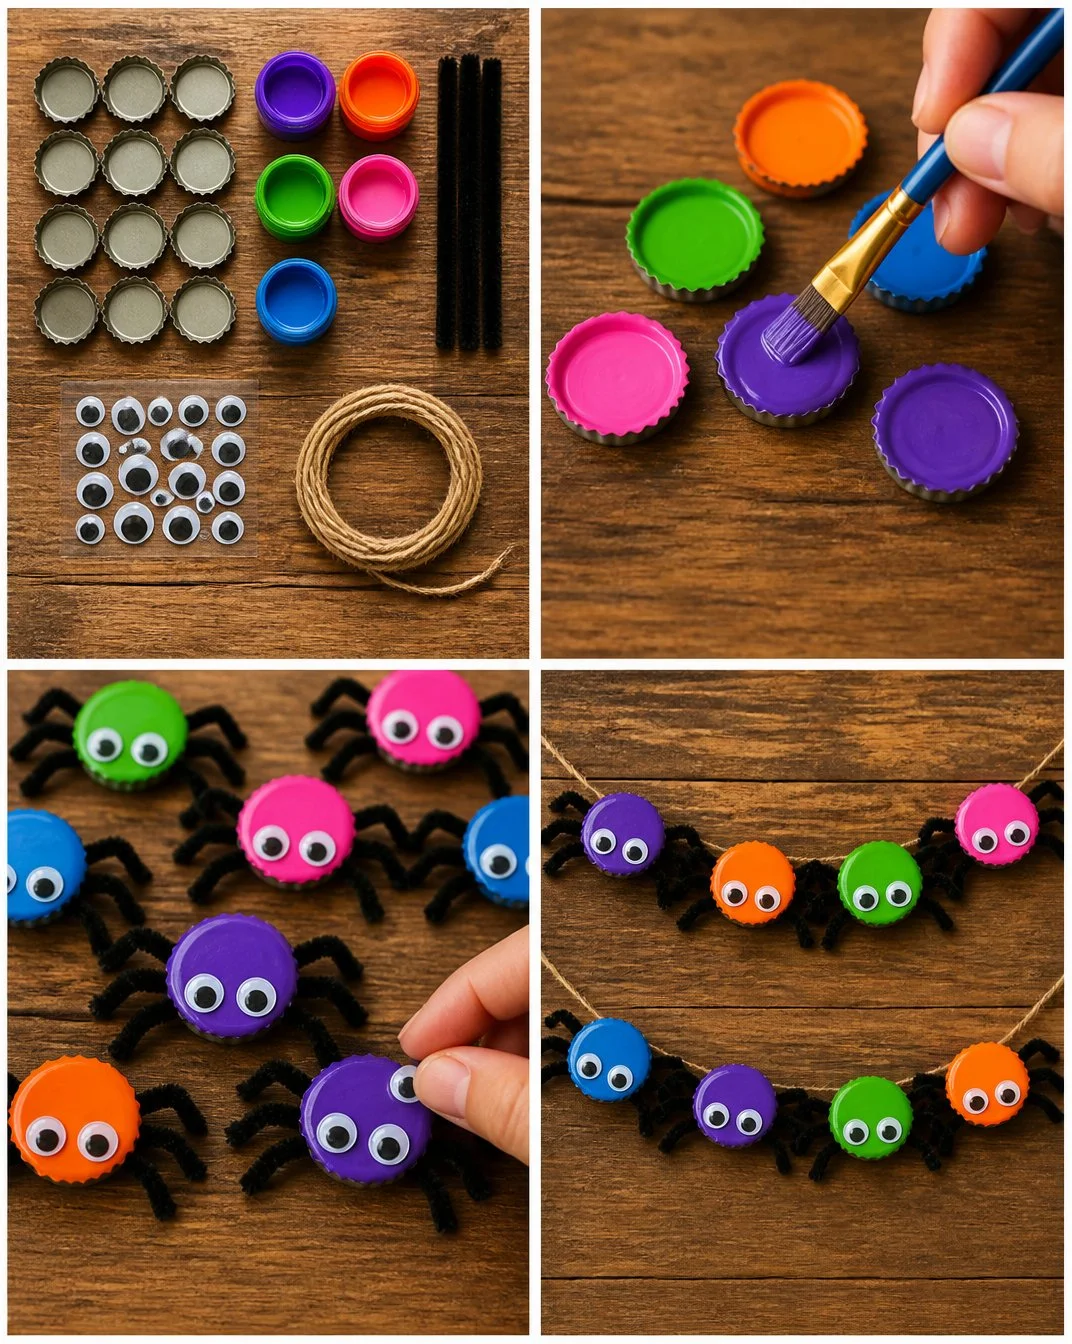
One of the primary reasons the Colorful Halloween Bottle-Cap Spider Garland is so appealing is its low-prep nature. With just a few household items, you can dive into a creative project without extensive planning or shopping trips. The use of bottle caps allows for a variety of colors and designs, making it easy for kids of all ages to contribute their flair to the final creation. Given that kids often have busy schedules, this garland craft is straightforward and reliable. You won’t need to worry about complex steps or hard-to-find materials. Just gather what you already have at home, and you’re set to go! You may also find Colorful Chromatography Coffee Butterflies useful.
A Quick Look Before You Begin
Creating your Colorful Halloween Bottle-Cap Spider Garland takes minimal time, making it a great option for those families looking for a quick project. The setup is straightforward, meaning you can get started in no time. Expect a relatively low mess level; most of the materials are easy to clean up. Depending on their age, kids may need a bit of guidance, especially during the glue application. However, this hands-on craft helps build their confidence, and they’ll love seeing their hard work come together as they create each fun spider! You may also find Colorful Diy Bioplastic Suncatchers useful.
Materials You’ll Need
- Empty and clean bottle caps (varied colors)
- Black string or twine
- Googly eyes
- Craft glue
- Scissors
- Optional: Paint or markers
It’s great to note that you probably have many of these materials lying around your home. The bottle caps can be a fun way to repurpose items you may otherwise discard, making this project not just budget-friendly but also eco-conscious. If you want to go the extra mile, you can personalize the bottle caps with paint or markers, adding an entirely new layer of creativity to your garland. You may also find Colorful Eco Friendly Bioplastic Suncatchers useful.
Step-by-Step Directions
Prepare the Bottle Caps: Start by selecting your favorite bottle caps. This is the fun part—let your kids personalize them using paint or markers. Encourage them to think about different designs, colors, and even patterns. Allow the caps to dry completely before moving on to the next step.
Cut the String: Measure and cut a length of black string or twine according to how long you want your garland to be. A good rule of thumb is to make it at least a foot longer than where you plan on hanging it, allowing for some extra length and adjustments.
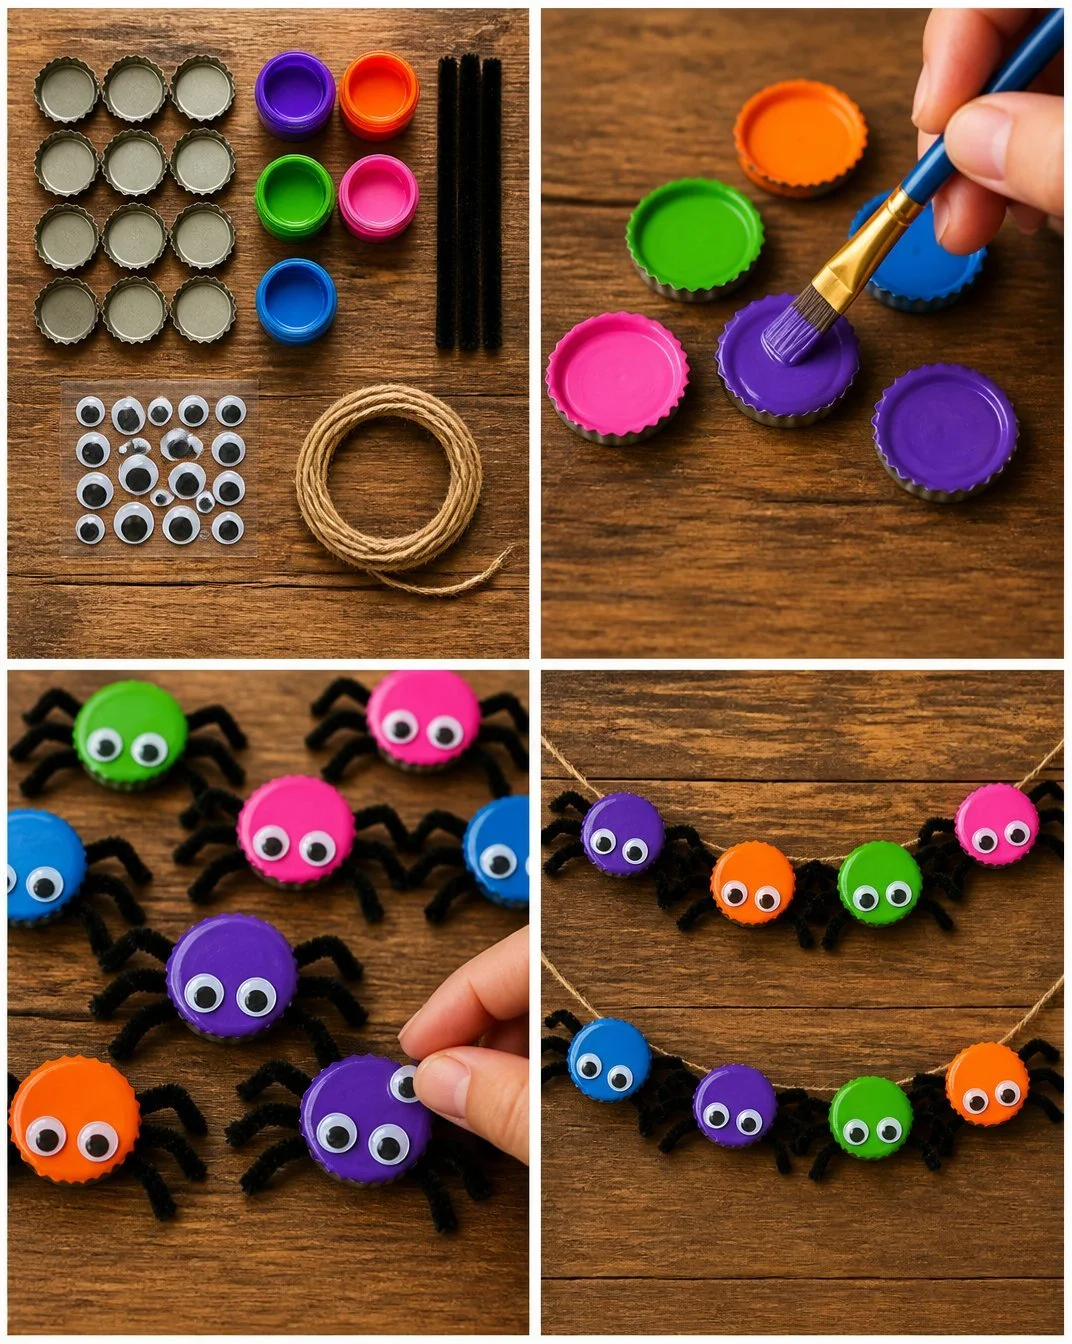
Create the Spiders: Once the bottle caps are dry, it’s time to attach the googly eyes. Use craft glue to secure a pair of eyes to each cap. This is a great opportunity for your children to practice their fine motor skills, as they carefully place the eyes just right. Leave them to dry for a bit before continuing.
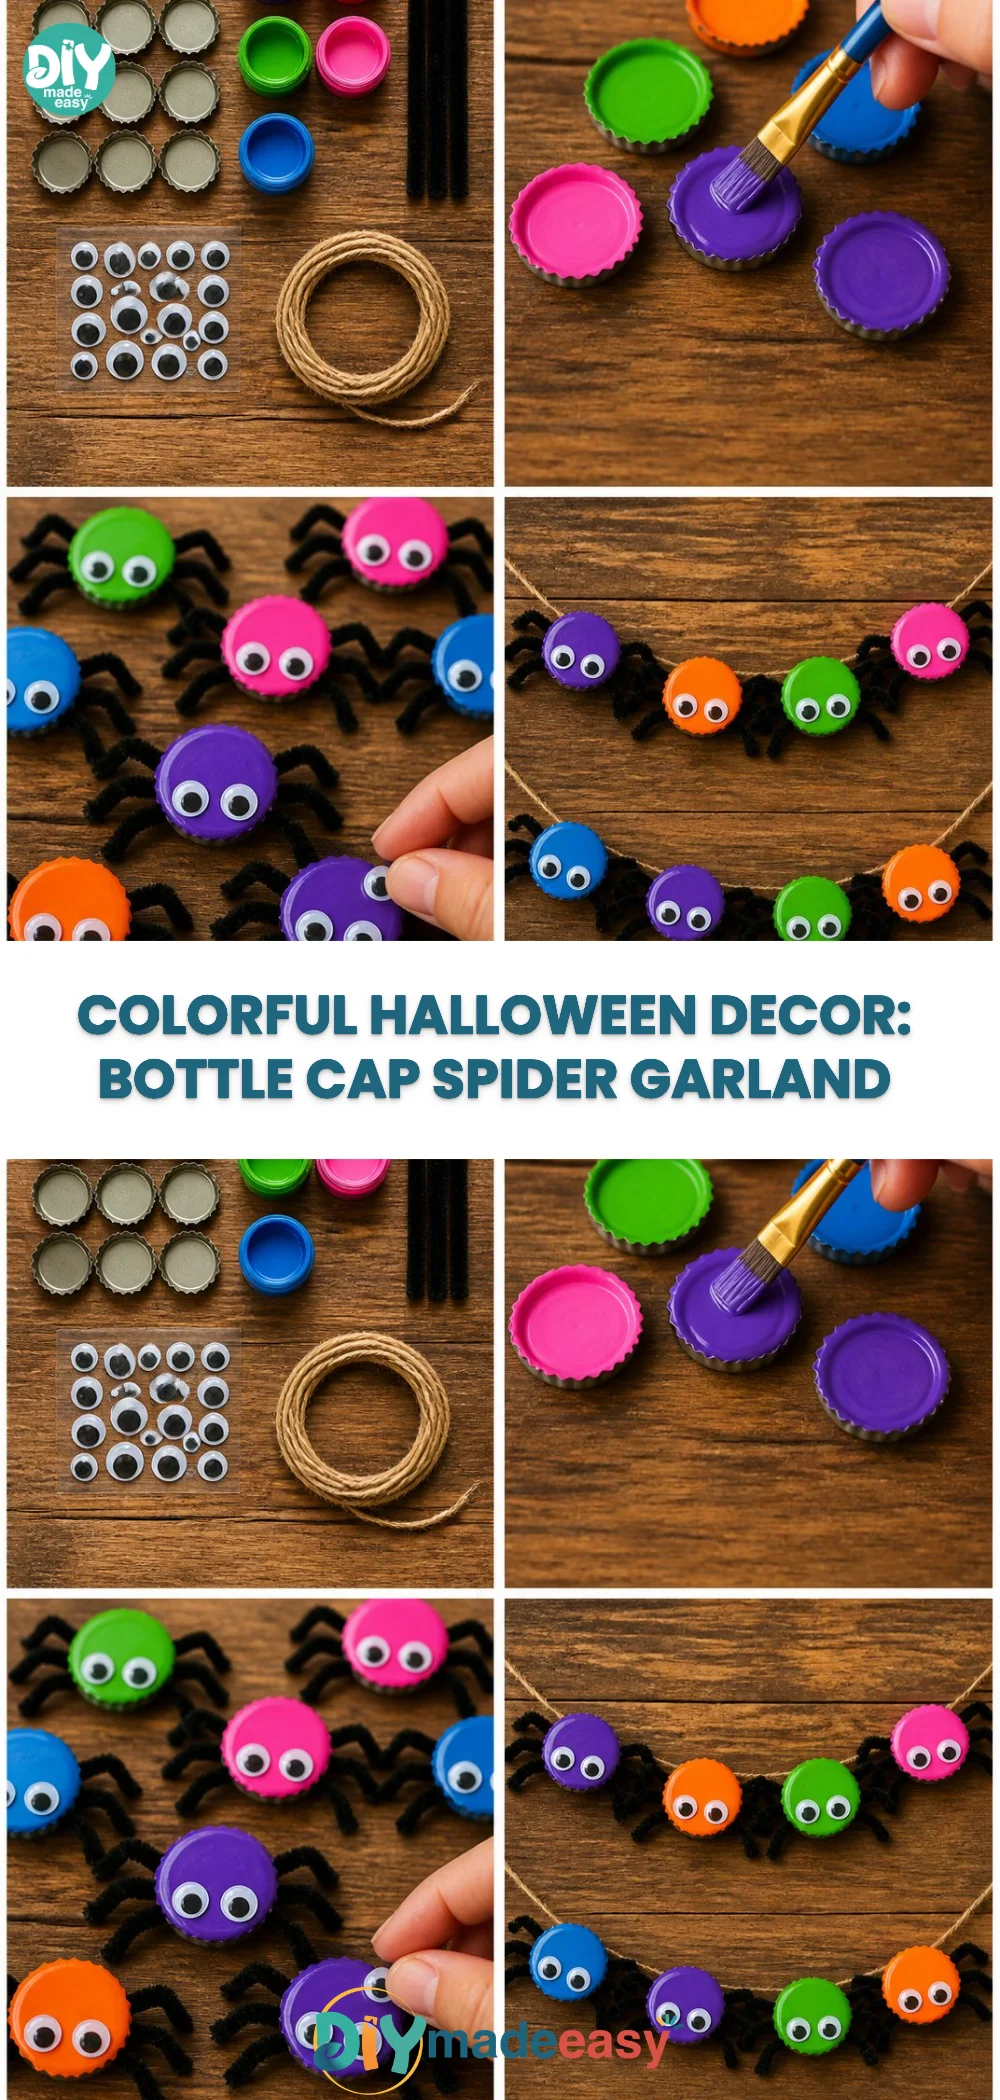
Attach the Bottle Caps to the String: Now, space the decorated bottle caps along the string. Secure each cap in place by tying a knot or using additional glue. This will hold them in place for hanging. It’s a satisfying step as your garland starts to take shape!
Hanging the Garland: Finally, find a spot where your spider garland can hang and be admired. You might want to place it across a doorframe, on a wall, or even in a window—wherever it can be showcased and enjoyed!
The Learning Behind This DIY
This project isn’t just about creating a fun decoration; it also supports several educational elements for kids. As they engage in this DIY, they practice fine motor skills when gluing and arranging the bottle caps. They can explore concepts of cause and effect when they see how their designs translate to a tangible outcome. Even coordinating their actions—from painting to assembling the caps—helps improve their coordination and planning abilities. This is a practical activity grounded in simple science and art fundamentals that helps nurture their developing skills without them even realizing it!
Troubleshooting Common Issues
Crafting can sometimes be unpredictable, and that’s okay! If you find that your glue isn’t holding well, check the type being used. Some craft glues work better for certain materials than others. If you see glue spilling out from under the googly eyes, simply wipe it away before it dries; this keeps the spiders looking clean and neat. Lastly, if the garland doesn’t hang how you envisioned, simply adjust the space between the caps or choose a different spot to display your creation.
Easy Variations to Try
Kids might want to add their personal touches beyond colors and designs. Consider these fun variations:
- Use glow-in-the-dark paint for a spooky effect at night.
- Add additional elements like construction paper legs to make your spiders even more fun.
- Create themed garlands for different holidays; think turkeys for Thanksgiving or stars for New Year’s.
- Scale the project up by making a larger garland that incorporates other shapes or creatures.
- Instead of black string, try using a brighter color for a modern twist.
Storing or Reusing This Project
Once your project is complete, you might wonder what to do with it afterward. This is a great craft to hang up seasonally, and once Halloween is over, consider storing the garland safely in a dedicated container. You can also repurpose the bottle caps and other materials for future crafts, minimizing waste and promoting sustainability. This mindset not only fosters creativity but also teaches kids about reusing and recycling.
FAQs About Colorful Halloween Bottle-Cap Spider Garland
What if my kids make a mess while painting?
Crafting can indeed get messy! To manage this, lay down newspapers or old sheets to protect your surfaces. Have cleaning supplies at the ready, such as damp cloths for quick wipe-ups, so you can focus on the fun rather than worrying about spills.
Is this project safe for younger children?
Yes! Just be cautious with scissors if younger kids are involved. Supervise their use or pre-cut the string for them. The other materials are safe and fun for all ages, encouraging creativity with minimal risk.
What if my bottle caps aren’t drying fast enough?
Sometimes, paint or glue can take longer to dry depending on your environment. A cool, dry space is best for quicker drying. If patience is running thin, you can use a fan to speed up the process without disturbing the caps.
Can we use other items instead of bottle caps?
Absolutely! This project is versatile. You can use small plastic lids or even cut-out shapes from cardstock if you don’t have bottle caps on hand. The key is to find something colorful and lightweight to attach to your string.
What’s the best way to hang this garland once we finish?
It depends on where you want to display your garland! You can use clear tape to secure it if you don’t want to damage your walls or opt for pushpins if you want something more permanent. Make sure it’s hung high enough for a clear view but also safe from little hands that might reach it.
Conclusion
Creating a Colorful Halloween Bottle-Cap Spider Garland is an engaging way for kids to express their creativity while using simple, accessible materials. As you wrap up this wonderful project, don’t forget there are many other crafting ideas available, such as easy spider crafts or decorative options for your Halloween celebrations like the Halloween party decoration garland. Enjoy the time spent crafting together and get ready to showcase that delightful garland!
PrintColorful Halloween Bottle-Cap Spider Garland
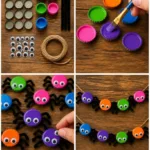
A fun and engaging craft project that allows kids to explore their artistic side by creating a colorful spider garland using bottle caps.
- Prep Time: 10 minutes
- Cook Time: 0 minutes
- Total Time: 10 minutes
- Yield: 1 garland
- Category: Craft
- Method: DIY
- Cuisine: N/A
- Diet: N/A
Ingredients
- Empty and clean bottle caps (varied colors)
- Black string or twine
- Googly eyes
- Craft glue
- Scissors
- Optional: Paint or markers
Instructions
- Prepare the Bottle Caps: Start by selecting your favorite bottle caps. Let your kids personalize them using paint or markers. Allow the caps to dry completely.
- Cut the String: Measure and cut a length of black string or twine according to how long you want your garland to be.
- Create the Spiders: Attach the googly eyes using craft glue and allow to dry.
- Attach the Bottle Caps to the String: Space the decorated bottle caps along the string and secure them in place.
- Hanging the Garland: Find a spot to hang your spider garland where it can be admired.
Notes
This project is great for repurposing items and can be stored for future use. Supervise kids when using scissors.
Nutrition
- Serving Size: N/A
- Calories: 0
- Sugar: 0g
- Sodium: 0mg
- Fat: 0g
- Saturated Fat: 0g
- Unsaturated Fat: 0g
- Trans Fat: 0g
- Carbohydrates: 0g
- Fiber: 0g
- Protein: 0g
- Cholesterol: 0mg