

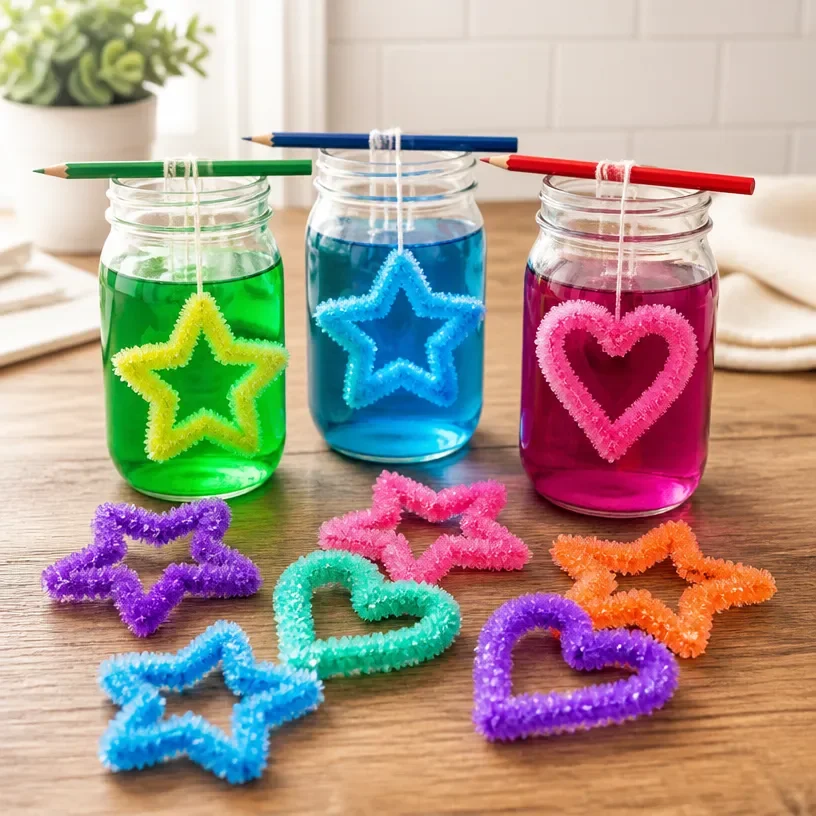
In the middle of a busy afternoon, while kids are bubbling with energy and looking for something fun to create, the idea of making DIY crystal art can be a delightful solution. It’s straightforward, engaging, and provides instant visual satisfaction, making it ideal for families wanting an activity that doesn’t demand extensive preparation. By diving into DIY Crystal Art: A Beginner’s Guide to Crystal Growth, you can turn ordinary household items into stunning crystalline displays that will captivate everyone involved. You may also find How To Make Long Lasting Bubbles Diy Guide useful.
Why This DIY Crystal Art: A Beginner’s Guide to Crystal Growth Works So Well
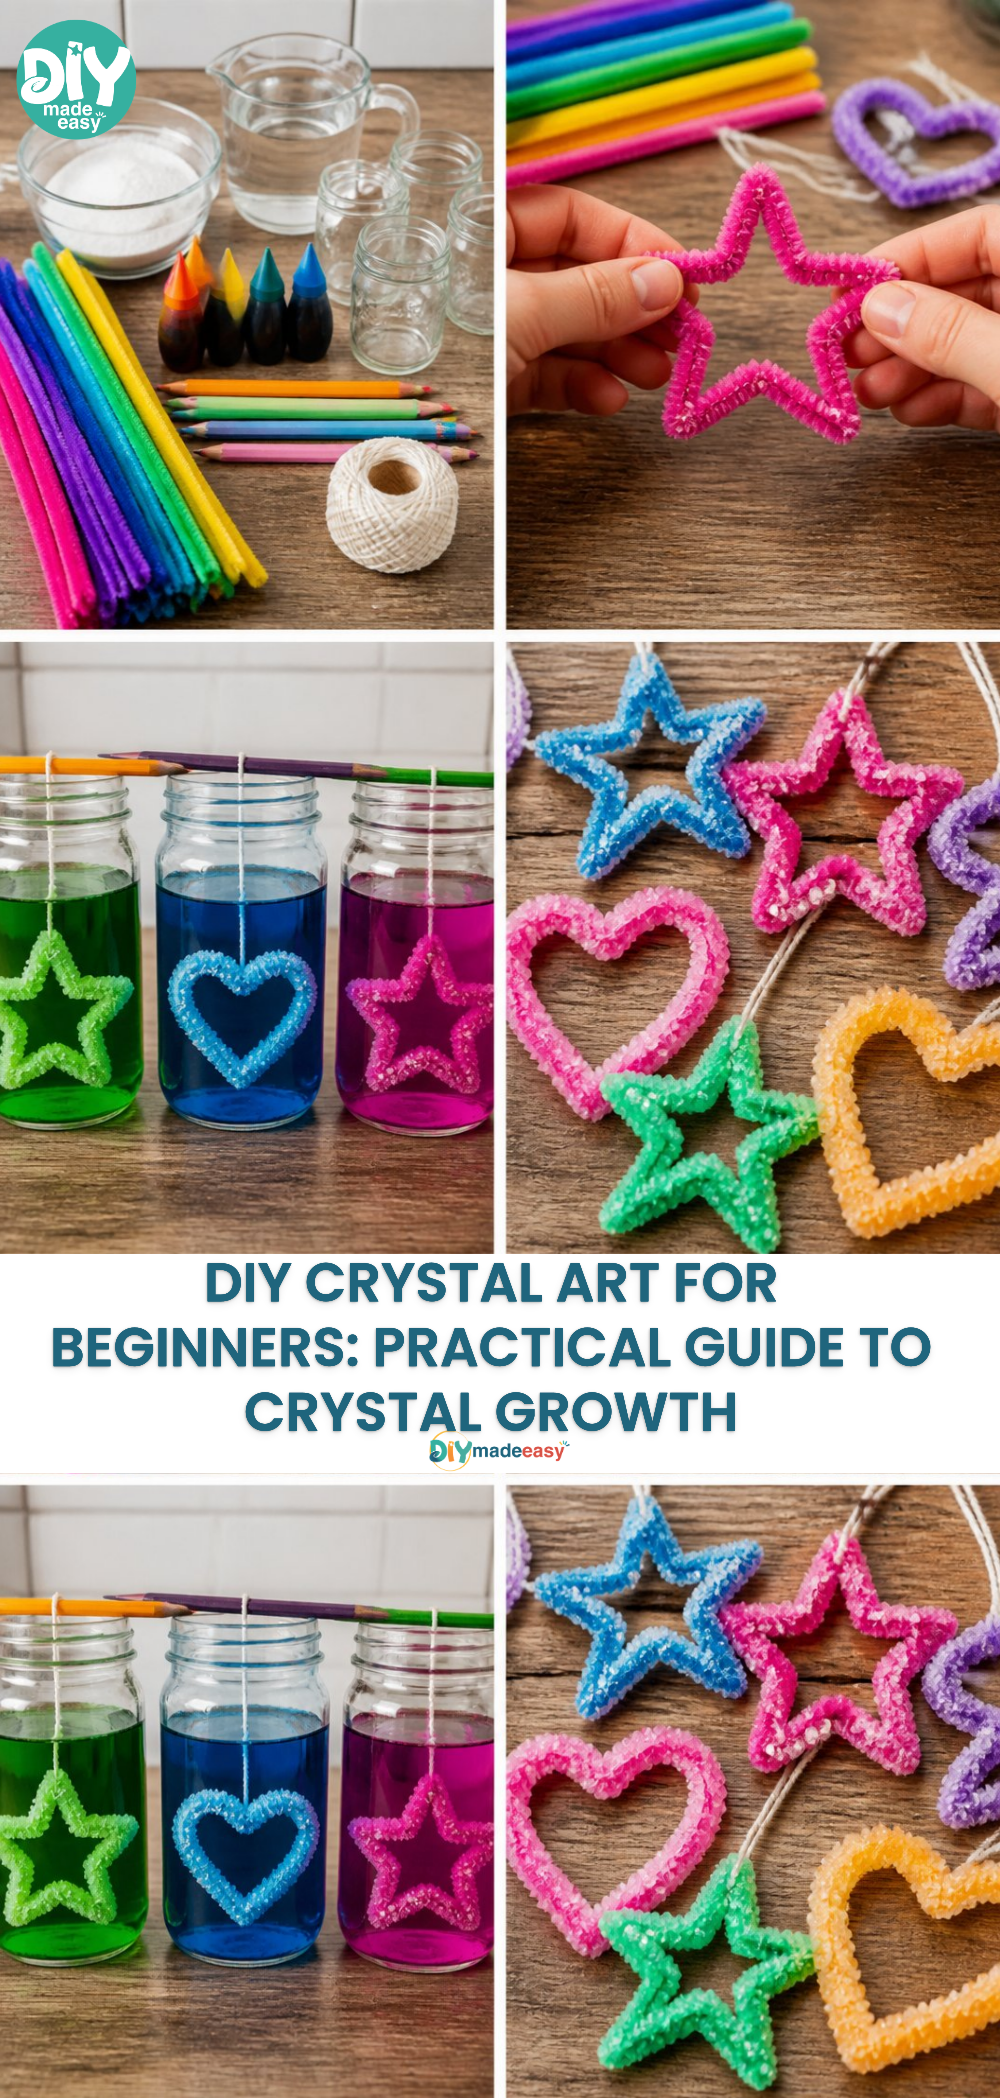
You may also find Diy Cotton Pad Ice Cream Craft For Kids useful.
The beauty of this project lies in its simplicity and accessibility. First, it requires minimal materials found around the house, which reduces the stress of planning for a craft day. The process is straightforward, meaning that even beginners can follow along without feeling overwhelmed. This project is reliable, producing beautiful crystals with minimal fuss. Additionally, crystal growth is a fascinating topic, offering not just a hands-on activity but also an opportunity to explore the science behind these stunning creations. You may also find Baking Soda Crystals Transform Into Glassy Art useful.
A Quick Look Before You Begin
Starting this project doesn’t require extensive knowledge or complicated setup. You can count on a comfortable time frame, typically requiring only a few hours of hands-on work, followed by a wait for the crystals to develop fully. Although kids can take the lead, having an adult nearby for supervision and assistance with boiling water is a good idea. This ensures that safety remains a priority while keeping the experience enjoyable and engaging. Messiness is minimal, making cleanup easier — leaving more time to admire your finished crystals.
Materials You’ll Need
You won’t need to rush to the store; most of these materials are likely already in your home. Here’s a concise list:
- Water: Common household item
- Salt: Easy to find in any kitchen
- Heat-resistant container: Optional for reusing what you have
- String or craft sticks: Budget-friendly items for supporting crystals
No need for extravagant supplies; simplicity is at the core of this project. Each material plays a vital role in the crystal growth process, ensuring that you see beautiful results with just a few items.
Step-by-Step Directions
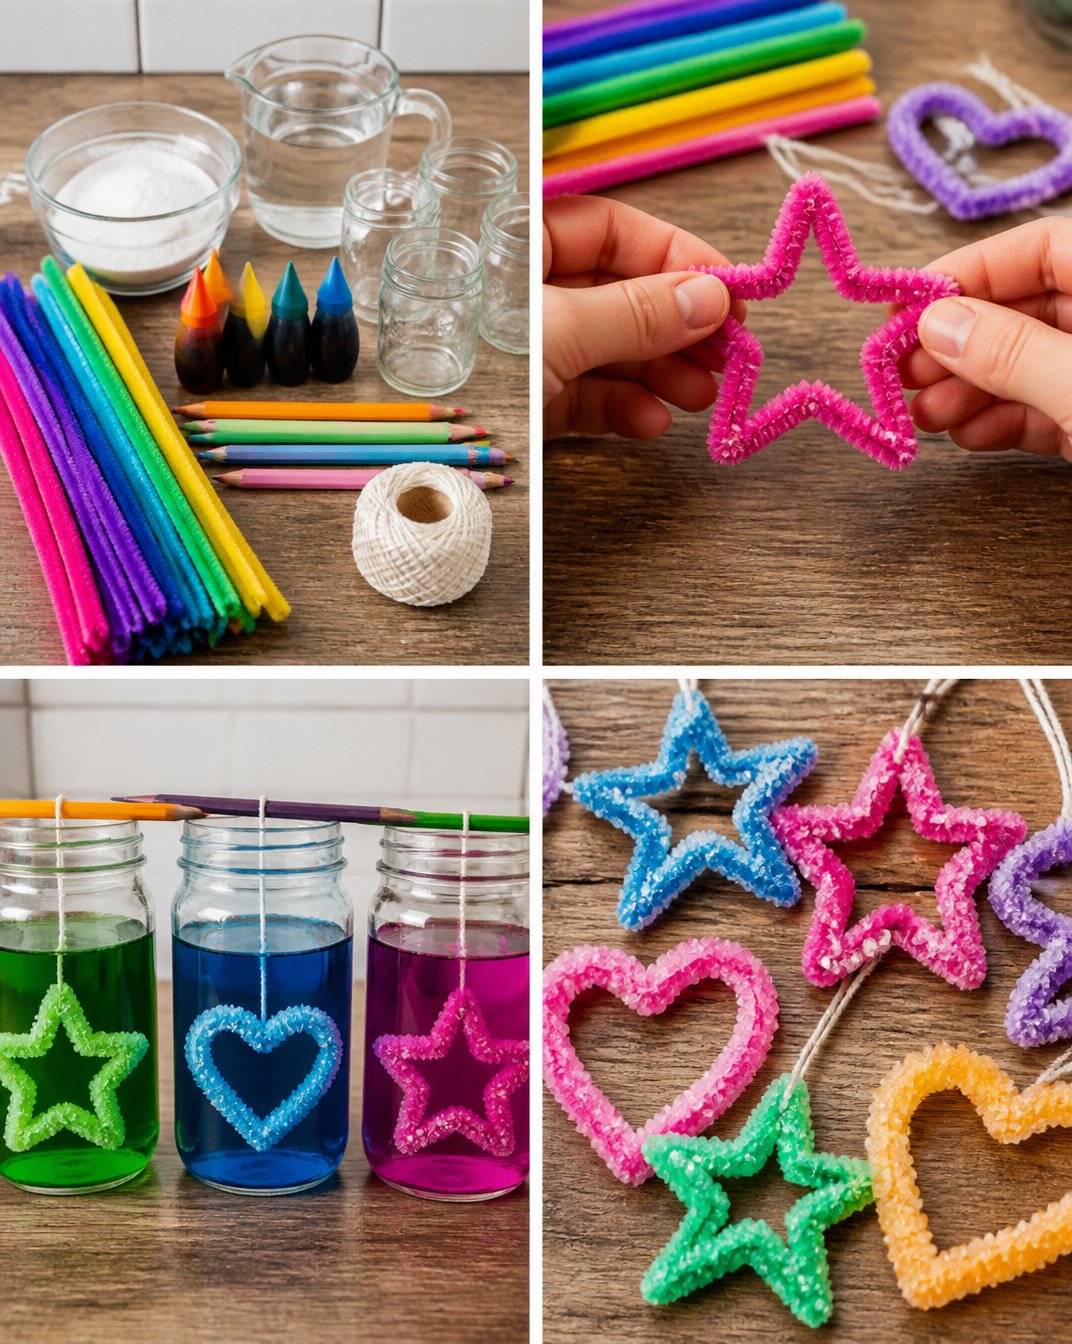
Prepare the Solution: In a pot, bring water to a boil. For every cup of water, you’ll need about three tablespoons of salt. Stir until the salt dissolves completely.
Cool Down: Remove the pot from the heat and allow the solution to cool slightly. This cooling phase is essential, as it aids in crystal formation.
Set Up for Crystals: Pour the solution into a heat-resistant container. If using strings, tie them to a stick and suspend them in the solution. Ensure they don’t touch the bottom.
Wait Patiently: Place the container somewhere it won’t be disturbed and let it sit for several hours or overnight. Crystals will start forming as the water evaporates.
Admire Your Creation: After a day, check on your crystals. If they are sufficiently formed, carefully remove the stick or string and let them dry before displaying.
Following these steps allows the wonder of crystal growth to unfold before you, turning an average day into an extraordinary exploration of science and art.
The Learning Behind This DIY
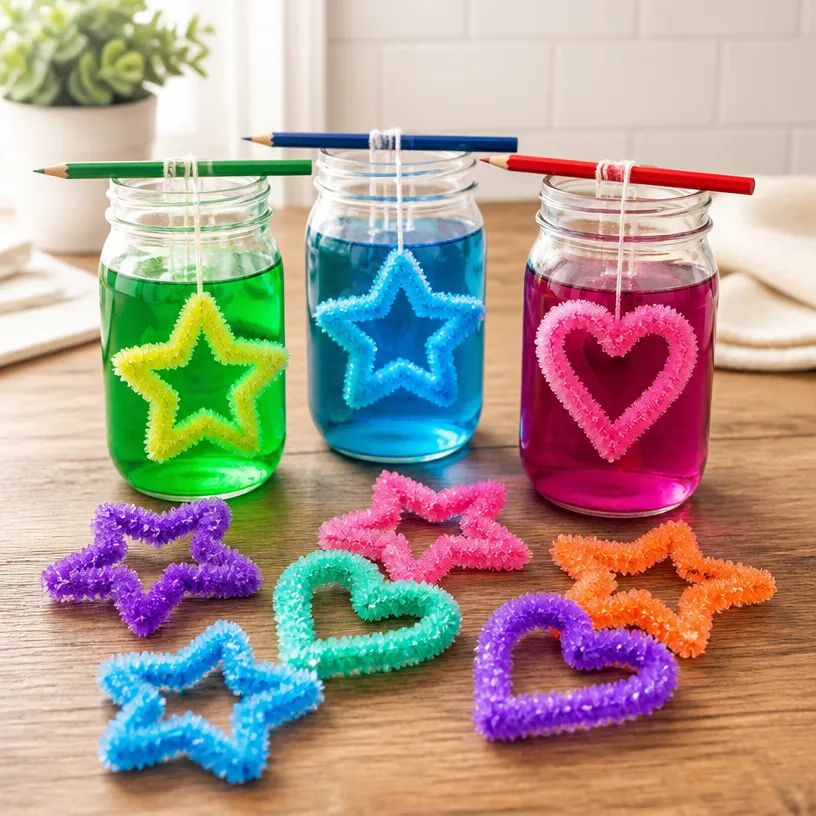
While making DIY crystal art, children can explore fundamental science concepts in a captivating manner. The process introduces them to solution chemistry, where salt dissolves in water, transitioning from solid to liquid and back to solid as crystals form. Additionally, the tactile and visual aspects enhance fine motor skills and coordination as they manipulate materials and observe changes over time. It’s also a lesson in patience, teaching the importance of waiting for results without immediate gratification, which adds to their development of self-control.
Troubleshooting Common Issues
Sometimes, despite the ideal setup, things may not go as planned. Here are potential issues you might encounter:
- Crystals are small or misshapen: This can happen if the solution was too cool. Ensure it’s hot enough before cooling down.
- No crystals appear: If you observe no growth, recheck the salt quantity—adequate saturation is crucial for crystal formation.
- Crystals fall apart too easily: If your crystals are fragile, their growth environment may have fluctuated greatly in temperature or conditions.
With these insights, you can troubleshoot effectively, enhancing the likelihood of achieving those stunning crystal creations.
Easy Variations to Try
If you want to spice up your crystal-making adventure, consider these variations:
- Colorful Crystals: Add a few drops of food coloring to the solution for vibrant results and a playful twist.
- Different Solvents: Experiment with sugar or baking soda in place of salt for unique crystalline forms.
- Seasonal Shapes: Use cookie cutters as molds for festive crystal shapes during holidays or birthdays.
These variations allow creativity and individuality, making each batch of crystals a personal masterpiece.
Storing or Reusing This Project
Cleanup is simple, but what about your crystals afterward? If you want to keep your beautiful artwork, store them in a dry place to prevent moisture from affecting their structure. If you’re eager to take on a new project, consider reusing the heat-resistant container for future crystal growth or other DIY crafts, like handprint paper lilies.
FAQs About DIY Crystal Art: A Beginner’s Guide to Crystal Growth
Is this project messy?
It’s relatively clean! Just ensure to cover the area with newspaper or a non-stick surface to catch any spills.
Can I try this with young children?
Absolutely! Just supervise when boiling water or handling hot solutions to ensure safety.
What if I don’t have salt?
You can substitute with sugar; the process will still yield beautiful crystals, albeit with different properties.
Will it work if I adjust the amounts?
While you can experiment, keep a close eye on the salt-to-water ratio to ensure successful crystal growth.
A Final Helpful Note
Encouraging creativity and exploration is the key to successful DIY projects. Remember, the joy is in the making, not just the finished product. With flexibility and patience, you can turn a simple activity into a beautiful learning experience. Enjoy the journey, embrace small mistakes, and feel proud of the sparkling crystals you create together.
Conclusion
As you finish your DIY crystal art project, you might find yourself intrigued by the incredible world of crystals. For a deeper dive into the fascinating topic of crystal growth, consider checking out Growing Crystals: How to Make Beautiful Crystals at Home. If you aspire to take your understanding of crystals further, Getting crystals your crystallographer will treasure: a beginner’s guide can offer more insights. Enjoy creating sparkling memories!
PrintDIY Crystal Art: A Beginner’s Guide to Crystal Growth
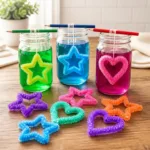
Create stunning crystalline displays using simple household items with this engaging DIY crystal art project.
- Prep Time: 15 minutes
- Cook Time: 0 minutes
- Total Time: 60 minutes
- Yield: 1 batch of crystals
- Category: Craft
- Method: Crafting
- Cuisine: N/A
- Diet: N/A
Ingredients
- Water: Common household item
- Salt: Easy to find in any kitchen
- Heat-resistant container: Optional for reusing what you have
- String or craft sticks: Budget-friendly items for supporting crystals
Instructions
- Prepare the solution: In a pot, bring water to a boil. For every cup of water, you’ll need about three tablespoons of salt. Stir until the salt dissolves completely.
- Cool down: Remove the pot from the heat and allow the solution to cool slightly.
- Set up for crystals: Pour the solution into a heat-resistant container. If using strings, tie them to a stick and suspend them in the solution. Ensure they don’t touch the bottom.
- Wait patiently: Place the container somewhere it won’t be disturbed and let it sit for several hours or overnight.
- Admire your creation: After a day, check on your crystals. If they are sufficiently formed, carefully remove the stick or string and let them dry before displaying.
Notes
Consider adding food coloring for vibrant results or experimenting with sugar instead of salt for unique crystals.
Nutrition
- Serving Size: 1 batch
- Calories: N/A
- Sugar: N/A
- Sodium: N/A
- Fat: N/A
- Saturated Fat: N/A
- Unsaturated Fat: N/A
- Trans Fat: N/A
- Carbohydrates: N/A
- Fiber: N/A
- Protein: N/A
- Cholesterol: N/A