

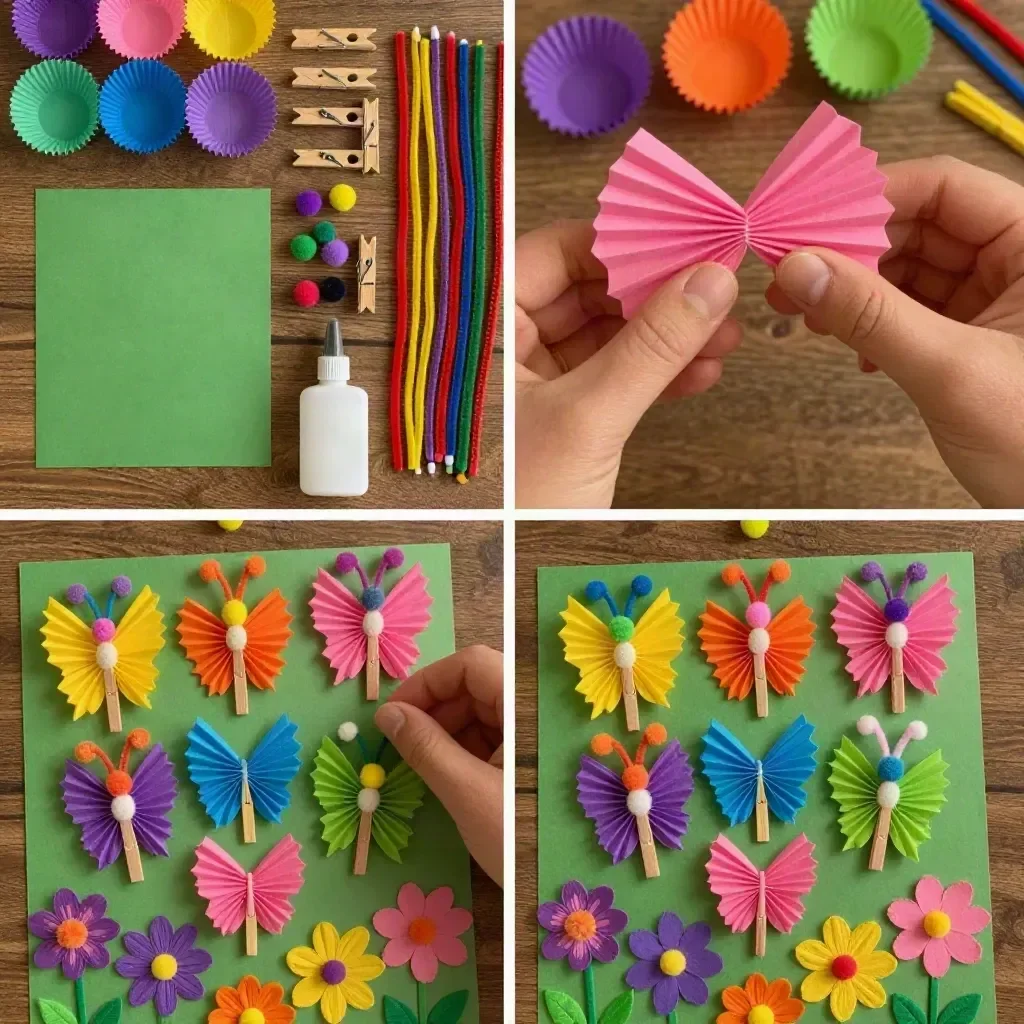
The afternoon was buzzing with creativity as the kids roamed the house, searching for something fun and engaging to do. This moment called for a project that would not only entertain them but also ignite their imagination. Enter the Rainbow Cupcake-Liner Butterfly Garden, a simple, delightful craft that can be whipped up with just a few materials and the help of little hands. It’s the perfect way to combine color and creativity while making something beautiful for display. You may also find Rainbow Cupcake Liner Butterfly Garden Ideas useful.
Why This Rainbow Cupcake-Liner Butterfly Garden Works So Well
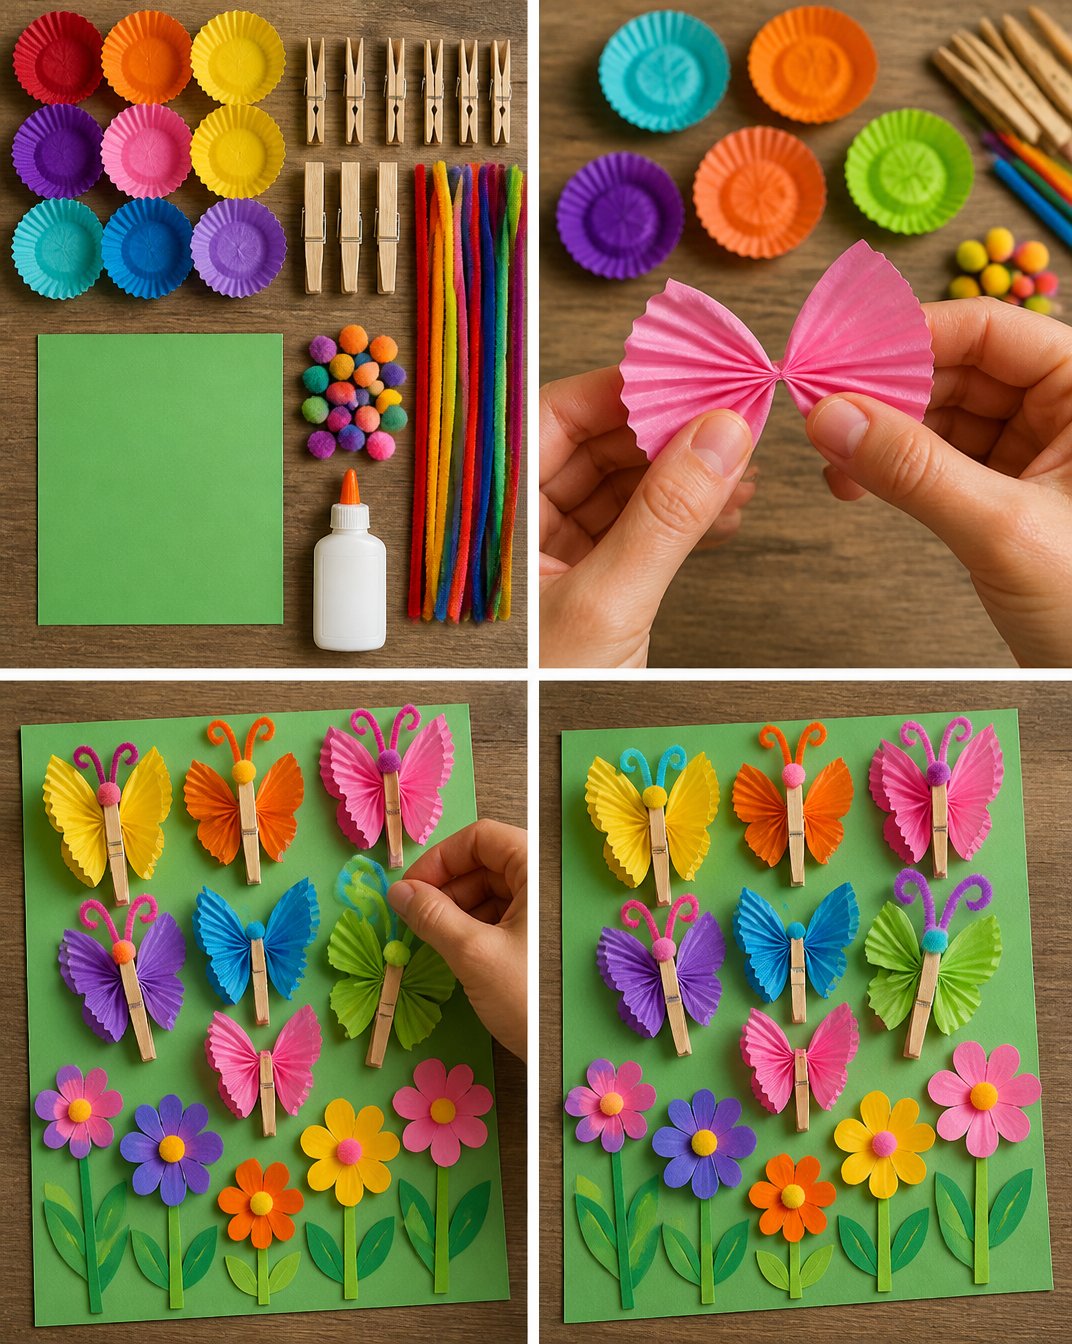
This project is incredibly low-prep and approachable, making it perfect for families on the go. With minimal materials and straightforward steps, it’s easy to fit into a busy afternoon. The use of cupcake liners is not only budget-friendly, but it also means you can use what you have at home, keeping things simple and stress-free. As children pinch and shape the liners into butterfly wings, they’re engaging in imaginative play that fosters creativity while keeping their attention focused. Plus, creating beautiful butterflies is always a satisfying result, reinforcing their sense of accomplishment. You may also find Big Rainbow Pinwheel Garden Stake Outdoor Yard Decor useful.
A Quick Look Before You Begin
Crafting this Rainbow Cupcake-Liner Butterfly Garden is a smooth process that anyone can follow. Plan to spend about 30 minutes to an hour on this activity, depending on the number of butterflies you want to create. Set up a table or flat surface where your little ones can work comfortably. Gather your materials, and all adults should be on deck for occasional guidance. The mess level is low, just some glue and a few cupcake liners scattered about, that can easily be cleaned up afterward. Your kids will have a wonderful time watching their creations take shape. You may also find Butterfly Rainbow Suncatcher Layered Glue Craft useful.
Materials You’ll Need
To create your Rainbow Cupcake-Liner Butterfly Garden, you’ll need the following materials: You may also find Colorful Flower Garden Decor Rainbow Painted Rocks useful.
- 16 colorful cupcake liners
- 8 clothespins
- Pipe cleaners
- Pom-poms (for added decoration)
- 12 × 12-inch cardstock (any color)
- Glue
These are all items you may already have at home. The cupcake liners can be any design or color, adding to the whimsy. The pom-poms are optional, but they can bring an extra splash of fun to your butterflies.
Step-by-Step Directions
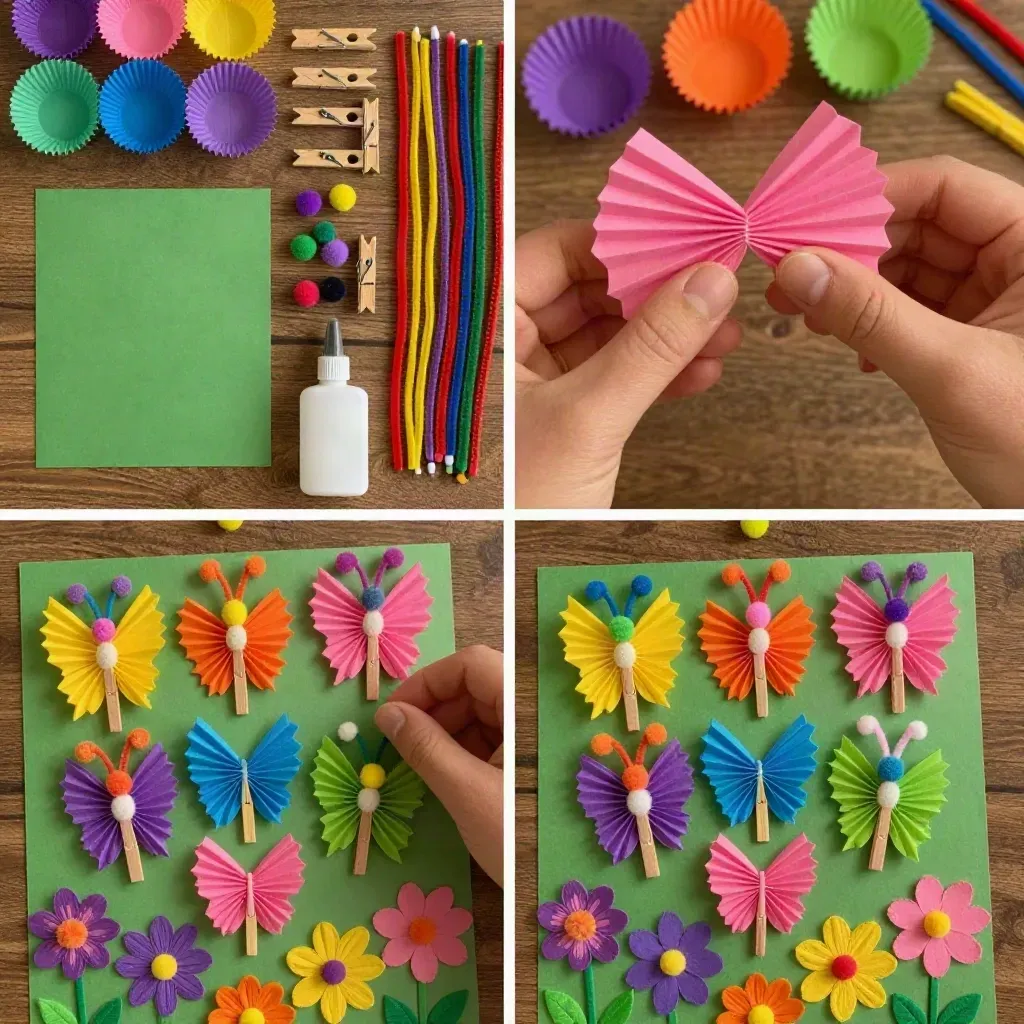
Flatten and pinch cupcake liners into butterfly wings by taking two liners, flattening them, and pinching the center to form a wing shape. Adjust the pinch for larger or smaller wings—don’t be afraid to experiment!
Clip each pair with a clothespin to create the butterfly body by aligning the pinched liners and using a clothespin to clip them in the center. Make sure they hold together securely.
Add antennae by cutting a pipe cleaner into two equal pieces and poking them into the top of the clothespin. Gently bend them to shape as you like.
Arrange the butterflies across the cardstock creatively. You can overlap them, spread them out, or cluster them to create a beautiful garden scene. Optionally, glue on colorful paper flowers made from leftover cupcake liners for decoration.
Use a flat surface for assembly and apply glue sparingly to avoid mess. Allow time for the glue to dry before moving, and think about displaying your butterfly garden indoors using easels or frames.
The Learning Behind This DIY
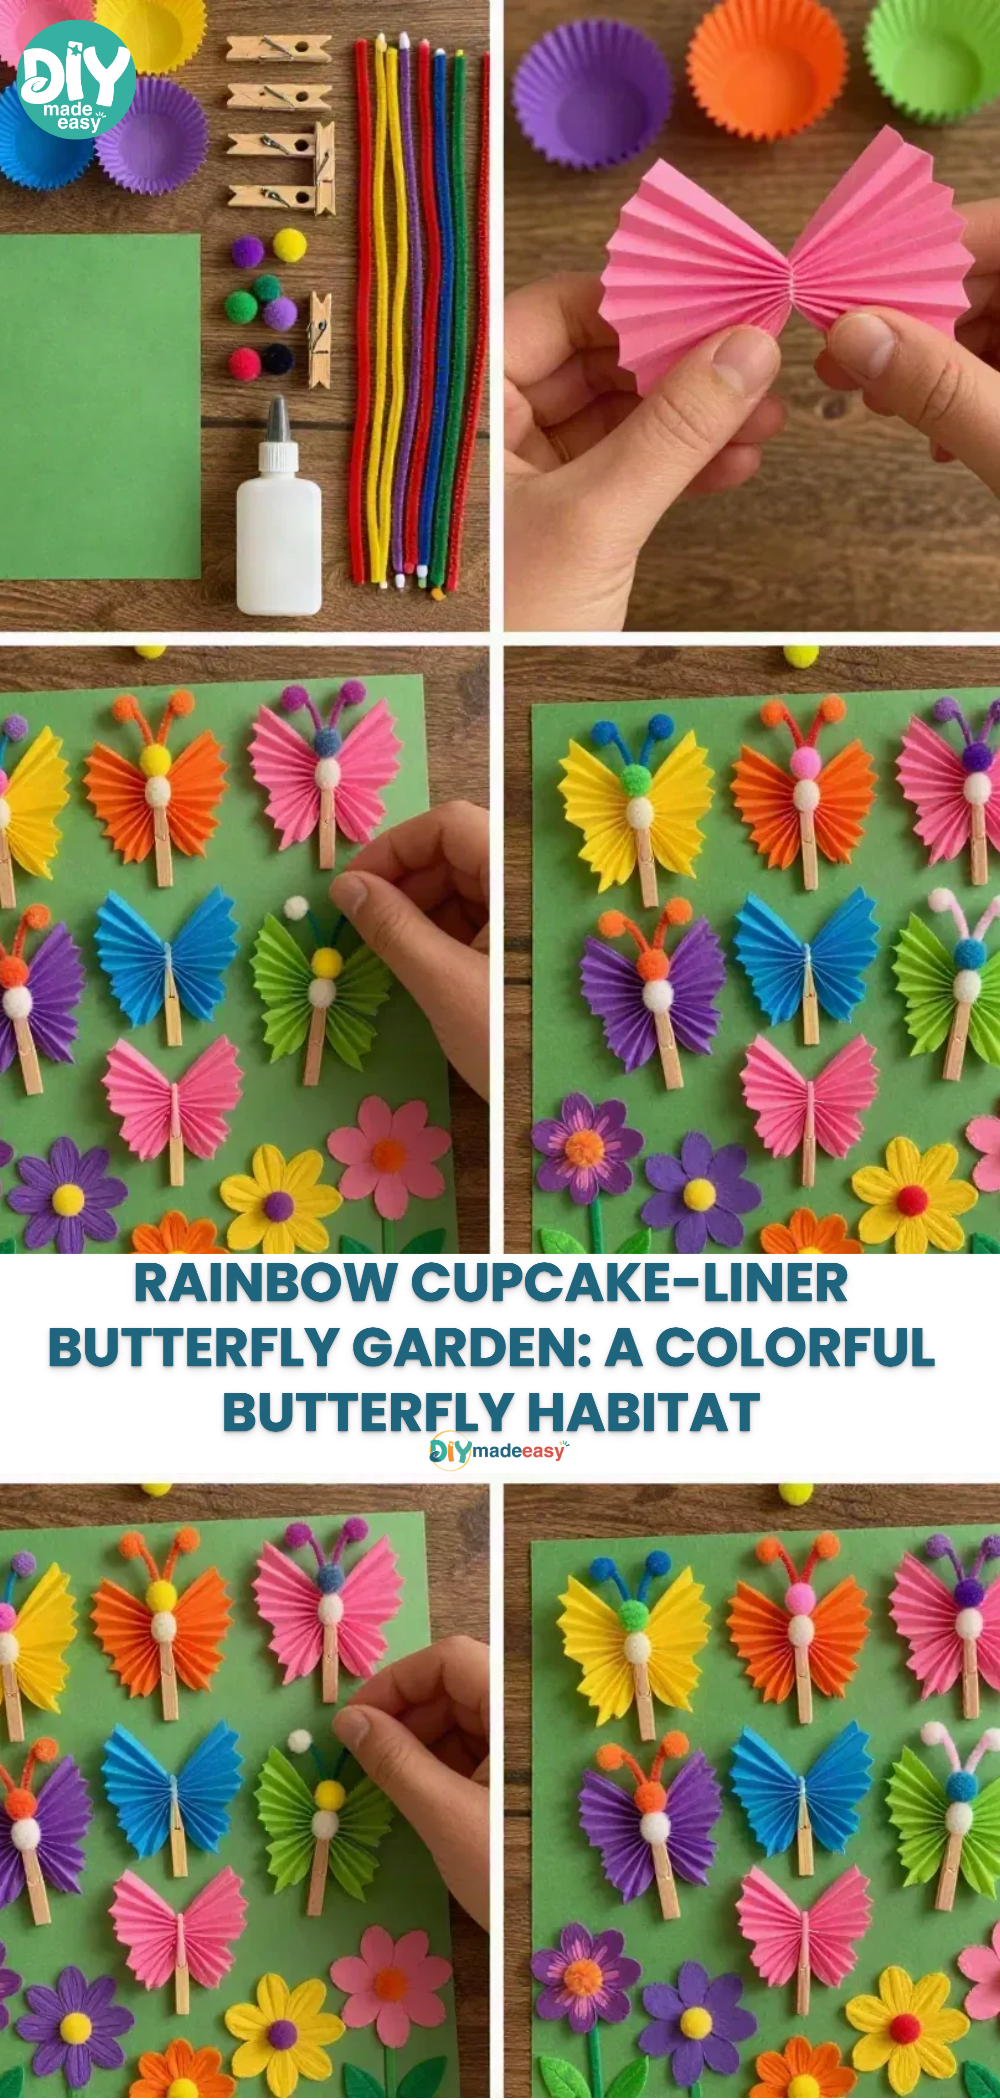
Creating the Rainbow Cupcake-Liner Butterfly Garden offers a fun way for kids to practice valuable skills. As they flatten and shape the cupcake liners, they develop fine motor skills and hand-eye coordination. The process of pinching and adjusting the liners helps them understand cause and effect—observing how pressure changes the form of the materials they are manipulating. Plus, it introduces them to basic artistic concepts, like color theory and symmetry, as they mix and match their cupcake liners.
Troubleshooting Common Issues
If something doesn’t go as planned during your making session, don’t worry—this is all part of the creative process. Sometimes, the cupcake liners may not hold their pinched shape well, which could lead to frustratingly floppy wings. If that happens, try adjusting the pinch a bit tighter or using a sturdier clothespin for better support. It’s also common for excess glue to get messy. Remind your kids to use a small amount, and have damp paper towels handy to wipe up any spills quickly.
Easy Variations to Try
Want to add some twists to this project? Here are a few optional ideas to consider:
- Seasonal Themes: Use Halloween-themed cupcake liners to create spooky butterflies for the holiday, or pastel colors for Spring.
- Mixed Media: Incorporate other materials like glitter, felt, or markers to personalize each butterfly.
- Nature Integration: Take a nature walk to gather small twigs and leaves, transforming them into bodies or decoration for your butterflies.
- Group Collaboration: Organize a craft session with friends to see how many butterflies everyone can create and display them together.
Storing or Reusing This Project
After completing your Rainbow Cupcake-Liner Butterfly Garden, consider how to keep or reuse the project. You can store the butterflies safely in a box to admire later or decide to gift them to friends and family. If you ever want to refresh the display, it’s easy to rearrange them or make new ones using the same materials.
FAQs About Rainbow Cupcake-Liner Butterfly Garden
What’s the best way to clean up afterwards?
It’s quite simple! Just gather any leftover cupcake liners and glue sticks. A damp cloth can help wipe down the table surface if glue drips occur. The mess is easy to manage, especially compared to some other arts and crafts!
Are these materials safe for young children?
Yes, the materials used in this craft are generally safe for kids. Ensure supervision with scissors when cutting pipe cleaners and be mindful of small pieces like pom-poms to avoid choking hazards for very young children.
Can I substitute any materials for what’s on the list?
Absolutely! If you don’t have cupcake liners, try similar items like paper doilies or colored paper cut into butterfly shapes. Kids love to be flexible and resourceful with their crafts.
What if my butterflies look slightly different from the examples?
That’s completely okay! Each butterfly is unique, and that’s part of the beauty of crafting. Emphasize to your kids that creativity thrives on individuality, and every finished piece tells its own story.
Do I need to frame these once they’re done?
Frames can enhance their beauty and protect the butterflies. You can also display them on an easel without framing or hang them up using string. Let your child’s creativity decide how they want their art to be shown!
Conclusion
Conclusion
The Rainbow Cupcake-Liner Butterfly Garden is a simple yet rewarding project that fosters creativity and skill development for children. It’s an engaging way for families to spend time together while expressing artistic flair. You can find additional inspiration with a delightful recipe for funfetti cupcakes that would be a perfect treat post-crafting session. For further artistic ideas, explore these butterfly scenes with cupcake liners that add a lovely twist to your creative outings.
PrintRainbow Cupcake-Liner Butterfly Garden
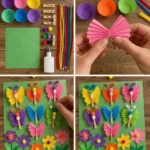
A delightful craft project for kids to create colorful butterfly gardens using cupcake liners.
- Prep Time: 10 minutes
- Cook Time: 0 minutes
- Total Time: 60 minutes
- Yield: Varies based on number of butterflies created
- Category: Crafts
- Method: Crafting
Ingredients
- 16 colorful cupcake liners
- 8 clothespins
- Pipe cleaners
- Pom-poms (for added decoration)
- 12 × 12-inch cardstock (any color)
- Glue
Instructions
- Flatten and pinch cupcake liners into butterfly wings by taking two liners, flattening them, and pinching the center to form a wing shape.
- Clip each pair with a clothespin to create the butterfly body.
- Add antennae by cutting a pipe cleaner into two equal pieces and poking them into the top of the clothespin.
- Arrange the butterflies across the cardstock creatively.
- Use a flat surface for assembly and apply glue sparingly.
- Allow time for the glue to dry before moving.
Notes
Encourage creativity by using cupcake liners of various designs and colors. Kids can personalize their butterflies with additional decorations.
Nutrition
- Serving Size: N/A
- Calories: N/A
- Sugar: N/A
- Sodium: N/A
- Fat: N/A
- Saturated Fat: N/A
- Unsaturated Fat: N/A
- Trans Fat: N/A
- Carbohydrates: N/A
- Fiber: N/A
- Protein: N/A
- Cholesterol: N/A