

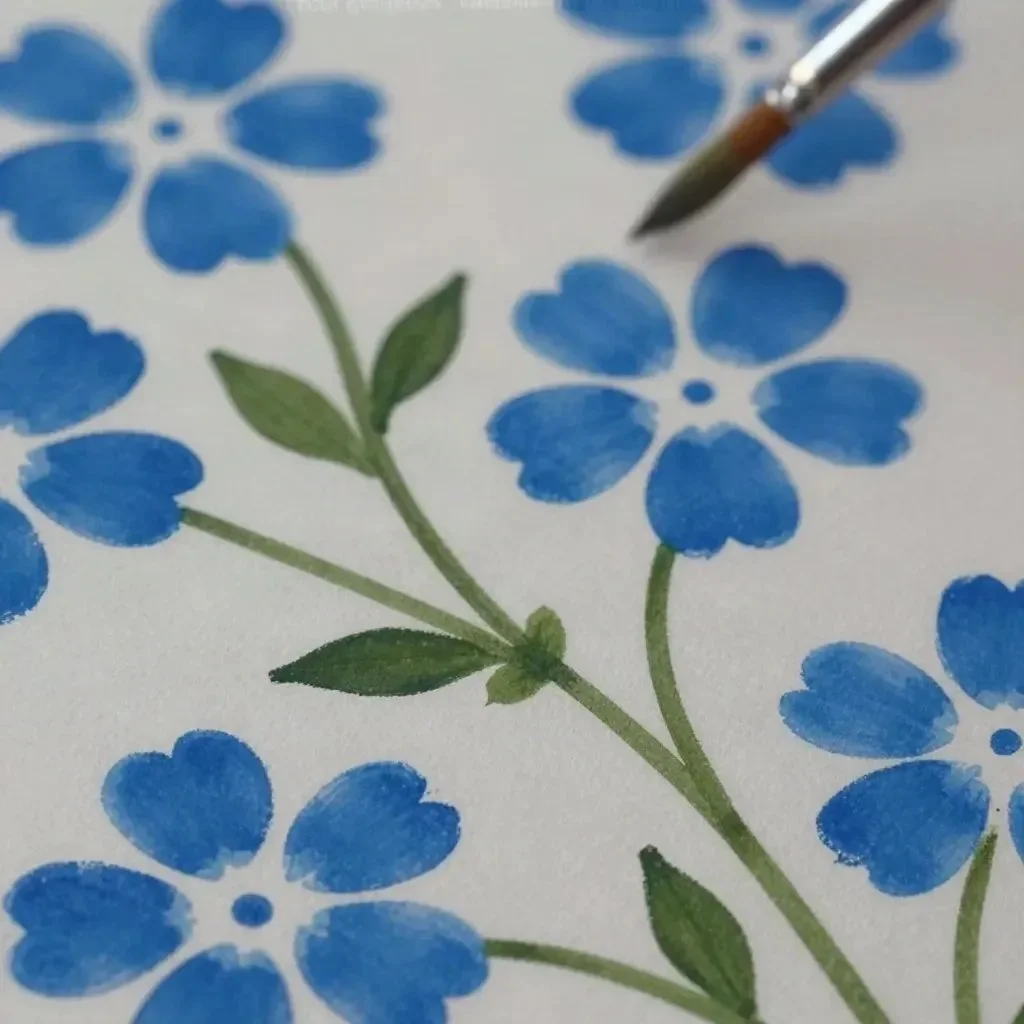
Making something special with your kids during a busy afternoon can be a delightful challenge. Perhaps they’re feeling creatively charged and want to whip up something fun right away. One fantastic, low-prep activity is creating Plastic Bottle Flower Prints. This project not only engages their artistic side but also keeps things simple, making it a perfect choice for spontaneous crafting moments. You may also find Beautiful Bioplastic Suncatchers Flowers useful.
Why This Plastic Bottle Flower Prints Works So Well
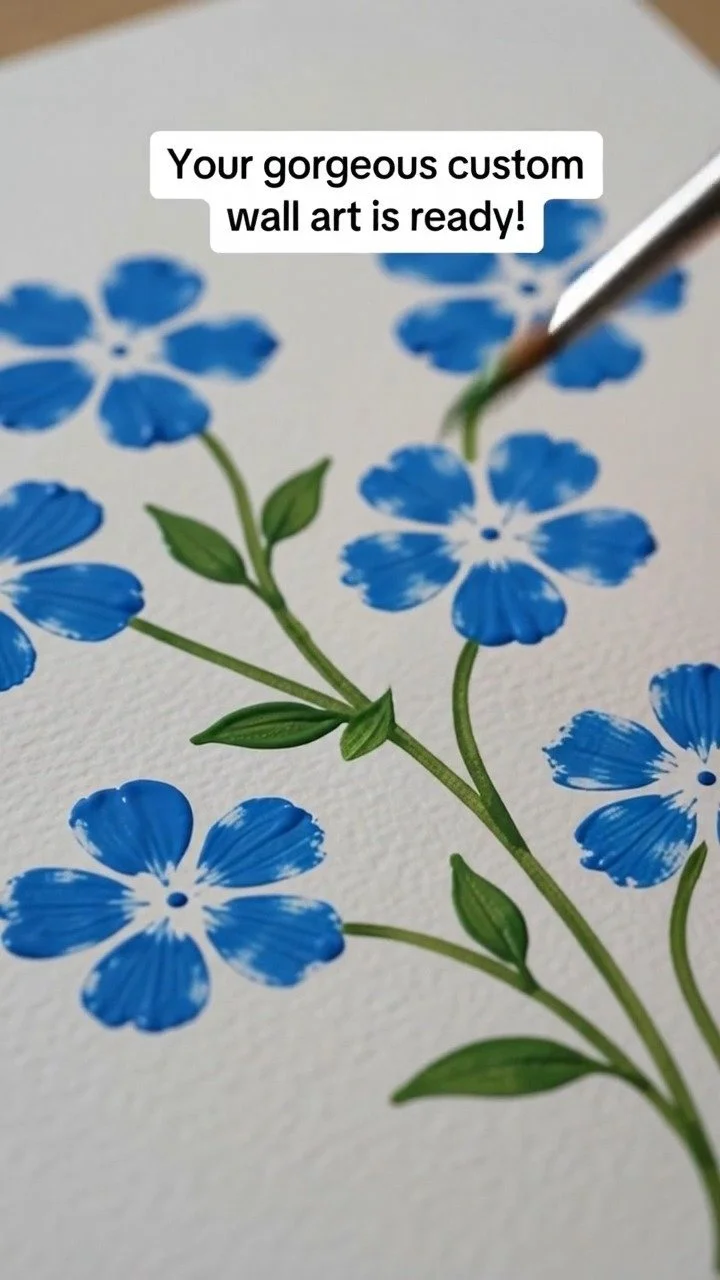
This project excels at being low-prep and approachable for families. First and foremost, it uses items you likely already have at home, such as an empty plastic bottle and some washable paints. This helps eliminate the need for a lengthy shopping list while still delivering creative results. Additionally, making flower prints with plastic bottles allows kids to explore their artistic side without overcomplicating the process. It’s easy for children to follow the simple steps involved, making outcomes both achievable and satisfying. You may also find Bioplastic Suncatchers Natural Flowers useful.
A Quick Look Before You Begin
Creating Plastic Bottle Flower Prints is a straightforward and enjoyable activity that fits right into a busy schedule. The setup requires minimal effort, taking only a few minutes to pour paint onto a plate and gather supplies. The mess involved is manageable as you can easily cover your workspace with newspapers or an old tablecloth, protecting your surfaces. For adult involvement, you can supervise as kids dip the bottle in paint and press it onto the cardstock, offering assistance if needed while they take charge. This method promotes independence and creativity. You may also find Cornstarch Bioplastic Pressed Flowers Recipe useful.
Materials You’ll Need
- 1 empty plastic bottle with a 5-bump bottom
- 2 ounces pink washable acrylic paint
- 2 ounces blue washable acrylic paint
- 1 ounce green washable acrylic paint
- 1 sheet white cardstock paper
- 1 paper plate
- 1 small paintbrush
This list features common household items, making it budget-friendly and convenient. If you don’t have some colors on hand, feel free to substitute them with whatever you have available. You may also find Cornstarch Bioplastic Pressed Flowers useful.
Step-by-Step Directions
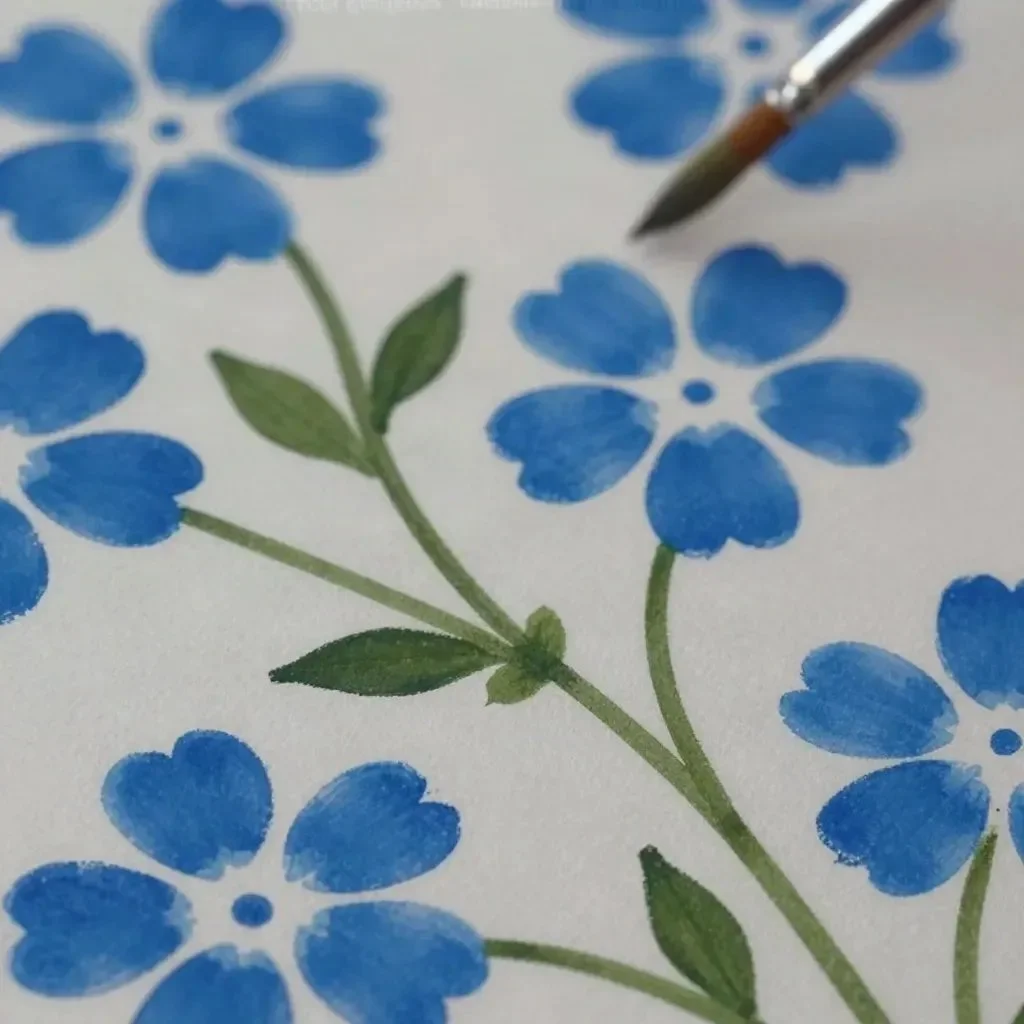
- Pour small pools of each paint color onto the paper plate. Use enough paint so that the bottom of the bottle can be coated easily.
- Dip the bumpy bottom of the plastic bottle evenly into the paint. Ensure that the bumps are fully coated before pressing it onto the cardstock paper to create flower prints. This could be a fun moment as kids see their first impressions come to life!
- Use the small paintbrush to add details like the flower center, stems, and leaves. This step invites kids to express their creativity, making each print unique.
The Learning Behind This DIY

While creating these flower prints, kids are not just having fun; they are also practicing essential skills. Engaging with paint helps develop fine motor skills as they navigate the dipping and pressing steps. This project incorporates science concepts as they explore how colors mix and create patterns. Additionally, they can observe cause and effect—seeing how the pressure changes the prints and how different amounts of paint affect the outcome.
Troubleshooting Common Issues
If something doesn’t go as planned and the prints don’t come out clear, there are a few common problems to consider. One issue could be not enough paint on the bottle. To fix this, ensure the bottom is coated well with paint. Another common hiccup might be the amount of pressure used when pressing the bottle. Encourage kids to experiment a little with varying pressure levels. If the prints are too faint or blurry, they often just need to press a bit harder or change their angles.
Easy Variations to Try
To keep the fun going, consider these simple variations:
- Try blending colors on the plate before dipping for a marbled effect.
- Use different sizes of bottles to create varying-sized flowers.
- Switch out cardstock for canvas for a more substantial project that can be displayed.
- Explore seasonal themes by using autumn colors or spring pastels.
- Use the bumpy bottom bottle for other shapes, like butterflies or stars.
Storing or Reusing This Project
After your printing session, think about ways to reuse your project materials. The prints can be framed as artwork or turned into greeting cards for family and friends. If there’s leftover paint, cover it and store it correctly to use for future projects. The plastic bottles can also be cleaned and saved for various crafts. Cleaning up involves just rinsing the paint off in the sink and ensuring the area is wiped down—an easy task!
FAQs About Plastic Bottle Flower Prints
What’s the mess like with this project?
The mess from this project is relatively minimal. Just cover your workspace to protect surfaces, and all paint is washable, making cleanup straightforward.
Are these paints safe for young children?
Yes, washable acrylic paints are non-toxic and safe for children, but supervision is always a good idea when they are exploring creativity.
Can I use different types of paint?
Absolutely! While washable acrylics work best for easy cleanup, you can try whatever paint you have on hand. Just be mindful of the cleanup process.
What if I don’t have cardstock?
You can use any sturdy paper or even cardboard! Just ensure it can hold up to the pressure without tearing.
A Final Helpful Note
Engaging in the Plastic Bottle Flower Prints activity is not just about the final product—it’s about the joy and creativity shared during the process. Embrace the moments of exploration and encourage flexibility. Let your kids’ imaginations run wild as they create unique pieces of art, all while fostering confidence and independence.
Conclusion
This fun craft project can spark joyful creativity in your home while using materials you likely already have. For more flower-print inspirations, check out Flower Prints from Soda Bottles – Inner Child Fun. If you’re looking for unique items to enhance your crafting experience, consider visiting the Floral Water Bottle – The Frick Collection Shop.
PrintPlastic Bottle Flower Prints
Engage your kids’ artistic side with this fun and simple plastic bottle flower printing activity, using common household materials.
- Prep Time: 5 minutes
- Total Time: 30 minutes
- Yield: 1 artwork 1x
- Category: Craft
- Method: Crafting
Ingredients
- 1 empty plastic bottle with a 5-bump bottom
- 2 ounces pink washable acrylic paint
- 2 ounces blue washable acrylic paint
- 1 ounce green washable acrylic paint
- 1 sheet white cardstock paper
- 1 paper plate
- 1 small paintbrush
Instructions
- Pour small pools of each paint color onto the paper plate.
- Dip the bumpy bottom of the plastic bottle evenly into the paint.
- Press the bottle onto the cardstock paper to create flower prints.
- Use the small paintbrush to add details like the flower center, stems, and leaves.
Notes
Feel free to substitute paint colors with whatever you have available. Cover your workspace to manage mess and facilitate easy cleanup.
Nutrition
- Serving Size: 1 piece of art
- Calories: N/A
- Sugar: N/A
- Sodium: N/A
- Fat: N/A
- Saturated Fat: N/A
- Unsaturated Fat: N/A
- Trans Fat: N/A
- Carbohydrates: N/A
- Fiber: N/A
- Protein: N/A
- Cholesterol: N/A