

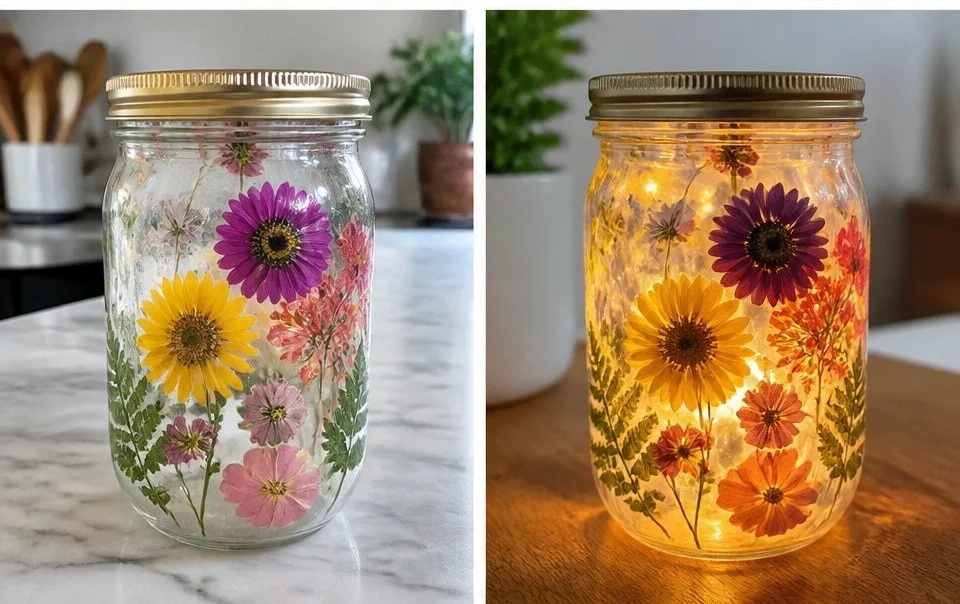
Pressed flowers often evoke memories of blooming gardens and sun-kissed afternoons, making them a wonderful choice for a creative DIY project with your little ones. If you’re looking for a last-minute activity to fill a bustling afternoon or an engaging way to spend time together, the Pressed Flower Candle Holder project is perfect. This simple, charming craft allows kids to express their creativity while creating a piece that’s both functional and beautiful. You’ll combine glass jars with pressed flowers and a trusty Mod Podge to create unique candle holders that capture a little slice of nature’s beauty. You may also find Cornstarch Bioplastic Pressed Flowers Recipe useful.
Why You’ll Love Making Pressed Flower Candle Holder
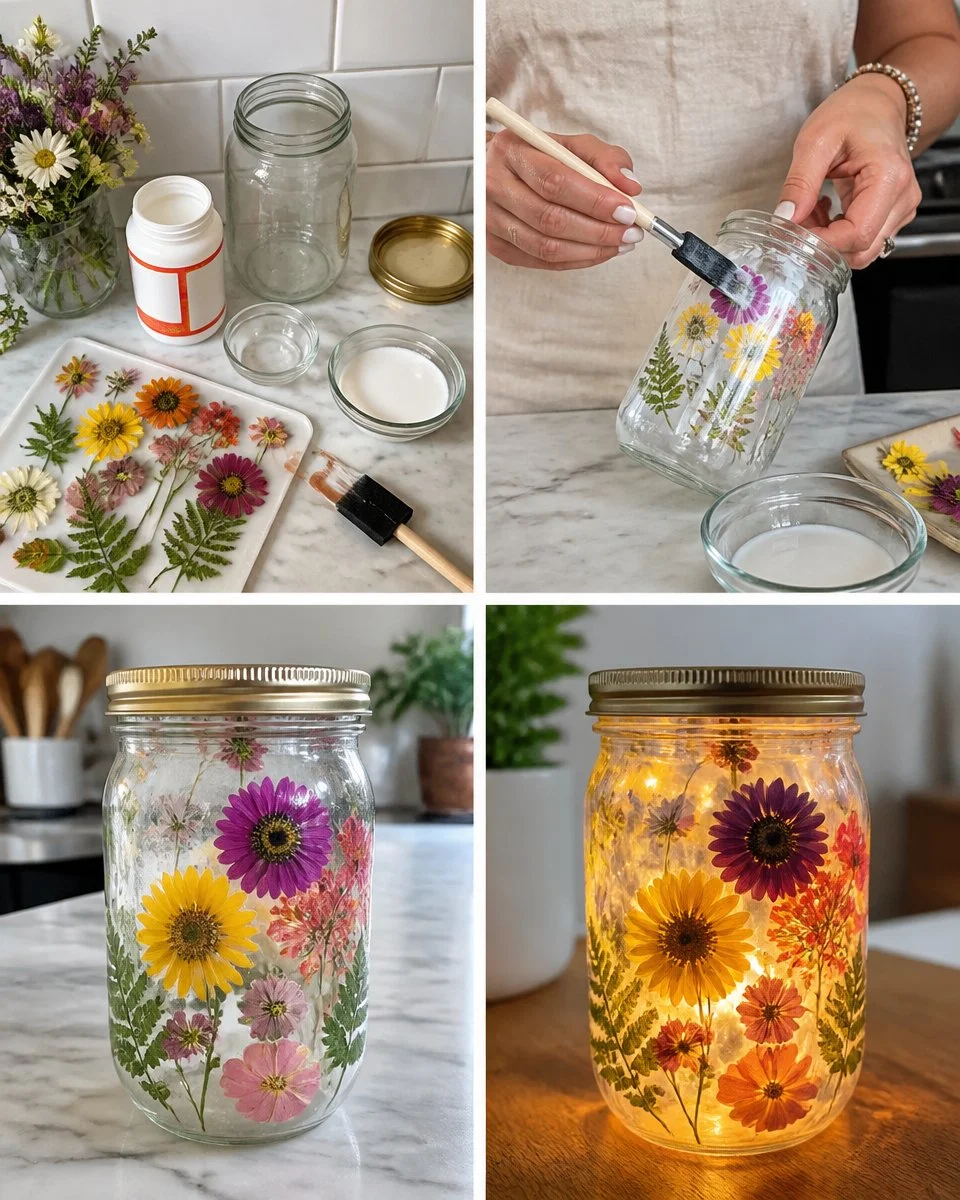
This project is an excellent choice for a few reasons. Firstly, it requires minimal preparation, making it easy to set up on a whim. With only a few supplies—glass jars, pressed flowers, and Mod Podge—you can dive right in. Kids will enjoy arranging the flowers in their own unique styles, and there’s no right or wrong way to do it. Also, the reliability of using Mod Podge ensures that the flowers stay affixed, so you don’t have to worry about things falling apart as they work. The timeframe for this craft is flexible as well; with a drying period added in, you can easily fit it into a busy afternoon. Many families find themselves drawn into the artistic flow, making crafting a lovely bonding experience. You may also find Cornstarch Bioplastic Pressed Flowers useful.
A Quick Look Before You Begin
Before you kick off this crafty adventure, it’s good to know what to expect. Set aside approximately an hour of time for the project itself, plus additional hours for the jar to dry completely. The set-up will be light on mess, though it’s always wise to cover your surfaces. An adult might want to assist with brushing the Mod Podge or supervising the overall craft. This craft not only strengthens fine motor skills but also fosters creativity and concentration as kids carefully place their flowers and wait for the adhesive to dry. You may also find Bioplastic Suncatchers Natural Flowers useful.
Materials You’ll Need
- Glass jar: An empty container is perfect for holding your candle and displaying your art.
- Pressed flowers: These can be made ahead of time or bought; they add a touch of nature.
- Mod Podge: A common crafting adhesive that seals the flowers in place; it’s a household staple.
Step-by-Step Directions
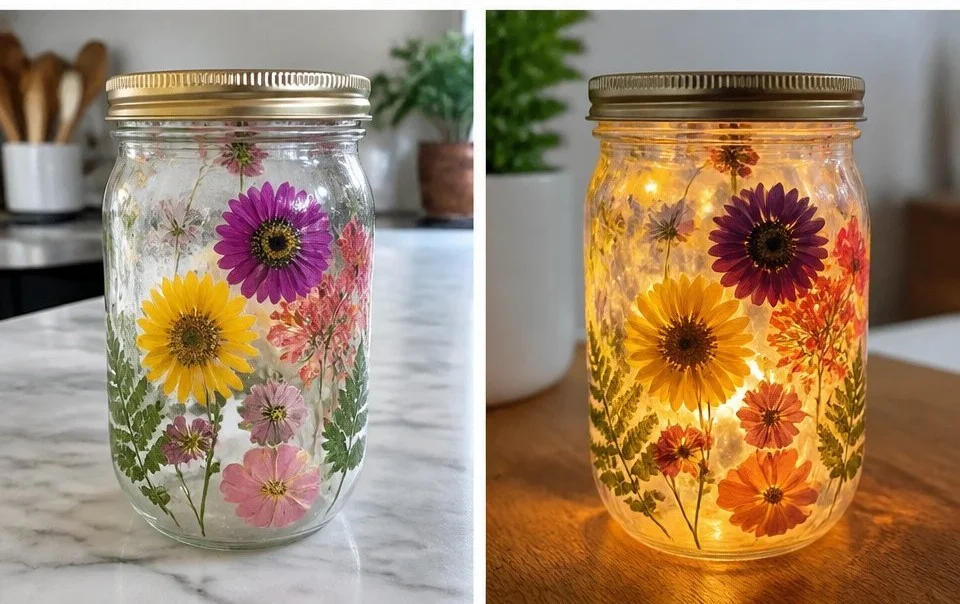
Begin by gently arranging your pressed flowers on the glass jar. Invite your little ones to get creative; there’s no wrong way to do this. Let them explore different designs, layering or spreading the flowers as they wish.
Once you’re happy with the arrangement, use Mod Podge to seal the flowers in place. A soft brush or a sponge works best—just dab gently! Be sure to cover all the flowers and apply an even layer. This will protect the flowers while allowing their colors to shine through.
Allow the jar to dry fully, which may take a few hours. You’ll end up with a lovely candle holder that carries the joy of your crafting time together. Once dried, place a candle inside and enjoy the gentle glow as you create new memories.
The Learning Behind This DIY

Beyond the aesthetic appeal of your Pressed Flower Candle Holder, there are valuable learning elements at play. While crafting, kids practice fine motor skills as they manipulate the flowers and precision in applying glue. There’s also a great introduction to the science of color mixing and observation. As they work with natural materials, kids develop a deeper appreciation for nature and the environment. Understanding how materials interact—like how Mod Podge protects the flowers—introduces them to basic concepts of chemistry, making this craft a quietly educational experience.
Troubleshooting Common Issues
Even with a simple project like this, hiccups can occur. Here are some common problems you might encounter. If the pressed flowers don’t stick well, it might mean there wasn’t enough Mod Podge applied. Make sure to cover all flower surfaces. If colors seem muted after drying, this can often be a normal reaction as the adhesive cures. Encourage your little ones to embrace these outcomes as part of the creative process—a learning moment rather than a failure.
Easy Variations to Try
As your child becomes more comfortable with this project, consider trying some variations to spice things up. Here are a few ideas:
- Seasonal themes: Use flowers that reflect the current season—think daisies for spring or leaves for fall.
- Layered designs: Explore different flower arrangements and even include leaves or grasses for texture.
- Glow-In-The-Dark Mod Podge: For a fun twist, try using Mod Podge that glows in the dark to create a unique effect once the candle is lit.
Storing or Reusing This Project
Once your Pressed Flower Candle Holder is complete, consider the lifespan of this beautiful project. If you find yourself needing more space or wanting to switch things out, take care when storing your item to prevent damage. Consider cleaning it gently and storing it in a safe spot. You could also reuse your pressed flowers in new projects. For instance, they make great elements in homemade suncatchers—an idea you might find useful when you explore other crafting options.
FAQs About Pressed Flower Candle Holder
“What if my kids make a mess?” is a common concern for many parents tackling a craft project. While some mess can be expected, easy clean-up tips include keeping damp cloths nearby or laying down newspaper ahead of time to catch any spills.
“How old does my child need to be?” Generally, this project is great for ages 5 and up, but younger children can participate with help. Always supervise their use of Mod Podge and handling of scissors if needed.
“What if the flowers don’t stick?” This is often due to insufficient adhesive. Make sure all parts of the flower are sealed, and don’t hesitate to apply more Mod Podge if necessary.
“Can I make it without pressed flowers?” Yes! While the pressed flower aesthetic is lovely, you could also use magazine cutouts or other paper designs for a different look.
Conclusion
Conclusion
Crafting a Pressed Flower Candle Holder is not only a fun activity but also a meaningful way to spend time with your children. It combines creativity with a touch of nature, creating a beautiful piece that can brighten up your space. For a lovely inspiration piece, consider checking out this pressed flower metal wall sconce. If you’re interested in another fun project, you can explore the idea of making DIY pressed flower candles to accompany your new candle holder! Your journey into crafts can be both relaxing and rewarding, so enjoy every moment.
PrintPressed Flower Candle Holder
Create beautiful candle holders using glass jars and pressed flowers, perfect for a fun family craft activity.
- Prep Time: 15 minutes
- Cook Time: 60 minutes
- Total Time: 75 minutes
- Yield: 1 candle holder
- Category: Craft
- Method: Crafting
- Cuisine: DIY
- Diet: N/A
Ingredients
- Glass jars
- Pressed flowers
- Mod Podge
Instructions
- Begin by gently arranging your pressed flowers on the glass jar.
- Once you’re happy with the arrangement, use Mod Podge to seal the flowers in place.
- Allow the jar to dry fully, which may take a few hours.
Notes
Involve children in the arrangement and application steps. Use a damp cloth for easy clean-up.
Nutrition
- Serving Size: 1 holder
- Calories: 0
- Sugar: 0g
- Sodium: 0mg
- Fat: 0g
- Saturated Fat: 0g
- Unsaturated Fat: 0g
- Trans Fat: 0g
- Carbohydrates: 0g
- Fiber: 0g
- Protein: 0g
- Cholesterol: 0mg