

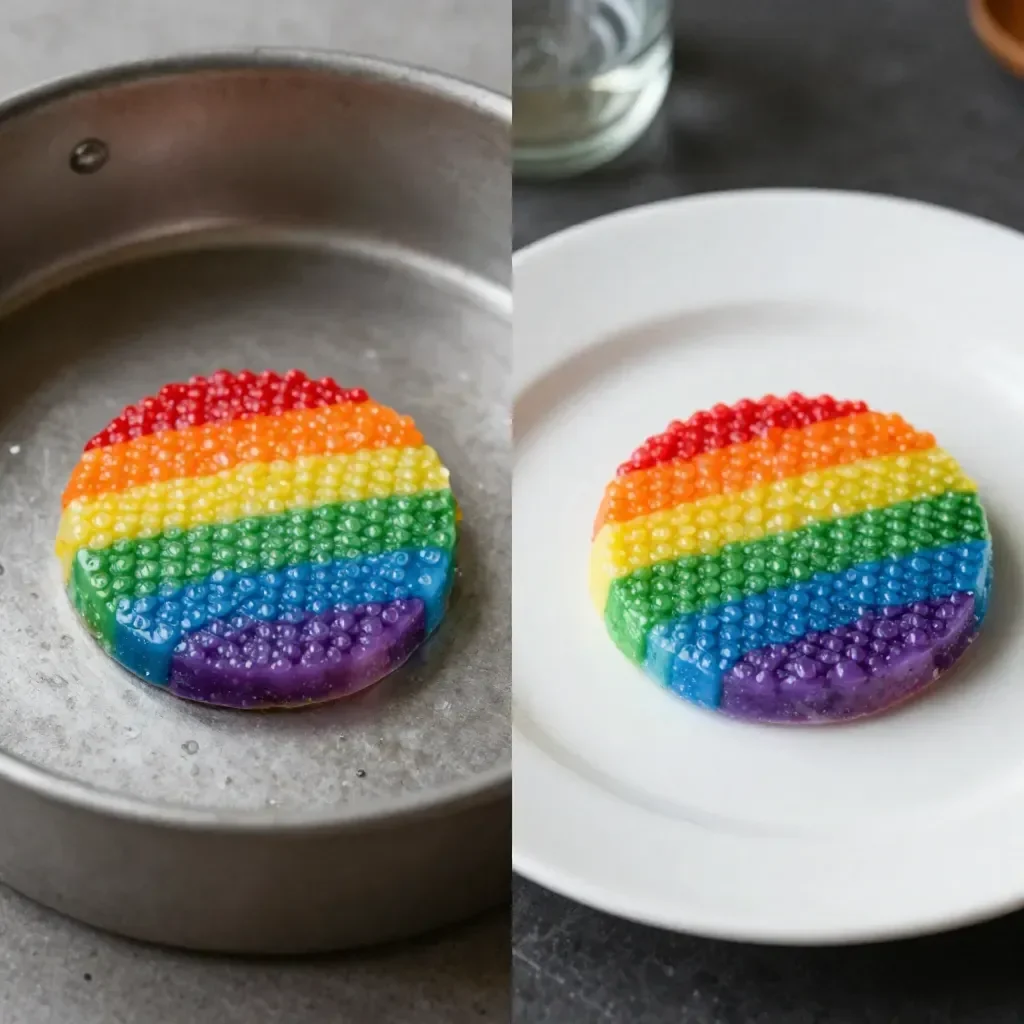
Melted Bead Suncatchers are an exciting and colorful project that can easily brighten any room. Picture this: it’s a busy afternoon, and your kids are buzzing with energy, looking for something fun and creative to do. Instead of resorting to screen time, why not guide them in making a vibrant piece of art? With just a few simple items found around the house, you can create beautiful sun catchers that will catch the light and create a rainbow effect in your windows. Not only is making these suncatchers an engaging activity, but it also allows for self-expression. You can use your own designs and color combinations, resulting in truly unique creations. You may also find Diy Glass Bead Heart Suncatcher useful.
Why You’ll Love Making Melted Bead Suncatcher
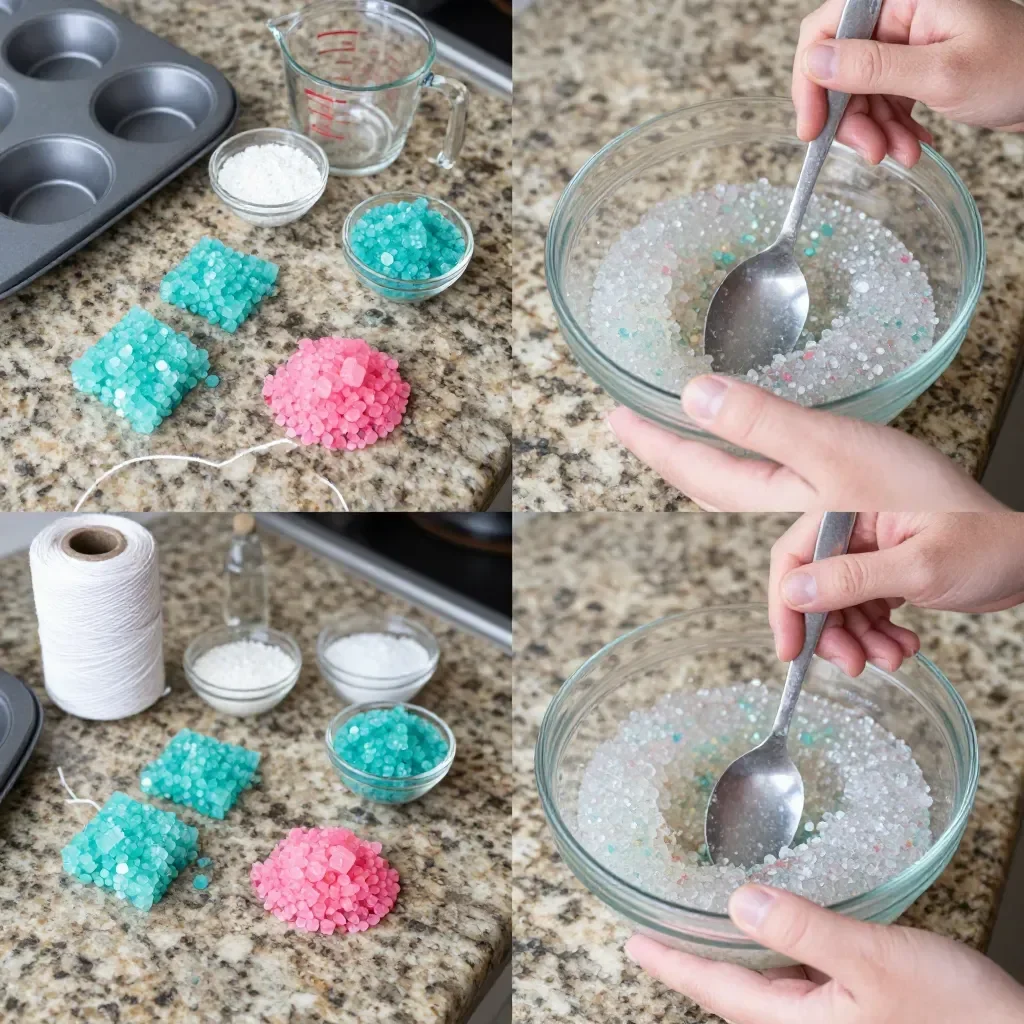
Creating Melted Bead Suncatchers appeals to families for several reasons. First and foremost, it’s a low-prep project, making it perfect for those last-minute activity needs. You don’t need to gather complex materials—just clear pony beads, a muffin tin, and some string. This project can fit into your busy schedule, whether it’s a weekend craft or a fun afternoon activity after school. You may also find Diy Glass Bead Suncatcher useful.
Moreover, the process is reliable, meaning you get positive results most of the time, even if it’s your first try. There’s something satisfying about watching the beads melt and transform into a bright, glossy design. Plus, it’s an excellent way to engage kids in a hands-on project that encourages creativity and imagination. You may also find Glass Bead Suncatcher useful.
A Quick Look Before You Begin
The Melted Bead Suncatcher project takes about 30 minutes or less from start to finish, depending on how elaborate your design is. You will spend a bit of time arranging beads, and once they’re in the oven, you can sit back for about 20 minutes while they bake. The mess level is minimal; just some beads to deal with. Older kids or adults can do this entirely on their own, while younger children will need guidance and supervision, especially when it comes to using the oven. You may also find How To Make A Suncatcher With Glass Beads useful.
Materials You’ll Need
- Clear pony beads: The main material, and you can find these at your local craft store or online.
- Metal muffin tin: Standard kitchen item; ensure it’s clean and ready to use.
- Oven: Required for melting the beads.
- String: Useful for hanging your suncatcher once it’s done.
These materials are not just easy to find; they are also budget-friendly and common household items, making it convenient for any family to use them.
Step-by-Step Directions
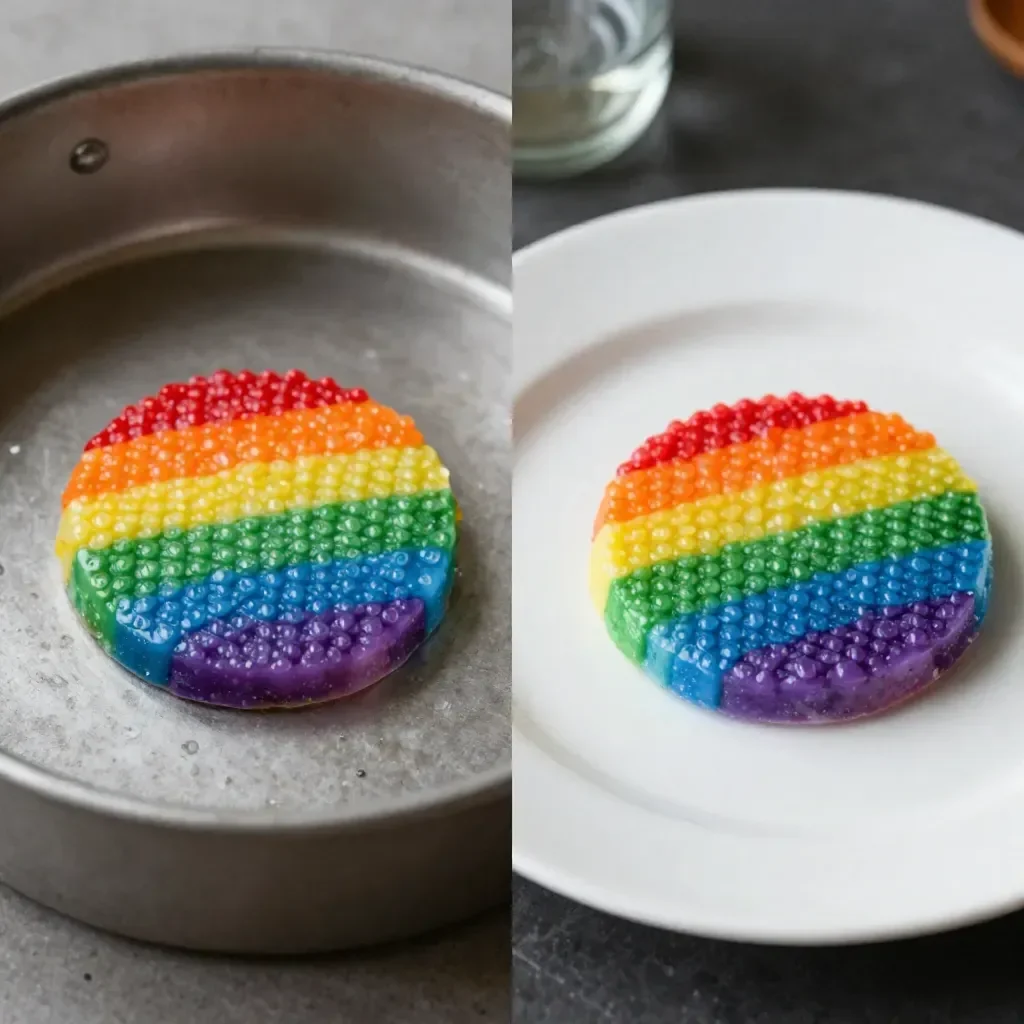
Preheat your oven to 400 degrees Fahrenheit. This is the ideal temperature for melting the beads evenly, so keep your oven settings accurate.
Fill each cup of the muffin tin with a single layer of clear pony beads, arranging them however you like. You can opt for a random mix or organize them by color for more defined patterns.
Carefully place the muffin tin in the oven and bake for about 20 minutes. Keep an eye on them as they melt! You might start to see the beads changing shape in just a few minutes. It’s a fun transformation to watch.
Once melted, allow the tin to cool completely. This is important, as you don’t want to risk burning yourself. Once cool, gently pop out the colorful disc you’ve made.
With adult help, drill a small hole at the top and string it up to hang in your window. Once it’s up, your creation will shimmer in the sunlight!
The Learning Behind This DIY
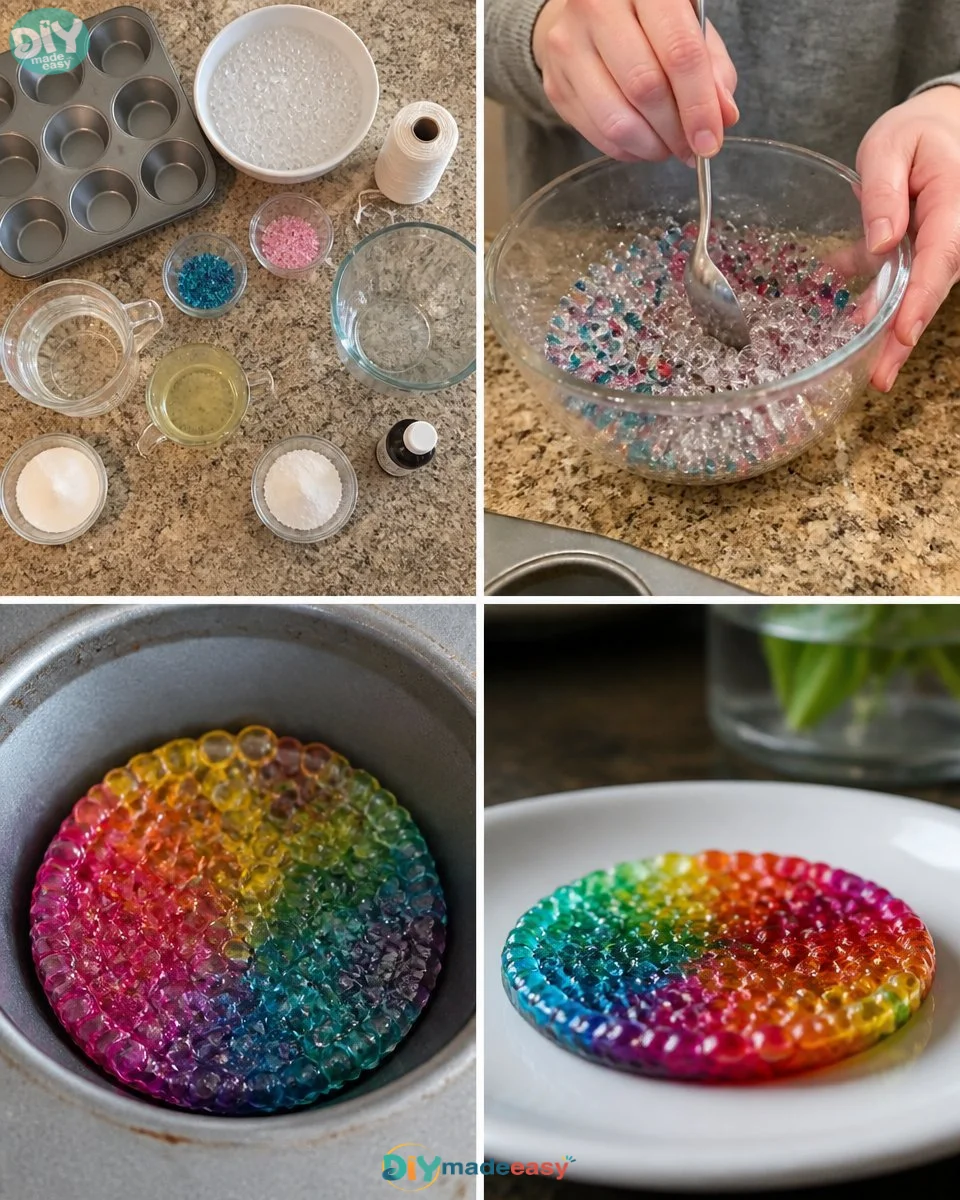
Making a Melted Bead Suncatcher is not just a fun craft; it also supports several skills that kids develop during crafting activities. As they handle the beads and manipulate their arrangement, they practice fine motor skills and hand-eye coordination. There’s a sense of cause and effect too—watching how their arrangements change as the beads melt into a solid form is an engaging way to understand basic science concepts.
Additionally, kids can experiment with color mixing and layering, making it a creative exercise. They learn patience as they wait for the beads to melt and cool, providing an opportunity to discuss concepts such as temperature and materials.
Troubleshooting Common Issues
If Something Doesn’t Go as Planned
While this project is generally easy and successful, you may run into some common hiccups. Sometimes the beads might not melt evenly. This usually happens if you’ve packed them in too tightly or not used enough beads. If you notice uneven melting, consider using more beads in your next attempt. Always make sure to use the right crowd during baking—be sure to communicate that the oven is hot!
Another common issue is the difficulty in removing the suncatcher from the muffin tin. If you wait too long for it to cool, it might stick. Let it cool only until just above room temperature before attempting to remove it, and if necessary, gently twist or flex the tin to help pop it out.
Easy Variations to Try
- Color Themes: Choose a seasonal color palette, like pastel colors for spring or warm oranges and reds for autumn.
- Mixed Bead Types: Try adding some transparent or opaque beads for added texture and a multi-dimensional look.
- Personalized Shapes: Instead of round, use silicone molds to create various shapes, such as hearts or stars, providing a fun twist on the traditional suncatcher.
- Funky Designs: Layer colored beads on top of clear ones to create unique designs and patterns in your suncatcher.
Storing or Reusing This Project
Once you’ve finished creating your suncatcher, think about where and how to store it. Suncatchers can be hung in many places around the house, and switching them out seasonally can keep things fresh. If you ever need to clean up, they can be easily wiped down with a damp cloth if they collect dust.
As for the leftovers, if proper care is taken during the project, you can use any leftover beads for future projects—like crafting or decorating picture frames. Reducing waste is a bonus of this fun DIY activity.
FAQs About Melted Bead Suncatcher
What if we make a mess with the beads? Does it happen a lot?
It’s possible to spill some beads, especially when younger kids are involved. Keeping a tray or a big piece of paper underneath can help catch them. The mess is usually manageable, and cleanup is quick!
Is this project safe for younger kids?
This project does involve the oven, so make sure a responsible adult is involved when it comes to that part. Younger children can help with arranging the beads but should be supervised closely during the melting process.
Can I use other types of beads?
Clear pony beads work best for this project due to their melting properties. Other beads might not melt properly or may not look as good once cooled. Sticking with what’s recommended ensures the best results.
How should I store leftover materials?
You can keep leftover beads in a container with a lid. Labeling it will help when you want to pull them out again for another crafting project.
Conclusion
Conclusion
Making Melted Bead Suncatchers is a delightful way to spend time with family while being creative. If you’re looking for a detailed guide on similar projects, you might find Melted Bead Sun Catcher : 7 Steps (with Pictures) – Instructables helpful. For additional creative inspiration, consider checking out How to Make a Suncatcher with Beads – The Artful Parent. Enjoy the creative process and the bright results!
PrintMelted Bead Suncatchers
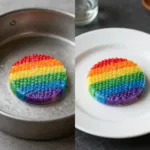
Brighten your room with these colorful and fun melted bead suncatchers that are easy to make with the kids.
- Prep Time: 10 minutes
- Cook Time: 20 minutes
- Total Time: 30 minutes
- Yield: 1 suncatcher
- Category: Craft
- Method: Oven
- Cuisine: N/A
- Diet: N/A
Ingredients
- Clear pony beads
- Metal muffin tin
- Oven
- String
Instructions
- Preheat your oven to 400 degrees Fahrenheit.
- Fill each cup of the muffin tin with a single layer of clear pony beads, arranging them as desired.
- Carefully place the muffin tin in the oven and bake for about 20 minutes.
- Allow the tin to cool completely before gently popping out the suncatcher.
- Drill a small hole at the top with adult help, and string it up to hang.
Notes
This project provides an excellent opportunity for kids to develop fine motor skills and express their creativity.
Nutrition
- Serving Size: 1 suncatcher
- Calories: N/A
- Sugar: N/A
- Sodium: N/A
- Fat: N/A
- Saturated Fat: N/A
- Unsaturated Fat: N/A
- Trans Fat: N/A
- Carbohydrates: N/A
- Fiber: N/A
- Protein: N/A
- Cholesterol: N/A