

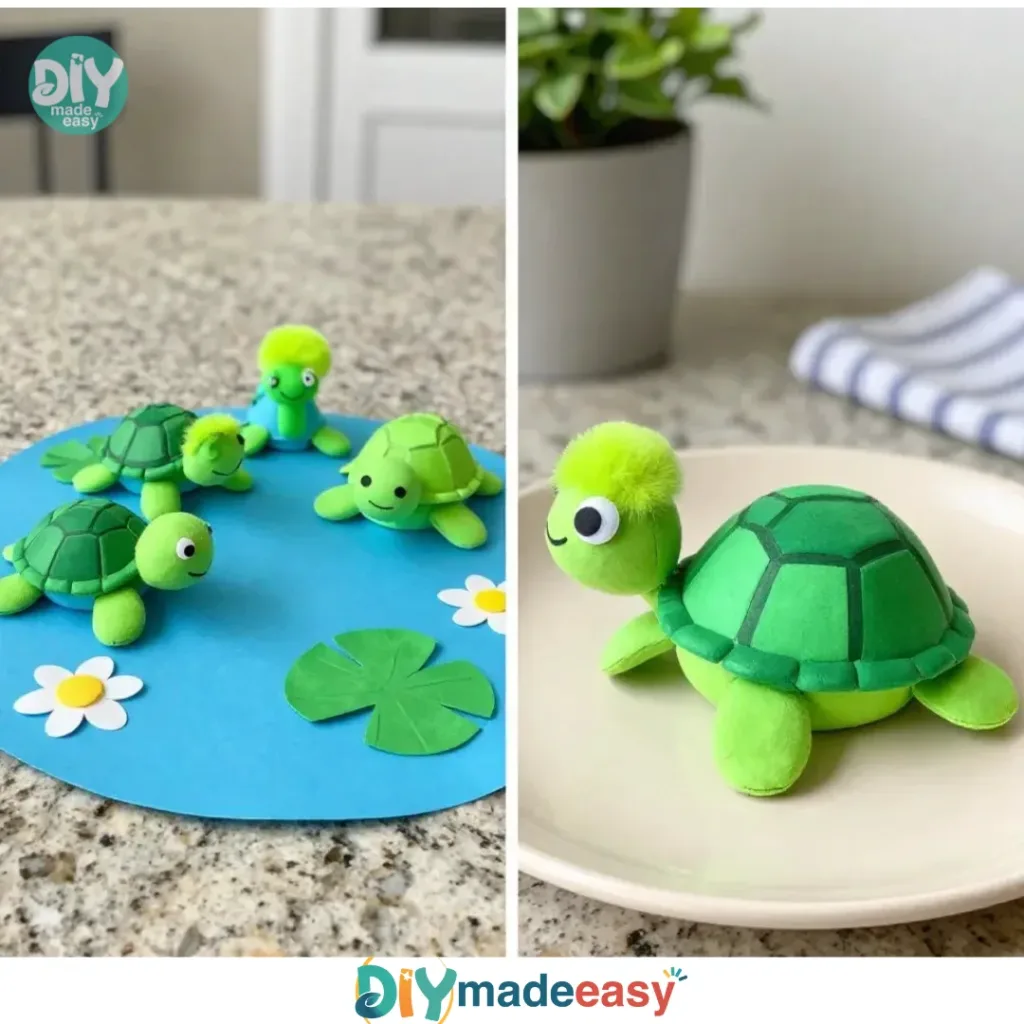
Egg Carton Turtles are an engaging and simple craft that can transform an ordinary afternoon into a creative adventure. Imagine the scene: it’s a busy day, and your kids are looking for something fun to make right now. You want an activity that doesn’t require extensive materials or complicated steps. This is where Egg Carton Turtles come in—they are easy to assemble, require few supplies, and the joy of crafting together can create cherished memories. If you have an egg carton on hand, you’re halfway there to creating adorable pet turtles with your little ones that they can paint and personalize. You may also find Cute Egg Carton Baby Birds Craft useful.
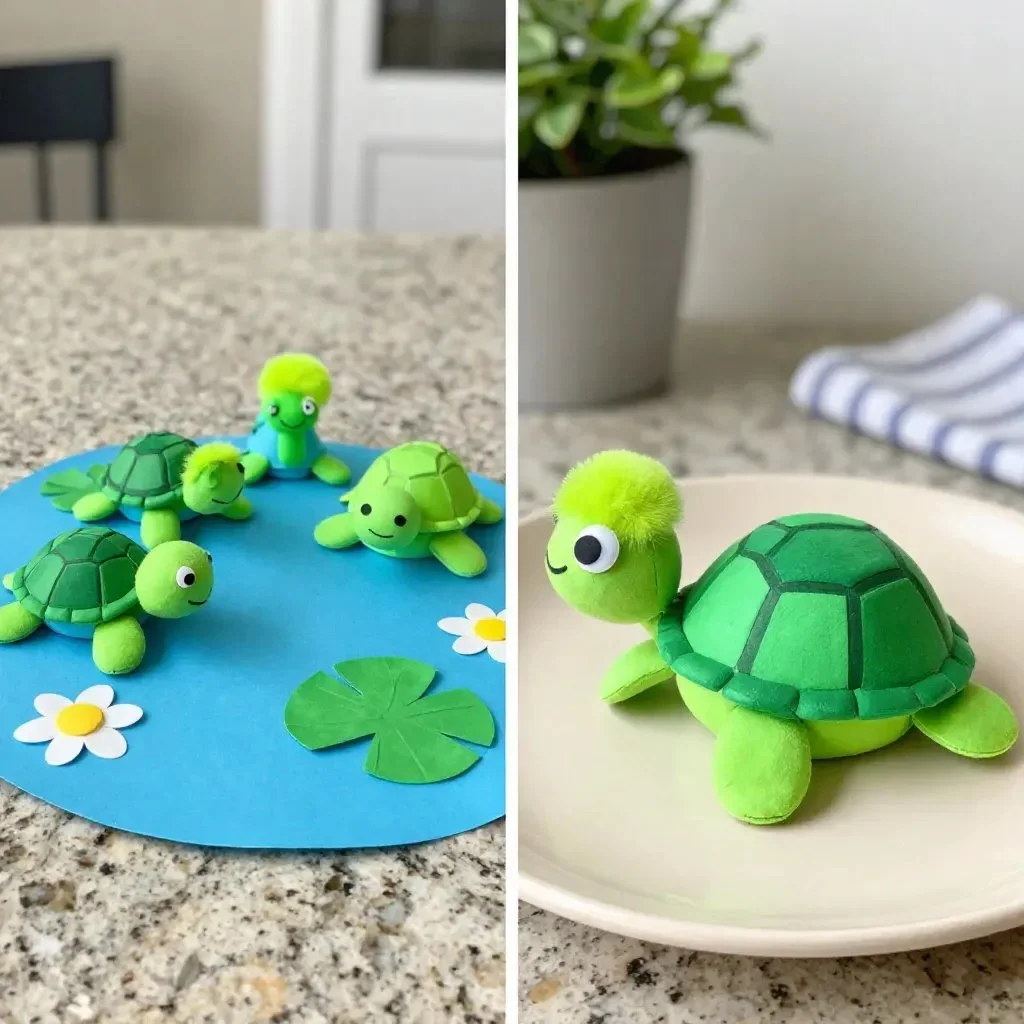
Why You’ll Love Making Egg Carton Turtles
You may also find Baking Soda Painted Easter Eggs useful.
Making Egg Carton Turtles works so well for a variety of reasons. First off, this project is low-prep and utilizes materials that are commonly found around the house, making it ideal for spontaneous crafting times. You don’t have to go out of your way to buy special supplies; in fact, if you enjoy other crafts, you might already have everything you need. The activity is approachable for kids of different ages and skill levels, so everyone can participate in some way. Plus, the end results are genuinely charming and can even double as decor or a toy! You may also find Colorful Crystal Egg useful.
This craft is also reliable, meaning it won’t leave you frustrated with complicated steps. Each turtle requires just a few pieces cut from the egg carton and some basic painting and gluing skills, which children can manage easily with a bit of adult guidance. It fits wonderfully into real-life schedules too; you can carve out thirty minutes to an hour for this project and still have time for other obligations. Crafting is about celebrating the moment, and Egg Carton Turtles certainly allow for that. You may also find Diy Dinosaur Eggs useful.
A Quick Look Before You Begin
Making Egg Carton Turtles can become a delightful part of your day with just a little planning. The setup is straightforward, with cleanup being manageable thanks to the minimal materials involved. If you have a designated crafting area, that’s ideal. Consider laying down a newspaper or old sheet to catch any drips or spills during painting sessions.
Timing often plays a crucial role in crafting with kids. You’ll find that this project can be completed in about an hour, allowing for drying time between steps. The mess level is low, meaning you won’t need to stress too much about tidying up. Adult involvement mainly comes in during the cutting and gluing stages, while kids can take the lead on painting and decorating their creations.
Materials You’ll Need
- An egg carton (optional: biodegradable)
- Scissors
- Acrylic paints in your favorite colors
- Paintbrushes (various sizes)
- Glue (like craft glue or a hot glue gun)
- Googly eyes or small buttons for features
- Markers or pens for detailing
- Optional embellishments (like fabric scraps or glitter)
Having these supplies ready will help make the crafting process smoother. Most of these items are common household materials, and they should be easy to gather before starting your project.
Step-by-Step Directions
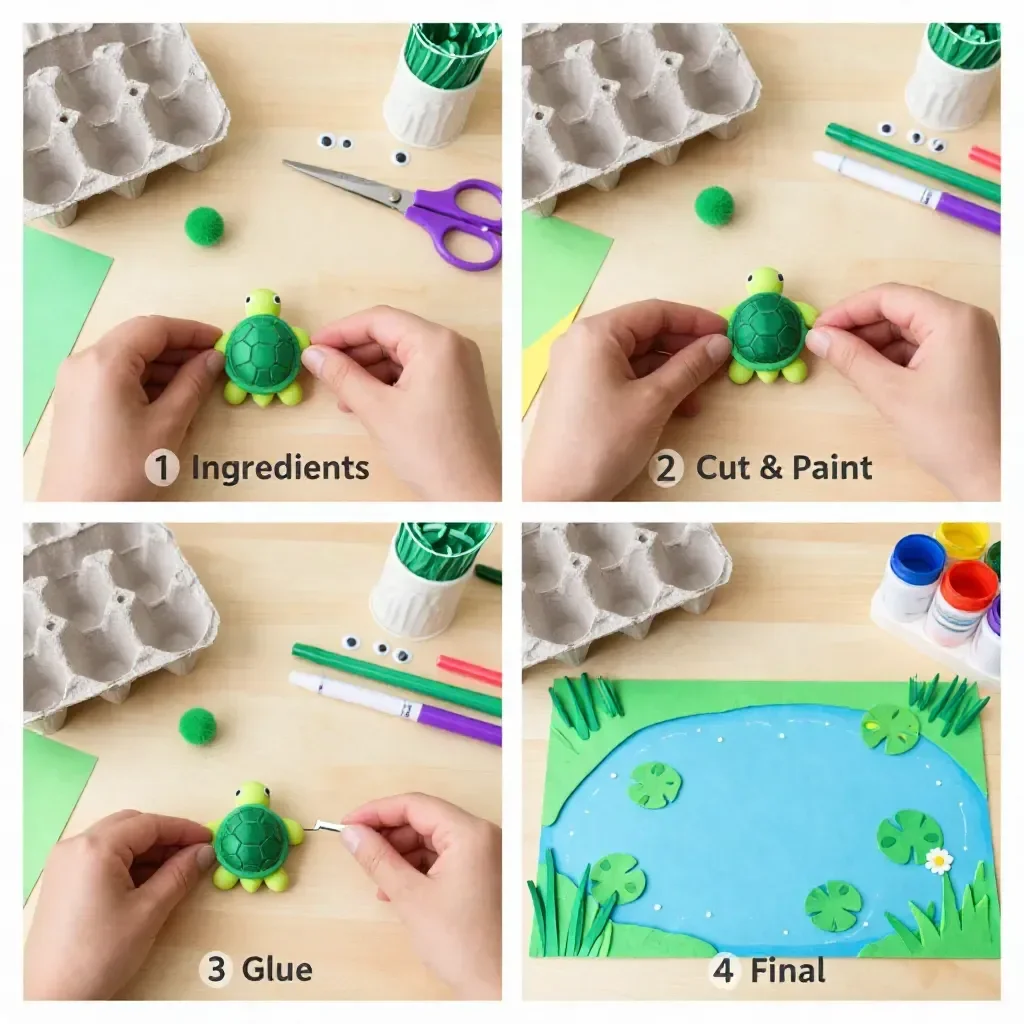
Prepare the Egg Carton: Start by cutting your egg carton in half lengthwise. Each half will form the turtle’s body and shell.
Shape the Turtles: From each half of the egg carton, cut sections to create the turtle’s body and head. You can be creative with the shapes!
Paint the Base: Use acrylic paints to apply a base color to the turtle shell. Let the kids choose their favorite shades—it could be a classic green or a fun color!
Add Details: Once the base coat is dry, use smaller paintbrushes or sponges to create spots or patterns on the shell. This part is where creativity truly shines.
Glue on Features: Attach the googly eyes or buttons with glue, ensuring they are secure. Allow the glue to dry thoroughly before moving on.
Final Touches: Use markers to draw details on the legs and tail. Enhance the design further with fabric scraps or glitter for a personalized touch.
These steps guide you through the crafting process, and they’re easy to understand, even for beginners. Enjoy the exploratory aspect of the project and let each child’s personality shine through in their unique turtle.
The Learning Behind This DIY
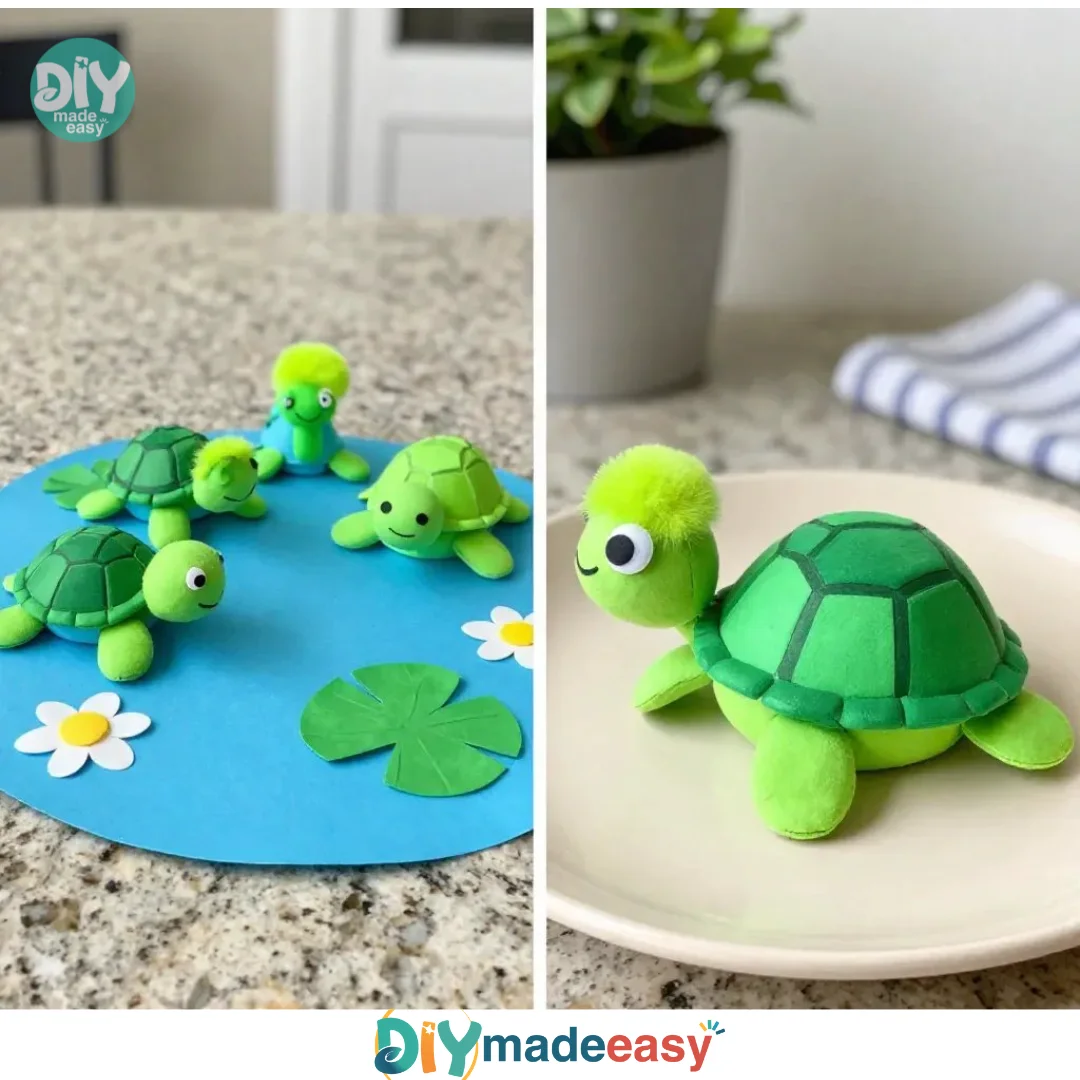
While creating Egg Carton Turtles, children practice several important skills. First and foremost, the craft supports fine motor development as they cut, paint, and glue their creations together. These hands-on activities enhance coordination and control, which are essential as they grow.
Additionally, kids explore creative expression through art by choosing colors and patterns for their turtles. They engage their imagination, fostering problem-solving skills as they figure out how to bring their turtle designs to life. This simple project also introduces basic science concepts, like color mixing when blending paints.
Troubleshooting Common Issues
If something doesn’t go as planned while crafting, don’t worry! One common problem is the paint not adhering well to plastic parts of the egg carton. If this happens, ensure the surface is clean and dry before applying the paint again.
Sometimes, the googly eyes or buttons may pop off. A little extra glue can help secure them better. If the legs seem too wobbly after gluing, consider adding a small piece of cardboard underneath to reinforce them. Remember, the focus should always be on having fun and enjoying the process!
Easy Variations to Try
There are countless ways to tweak this project! For a seasonal twist, you might create mini turtles with fall-themed decorations using oranges and browns.
If you want to change things up further, consider using different types of adhesives, like tape or double-sided sticky dots, instead of glue for attaching eyes.
Another idea is to introduce elements of storytelling—after crafting, have the kids think of a story involving their turtles. This encourages narrative skills and makes the activity even more engaging.
Storing or Reusing This Project
After you finish your Egg Carton Turtles project, you may wonder what to do with the creations. Consider storing them in a cool place where they won’t get damaged so they can be displayed later.
If some items remain unused or you’re planning to clean up the workspace, remember to recycle any egg cartons that are leftover. This reduces waste and can teach kids about reusing materials for other projects.
FAQs About Egg Carton Turtles
Are these turtles too messy to make indoors?
Not necessarily! Making Egg Carton Turtles can be a fun indoor activity with minimal mess, especially if you prepare by laying down a drop cloth or old newspapers.
What age group is this project suitable for?
This project is wonderfully flexible! Kids as young as four can participate with adult supervision, especially during cutting and gluing. Older children can take more initiative during the painting and designing phases.
Can we change the paint colors?
Absolutely! Feel free to get creative with the colors. Let kids mix paints to discover new shades—it’s all part of the fun.
What should I do if the project starts to look messy?
If things seem to become chaotic, take a breath. Crafts can get a bit messy, but that’s part of the joy! Assure the kids that it’s okay to make mistakes and that every turtle will look unique in its way.
Conclusion
Conclusion
Crafting Egg Carton Turtles not only provides a fun activity for kids but also fosters creativity and learning. For some fresh inspiration, you might consider checking out the fantastic Egg Carton Turtle ReCycled Kids Craft – Emma Owl for more ideas. Additionally, you could explore ways to integrate this craft into more extensive learning sessions, such as art and science, found on Create Egg Carton Turtles | Kids Coloring Pages – PBS. Crafting can be a wonderful way to bond and enjoy valuable time together while making something tangible.
PrintEgg Carton Turtles
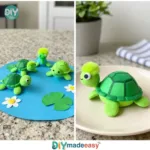
Engage in a fun and simple crafting project with your kids by making adorable Egg Carton Turtles using basic materials.
- Prep Time: 15 minutes
- Cook Time: 45 minutes
- Total Time: 60 minutes
- Yield: 4 turtles
- Category: Craft
- Method: Crafting
- Diet: N/A
Ingredients
- Egg carton (biodegradable optional)
- Scissors
- Acrylic paints in various colors
- Paintbrushes (various sizes)
- Craft glue or hot glue
- Googly eyes or small buttons
- Markers or pens for detailing
- Optional embellishments (like fabric scraps or glitter)
Instructions
- Prepare the egg carton by cutting it in half lengthwise.
- Shape the turtles: cut sections from each half to create the body and head.
- Paint the base color on the turtle shell with acrylic paints.
- Add details using smaller brushes or sponges once the base coat is dry.
- Glue on googly eyes or buttons securely.
- Final touches with markers and optional embellishments for personalization.
Notes
Let kids explore their creative side while making these charming turtles. Supervise cutting and gluing for safety.
Nutrition
- Serving Size: 1 turtle
- Calories: 0
- Sugar: 0g
- Sodium: 0mg
- Fat: 0g
- Saturated Fat: 0g
- Unsaturated Fat: 0g
- Trans Fat: 0g
- Carbohydrates: 0g
- Fiber: 0g
- Protein: 0g
- Cholesterol: 0mg