

DIY projects can sometimes spring up unexpectedly, like a busy afternoon when the kids suddenly ask to create something fun. Imagine the moment when they bounce in with ideas on what they want to do maybe it’s dinosaurs, or perhaps they’re looking for an exciting science project. It can be both thrilling and a little overwhelming, especially when you’re navigating a last-minute activity. Luckily, one fantastic option is DIY Dinosaur Eggs. This project not only keeps little hands busy but also works as a delightful way to engage their imagination and creativity right in your kitchen.
Why You’ll Love Making DIY Dinosaur Eggs

Creating DIY Dinosaur Eggs is a perfect blend of low-prep fun and imaginative play. It involves simple materials you likely have at home and requires very little time to get started. The process is reliable, ensuring that even the busiest of schedules can accommodate a little creative break. Children love to pretend they are discovering or nurturing these dinosaur eggs, which opens the door to playful storytelling. Because the project is straightforward, you don’t need advanced crafting skills to dive in.
Best of all, making these dinosaur eggs is a fantastic activity for a range of ages, making it adaptable and approachable for families. You can whip this up in the kitchen without any stress, creating a fun bonding moment without the chaos that sometimes accompanies DIY endeavors. Overall, it’s all about fostering creativity and making a memorable experience with minimal hassle.
Discover Easy Kids Activities
Looking for simple, fun ideas for kids? Explore our Low Prep Kids Activities and find quick projects that spark creativity without long prep time.
A Quick Look Before You Begin
This DIY project flows effortlessly from one step to the next, making it easy to tackle, even when juggling multiple activities on a busy day. Preparing the dough-like mixture comes together in under ten minutes. After that, you and the kids can mold the mixture into egg shapes, which adds a tactile element that children enjoy.
Expect a moderate mess level; the children will be handling the mixture, so prepare for some spills. However, this can be very manageable with a quick clean-up after. Although adult involvement is minimal, being nearby for guidance will keep everything running smoothly and create a lovely shared moment.
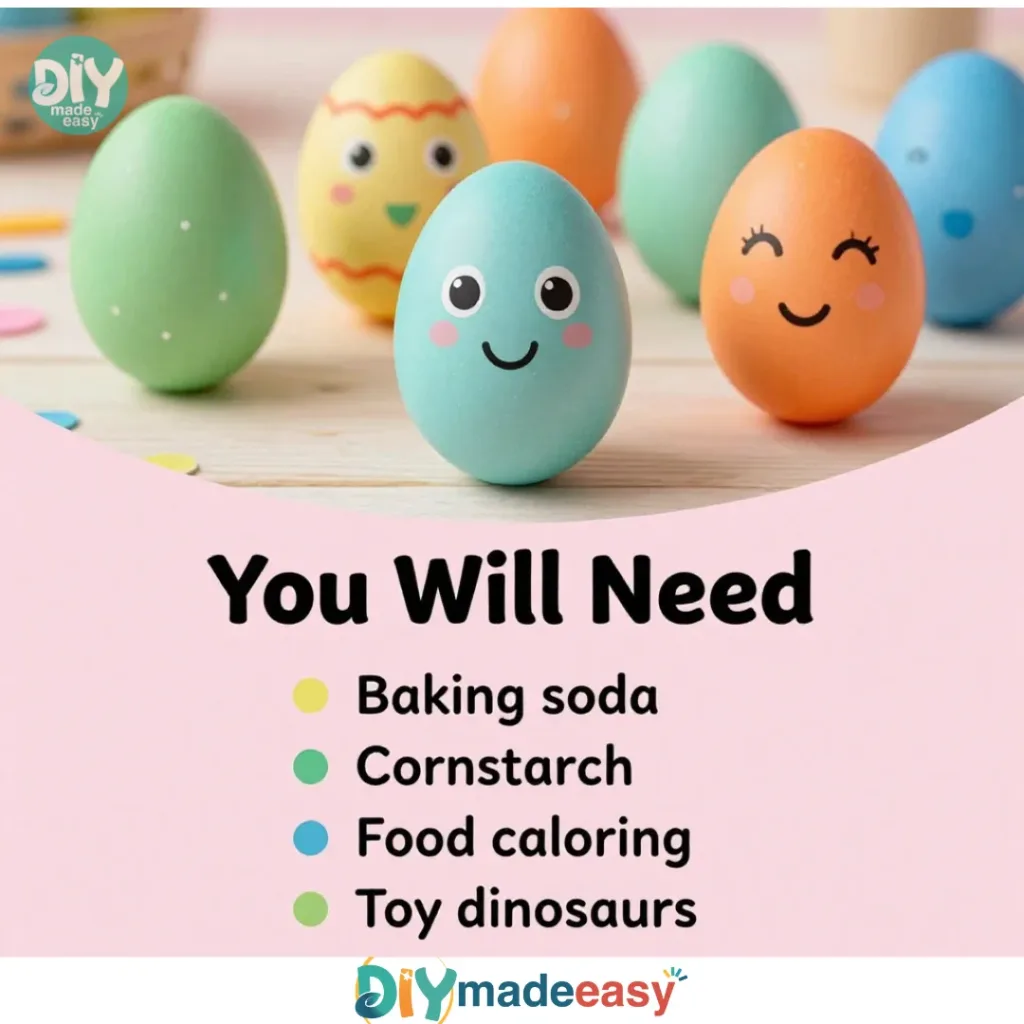
Materials You’ll Need
- Baking soda: common household item
- Cornstarch: budget-friendly and easy to find
- Warm water: helps bind the mixture
- Food coloring (optional): for added fun
- Mixing bowls: for easy combining
- Spoon or whisk: tools for mixing
- Surface for drying: keep everything tidy
- Small plastic dinosaurs (or other small toys): perfect surprises inside the eggs
Ensure you gather these materials before diving in to keep the project flowing seamlessly.
Step-by-Step Directions

- In a mixing bowl, combine two parts baking soda with one part cornstarch. Focus on getting them evenly mixed. This ratio creates a sturdy base while keeping the texture light enough for molding.
- Gradually add warm water to the dry ingredients. Start with just a little and mix. You’re looking for a dough-like consistency that holds together. If it feels too crumbly, add a touch more water.
- If you decide to use food coloring, mix it in slowly. This allows you to achieve the desired shade without making the mixture too wet. It can also create an exciting surprise when children see the final color.
- Mold the mixture into egg shapes. Feel free to get creative with the size! Kids often enjoy experimenting with the shape, so let them have fun with this part.
- Press a small dinosaur into the center of each egg if desired. This adds an extra layer of excitement and makes the eggs look special.
- Place the eggs on a drying surface for at least 24 hours to dry. Arrange them with a little space in between to allow air circulation. As they dry, they’ll harden into solid shapes.
- Once dry, paint or decorate them further if you’d like. Children can personalize their creations, which adds a lovely finishing touch to the project.
The Learning Behind This DIY

While making these DIY dinosaur eggs, kids engage in several valuable skills. They practice measuring and pouring, which builds math skills and promotes an understanding of volume. The tactile experience of mixing the dough also supports fine motor skills, helping with hand coordination.
Moreover, as they mold and shape the mixture, they begin to understand cause and effect. If the dough is too wet or too dry, they can learn to adjust it, which revolves around problem-solving. On a broader level, playing with the finished product stimulates creativity and imagination, allowing them to venture into their own imaginative scenarios as they discover their dinosaur eggs.
Troubleshooting Common Issues
If something doesn’t go as planned during your project, don’t stress. Sometimes the mixture may be too dry or crumbly. If that happens, gradually add more warm water, mixing well until you achieve the right consistency.
Alternatively, if your eggs flatten while drying, they might be too heavy or wet. While it can be frustrating, a helpful fix is to ensure they are shaped firmly but not overly packed. Additionally, letting them dry longer, especially in a less humid area, can help.
Mistakes are part of any crafty adventure, so approach them with patience. Usually, these moments lead to learning opportunities and fun stories to share afterward.
Easy Variations to Try
Here are some simple ideas to change up your DIY dinosaur eggs and keep the fun going:
- Seasonal Themes: Use colors and decorations that match different holidays, such as red and green for Christmas or pastel colors for Easter.
- Bigger or Smaller Eggs: Adjust the size of the eggs for different dinosaurs or even other small toys. Larger eggs can be adventurous for bigger pieces.
- Fizzy Surprise: For a science twist, consider adding baking soda inside the eggs, then combine with vinegar for a fizzy surprise once cracked open.
- Decorative Techniques: Try different painting methods such as sponging or dotting with cotton balls for texture. Kids can express their artistic flair in various ways.
- Educational Element: Turn this into a learning moment by teaching your kids about dinosaurs or the science of how these materials work together.
Storing or Reusing This Project
After your DIY Dinosaur Eggs have dried and been decorated, you can decide whether to keep them for display or use them in play. If you want to preserve them longer, store them in a dry, cool place. Avoid moisture, as that can cause them to dissolve or degrade over time.
If you find they are taking up space, you can decide to recycle or reuse the materials for future projects. Cleaning up your space and ensuring that everything is disposed of properly helps reduce waste and keeps your environment tidy.
FAQs About DIY Dinosaur Eggs
One common question parents ask is, “Will this be messy?
” While there can be spills, the cleanup is usually quick. Simply have some paper towels or a cloth handy for any accidents.
Another concern is about the age range suitable for this activity. It’s perfectly safe for children of various ages, but younger kids may need help with certain steps, especially mixing. This can easily be a wonderful shared experience.
You might wonder, “Can I substitute any of the ingredients?
” Absolutely! If you don’t have cornstarch, some people use flour as a substitute, though the texture might differ slightly.
Some parents also question, “What are realistic results?
Will they end up looking perfect?” It’s important to remember that the aim is fun, so results can vary! Every child’s interpretation will be unique, and that’s the beauty of it.
If you’re curious about storage, the eggs can typically be kept for a long time if dried properly. If they begin to crack or dissolve, you may need to consider making a fresh batch.
Conclusion
Making DIY Dinosaur Eggs is a fun, engaging project that allows kids to express their creativity while learning new skills. Embrace the messy moments as part of the experience. Don’t hesitate to check out additional resources for more ideas, like this detailed guide on making dinosaur eggs or get inspired by these themed activities for a deeper dive into the dinosaur world. Enjoy the process, adapt it to fit your family, and create lasting memories together.
PrintDIY Dinosaur Eggs

A fun and engaging DIY project for kids to create dinosaur eggs using simple household materials.
- Prep Time: 10 minutes
- Cook Time: 1440 minutes
- Total Time: 1450 minutes
- Yield: 10 eggs
- Category: Crafts
- Method: DIY
- Cuisine: N/A
- Diet: N/A
Ingredients
- Baking soda
- Cornstarch
- Warm water
- Food coloring (optional)
- Mixing bowls
- Spoon or whisk
- Surface for drying
- Small plastic dinosaurs (or other small toys)
Instructions
- Combine two parts baking soda with one part cornstarch in a mixing bowl.
- Add warm water gradually to the dry ingredients until you achieve a dough-like consistency.
- Mix in food coloring slowly if using.
- Mold the mixture into egg shapes.
- Press a small dinosaur into the center of each egg if desired.
- Place the eggs on a drying surface for at least 24 hours.
- Decorate the eggs once they are dry if you’d like.
Notes
Expect a moderate mess level, but clean-up is manageable. Kids will enjoy the tactile experience and opportunity for creativity.
Nutrition
- Serving Size: 1 egg
- Calories: 0
- Sugar: 0g
- Sodium: 0mg
- Fat: 0g
- Saturated Fat: 0g
- Unsaturated Fat: 0g
- Trans Fat: 0g
- Carbohydrates: 0g
- Fiber: 0g
- Protein: 0g
- Cholesterol: 0mg