

Swirl balls are a vibrant and tactile project that can easily bring joy to a busy afternoon when kids are looking for something fun to create. Imagine a last-minute activity that requires minimal setup but offers a memorable hands-on experience. With a little air-dry clay or polymer clay, colorful acrylic paint, and some optional glitter, you can dive into making swirl balls that not only look beautiful but also feel delightful to touch. This simple craft can turn an ordinary day into a burst of creativity, allowing your children and you to express yourselves and enjoy the satisfaction of making something unique.
Why This Swirl Balls Works So Well

This project shines for its low-prep nature and approachability. With just a few materials gathered from around the house, you can embark on a fun and creative adventure that’s perfect for all ages. Swirl balls require minimal setup time, meaning you can jump right into the fun without feeling overwhelmed. The entire process feels fluid, and the focus shifts effortlessly from preparation to your child’s creativity.
What makes swirl balls especially accessible is the variety of uses for them after they are finished. They can become decorative items, soothing stress balls, or even colorful paperweights. The reliability of this craft assures you that even if things go a bit sideways, the end result is still likely to impress. It’s a project that fits neatly into real-life schedules, ranging from quick afternoon stretches to rainy-day activities, all while fostering a sense of accomplishment.
Discover Easy Kids Activities
Looking for simple, fun ideas for kids? Explore our Low Prep Kids Activities and find quick projects that spark creativity without long prep time.
A Quick Look Before You Begin
Making swirl balls offers a calm and enjoyable process that fits in perfectly with your daily routine. You can expect to set aside about an hour for the whole experience, with hands-on time being around 30 minutes for younger children, depending on their pace.
The setup is simple: clear a table or kitchen counter where everyone can reach the materials. You might feel a bit of clay dust or stray paint here and there, but it’s an easy cleanup that won’t derail your day. Depending on your children’s ages, you may choose to lend a hand or let them take the lead, which can empower their creativity. This project lets kids experience both the joy of making and the satisfaction of seeing their efforts transform into something tangible.
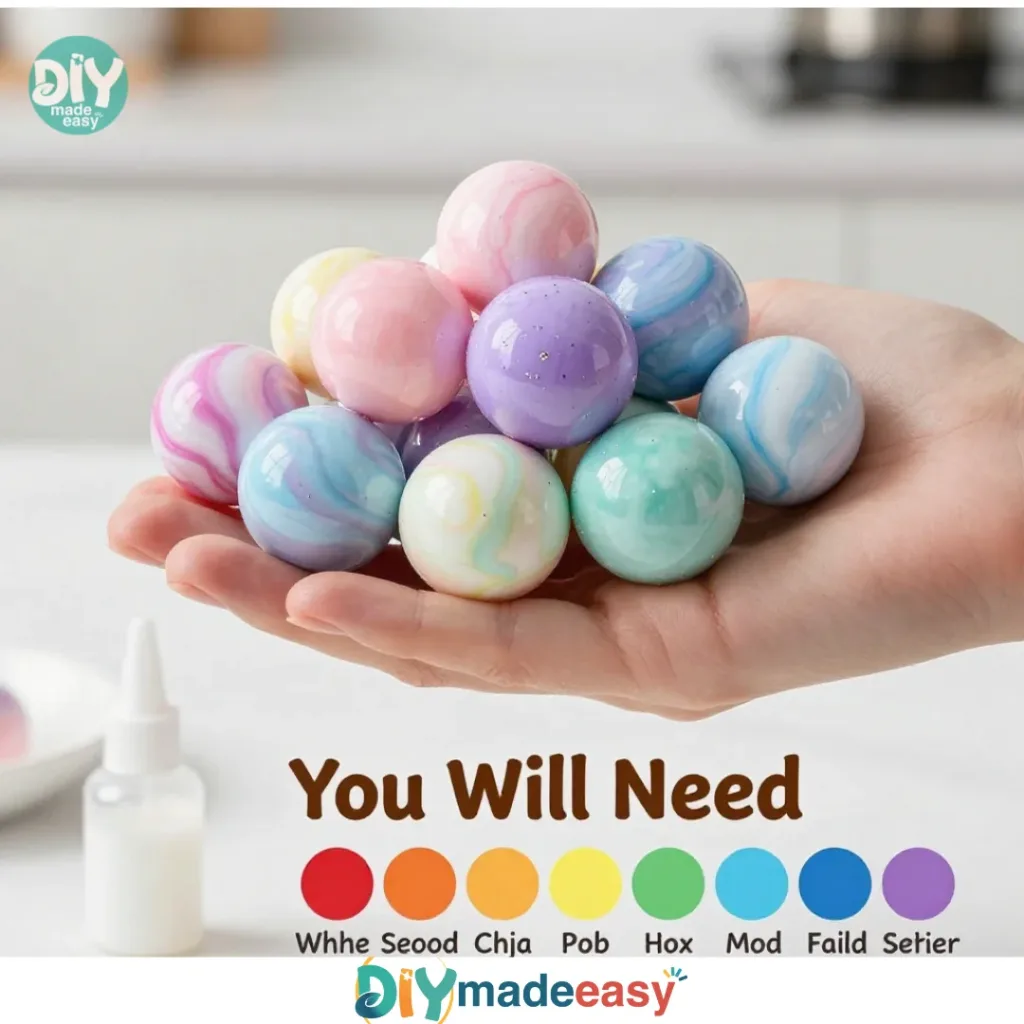
Materials You’ll Need
When you start making swirl balls, gather these materials together for a smooth experience:
- Air-dry clay or polymer clay
Budget-friendly option that’s easy to shape. - Acrylic paint (calming colors)
Choose colors that inspire relaxation or joy. - Small bowl of water
A simple household item handy for smoothing out clay. - Cloth or sponge
Useful for cleaning hands and surfaces as you work. - Optional: glitter or beads
Add a sparkle for a fun twist on the finished product.
By setting everything out in advance, you create an inviting atmosphere for this creative activity, ready for everyone to dive in.
Step-by-Step Directions

- Take a small amount of clay and knead it until flexible.
Start by picking up a piece of clay, about the size of a golf ball is a good reference. Knead it in your hands until it feels soft and pliable. This initial step helps to warm up the clay and makes it easier to work with. - Divide the clay into sections, each with a different color, and blend them.
Break your kneaded clay into smaller portions. Each section can be a different color of acrylic paint. This is the fun part where blending occurs! Roll, mash, and fold the colors together until you create beautiful swirls. - Roll the colored pieces into small balls.
Take your blended clay and roll it into small balls in your palms. You can aim for a variety of sizes, but a consistent ball of about one inch in diameter works well. This tactile action is not only satisfying but allows kids to utilize their fine motor skills. - Dip your fingers in water to smooth out any cracks.
If you notice any cracks or textures on your balls, don’t worry. Just dip your fingers in the small bowl of water and gently smooth the surface. This step is very satisfying, as the clay becomes shiny and nice to touch. - Optional: Add glitter or beads while the clay is still soft.
If you want to add a little sparkle, this is the time. While the clay is still soft, press in glitter or beads. Watch how they catch the light and enhance the beauty of your swirl balls! - Allow to air dry or bake according to polymer clay instructions.
If you are using air-dry clay, set your balls aside in a safe place to dry completely for at least 24 hours. If you opted for polymer clay, follow the packaging instructions for baking. - Once dry, enjoy the tactile experience of your finished swirl balls.
Feel the different textures and enjoy the swirling colors. These balls can now be used for stress relief, as a play item, or simply displayed as art.
The Learning Behind This DIY

Creating swirl balls is a surprisingly rich experience that teaches children a variety of concepts. While they might be focused on crafting, they are simultaneously exploring fine motor skills, coordination, and even a bit of science. The process of blending colors allows kids to experiment with color theory, observing how different hues combine and interact. Rolling the balls works on hand-eye coordination as they learn to control their movements and develop dexterity.
Additionally, shaping and smoothing the clay promote a tactile awareness of texture. Kids can feel the differences between the soft clay, the squish of their fingers, and maybe even the impact of adding glitter. This hands-on project lets children discover cause and effect as they observe how the paint colors mix and how changes in pressure form different shapes.
Troubleshooting Common Issues
If something doesn’t go as planned while making your swirl balls, don’t fret. It’s normal for things to go slightly off track, especially during creative projects. Here are a few common obstacles and easy fixes.
Sometimes kids may notice cracks in their balls after they have dried. This usually happens if the clay was not kneaded long enough or if it dried out too quickly. To fix this, simply make sure to smooth the surface with water during the process or add more moisture to the clay while kneading.
Another issue might be color blending. If the colors end up muddy instead of swirled, encourage kids to roll the colors more gently rather than mixing aggressively. They will find that the gentle folding keeps the colors distinct and vibrant.
If the balls seem too soft and start to collapse, you might have needed a little more time to let the clay set or dry. Not all air-dry clays dry at the same rate. In this case, letting them sit undisturbed will help. Patience pays off here!
Easy Variations to Try
There are endless ways to make this activity even more exciting. Here are a few variations to consider:
- Seasonal Colors: Adjust the paint colors to match the season. Warm reds, oranges, and yellows for fall or icy blues and whites for winter make the experience festive and fun.
- Theme Your Swirls: Choose a theme for your colors perhaps ocean colors with blues and greens or a sunset palette with pinks and golds. Each theme can inspire storytelling or imaginative play.
- Incorporate Natural Materials: Try adding small twigs, leaves, or even dried flowers into the clay before rolling into balls for a natural touch.
- Different Shapes: Rather than just balls, create other shapes like stars, hearts, or abstract forms. This invites even more creativity and adds excitement.
- Personalize Your Balls: At the end, kids can use paint or markers to draw designs or messages on their swirl balls, making them truly one-of-a-kind.
Storing or Reusing This Project
Once your swirl balls are complete, you might wonder what’s next. One of the great aspects of this project is its versatility. If stored properly, they can last a long time.
Should you find yourself with leftover unformed clay, simply store it in an airtight container. Keeping clay sealed will prevent it from drying out too quickly. For the actual swirl balls, consider a lovely bowl or basket to display them on a table. They become lovely decor pieces or great conversation starters!
Cleanup is easy too. You may encounter a few clay scraps on your surfaces. A damp cloth will wipe up the residue, and your workspace will quickly be back to normal.
FAQs About Swirl Balls
What if my kids make a mess while crafting swirl balls?
It’s all part of the fun! Clay can sometimes be a little crumbly. Just lay down a clean cloth or paper towel to catch any scraps. The best part is that cleanup is fairly simple just gather the pieces and toss them.
Is this activity safe for younger kids?
Yes, as long as you supervise younger children, they can enjoy making swirl balls. Make sure to use non-toxic, child-friendly clay. It gives peace of mind while allowing creativity to flow.
Can we use different types of clay?
Absolutely! Both air-dry and polymer clay work well. Just remember that if you choose polymer clay, the baking instructions must be followed for safe use.
What if my swirl balls don’t look as expected?
Every attempt is a unique creation, and that’s the beauty of it! Encourage your children to embrace their art and experience. Sometimes imperfections turn into the most wonderful designs.
How should we store the swirl balls?
To keep them looking great, avoid exposure to direct sunlight and store them in a cool, dry place. A decorative bowl on a shelf can help display your art while protecting their quality.
Conclusion
Keeping things simple can lead to some of the most enjoyable experiences. Making swirl balls is a joyful activity that merges creativity with tactile enjoyment, ideal for engaging kids and adults alike. You can explore different color combinations, textures, and forms together. And if you feel inspired by these creations, check out other interesting projects, such as the calm bouncy balls or beautiful colorful suncatchers. Just remember that crafting is about the process and having fun, regardless of the final product. Enjoy the journey of creation together!
PrintSwirl Balls

A fun and creative project to make colorful swirl balls using air-dry or polymer clay.
- Prep Time: 15 minutes
- Cook Time: 0 minutes
- Total Time: 60 minutes
- Yield: 4 swirl balls
- Category: Craft
- Method: Crafting
- Cuisine: N/A
- Diet: N/A
Ingredients
- Air-dry clay or polymer clay
- Acrylic paint (calming colors)
- Small bowl of water
- Cloth or sponge
- Optional: glitter or beads
Instructions
- Take a small amount of clay and knead it until flexible.
- Divide the clay into sections, each with a different color, and blend them.
- Roll the colored pieces into small balls.
- Dip your fingers in water to smooth out any cracks.
- Optional: Add glitter or beads while the clay is still soft.
- Allow to air dry or bake according to polymer clay instructions.
- Once dry, enjoy the tactile experience of your finished swirl balls.
Notes
Encourage kids to embrace their unique creations and remind them that imperfections make for beautiful art.
Nutrition
- Serving Size: 1 ball
- Calories: 50
- Sugar: 0g
- Sodium: 0mg
- Fat: 0g
- Saturated Fat: 0g
- Unsaturated Fat: 0g
- Trans Fat: 0g
- Carbohydrates: 10g
- Fiber: 0g
- Protein: 1g
- Cholesterol: 0mg