

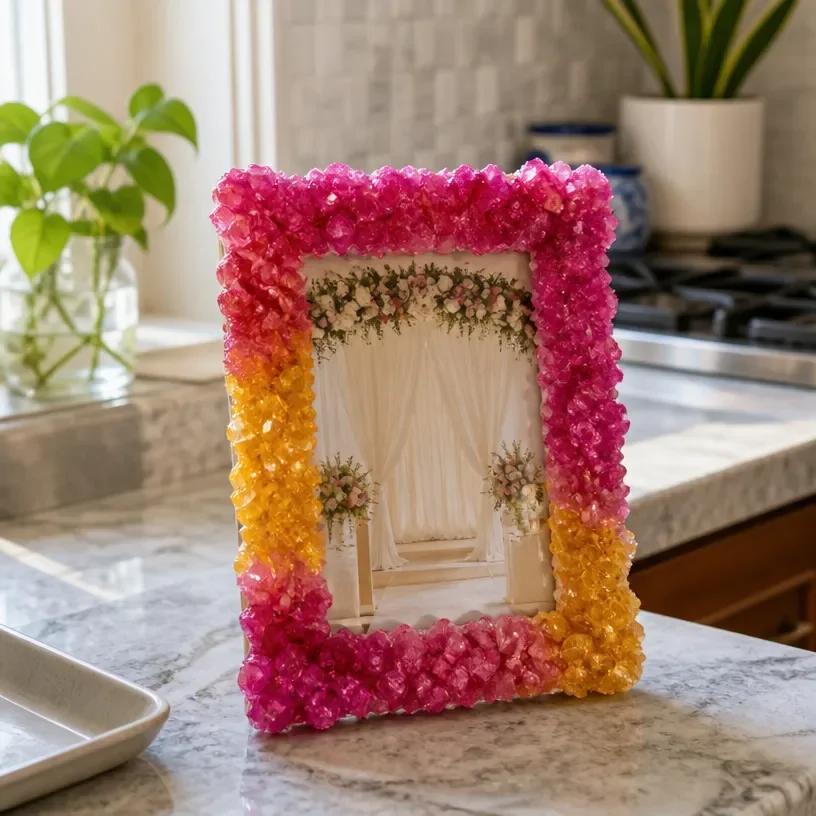
As you gather for a busy afternoon of crafting, the kids might express a desire to create something sparkling and fun. One ideal option to satisfy their creative itch is the Vivid Crystal Wedding Frame. This project beautifully combines simple science and artistic flair, making it engaging for all ages. By using basic materials you likely have right at home, you can create a stunning frame that features vibrant, shimmering crystals. It’s a fantastic way to spend time together, spark curiosity about science, and achieve rewarding results. You may also find Amber Flame Crystals useful.
Why You’ll Love Making Vivid Crystal Wedding Frame
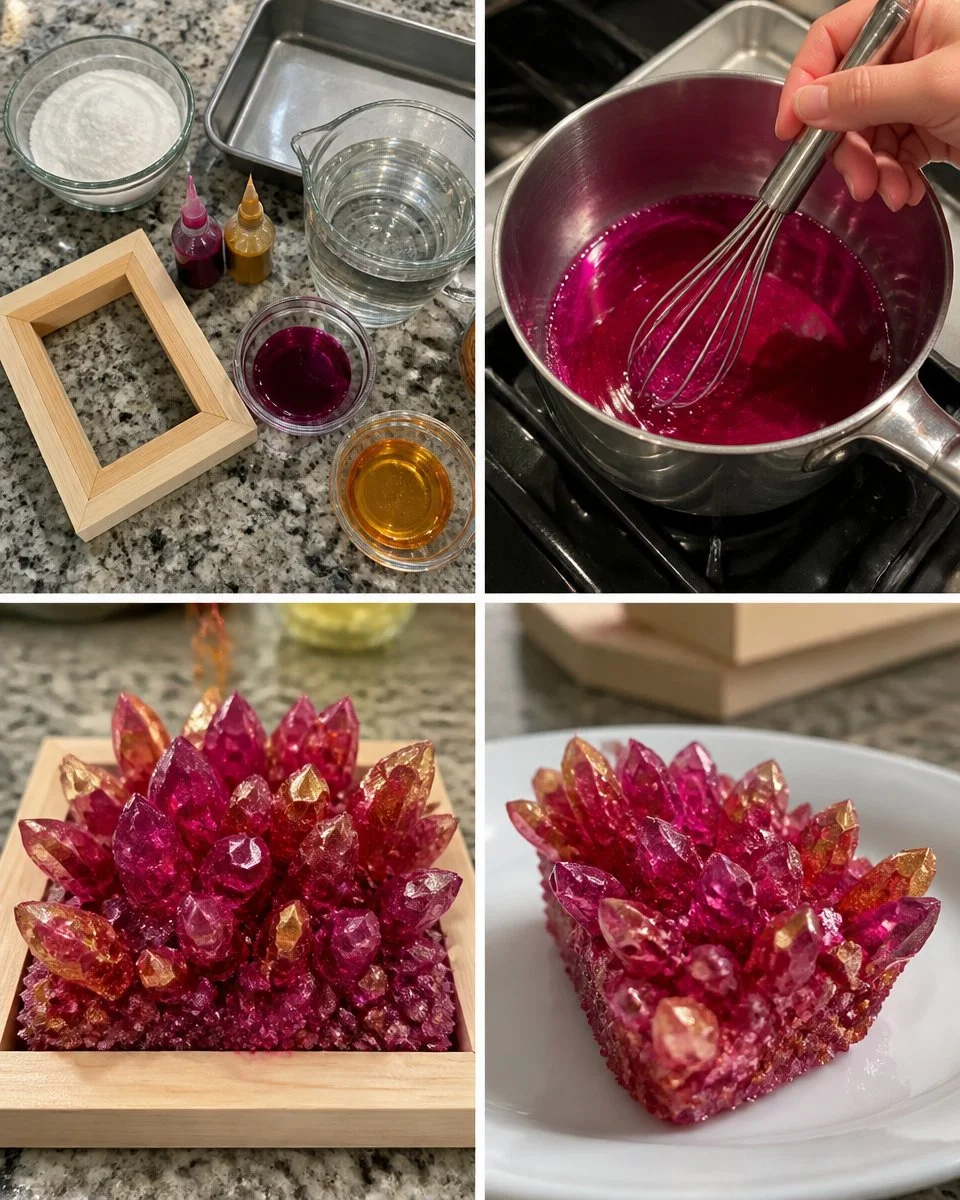
Creating a Vivid Crystal Wedding Frame is enchanting for various reasons. First, it is incredibly low-prep; with just a handful of accessible materials, you can set up this project in no time. Borax, hot water, and a couple of colors provide a canvas for your creativity and curiosity. Also, this project is reliable—time after time, you’ll witness those delightful crystals forming overnight, creating a sense of magic as they appear. It’s approachable because the steps are easy to follow, and the results are immediate and visually captivating, making it a wonderful choice for busy family schedules. You may also find Baking Soda Rainbow Crystal Forest useful.
A Quick Look Before You Begin
When embarking on this creative adventure, it’s essential to understand what to expect. The total time commitment will be a few hours, with the main active work taking only about 20-30 minutes. Most of the project is hands-off; the real waiting occurs as the crystals grow overnight. On the mess scale, it’s fairly manageable, as the liquid solution can be contained in the tray. Adults can help by supervising, especially when handling hot water or combining materials. Overall, this project is simple and engaging, encouraging kids to engage in hands-on learning. You may also find Bright Green Crystal Seashell Experiment 2 useful.
Materials You’ll Need
To make your Vivid Crystal Wedding Frame, gather the following materials: You may also find Bright Green Crystal Seashell Experiment useful.
- Small plain frame
- Borax
- Hot water
- Magenta coloring
- Gold coloring
- Tray
Each of these items is common and easy to find. The frame can be anything you have on hand, making this project budget-friendly. Borax can often be found in the laundry aisle at most grocery stores. The food coloring can be a fun way to explore color mixing, as you can adjust the shades to create something unique.
Step-by-Step Directions
Start by laying your small plain frame flat in a tray. This will keep it steady as we work. As you set this up, take a moment to enjoy how the simple frame can transform into something extraordinary.
In another container, mix hot water with a splash of magenta and a hint of gold. This will create a lovely, warm color. Stir it gently, allowing the colors to blend harmoniously.
Stir in borax until it feels well saturated. You’re looking for a granulated texture—don’t worry if some borax settles at the bottom; it’s normal.
Carefully pour the colored solution over the frame; it should be just covered. Watch as the colors begin to swirl around the frame, giving a tantalizing preview of the crystals to come.
Set it aside overnight and watch the crystals grow! During this time, it’s exciting to imagine what the outcome will be as you anticipate the morning revelation of shimmering crystals.
When done, lift the frame gently, let it dry, and place a cherished photo inside. Invite family members to find their favorite picture to display beautifully.
What Kids Practice While Making This

This DIY not only creates a beautiful end product but also helps kids practice several important skills. As children mix the ingredients, they learn about measurements and the science of solubility—how substances dissolve in liquids. This hands-on activity enhances fine motor skills as they carefully pour and hold the frame. Additionally, they engage their coordination during the pouring process, fostering a sense of achievement. By observing how crystals form, they also gain insight into cause and effect, noting how the temperature and saturation levels affect the results.
Troubleshooting Common Issues
If something doesn’t go as planned during the Vivid Crystal Wedding Frame project, don’t worry! Here are some common problems and easy fixes. If the crystals aren’t forming as expected, ensure that the solution is completely saturated with borax; you may need to add more. If you notice the color is too light, consider adding another drop of food coloring to enhance its vibrancy. Remember, crystal growth can be unpredictable, so even if things don’t turn out perfectly, you’re still creating a memorable experience together.
Easy Variations to Try
You can make the Vivid Crystal Wedding Frame even more exciting with a few variations. Here are some ideas:
- Different Color Combinations: Try using different food colorings to see how they interact. Mixing hues can lead to unexpected and beautiful results.
- Add Glitter: For an extra sparkle, sprinkle some glitter into the solution before pouring it over the frame.
- Theme It for Seasons: Change the colors based on holidays or seasons—think reds and greens for Christmas or pastels for spring.
- Use Different Frames: Experiment with various frame shapes and sizes, like hearts for Valentine’s Day or stars for a celebration.
Storing or Reusing This Project
After you’ve created your beautiful Vivid Crystal Wedding Frame, you might wonder what to do next. If you’d like to keep the crystals intact, display the frame in a safe spot to avoid damage. You can clean up any extra borax solution by carefully disposing of it down the sink with warm water. If you wish to do the project again, simply reuse your frame, although new borax and fresh coloring will offer the best results. If you’re thinking about reducing waste, consider sharing this craft with friends or passing the knowledge along!
FAQs About Vivid Crystal Wedding Frame
I know you might have a few lingering questions before diving into this fun project, so here are some common inquiries and helpful answers:
Will this project be messy?
While there is some potential for spills, working in a tray helps contain the mess. Just keep paper towels handy for quick clean-ups.
Is it safe for young children?
This project is suitable for children, but adult supervision is essential when handling hot water.
What if I don’t have borax?
If you don’t have borax, you could explore alternatives, but the results may vary significantly. Some families use Epsom salts instead, though they won’t form the same beautiful crystals.
Can I store the final product?
Yes! Once dried, you can display the frame. Just make sure to keep it away from moisture to maintain its beauty.
How can I make this project last longer?
Taking care to keep your crystal frame dry will help maintain the integrity of the crystals. You might also want to consider making smaller frames, which can be easy to store and display.
Conclusion
Creating a Vivid Crystal Wedding Frame is a delightful and engaging activity that brings families together while fostering creativity and learning. Whether you’re capturing memories or just enjoying the process, it’s a project worth trying. For more ideas on photo displays, check out this resource for photo and canvas prints. If you’re looking for stunning jewelry options, explore Zeghani – Vivid Diamonds & Design for beautiful inspiration. Happy crafting!
PrintVivid Crystal Wedding Frame
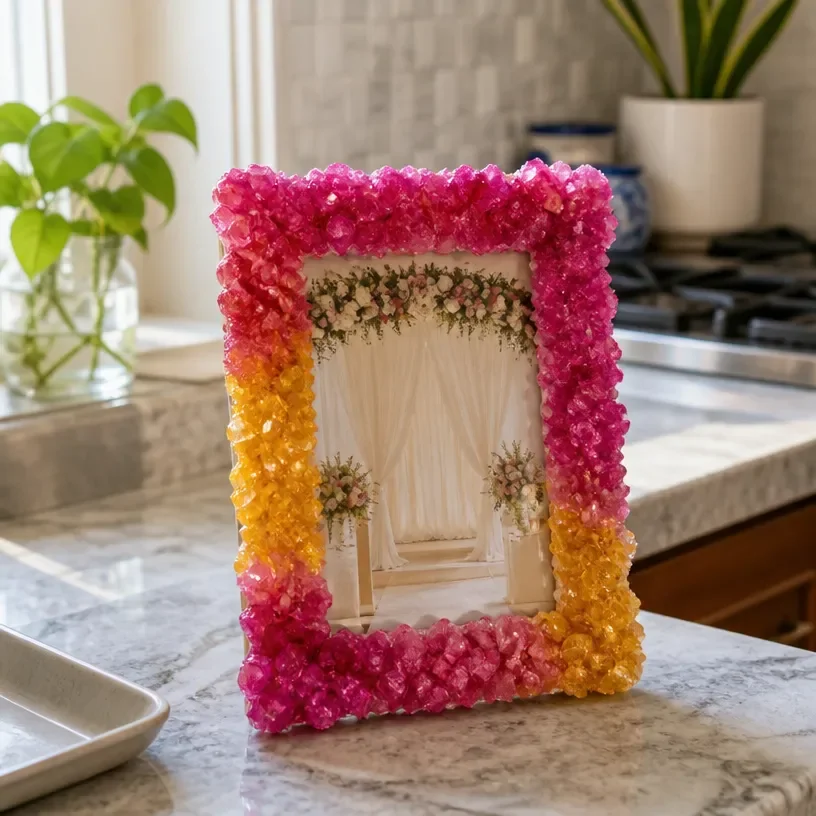
A fun and engaging DIY project that combines art and science to create a stunning crystal-adorned wedding frame.
- Prep Time: 20 minutes
- Cook Time: 0 minutes
- Total Time: 720 minutes
- Yield: 1 frame
- Category: Craft
- Method: Crafting
- Cuisine: N/A
- Diet: N/A
Ingredients
- Small plain frame
- Borax
- Hot water
- Magenta food coloring
- Gold food coloring
- Tray
Instructions
- Start by laying your small plain frame flat in a tray.
- Mix hot water with a splash of magenta and a hint of gold.
- Stir in borax until it feels well saturated.
- Carefully pour the colored solution over the frame.
- Set it aside overnight and watch the crystals grow.
- When done, lift the frame gently, let it dry, and place a cherished photo inside.
Notes
This project is best done with adult supervision when handling hot water.
Nutrition
- Serving Size: 1 frame
- Calories: 0
- Sugar: 0g
- Sodium: 0mg
- Fat: 0g
- Saturated Fat: 0g
- Unsaturated Fat: 0g
- Trans Fat: 0g
- Carbohydrates: 0g
- Fiber: 0g
- Protein: 0g
- Cholesterol: 0mg