

Sparkling Bouncing Balls offer a wonderful option for an afternoon activity when kids are looking for something fun to create. Picture a busy day when your little ones come rushing up, eager to make something that they can proudly bounce around. Crafting these colorful, sparkling balls can be a playful escape from routine, transforming a simple kitchen moment into an engaging DIY project. You only need a few common supplies and a bit of creativity to develop something they can not only admire but also play with. Let’s dive into making these delightful Sparkling Bouncing Balls, and bring fun right into your living room.
Why This Sparkling Bouncing Balls Work So Well

Making Sparkling Bouncing Balls is a breeze, and here’s why they are so appealing. First, the materials are incredibly easy to gather. With just craft glue, cornstarch, and a few optional extras like food coloring and glitter, this project won’t overwhelm you. As a parent, you likely have these items at home already. This project is also low-prep; you can hop right into it without needing to set up a ton of supplies or intricate steps.
Plus, kids love the tactile experience of rolling the mixture into shapes. It engages their hands and minds, making the process enjoyable rather than a chore. Since the blending and mixing produce a fun, dough-like texture, kids will be eager to jump in and help. This activity inherently fosters collaboration, as they work together to share colors or choose glitter shades. When you embrace the moments that these Sparkling Bouncing Balls create, you cultivate not just creativity but patience and joy in your spaces.
A Quick Look Before You Begin
Making Sparkling Bouncing Balls doesn’t require extensive planning or time that you don’t have. You can set aside about thirty minutes to gather your items and create, followed by a drying time of a few hours. The mess level is quite manageable, too. While some glue may get on little fingers, it’s nothing a quick wash can’t handle. An adult’s involvement helps guide the initial mixing and possibly overseeing the drying process, but kids can certainly take the lead in making the balls themselves.
You can easily turn this into a delightful little project, so prepare to enjoy some multitasking. If you’re cooking dinner or attending to another task, you can step in and out as needed since the process flows smoothly and does not demand your constant attention.
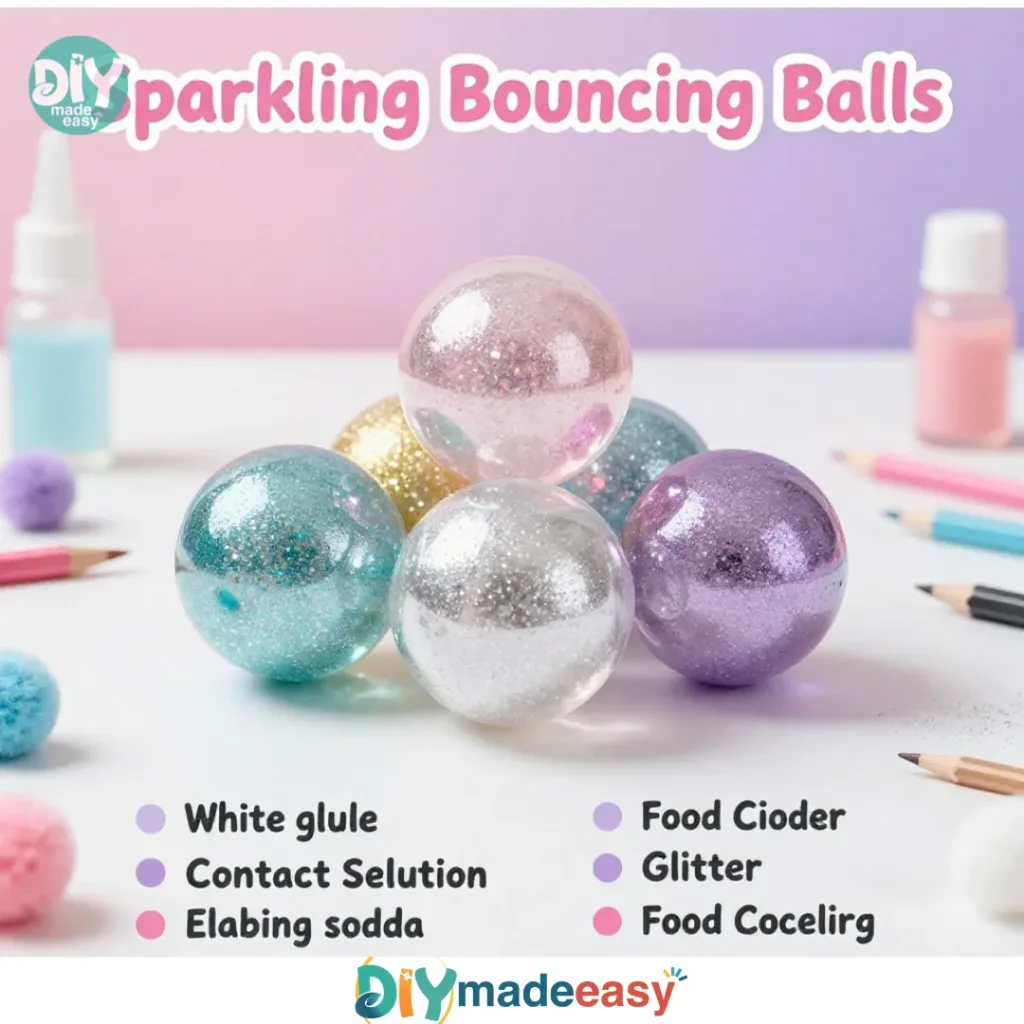
Materials You’ll Need
- Craft glue
This is your base material. It’s commonly found in most homes. - Cornstarch
Another household staple, perfect for achieving the right texture. - Water
You may need a splash to mix with the glue. - Food coloring (optional)
Use this if you want your balls to have some extra personality. - Glitter
An optional addition that kids usually love for that sparkling touch. - Mixing bowl
Any bowl will work for mixing your ingredients. - Stirring tool (like a spoon or stick)
Something to help combine your mixture evenly. - Tray for drying
Simple and practical, use any flat surface that can catch spills.
Gathering these materials only takes a few minutes, and they’re all items you’re likely familiar with and may already have in your home.
Step-by-Step Directions

- In a mixing bowl, combine a generous amount of craft glue with a splash of water. Mix until combined.
Start by pouring enough craft glue to fill the bottom of your mixing bowl. Add a little water a splash or two. Kids will enjoy watching how the two substances merge and change consistency. - Slowly mix in cornstarch until the texture becomes smooth and pliable like dough.
Gradually incorporate the cornstarch. Add it bit by bit, stirring as you go. You want to take your time here, checking in on texture. If it gets too dry, add more glue or water as needed. Kids can feel the mixture transform from liquid to something they can mold. - Add food coloring and stir gently to incorporate if desired.
If you’re adding color, now’s the time to do it. Drop in a few drops of food coloring and let kids mix gently. They can experiment with different colors, blending to see how they come together. - Sprinkle in glitter for extra sparkle.
This part is always a hit! Carefully sprinkle in some glitter, and watch the excitement grow as it catches the light. Encourage kids to add as much or as little as they want. - Roll small portions of the mixture into balls with your hands.
Now, it’s time to dive in. Take small pieces of the mixture and roll them in your hands. This can be a bit messy, but that’s all part of the fun! - Place the balls on a tray and let them dry for several hours or until fully set.
After rolling, place the balls on a tray. Make sure they have enough space, so they don’t stick together while drying. Let them sit for several hours sometimes, leaving them overnight is best.
The Simple Science or Skills at Work

Creating these Sparkling Bouncing Balls is more than just playful fun; it sneaks in education, too. Children practice fine motor skills as they mix and roll. The physical act of handling the mixture refines their coordination and strengthens their hand-eye connection. They’ll experience cause and effect while observing the different textures and how their additions change the mixture.
Moreover, the combination of glue, cornstarch, and water introduces basic science concepts in a tangible way. Kids can observe how each ingredient contributes different properties to the final product. It becomes an informal experiment as they learn about mixtures, textures, and the fun of transforming everyday items into something unique.
Troubleshooting Common Issues
Not everything will work perfectly the first time around, and that’s part of the learning! If the mixture ends up too sticky, consider adding more cornstarch gradually. That helps with texture and makes it easier to roll into balls.
If it feels too dry and crumbly, a little extra glue or water can help revive the mixture. It’s all about finding that sweet spot. If kids get frustrated at any point, remind them that homemade projects often have a bit of trial and error. Celebrate the glorious mess they made along the way rather than focusing solely on the end product.
Easy Variations to Try
Feel free to mix it up with these variations based on your child’s interests or the season!
- Add scents: Introduce a few drops of essential oils for a sensory twist. Kids can enjoy lavender or lemon and make their bouncing balls smell nice.
- Seasonal themes: Use holiday colors or decorations. For instance, red and green for winter or bright pastels for spring.
- Shape mixing: Instead of just round balls, challenge kids to create different shapes using cookie cutters.
- Tiny decorations: Let them stick small beads or sequins on the surface before drying for more visual interest.
- Interactive play: Create a mini-course indoors or outdoors to bounce and test their new creations.
Discover Easy Kids Activities
Looking for simple, fun ideas for kids? Explore our Low Prep Kids Activities and find quick projects that spark creativity without long prep time.
Storing or Reusing This Project
Once everything dries, kids can enjoy bouncing and playing with their Sparkling Bouncing Balls for days. You can keep them in a cool, dry place. Ideally, use a small container to protect them from being squished or misshapen.
However, should they get a bit damaged, don’t fret! If needed, a bit of water can help revive the texture. Cleaning and making new balls can be just as fun as the first round. Plus, you can save your materials for future crafting moments.
FAQs About Sparkling Bouncing Balls
Will this make a lot of mess?
A bit of glue on fingers is likely, but that washes off easily. Use a table or surface that can handle some spills. Most of the materials are easy to clean.
Is it safe for younger kids?
For young ones, adult supervision is best. The mixture is generally safe, but keep in mind that small parts like glitter could pose a choking risk.
Can I substitute the ingredients?
Absolutely! If you don’t have cornstarch, other thickening agents can work, but results may vary. Stick to similar measurements if experimenting.
What results can I expect?
Shapes could be imperfect, and balls may vary in size and texture. It’s all about the fun experience of creating, not achieving perfection.
How can I store the finished balls?
Keep them in a container at room temperature. You can also store any leftover mixture if it hasn’t dried fully. Just make sure to cover it well.
Conclusion
In summary, making Sparkling Bouncing Balls is a playful and educational project that encourages creativity. You don’t need to stress about perfection or intricacy just focus on enjoying the process with your children. These shiny, colorful creations can bring simple joy and fun into your home and serve as a fascinating conversation starter about science, creativity, and collaboration. If you want to explore some professionally crafted options after your DIY venture, check out the Fun Fluff 12 Pack Sparkling Glitter Bouncing Balls. Another great source for unique bouncing balls is the 42mm Pastel Glitter Bouncing Balls. With just a few supplies and an open mindset, you can create delightful memories. Enjoy crafting!
PrintSparkling Bouncing Balls

A fun DIY project to create colorful and sparkling bouncing balls with kids using simple household materials.
- Prep Time: 10 minutes
- Cook Time: 0 minutes
- Total Time: 180 minutes
- Yield: 10-15 balls
- Category: Craft
- Method: Crafting
- Cuisine: N/A
- Diet: N/A
Ingredients
- Craft glue
- Cornstarch
- Water
- Food coloring (optional)
- Glitter (optional)
- Mixing bowl
- Stirring tool (like a spoon or stick)
- Tray for drying
Instructions
- Combine a generous amount of craft glue with a splash of water in a mixing bowl and mix until combined.
- Slowly mix in cornstarch until the texture becomes smooth and pliable like dough.
- Add food coloring and stir gently to incorporate if desired.
- Sprinkle in glitter for extra sparkle.
- Roll small portions of the mixture into balls with your hands.
- Place the balls on a tray and let them dry for several hours or until fully set.
Notes
Kids love to experiment with colors and glitters. Adult supervision is recommended to ensure safety during the mixing process.
Nutrition
- Serving Size: 1 ball
- Calories: 0
- Sugar: 0g
- Sodium: 0mg
- Fat: 0g
- Saturated Fat: 0g
- Unsaturated Fat: 0g
- Trans Fat: 0g
- Carbohydrates: 0g
- Fiber: 0g
- Protein: 0g
- Cholesterol: 0mg