

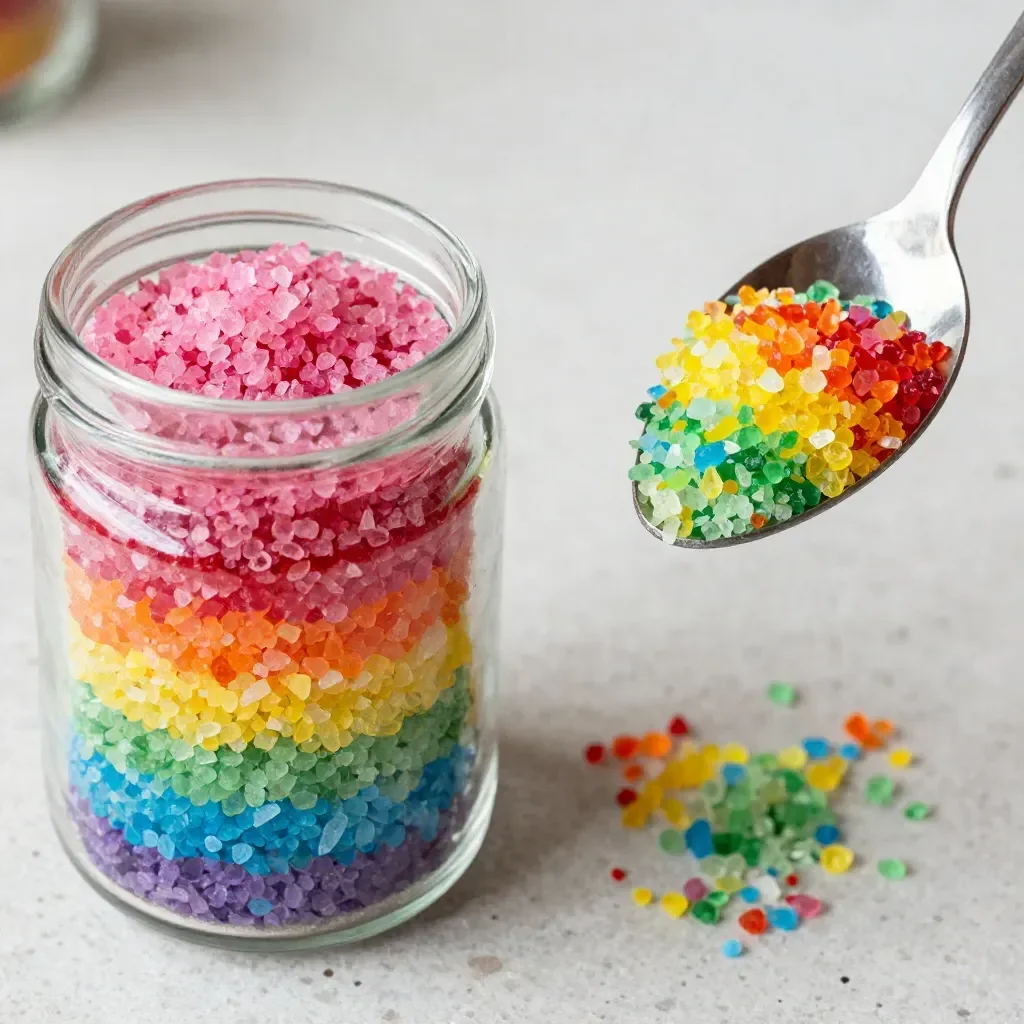
Making a Rainbow Salt Jar is a delightful way to engage kids on a busy afternoon. You might have found yourself in a situation where your little ones want to create something colorful but you don’t have much time or preparation in mind. This project is perfect because it utilizes everyday items like salt and chalk and allows for creative expression. Not only will you create something visually stunning, but you’ll also enjoy crafting together, building memories along the way. You may also find Rainbow Lava Lamp In A Jar useful.
Why This Rainbow Salt Jar Works So Well
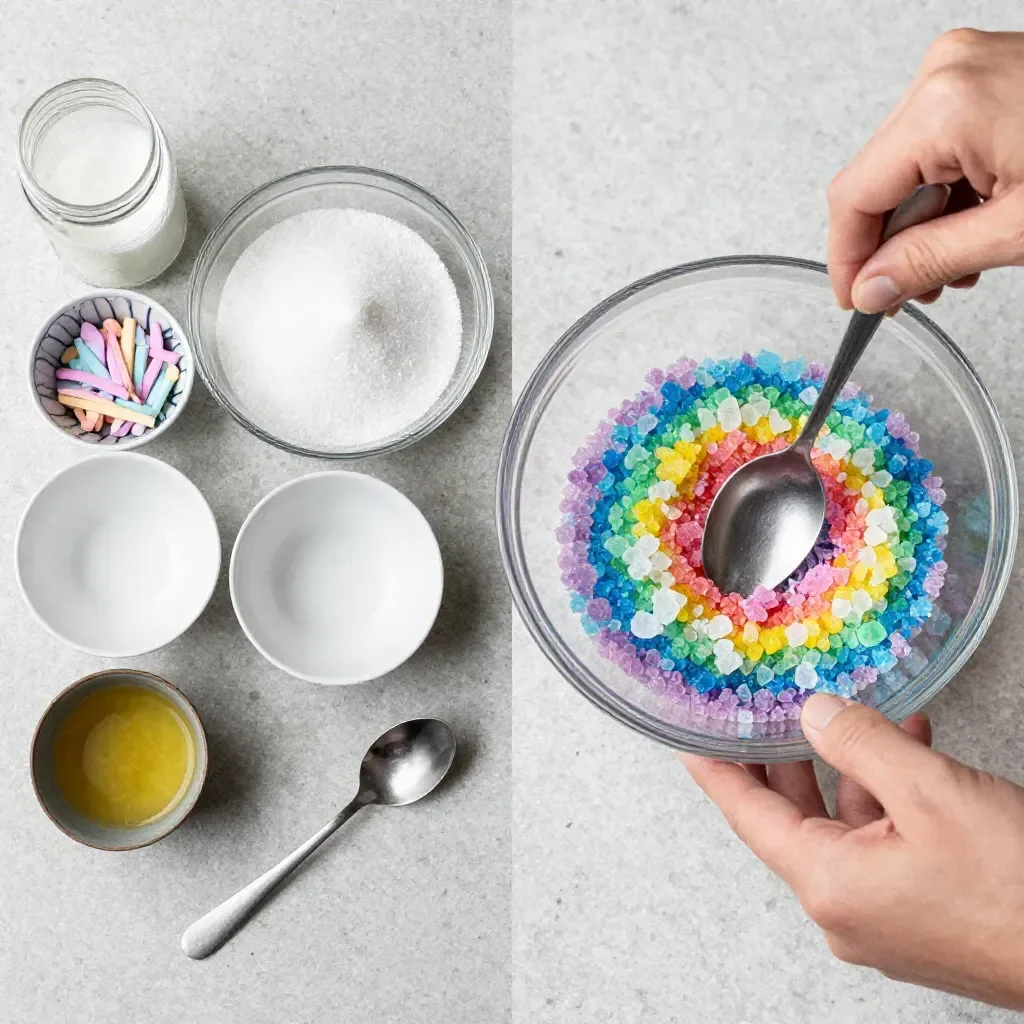
Creating a Rainbow Salt Jar is an ideal project for those hectic days when you need a low-prep activity. The materials are easy to gather and you likely have them on hand already. This project is approachable for children and adults alike, encouraging teamwork as you mix colors and layer them in the jar. The visual payoff is immediate, keeping kids engaged and excited. With hands-on activities like this, you’re able to ensure reliable results, which can be a win-win when juggling multiple schedules. You may also find Salt Volcano Stunning Lava Effect In A Jar useful.
A Quick Look Before You Begin
Making a Rainbow Salt Jar is straightforward and doesn’t take long to set up. You can expect this activity to take about 30 minutes from start to finish, depending on how elaborate you get with your colors. The mess level is low, with just a bit of salt and chalk dust to clean up afterward. Perfectly manageable for adults, so you won’t need to spend long hours cleaning. This means you can quickly get back to your daily rhythm after a fun crafting session together. You may also find Baking Soda Rainbow Crystal Forest useful.
Materials You’ll Need
- Clear jar: A see-through jar is essential for showcasing all those gorgeous layers.
- Salt: Regular table salt works just fine; it’s affordable and easy to find.
- Chalk sticks: The colorful chalk brings the vibrancy to your salt.
- Spoon: A simple spoon is needed for pouring and layering the salt.
These are common household items, so you won’t have to make a special trip to the store. The beauty of this project lies in its simplicity and accessibility. You may also find Cornstarch Rainbow Suncatchers useful.
STEP-BY-STEP DIRECTIONS
Start by rubbing the salt with your colorful chalk sticks. The salt will soak up the vibrant hues! As you rub, take a moment to feel the texture of the salt and watch as it absorbs the color. This step is where the magic starts, and even your younger kids can join in the fun.
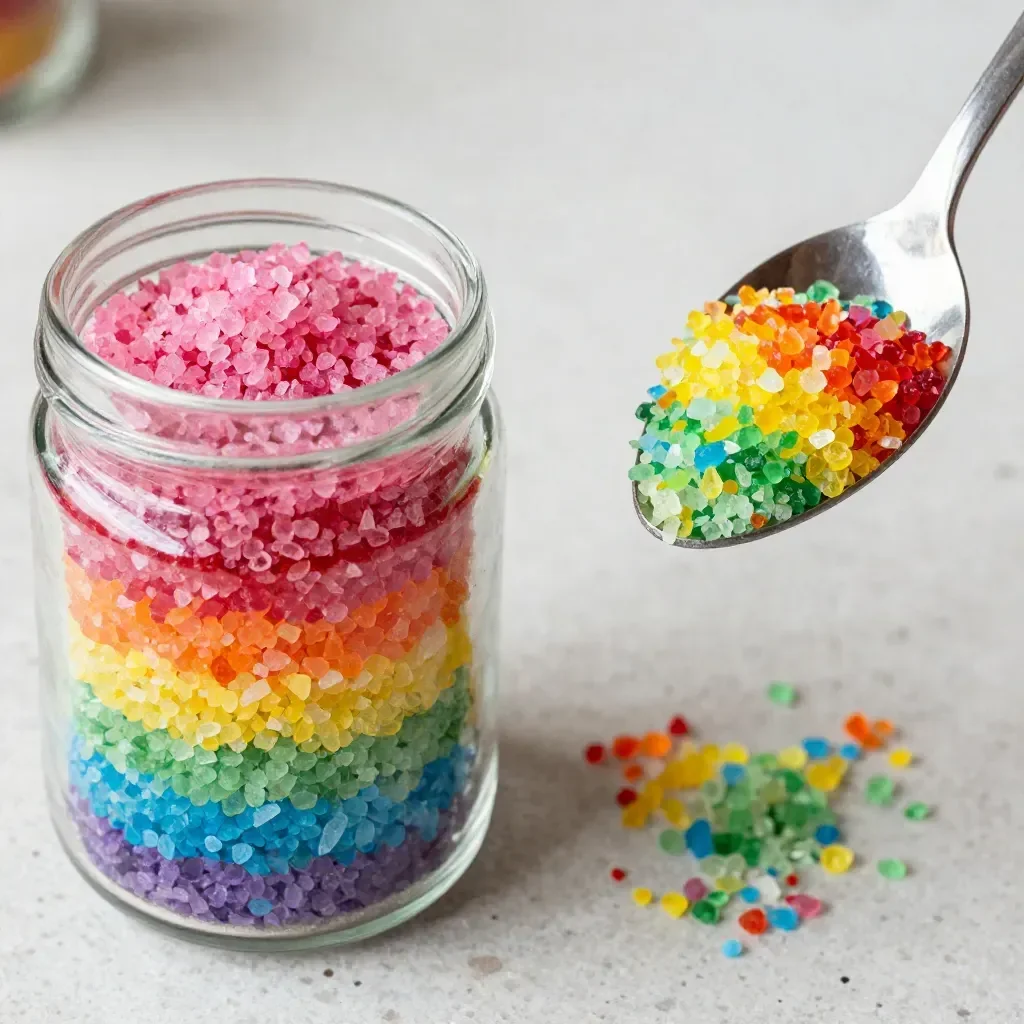
Layer the colored salt in your clear jar, gently adding each color one after the other. You can create a lovely rainbow or mix your favorite colors. Take your time here; the layering can be therapeutic, and it’s wonderful to see how the colors interact in the jar.
After layering, tap the jar gently to help settle the salt and create smooth lines. This technique helps in reducing air pockets and ensures that each layer looks crisp and clean. Once you’re satisfied with the arrangement, seal the lid tightly and find a cozy spot to display your beautiful creation.
The Learning Behind This DIY
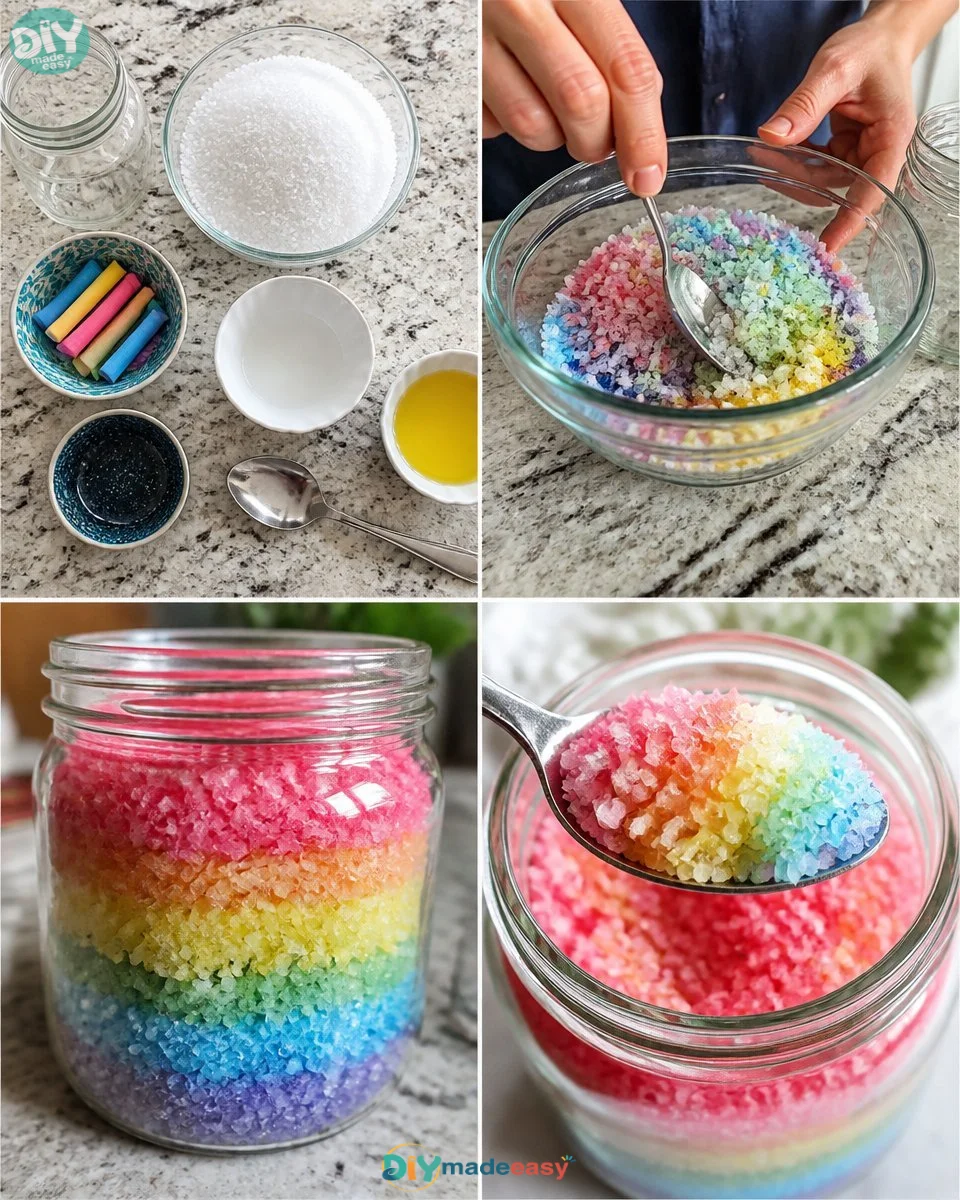
Creating a Rainbow Salt Jar is not just about aesthetics; it also plays into useful learning moments. This activity allows children to explore fundamental science concepts like mixing colors and how materials interact. As they layer the salt, they practice fine motor skills and coordination, learning to control their movements while pouring. This project emphasizes cause and effect, as kids can see how their actions change the appearance of the jar. It’s a great opportunity not just for creativity, but also for hands-on learning.
Troubleshooting Common Issues
If something doesn’t go as planned, don’t hesitate to make adjustments. Common problems include colors not showing up bright enough due to not rubbing the chalk long enough. Simply take a moment to add more color to the salt until it reaches the vibrancy you want. Another issue might be layers mixing together if the salt is poured too quickly. If that happens, try tapping the sides of the jar firmly after each layer to help it settle properly. This kind of troubleshooting adds a layer of problem-solving to the experience.
Easy Variations to Try
This project is easy to adapt based on what your family loves. For example, you can:
- Use different types of salt, like colored sea salt, for added texture.
- Try layering with small trinkets or beads to create a unique look.
- Experiment with seasonal colors or themes, such as pastels for spring or red and green for the holidays.
- Offer varying sizes of jars or even divide salt among multiple smaller jars for a more colorful display.
The possibilities are endless! Feel free to change up the project to suit your family’s preferences or even to tell a story through the colors you select.
Storing or Reusing This Project
Once the Rainbow Salt Jar is complete, think about how to keep it looking its best. An airtight container works well if you want to preserve your project. If the colors settle over time, it will be easy to re-layer just by shaking or tapping the jar to redistribute the salt. This is a great way to teach kids about reuse and care of their crafts, promoting an environment of reducing waste.
FAQs About Rainbow Salt Jar
One of the most common concerns is regarding the mess and cleanup. Rest assured, while there may be a little salt and chalk dust to clean up, it’s a quick wipe with a damp cloth that usually does the trick. Many parents wonder about the safety and age range for this activity. It’s safe for most ages, but supervision is needed for younger children during the coloring process to avoid chalk breakage and spills.
Substitutions for ingredients can be made if chalk is not available. You could use food coloring to dye the salt, though this may change the consistency a bit. Realistic results can vary depending on the colors chosen, but that’s part of the fun! Your jar will become a unique piece of art. Lastly, if you are curious about storing or reusing this project, consider ways to refresh it every season with new colors or themes.
Conclusion
Conclusion
Creating a Rainbow Salt Jar is an engaging project that not only brightens up your space but also fosters creativity in a fun, manageable way. For those looking for more crafts, consider exploring the process of making a Rainbow in a Jar, which offers additional vibrancy and magic in a different format. If you want to add a sprinkle of flavor alongside your colorful creations, you might also enjoy a Rainbow Pakkawood Salt Cellar for your kitchen. Embrace this project as a time to bond, learn, and create something beautiful together!
PrintRainbow Salt Jar
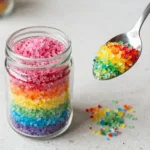
A delightful and colorful craft for kids that encourages creativity and teamwork.
- Prep Time: 5 minutes
- Cook Time: 25 minutes
- Total Time: 30 minutes
- Yield: 1 jar
- Category: Craft
- Method: Crafting
- Cuisine: N/A
- Diet: N/A
Ingredients
- Clear jar
- Salt
- Chalk sticks
- Spoon
Instructions
- Start by rubbing the salt with your colorful chalk sticks.
- Layer the colored salt in your clear jar, gently adding each color one after the other.
- Tap the jar gently to help settle the salt and create smooth lines.
Notes
For added texture, you can use different types of salt or layer with small trinkets.
Nutrition
- Serving Size: 1 jar
- Calories: 0
- Sugar: 0g
- Sodium: 0mg
- Fat: 0g
- Saturated Fat: 0g
- Unsaturated Fat: 0g
- Trans Fat: 0g
- Carbohydrates: 0g
- Fiber: 0g
- Protein: 0g
- Cholesterol: 0mg