

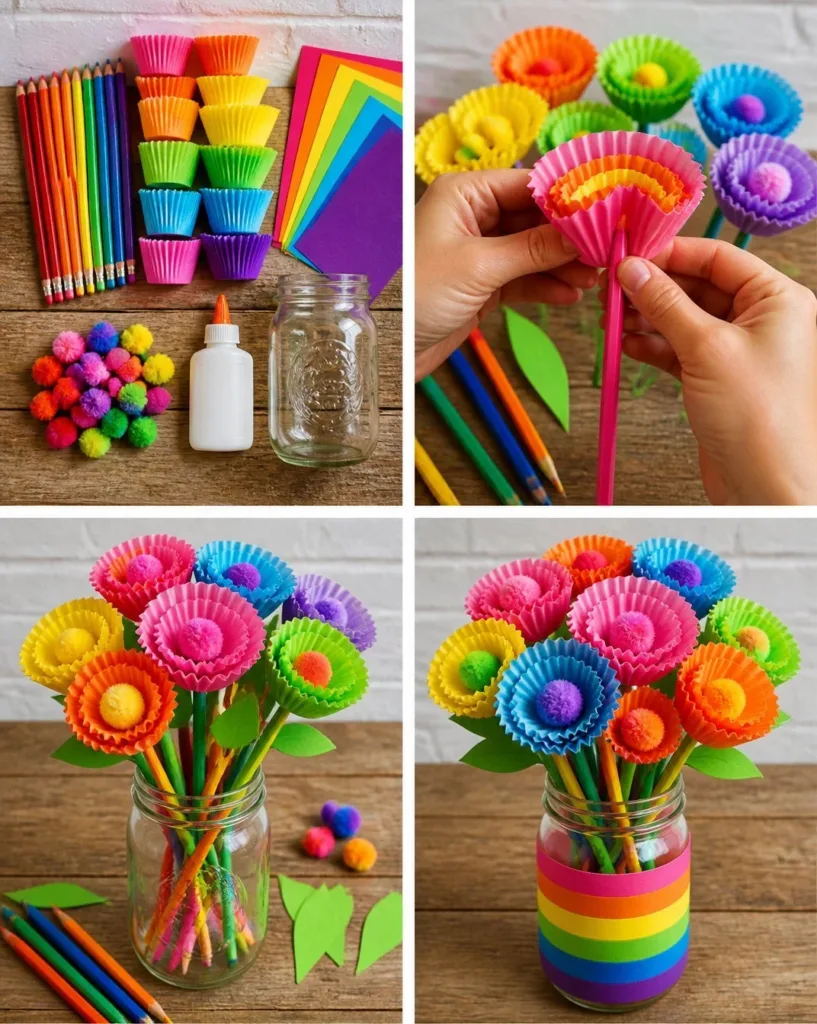
Colorful Rainbow Pencil Flower Bouquet for Back-to-School Decor can bring a vibrant touch to any classroom or home office. Imagine it’s a busy afternoon, and the kids suddenly want to create something special for their teachers as school approaches. You hear their giggles and excitement as they sift through piles of colored pencils and craft supplies. With a little guidance, you can help them transform those colorful pencils into a cheerful bouquet, which will brighten up any desk or table. You may also find Diy Tropical Flower Bouquet Rainbow Cupcake Liners useful.
Why This Colorful Rainbow Pencil Flower Bouquet for Back-to-School Decor Works So Well
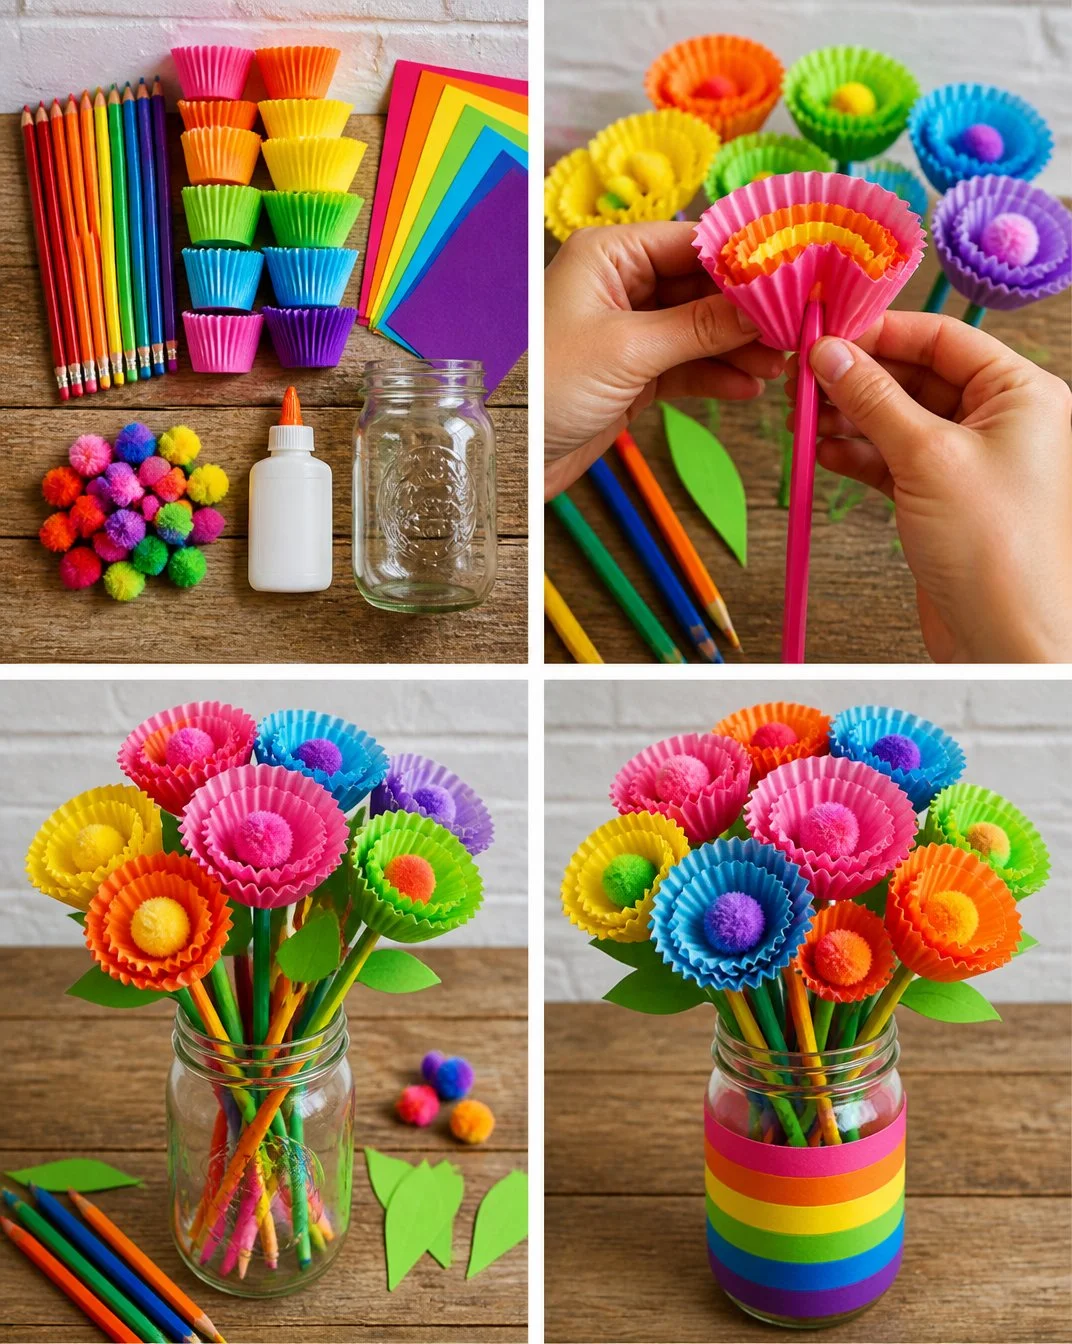
Making a Colorful Rainbow Pencil Flower Bouquet for Back-to-School Decor is an excellent choice, especially during those chaotic days just before school starts. This project requires minimal preparation, making it perfect for a quick and engaging activity. The supplies are simple, and you probably already have most of them at home. Moreover, children can easily take ownership of this project by choosing their color combinations and arranging their bouquets uniquely. You may also find Fork Pom Pom Flower Bouquet At Home useful.
This kind of DIY project also fosters creativity and is perfect for all ages. It enables kids to practice their fine motor skills while having fun, impressing their friends and teachers with something they made themselves. Plus, the joy of creating something colorful and useful adds to the excitement of heading back to school. You may also find Fork Pom Pom Flower Bouquet Garden useful.
A Quick Look Before You Begin
Creating the Colorful Rainbow Pencil Flower Bouquet can be a delightful experience for both children and adults. The project typically takes about an hour, allowing time for preparation and making adjustments as needed. Mess levels are manageable, and clean-up is easy, making this a project perfect for busy afternoons. Parents can comfortably supervise or even join in on the creative fun, ensuring an engaging experience that fosters teamwork and family bonding. You may also find Baking Soda Rainbow Crystal Forest useful.
Materials You’ll Need
To get started, gather these materials for your Flower Bouquet:
- Colored pencils in various hues
- Floral tape
- A sturdy base (like a small flower pot or vase)
- Soft paper or card stock for the petals
- Scissors
- Hot glue gun and glue sticks
- Optional embellishments (like stickers or glitter)
Most of these items are common household items, making this a budget-friendly project. You can also consider substituting floral tape with regular tape if necessary.
Step-By-Step Directions
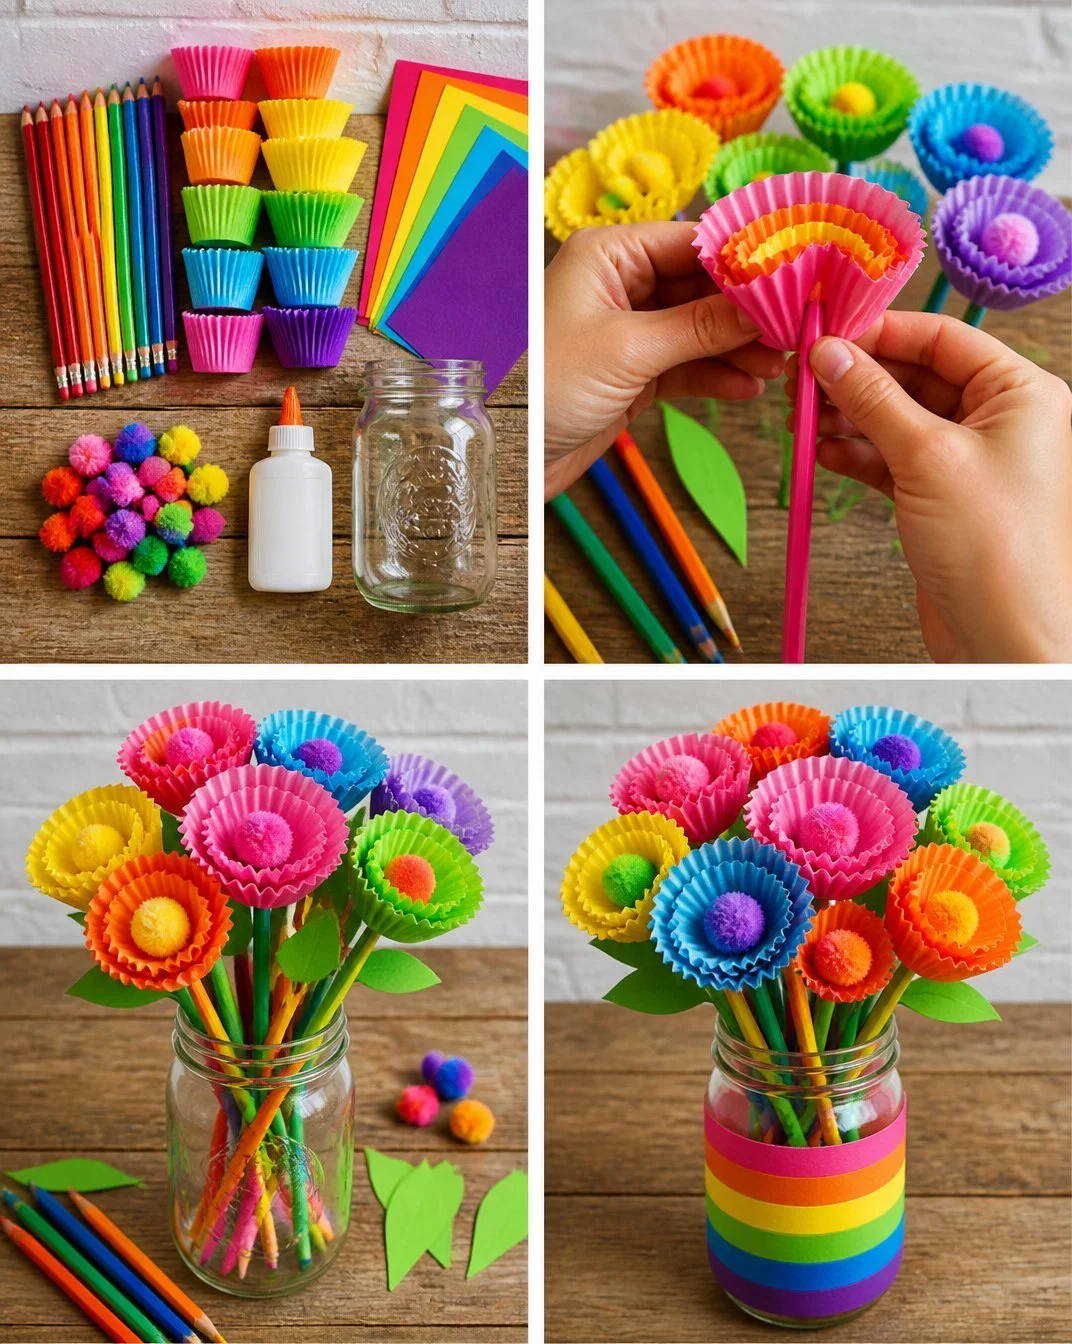
Now let’s dive into the exciting part—making your bouquet! Follow these simple steps to create a colorful display of pencil flowers:
Prepare your colored pencils by removing any labels and ensuring they are clean. Children can take turns doing this, making them feel involved right from the start.
Cut out petal shapes from the card stock. Encourage varying sizes for a natural look if desired. Kids can sketch out their designs first, adding extra creativity to their work.
Attach the petals to the top of the colored pencils using hot glue. Aim for a pleasing arrangement of petals around each pencil, formulating a flower shape. This is a good point to guide them on flower formations.
Wrap the bottom of the flowers with floral tape for a polished finish. This finishing touch adds stability and makes the bouquet appear more professional.
Place the finished flowers into your chosen base. You might want to add decorative stones or sand to secure them better. The base can serve as another creative outlet, allowing kids to decorate it as they wish.
Add personal embellishments to the bouquet to reflect your unique style. Stickers, glitter, or doodles on the pot can enhance the final look.
The Learning Behind This DIY
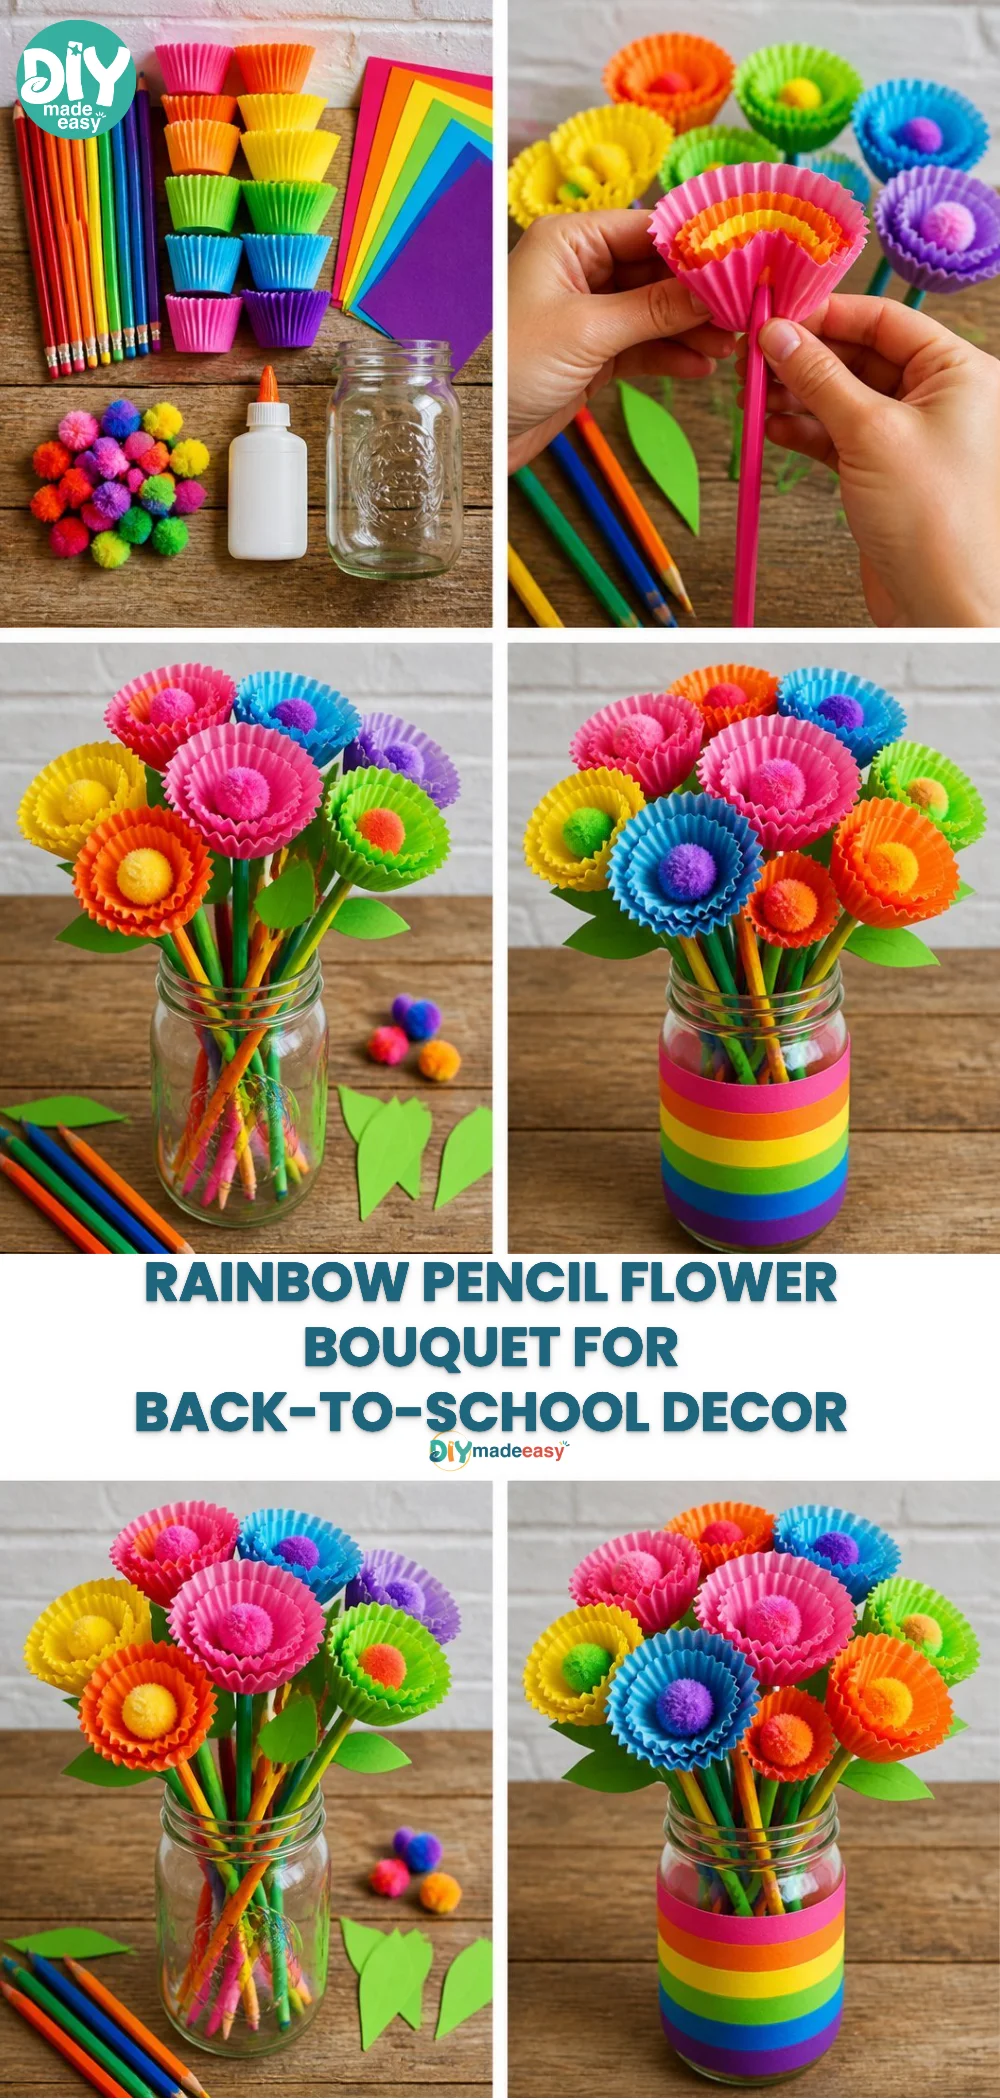
Engaging in this DIY project helps children develop several skills. While making their bouquets, they practice fine motor skills through cutting, gluing, and arranging. Moreover, they are subconsciously learning about colors, shapes, and spatial arrangement as they meticulously craft their flowers.
This activity also taps into basic science concepts, such as stability in arranging objects and symmetry in design. Encouraging them to explore different configurations fosters not only creativity but also problem-solving skills.
Troubleshooting Common Issues
If something doesn’t go as planned, don’t worry! Sometimes the hot glue may not hold well, especially if used quickly. If that happens, simply apply more glue and let it sit for a few moments longer before moving to the next petal.
Another common issue is the flowers being unbalanced. Reassure kids that they can easily adjust the petals or add more as needed to create symmetry. Teaching them that adjustments are part of the process is an essential life lesson.
Easy Variations to Try
To mix things up, consider these fun variations:
- Use different materials for petals, such as fabric or old wrapping paper, which can add texture and charm.
- Try making smaller bouquets using fewer pencils, perfect for giving to friends or family.
- Add a themed twist, such as holiday motifs for special occasions or seasonal colors to suit the time of year.
- Let children create personalized notes and attach them to the bouquet, making it even more unique.
Storing or Reusing This Project
After you’ve made your Colorful Rainbow Pencil Flower Bouquet, consider how to store or reuse it. If you decide to keep it, display it proudly on a desk or shelf. You can encourage children to switch out the colors or arrangement each month to keep it fresh.
If your bouquet starts to look worn, the colored pencils can still be used for creating new art, and the leftover petals can be composted or repurposed in another craft project, reducing waste.
FAQs About Colorful Rainbow Pencil Flower Bouquet for Back-to-School Decor
What if my child spills glue everywhere?
It’s okay, accidents happen! Keep a cloth nearby for quick clean-ups. Using a washable glue stick can also help minimize mess.
Is this project safe for younger kids?
Absolutely! While hot glue should be handled by adults, older kids can assist with supervision. The other materials are safe and kid-friendly.
Can we use other materials besides colored pencils?
Yes! You could use pens or markers as a base, just ensure they are sturdy enough for flower arrangement.
How long will the bouquet last?
With proper care, the bouquet can last for weeks. However, it’s meant to be a fun, temporary decoration that kids can enjoy during the school season.
What if we don’t have floral tape?
You can substitute it with regular adhesive tape or even string if necessary. The key is securing the flowers firmly together.
Conclusion
Conclusion
Creating a Colorful Rainbow Pencil Flower Bouquet offers a delightful way to usher in the school season and express creativity. It fosters strength in fine motor skills while enhancing artistic expression among children. Beyond just being a project, it becomes a lasting symbol of love and effort for teachers and friends alike.
For those looking for additional decoration ideas, check out these Whaline Flower Cut-Outs for back-to-school bulletin boards, or browse for more school decor options at Target.
PrintColorful Rainbow Pencil Flower Bouquet for Back-to-School Decor
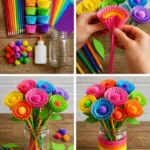
A fun and engaging DIY project for kids to create a vibrant flower bouquet using colored pencils, ideal for back-to-school decor.
- Prep Time: 15 minutes
- Cook Time: 45 minutes
- Total Time: 60 minutes
- Yield: 1 bouquet
- Category: Crafts
- Method: DIY
- Cuisine: N/A
- Diet: N/A
Ingredients
- Colored pencils in various hues
- Floral tape
- A sturdy base (like a small flower pot or vase)
- Soft paper or card stock for the petals
- Scissors
- Hot glue gun and glue sticks
- Optional embellishments (like stickers or glitter)
Instructions
- Prepare your colored pencils by removing any labels and ensuring they are clean.
- Cut out petal shapes from the card stock, encouraging varying sizes for a natural look.
- Attach the petals to the top of the colored pencils using hot glue.
- Wrap the bottom of the flowers with floral tape for a polished finish.
- Place the finished flowers into your chosen base.
- Add personal embellishments to the bouquet to reflect your unique style.
Notes
This project is perfect for all ages and promotes creativity and fine motor skills.
Nutrition
- Serving Size: 1 bouquet
- Calories: 0
- Sugar: 0g
- Sodium: 0mg
- Fat: 0g
- Saturated Fat: 0g
- Unsaturated Fat: 0g
- Trans Fat: 0g
- Carbohydrates: 0g
- Fiber: 0g
- Protein: 0g
- Cholesterol: 0mg