

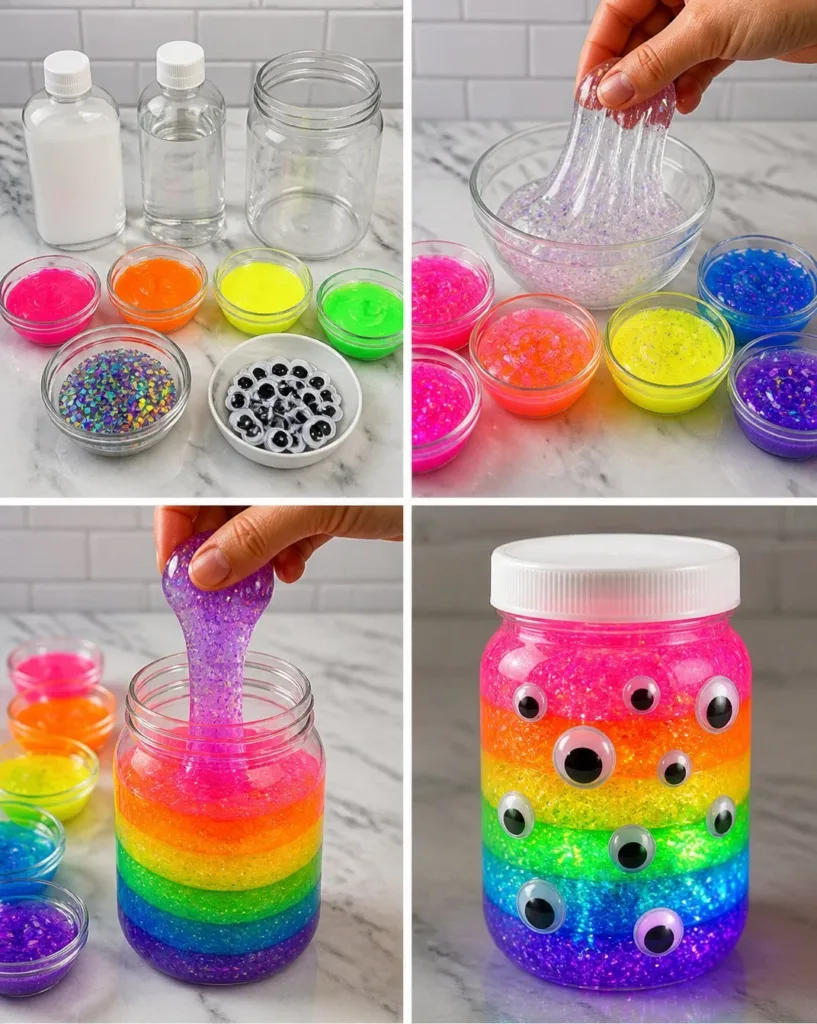
When the kids come rushing into the kitchen, bubbling with excitement over their latest idea for a DIY project, you know it’s time to dive into something creative. For those busy afternoons when you need a quick and fun activity, the Rainbow Glowing Monster Slime Jar is a perfect solution. This delightful project not only captivates little minds with its vibrant colors but also brings out the inner scientist as they witness the slime’s transformation. By the end of this activity, they’ll have created a fun and glowing decoration for their room, all while enhancing their fine motor skills and exploring basic science concepts. You may also find Glowing Glitter Jar useful.
Why This Rainbow Glowing Monster Slime Jar Works So Well
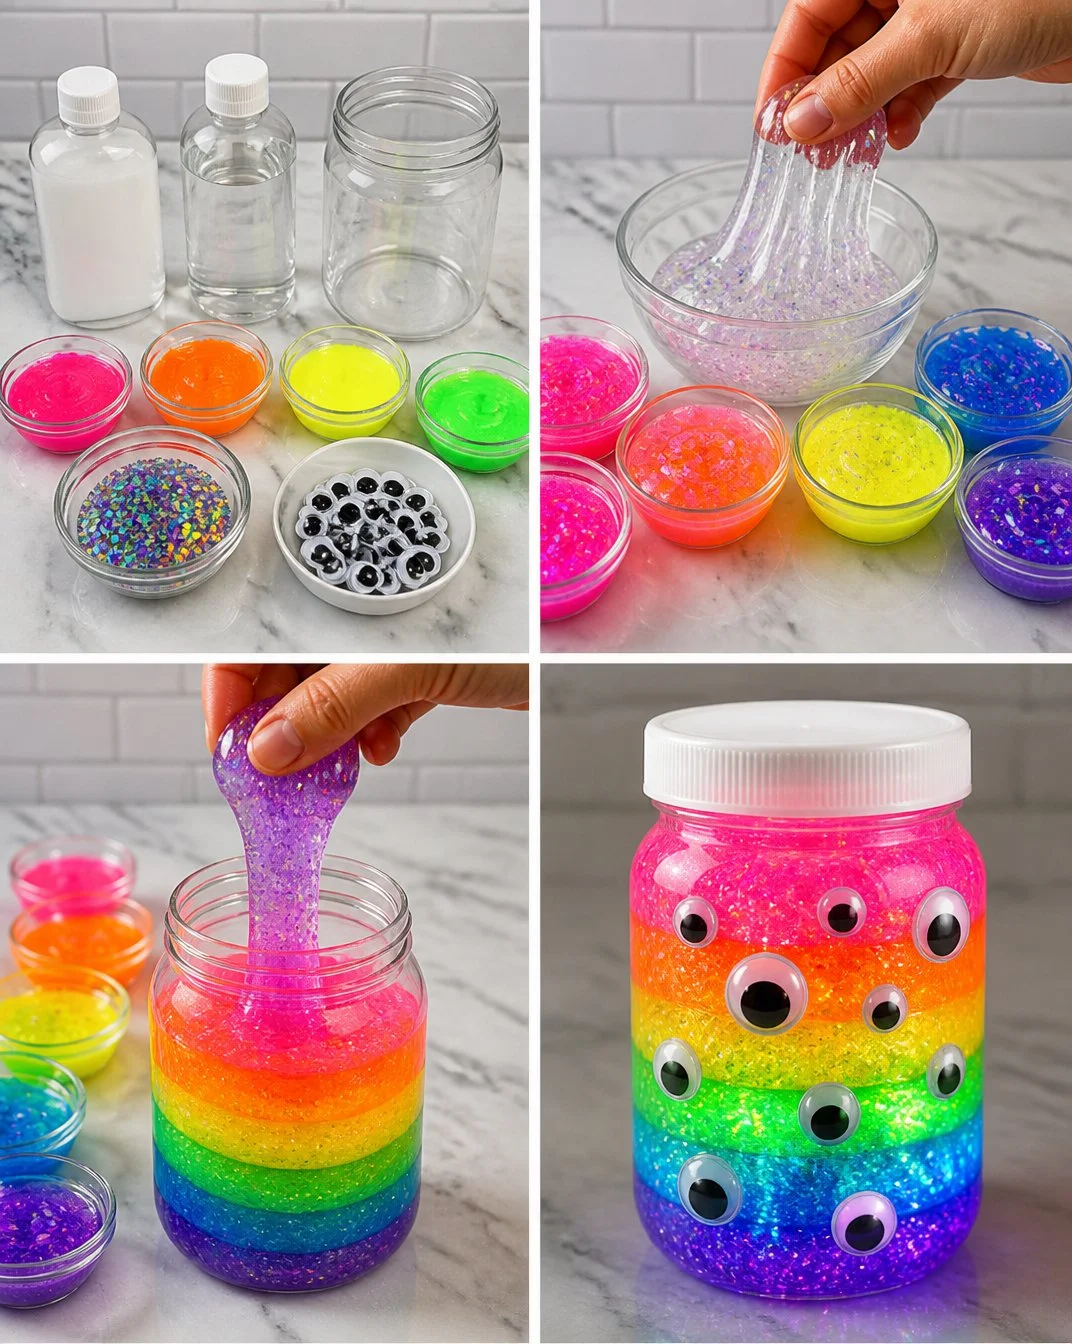
Making the Rainbow Glowing Monster Slime Jar is an approach that is low-prep, which means you won’t need to spend hours gathering supplies. The process is straightforward and offers reliable results, making it ideal for busy schedules. The excitement of mixing colors and watching the slime transform keeps children engaged, fostering their creativity. Plus, it’s an excellent way to combine play with learning, sparking discussions about colors, textures, and even chemical reactions. You may also find Glowing Jellyfish Jar useful.
A Quick Look Before You Begin
Setting up for this DIY project takes just a few minutes, making it an excellent choice for a spontaneous activity. You’ll find that the mess level is manageable, especially if you cover surfaces with old newspapers or a plastic tablecloth. Adults can get involved in various ways, whether it’s helping measure ingredients or guiding the slime assembly. All in all, this project can usually be wrapped up within an hour, and that includes any cleanup afterward. You may also find How To Make A Rainbow Ocean Jar At Home useful.
Materials You’ll Need
To get started on your Rainbow Glowing Monster Slime Jar, gather the following materials. Most of these are common household items that you might already have on hand: You may also find Rainbow Lava Lamp In A Jar useful.
- 1 cup clear glue (a staple in crafting)
- 1 tablespoon baking soda (helps thicken the slime)
- 1 tablespoon contact lens solution (this activates the slime)
- Food coloring (assorted colors to create vibrant layers)
- Glitter (optional for a little sparkle)
- Light-up jars (if available, to make your slime glow)
- Mixing bowl and spoon (for combining your ingredients)
- Airtight container for storage (to save your slime for later)
These materials create a creative outlet that’s budget-friendly and enjoyable for kids and parents alike.
Step-By-Step Directions
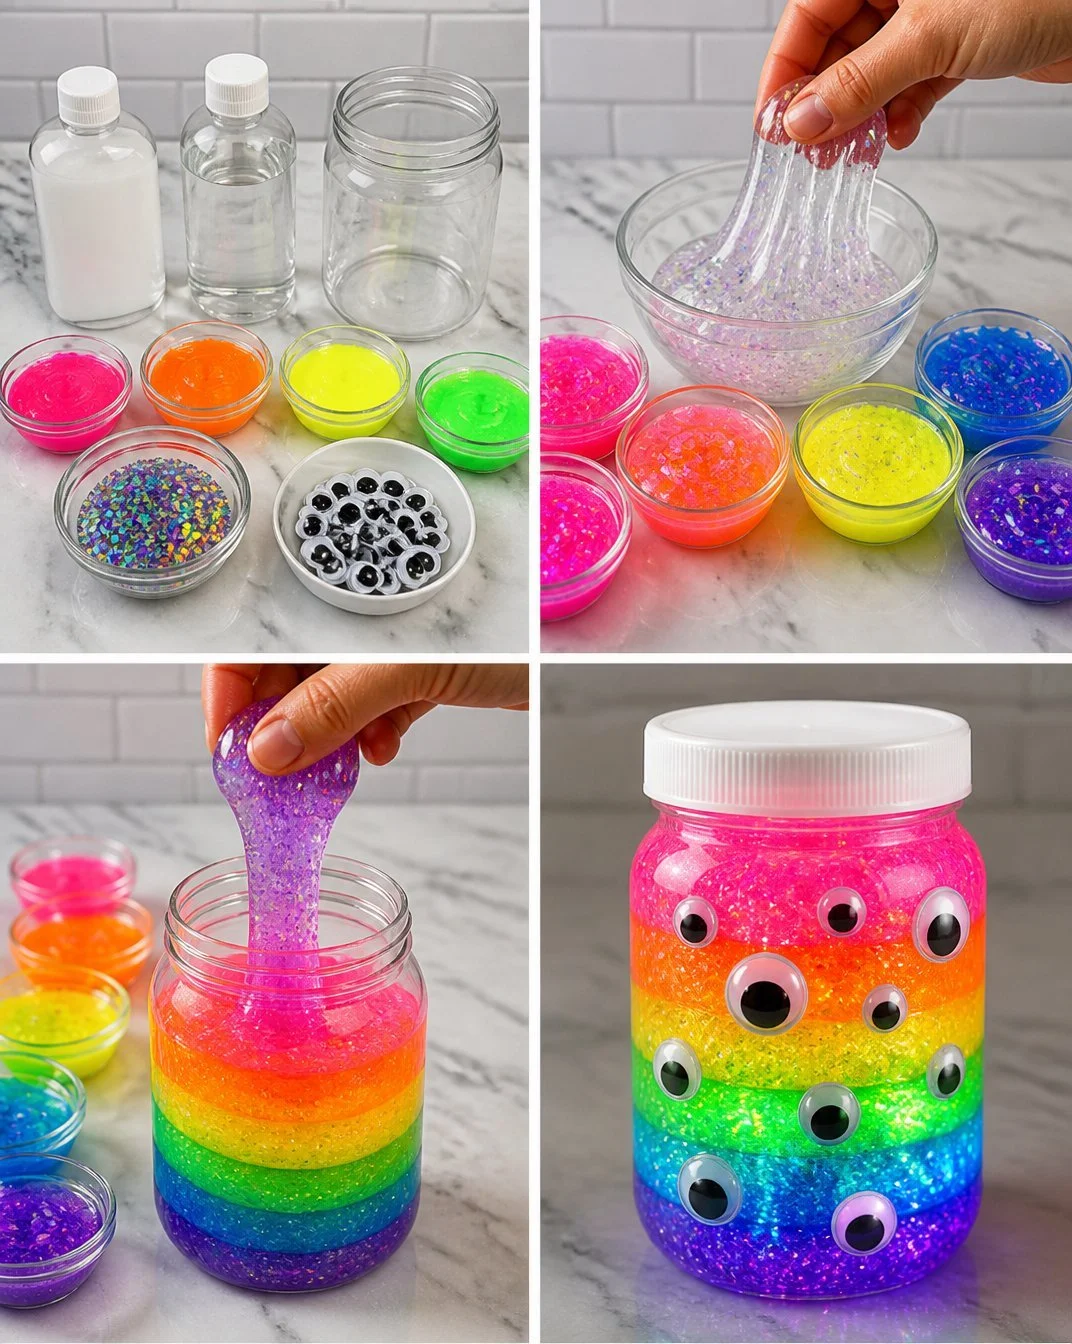
To bring your Rainbow Glowing Monster Slime Jar to life, follow these simple steps:
- Pour about 1 cup of clear glue into your mixing bowl. Make sure to scrape the sides well to get every drop.
- Add 1 tablespoon of baking soda to the glue and stir until well combined. This is where the texture starts to change.
- Introduce 1 tablespoon of contact lens solution and mix until the slime begins to form. Don’t worry if it’s still sticky; you’ll adjust this in a moment!
- Divide the slime mixture into separate containers for each color. This is where the fun starts—everyone can choose their favorite shades!
- Add food coloring to each container, mixing well until desired hues are reached. Feel free to experiment with color combinations.
- Sprinkle glitter into each colored container and stir gently. This gives each layer a magical touch.
- Layer the colored slimes in your light-up jar, alternating colors for a striped effect. Take your time to make it look beautiful!
- Close the lid securely and shake gently to see the colors swirl. Watch as the colors blend together for a spectacular display!
What Kids Practice While Making This
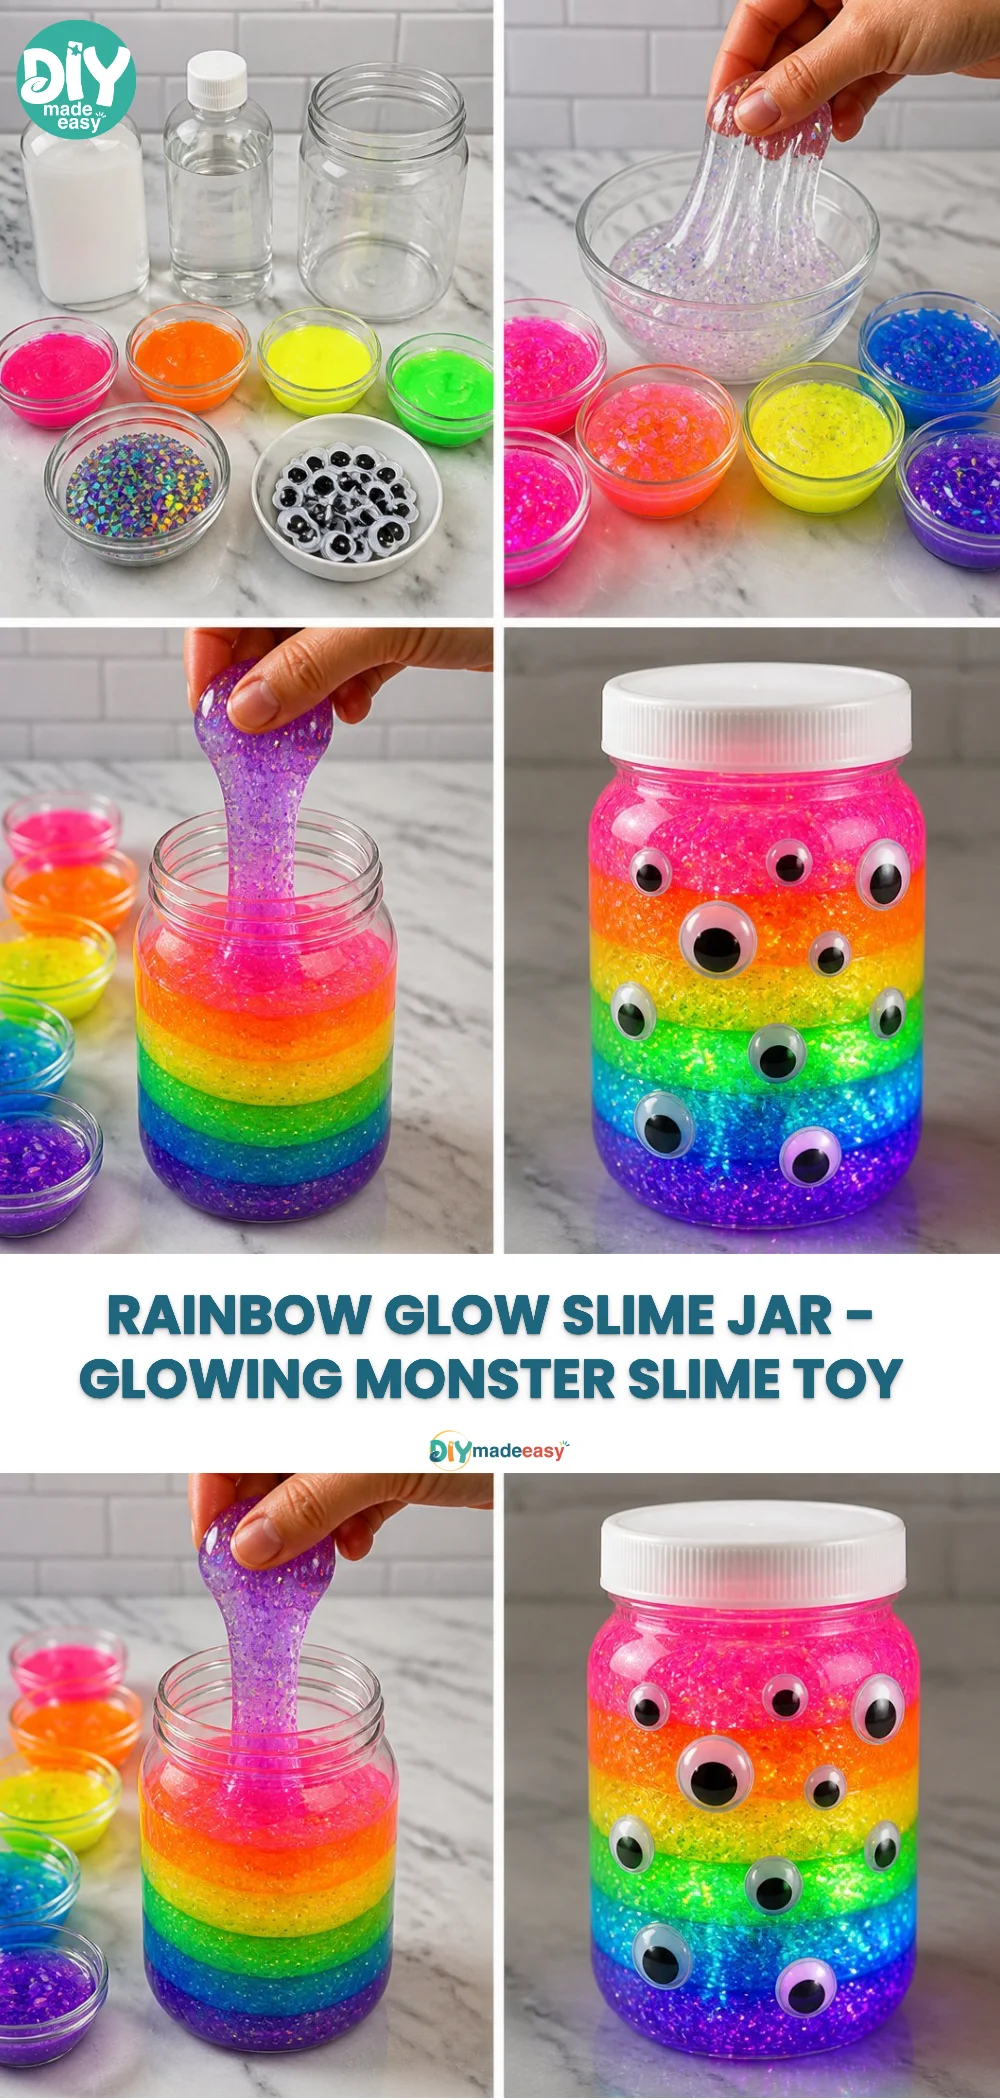
Making the Rainbow Glowing Monster Slime Jar supports several skills in children. While mixing and measuring ingredients, they practice fine motor skills and hand-eye coordination. The hands-on process allows kids to learn about cause and effect as they observe how different ingredients combine and react. Additionally, this activity provides opportunities for them to express their creativity, experimenting with various colors and textures. Engaging in such DIY projects can also enhance their ability to follow directions and work collaboratively with adults or siblings.
Troubleshooting Common Issues
If something doesn’t go as planned while making your slime, don’t worry! Here are some common problems and easy fixes:
- Slime is too sticky: If your slime feels overly tacky, add a bit more contact lens solution until it reaches the desired consistency. It should feel stretchy and pliable.
- Colors are muddy: If the colors aren’t as vibrant as expected, consider using less food coloring and adding it gradually. Mixing too many colors can lead to brownish shades.
- Slime won’t hold its shape: If the slime flops or isn’t setting well in your jar, it could be that there wasn’t enough baking soda. Just remix with a little extra to boost its texture.
With these simple solutions, you can ensure the retaining fun and creativity throughout the activity.
Easy Variations to Try
If you want to explore different twists on the Rainbow Glowing Monster Slime Jar, here are a few ideas:
- Try scented slime: Add a drop of essential oil to each color for a fun sensory experience. Lavender or citrus can be exciting options.
- Use themed colors: Tie in special occasions by using holiday colors. For instance, orange and black for Halloween can make unique decorations!
- Create a layered effect: Instead of swirling, create distinct layers by letting each color set slightly before adding the next. This gives a visually appealing separation of colors.
- Make glow-in-the-dark slime: Use glow-in-the-dark paint instead of, or along with, food coloring for a night-time surprise.
- Switch the container: Instead of a jar, use clear plastic bottles or other shapes to change up the appearance of your explosion of color.
These small changes can keep this project fresh and exciting every time.
Storing or Reusing This Project
Once the Rainbow Glowing Monster Slime Jar is complete, storing it properly is essential. Keep the slime in an airtight container to prevent it from drying out. It can last up to a week or more if kept sealed. Avoid storing it in direct sunlight, as this can affect the colors and texture over time. When the kids want to play with it again, simply take it out and enjoy the flexible, colorful slime.
FAQs About Rainbow Glowing Monster Slime Jar
What if my bully is too messy?
It’s normal for the process to get a little messy, especially when mixing colors. Covering surfaces in advance will help. You can prepare some damp towels nearby to clean hands and surfaces as needed, keeping the mess manageable.
Is this safe for younger children?
This project is generally safe, but I always recommend adult supervision, especially for younger kids handling the materials. Ensure no one has allergies to any of the ingredients, and stick to non-toxic, kid-friendly supplies.
What can I use instead of contact lens solution?
If you don’t have contact lens solution, a DIY recipe for slime can often use liquid starch. Alternatively, you could explore other craft supplies, as long as they serve a similar purpose in activating the slime.
How do I store the leftover ingredients?
If you have leftover glue or baking soda, just seal them properly and store them in a cool, dry place. Both items typically have a long shelf life when kept dry.
Conclusion
Creating a Rainbow Glowing Monster Slime Jar can be an enjoyable hands-on experience for both kids and parents. This project engages little minds in an exciting way, blending creativity with basic scientific concepts. Not only does it bring a burst of colorful joy to your home, but it can also serve as a wonderful display piece afterward!
For more fun recipes and ideas, check out Slime & Slime Recipes – Elmers and explore festive crafting options at Halloween Crafts for Kids~Pumpkin and Monster Jars.
PrintRainbow Glowing Monster Slime Jar
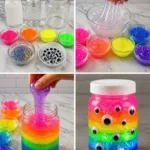
A fun and creative DIY project that teaches children about colors and basic science while making a colorful, glowing slime jar.
- Prep Time: 10 minutes
- Cook Time: 0 minutes
- Total Time: 10 minutes
- Yield: 1 jar 1x
- Category: Craft
- Method: DIY
- Cuisine: Kids Activities
- Diet: N/A
Ingredients
- 1 cup clear glue
- 1 tablespoon baking soda
- 1 tablespoon contact lens solution
- Food coloring (assorted colors)
- Glitter (optional)
- Light-up jars (optional)
- Mixing bowl and spoon
- Airtight container for storage
Instructions
- Pour about 1 cup of clear glue into your mixing bowl.
- Add 1 tablespoon of baking soda and stir until well combined.
- Introduce 1 tablespoon of contact lens solution and mix until the slime begins to form.
- Divide the slime mixture into separate containers for each color.
- Add food coloring to each container and mix well.
- Sprinkle glitter into each colored container and stir gently.
- Layer the colored slimes in your light-up jar for a striped effect.
- Close the lid securely and shake gently to see the colors swirl.
Notes
Store in an airtight container to prevent drying out. Can last up to a week or more if sealed.
Nutrition
- Serving Size: 1 jar
- Calories: 100
- Sugar: 0g
- Sodium: 50mg
- Fat: 0g
- Saturated Fat: 0g
- Unsaturated Fat: 0g
- Trans Fat: 0g
- Carbohydrates: 25g
- Fiber: 0g
- Protein: 0g
- Cholesterol: 0mg