

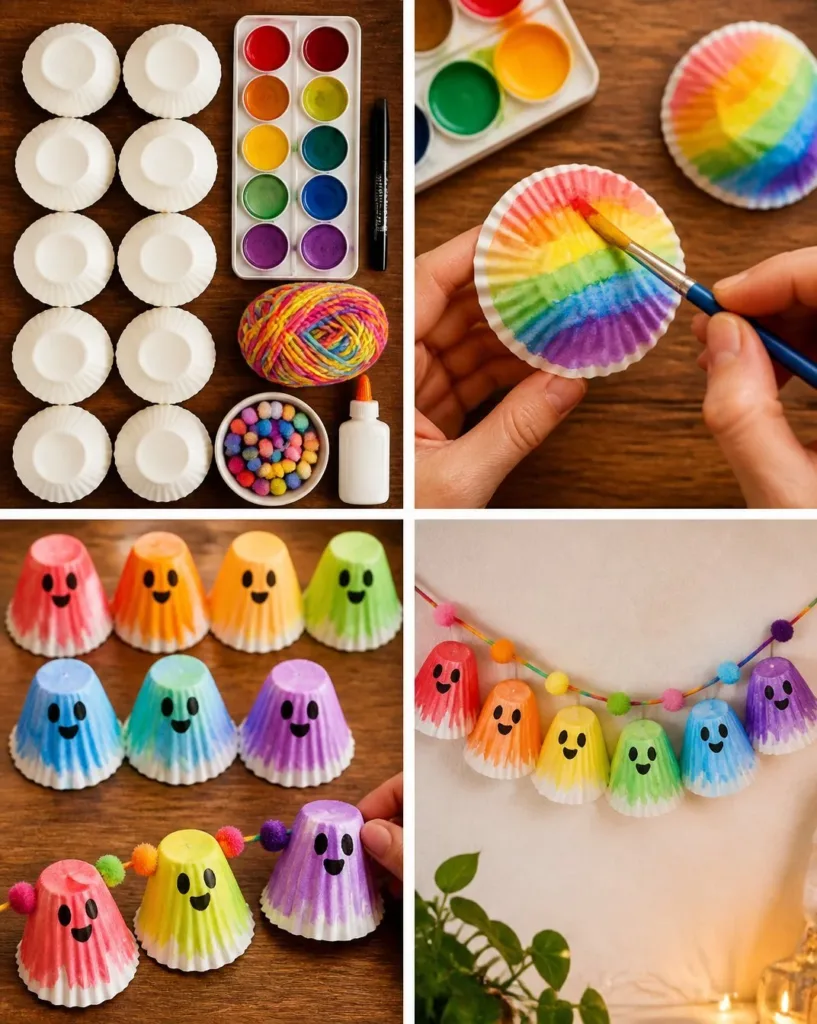
As the busy afternoon sunlight streams through the kitchen windows, your kids might suddenly express a need to create something fun. In moments like these, the Rainbow Ghost Cupcake-Liner Garland comes to the rescue. This delightful DIY craft is perfect for adding a playful touch to your home while allowing your children to flex their creativity. Plus, with just a few materials at hand, it’s simple to get started and can be a great bonding activity for the whole family. You may also find Diy Rainbow Pineapple Garland Summer Party Decor useful.
Why This Rainbow Ghost Cupcake-Liner Garland Works So Well
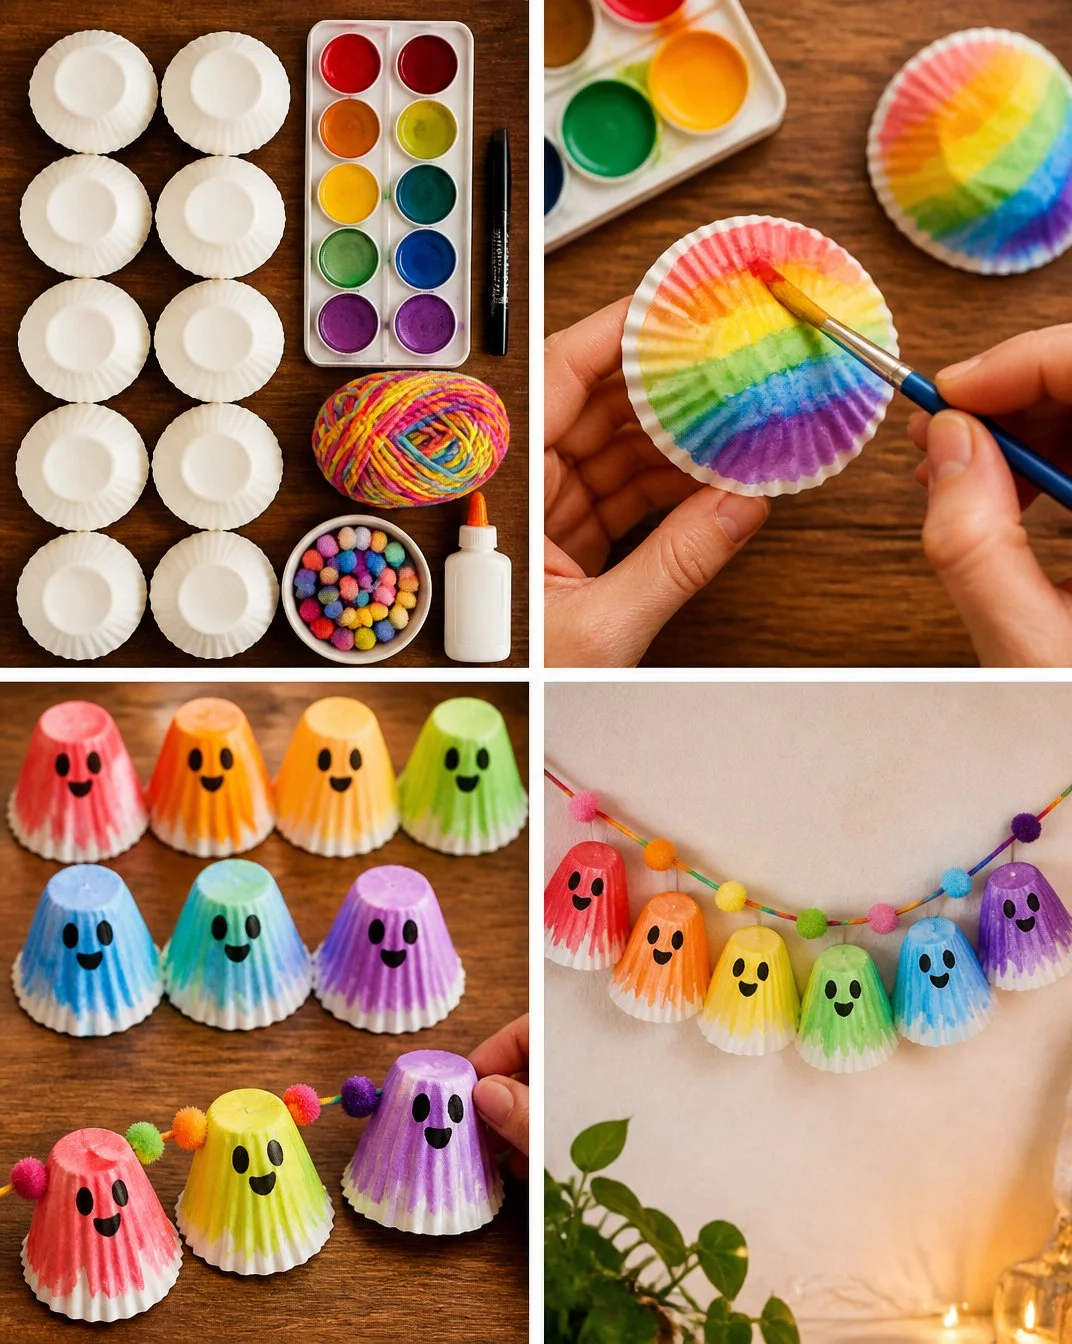
The Rainbow Ghost Cupcake-Liner Garland is an excellent project because it involves minimal preparation and uses supplies you likely already have around the house. You’ll find that colorful cupcake liners are readily available, and each step is straightforward and engaging for kids. This makes the project gentler on time constraints, perfect for busy families. Moreover, the process allows little ones to experiment with colors and express their artistic flair, making it both fun and educational. You may also find Diy Tropical Flower Bouquet Rainbow Cupcake Liners useful.
A Quick Look Before You Begin
Getting started with your craft should be a stress-free experience. This project can typically be completed in about 30 minutes to an hour, depending on how many ghosts you decide to make. Typically, the clean-up is manageable since the majority of the materials used are paper-based. It’s an ideal activity for children, but having an adult nearby can help support them with things like threading and cutting. You may also find Baking Soda Rainbow Crystal Forest useful.
Materials You’ll Need
To make your Rainbow Ghost Cupcake-Liner Garland, gather the following materials: You may also find Colorful Rainbow Crystal Leaf Sun Catcher useful.
- Colorful cupcake liners (white or pastel for ghosts)
- Black marker or pen for drawing faces
- String or twine for hanging
- Scissors for cutting
- Glue (optional, for more secure ghosts)
- Needle for threading (optional but helpful)
These simple items are common household staples, making it easy to find everything you need. The glue and needle are optional but can help improve the finished product’s durability.
Step-by-Step Directions
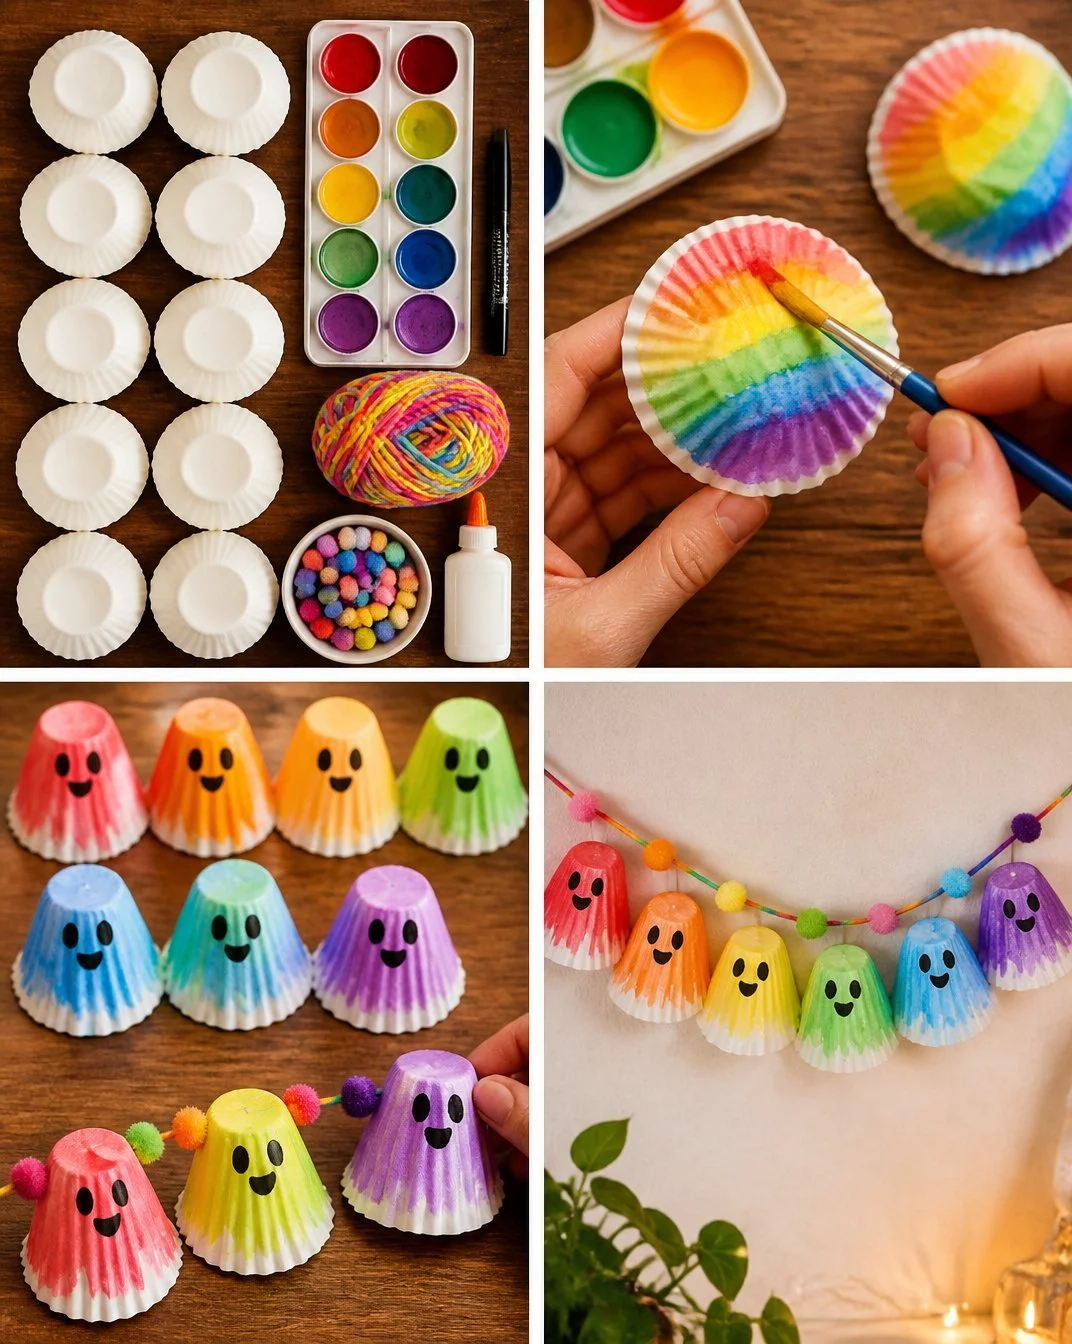
Prepare the Cupcake Liners: Begin by picking a variety of cupcake liners in different colors. Open each liner and flatten it gently to create the base of your ghosts.
Draw Ghost Faces: Using the black marker, draw cute or spooky faces on the non-printed side of the cupcake liners. Let your imagination lead you; there are plenty of creative ways to depict ghostly expressions.
Cut Each Liner: Trim each cupcake liner to shape the bottom into a ghostly curve if desired. This step adds a creative twist to how your ghosts will appear.
Thread the Ghosts: Use the needle and string to pierce the top of each ghost and string them along the twine, spacing them evenly. Pull the twine through gently; you may need to guide the ghosts slowly.
Secure the Ends: Add a small dot of glue on the back to secure the cupcake liners in place if needed. This step ensures that your ghosts stay put while hanging.
Hang Your Creation: Finally, find a spot to drape your garland, such as a doorway or mantel. Your playful creation is now ready for everyone to enjoy!
The Learning Behind This DIY
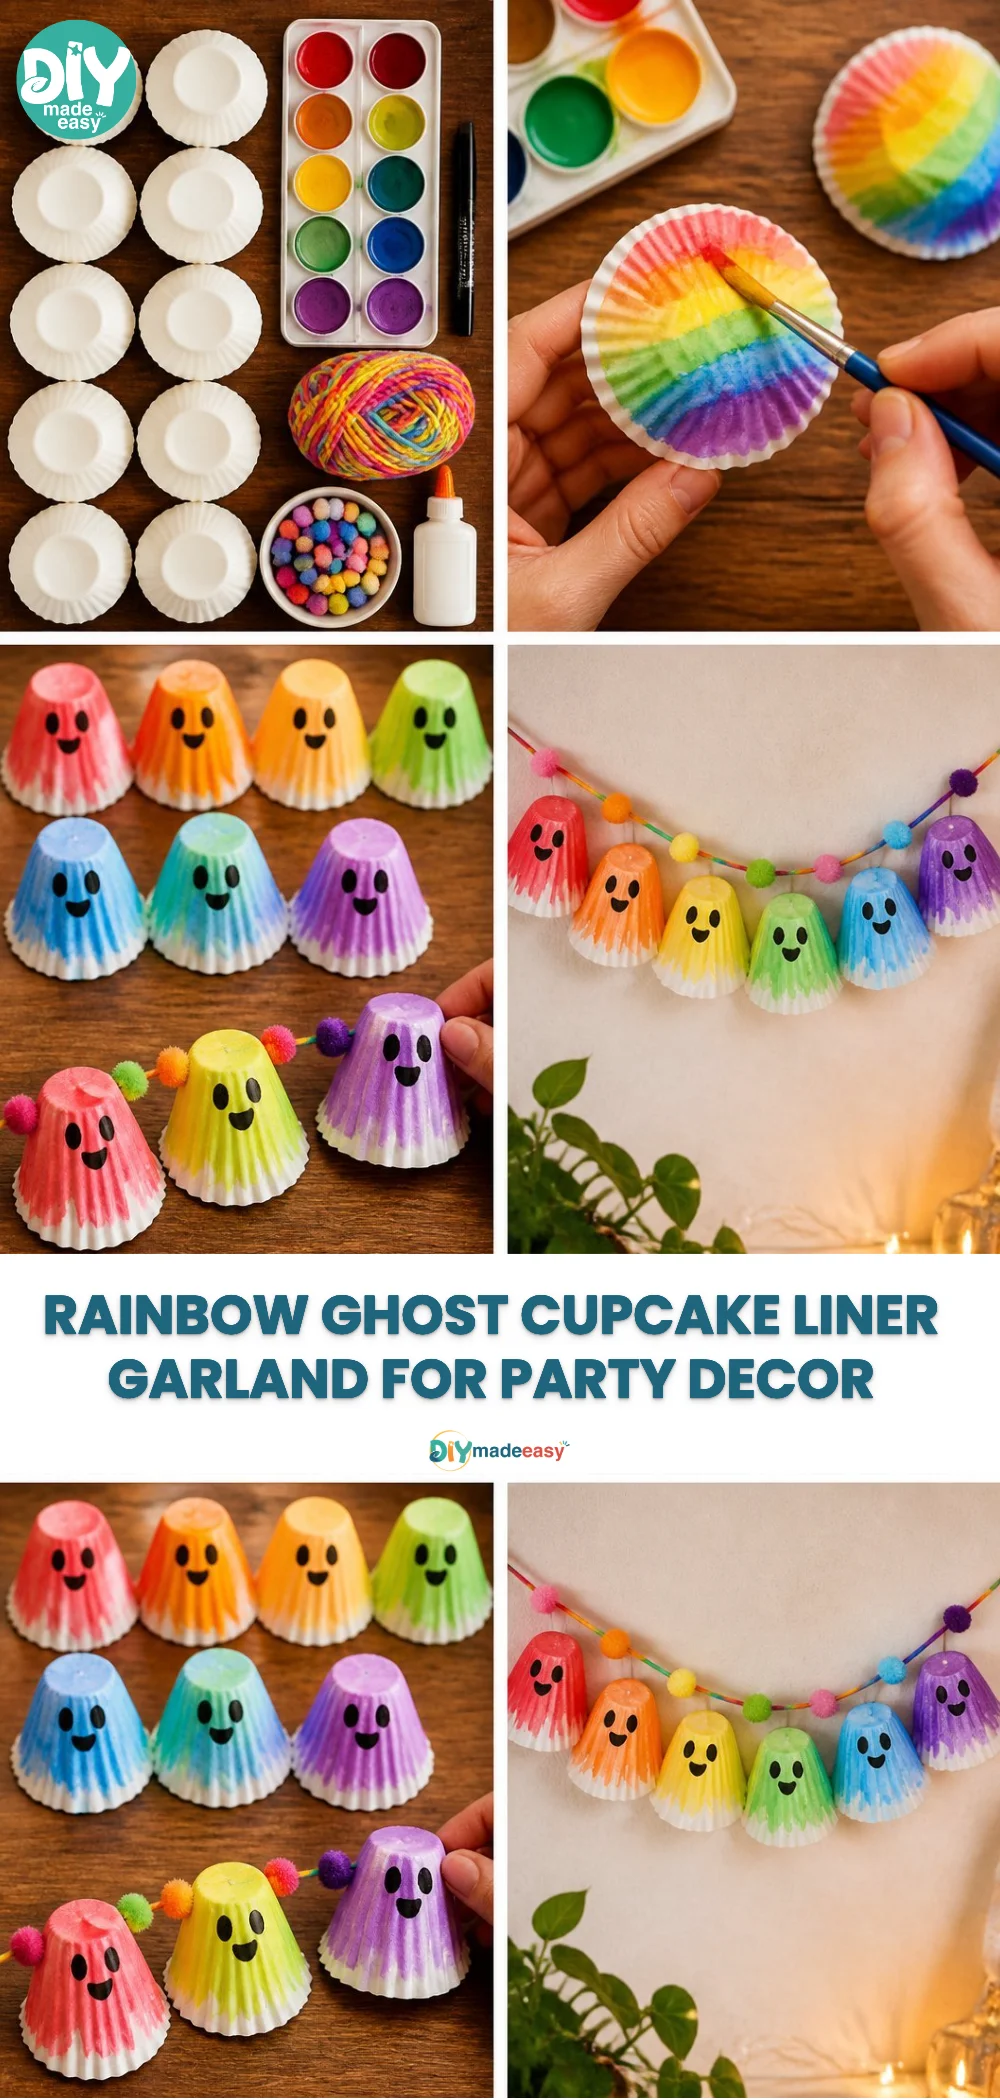
Making the Rainbow Ghost Cupcake-Liner Garland doesn’t just provide a fun craft; it also helps kids practice several important skills. For one, drawing and cutting develop fine motor skills and coordination. The act of threading the needle requires focus and significant hand-eye coordination, reinforcing their dexterity. Understanding the cause and effect of their actions—like how pulling the string affects the placement of the ghosts—adds a layer of learning about simple science concepts.
Troubleshooting Common Issues
Kids often come up with unique ideas, so it’s natural for things not to go perfectly as planned. If the ghosts aren’t hanging properly, check if the string is too tight or if the ghosts need to be spaced differently. Sometimes, the cupcake liners might be slippery. If they shift while threading, a small dot of glue can help to secure them in place more effectively. It’s all part of the learning process, so don’t fret!
Easy Variations to Try
If you want to mix things up after your first garland, consider these variations:
- Use glitter or stickers to jazz up the ghost faces.
- Create themed garlands for other holidays—perhaps pumpkin shapes for Halloween.
- Introduce LED lights into the garland to make it glow during the evening.
- Try different types of materials like felt or fabric instead of cupcake liners for a unique texture.
These variations can help keep the project fresh and provide opportunities for further creativity.
Storing or Reusing This Project
After the festivities have ended, you may wonder what to do with your charming garland. First, if you want to save it for next year, store it in a dry place and avoid squishing it to maintain its shape. Alternatively, you can reuse the materials in other projects or repurpose them into cards and decorations for different occasions. This not only helps in reducing waste but also encourages a creative mindset with what you have on hand.
FAQs About Rainbow Ghost Cupcake-Liner Garland
One concern that many parents might have relates to the mess involved with this project. The good news is that this craft is relatively tidy since the main materials are paper and markers. As long as you have some scrap paper underneath, clean-up should be simple.
Another frequent question revolves around age appropriateness. This project is suitable for kids of different ages, but adult supervision is advised for younger children, particularly when using scissors or a needle.
If you don’t have cupcake liners, feel free to substitute them with paper plates cut into circles or any available colorful paper. The important thing is to keep it fun and flexible!
A Final Helpful Note
Taking on the Rainbow Ghost Cupcake-Liner Garland is all about enjoying the process and flexibly embracing creativity. Encourage your kids to express their individuality through this fun project and remember that it’s perfectly fine if everything doesn’t turn out as expected. The joy lies in crafting together and making memories.
Conclusion
When you wrap up your rainbow ghost project, don’t forget to explore other fun crafts like Cupcake Liner Carnations: Handmade Forever Flowers or add some sweet treats with How To Make Ghost Cupcakes. These additional activities can enrich your family’s creative time even further!
PrintRainbow Ghost Cupcake-Liner Garland
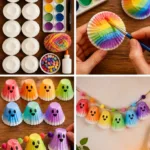
A fun and engaging DIY craft project for families that allows kids to express their creativity by making a playful garland using colorful cupcake liners.
- Prep Time: 15 minutes
- Cook Time: 30 minutes
- Total Time: 45 minutes
- Yield: 1 garland
- Category: Craft
- Method: DIY Crafting
- Cuisine: N/A
- Diet: N/A
Ingredients
- Colorful cupcake liners (white or pastel for ghosts)
- Black marker or pen for drawing faces
- String or twine for hanging
- Scissors for cutting
- Glue (optional, for more secure ghosts)
- Needle for threading (optional but helpful)
Instructions
- Prepare the Cupcake Liners by picking a variety of cupcake liners in different colors, opening each liner, and flattening it gently.
- Draw Ghost Faces using a black marker on the non-printed side of the cupcake liners.
- Cut Each Liner to shape the bottom into a ghostly curve if desired.
- Thread the Ghosts by using the needle and string to pierce the top of each ghost and string them along the twine.
- Secure the Ends by adding a small dot of glue on the back of the cupcake liners if needed.
- Hang Your Creation in a spot such as a doorway or mantel.
Notes
Encourage kids to explore creativity and express individuality throughout the crafting process. Adult supervision is recommended for younger children, especially when using scissors or a needle.
Nutrition
- Serving Size: 1 garland
- Calories: 0
- Sugar: 0g
- Sodium: 0mg
- Fat: 0g
- Saturated Fat: 0g
- Unsaturated Fat: 0g
- Trans Fat: 0g
- Carbohydrates: 0g
- Fiber: 0g
- Protein: 0g
- Cholesterol: 0mg