

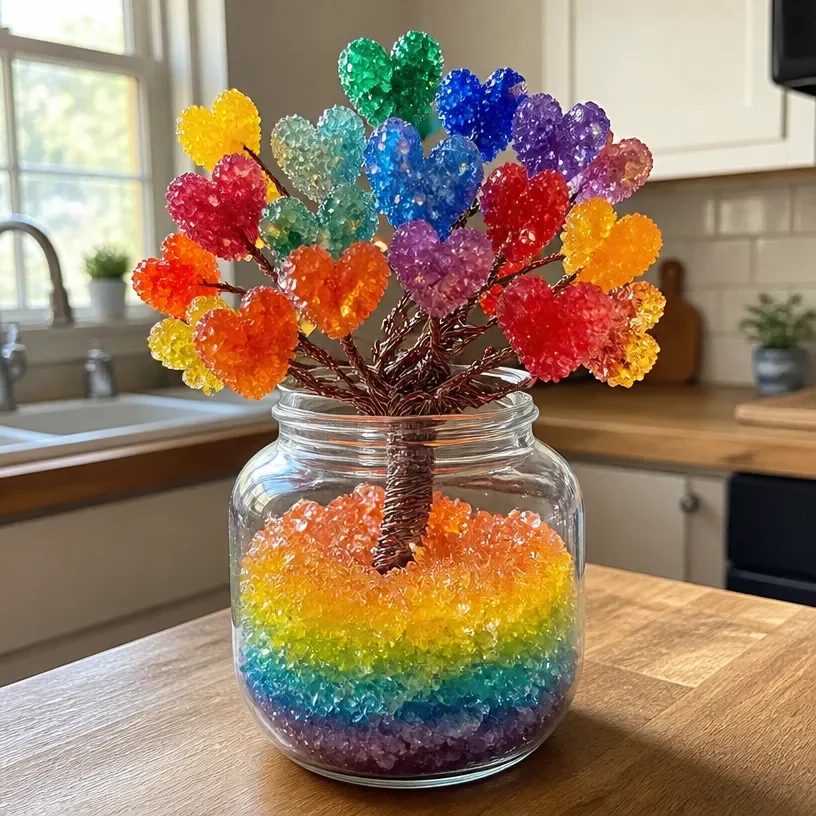
Rainbow Crystal Love Tree You may also find Rainbow Crystal Trees useful.
A busy afternoon often leads to spontaneous creativity in my household. Just the other day, my kids were asking for a hands-on project that would keep them engaged and bring a burst of color into our home. This is where the idea of making a Rainbow Crystal Love Tree came to life. By using simple materials and encouraging their imaginative play, we crafted not only a beautiful piece of art but also shared quality time together. This project is not only easy to start but also brings a touch of magic as colorful crystals bloom overnight. You may also find Baking Soda Rainbow Crystal Forest useful.
Why This Rainbow Crystal Love Tree Works So Well
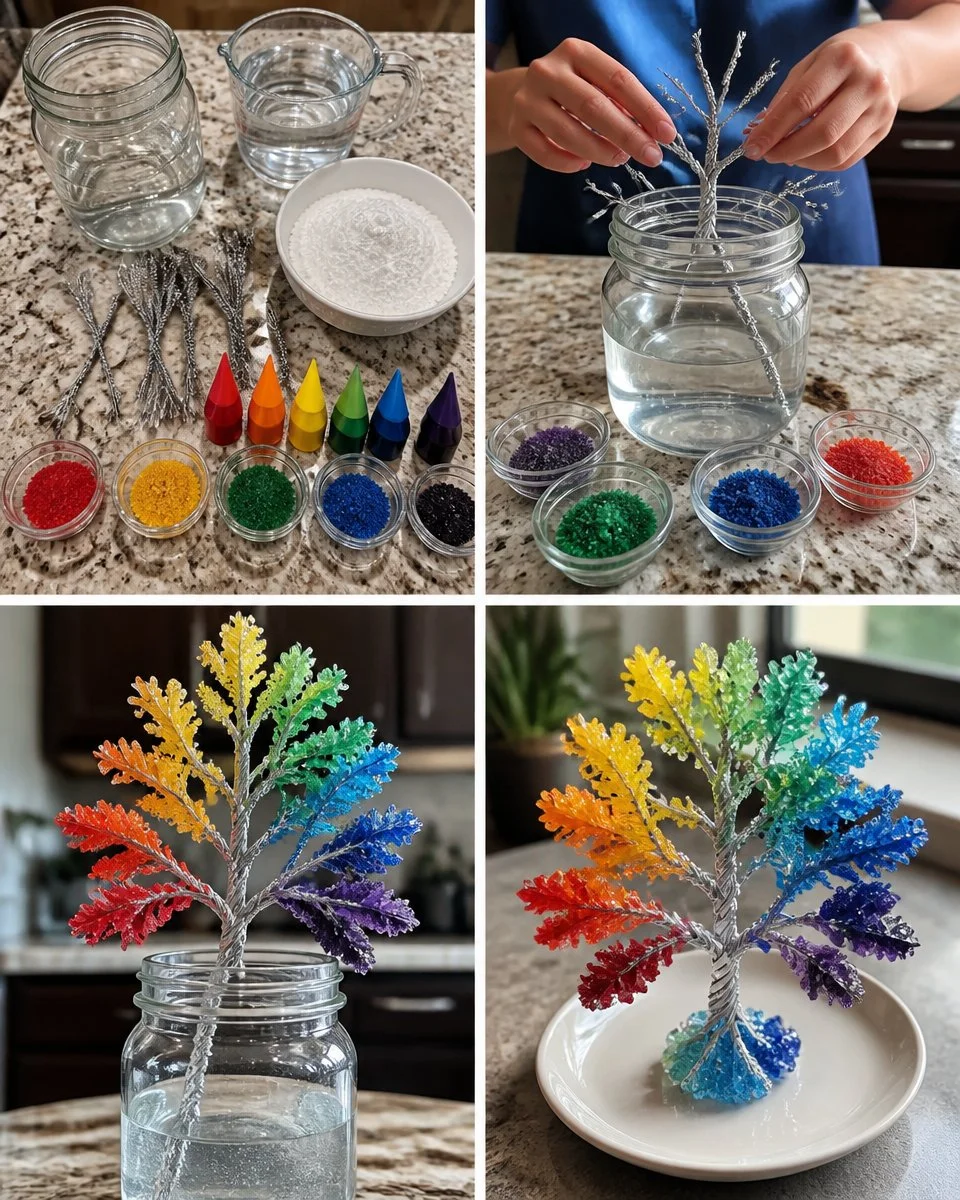
The Rainbow Crystal Love Tree is an excellent choice for families looking for a low-prep and approachable activity. It requires minimal materials, making it easy to gather and set up for a spontaneous afternoon project. The beauty of this project lies in its reliability; creating a stunning visual result is almost guaranteed if you follow the simple steps. What’s more, this activity fits seamlessly into real-life schedules. It doesn’t demand a marathon of preparation, allowing you to jump right in whenever inspiration strikes. You may also find Crystal Tree useful.
A Quick Look Before You Begin
Making the Rainbow Crystal Love Tree flows smoothly and requires about an hour for setup, plus overnight for the crystals to form. You’ll be working primarily with hot water, which requires some adult supervision, especially when children are mixing the borax solution. The mess level is fairly low, mostly determined by how much creative coloring you decide to add. Remember, this is about the fun of creating and exploring rather than perfection. You may also find Glow In The Dark Crystal Tree useful.
Materials You’ll Need
Here are the simple supplies you’ll need for this project:
- Twisted wire tree: A common household item that adds structure to your colorful creation.
- Borax: The magical ingredient that helps form crystals.
- Hot water: Essential for dissolving the borax and initiating the crystallization process.
- Full rainbow coloring: Food dyes or liquid watercolors to make your tree vibrant.
- Wide jar: A larger container that allows your tree to sit comfortably submerged in the solution.
Step-by-Step Directions
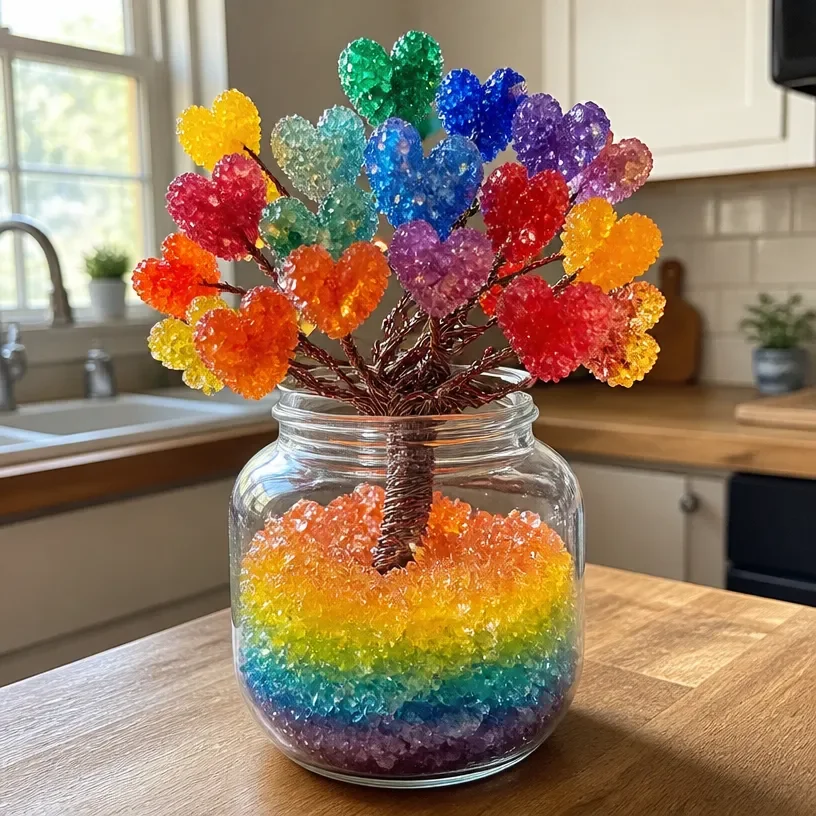
- Shape your twisted wire into a small tree with inviting branches. This helps little hands practice their fine motor skills, as they create a unique design for their tree.
- Prepare hot borax water, letting the kids mix it while you supervise closely. This is a great opportunity to discuss the science behind solubility, as the borax dissolves in the hot water.
- Tint sections of the water with vibrant colors, or dip the branches into the colors. Encourage creativity! This step allows children to experiment with color combinations, making each tree unique.
- Submerge the entire tree in the colorful borax solution and watch the magic happen. As it sits in the mixture, the real transformation begins.
- Let it sit overnight so the crystals can bloom beautifully. You can use this waiting time to talk about what to expect, reinforcing anticipation and excitement.
- Carefully lift the tree in the morning and allow it to dry for a sparkling finish. This final step reveals the fruits of your labor, showcasing the vibrant crystals that have formed.
The Learning Behind This DIY

Creating a Rainbow Crystal Love Tree is not just about making a pretty decoration; it also provides an excellent opportunity for learning. As the kids shape their wire trees, they practice fine motor skills and gain a better understanding of spatial awareness. The science of crystals—how they form and grow—becomes a tangible lesson. As they see how the crystals bloom overnight, they directly experience cause and effect, fostering curiosity and engagement with science.
Troubleshooting Common Issues
If something doesn’t go as planned, it’s essential to stay calm. Common problems include the crystals not forming well or being too small. This usually happens if the solution was not hot enough or if it didn’t sit long enough. A quick fix is to gently reheat the solution and try the process again. Remember, every experiment is a learning opportunity, and sometimes the most interesting results come from unexpected outcomes.
Easy Variations to Try
- Add glitter to the rainbow coloring for extra sparkle.
- Use different shaped wires to create various tree designs; this adds a different visual element.
- Try seasonal colors themed around holidays to make the project relevant year-round.
- Create a large group project where different family members design their unique trees; a great way to collect a mini forest.
Storing or Reusing This Project
Once your Rainbow Crystal Love Tree has been created, consider how to store or display it. If you want to keep it, place it in a safe spot so it doesn’t get knocked over. You might also choose to take a picture before recycling the materials to utilize them for a future project, reducing waste and encouraging reuse.
FAQs About Rainbow Crystal Love Tree
What do I do if my tree is too fragile?
If your tree seems weak or is falling apart, it might be that the branches weren’t secured tightly enough. Consider reinforcing them with more wire and practicing wrapping techniques for a stronger structure next time.
How messy will this project be?
While the project is generally low mess, kids can be a bit creative! Prepare some cleaning supplies, just in case, and work in a designated area to make cleanup easier.
Can I use colored sugar or salt as a substitute?
Yes, colored sugar or salt can substitute as they also create beautiful visual effects, though they won’t form crystals like the borax does.
Is this suitable for younger children?
With adult supervision, this project is great for younger kids. Just make sure to assist with the hot water and the borax mixing.
What should I do with the tree after it dries?
You can display your tree proudly, gifting it to friends or using it as a colorful centerpiece for festive occasions.
Conclusion
Making the Rainbow Crystal Love Tree is a fulfilling project that offers both a creative outlet and serves as an educational experience. It embodies the joy of hands-on creativity while teaching children about science and the beauty of the natural world. If you’re interested in incorporating more gemstone-inspired items into your home, consider checking out a stunning Rainbow Quartz Gemstone Necklace. For those who enjoy unique decorations, explore this beautiful Suncatcher Tree of Life. Enjoy this activity and embrace the creative process!
PrintRainbow Crystal Love Tree
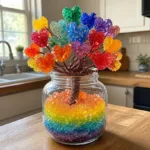
A fun and colorful hands-on project perfect for families, where children can create a beautiful Rainbow Crystal Love Tree using simple materials and learn about crystals in the process.
- Prep Time: 60 minutes
- Cook Time: 0 minutes
- Total Time: 60 minutes
- Yield: 1 tree
- Category: Craft
- Method: Crafting
- Cuisine: N/A
- Diet: N/A
Ingredients
- Twisted wire tree
- Borax
- Hot water
- Full rainbow coloring (food dyes or liquid watercolors)
- Wide jar
Instructions
- Shape your twisted wire into a small tree with inviting branches.
- Prepare hot borax water, letting the kids mix it while you supervise closely.
- Tint sections of the water with vibrant colors, or dip the branches into the colors.
- Submerge the entire tree in the colorful borax solution.
- Let it sit overnight so the crystals can bloom beautifully.
- Carefully lift the tree in the morning and allow it to dry for a sparkling finish.
Notes
This project is a great opportunity for fine motor skills practice and teaches children about the science of crystals.
Nutrition
- Serving Size: 1 tree
- Calories: 0
- Sugar: 0g
- Sodium: 0mg
- Fat: 0g
- Saturated Fat: 0g
- Unsaturated Fat: 0g
- Trans Fat: 0g
- Carbohydrates: 0g
- Fiber: 0g
- Protein: 0g
- Cholesterol: 0mg