

It’s that time of day when the kids are restless, and you need an activity that stimulates their curiosity without overwhelming you. Consider the Rainbow Crystal Growing Experiment, which offers a delightful blend of science and creativity right at your kitchen table. Armed with simple ingredients, you can turn a quiet afternoon into a colorful, enchanting experience that inspires learning while crafting beautiful crystals. You may also find Crystal Growing Experiment useful.

Why This Rainbow Crystal Growing Experiment Works So Well
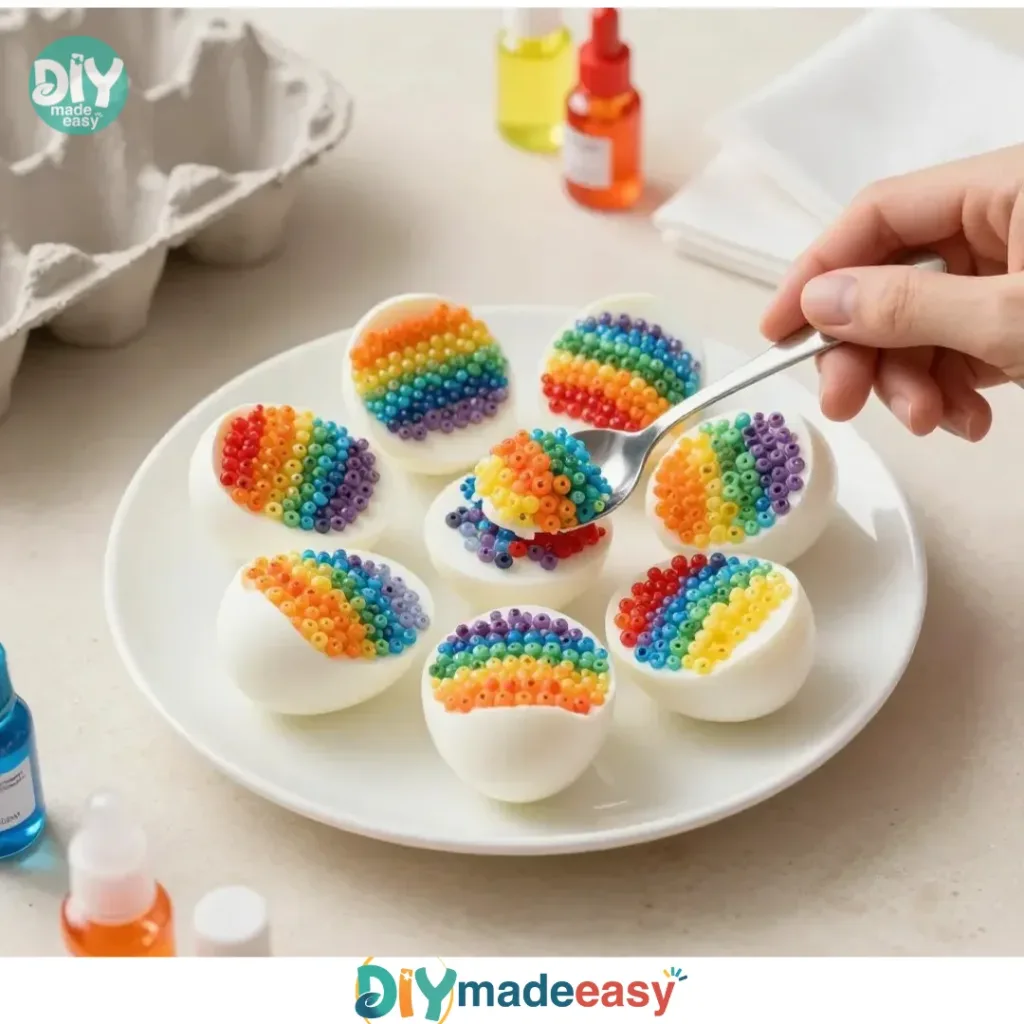
{image_2} You may also find Rapid Growing Rainbow Sugar Crystal Eruption 2 useful.
This project emerges as a perfect fit for families juggling busy schedules. Not only is it low-prep, but it also requires materials that are often found around the house. It is approachable, thanks to its straightforward steps that children can follow with minimal adult assistance, making it an ideal activity for budding scientists. Plus, it delivers reliable results, allowing kids to witness the magic of crystal growth as they watch their creations slowly take shape over time. You may also find Rapid Growing Rainbow Sugar Crystal Eruption useful.
A Quick Look Before You Begin
When embarking on the Rainbow Crystal Growing Experiment, there are a few key elements to consider regarding timing and setup. You can complete the initial preparation in about 30 minutes, but the magic happens slowly, often taking a few days to see significant growth. This means you can tidy up your workspace and share a cozy moment with your kids as they wait to see their crystals develop. Mess levels are low, and the materials are simple enough that you won’t need to worry too much about extensive cleanup.
Materials You’ll Need
- Water, clean and filtered if possible
- Table salt or borax
- Clear jar for each color
- Food coloring or liquid watercolors (optional)
- Wooden skewers or pipe cleaners
- Spoon for stirring, heat-safe
- Small pot or electric kettle
- Small mesh strainer or coffee filter (optional)
- Measuring cup and spoons
- Labels or masking tape and a marker
- A tray or towel to protect surfaces
- Adult supervision if children are involved
The ingredients used in this project consist mainly of common household items, making them budget-friendly and easily accessible. You might also find that food coloring allows for a burst of creativity, transforming plain jars into vibrant spectacles.
Step-by-Step Directions
{image_1}
- Prepare your workspace with a towel or tray. This small step helps prevent spills and keeps things organized.
- Heat the water until warm to hot, but not boiling. The warmth of the water helps dissolve the solute more effectively.
- Measure the water and begin to add the solute gradually while stirring. This gradual addition ensures better dissolution.
- Add food coloring to each jar, gently stirring to mix it in. This is where the fun begins watch how the colors swirl together!
- Shape a pipe cleaner or skewer to hang in the jar. This will be the foundation for your crystals to grow.
- Pour the warm solution into each jar slowly. Taking your time here helps you avoid messy spills.
- Lower the hanger into the colored solution carefully. This step is critical for crystal formation.
- Cover each jar loosely with a paper towel to keep dust out while allowing for some airflow.
- Place the jars in a quiet, stable spot away from sunlight. Stability is key to ensuring even crystal growth.
- Observe the crystals daily without rushing the process. This period of curiosity is where the real excitement lies!
- When crystals look substantial, remove the hanger gently. Be patient; they may take a few days to form.
- Let the finished crystals air dry on a towel. This is a great time to admire what you’ve created.
- Consider a light spray of matte finish for preservation if you want to keep your creations for longer.
- Reflect on the process and note surprises. Encourage your kids to share their thoughts about what worked, what didn’t, and what they loved most.
The Learning Behind This DIY
{image_template}
While growing rainbow crystals is a fun activity, it’s also educational. Kids practice several scientific concepts like solubility, temperature effects, and even patience as they wait for their crystals to grow. Through this hands-on experience, they can explore cause and effect by observing how different factors affect the growth process. Not to mention, fine motor skills are refined as they manipulate small tools and materials, enhancing their coordination in a playful way.
Troubleshooting Common Issues
During the Rainbow Crystal Growing Experiment, you might encounter a few bumps along the way. If the solute doesn’t dissolve completely, it could mean the water isn’t warm enough. Remember, gradual additions can help add salt or borax little by little while stirring. If crystals aren’t forming as expected, make sure the jars are placed in a location free from drafts or direct sunlight, as temperature fluctuations can impact growth.
Easy Variations to Try
If you’re looking to mix things up a bit, here are a few variations:
- Try different types of solutes, such as sugar or Epsom salt, to see how they compare.
- Experiment with various color combinations for an array of beautiful results.
- Engage kids in the shaping of the hangers designs can be as simple or complex as they like.
- Use different sizes of jars to see how that affects crystal formation.
Storing or Reusing This Project
After enjoying your rainbow crystals, consider how best to store or reuse the materials. Finished crystals can be displayed as vibrant decorations or given as gifts. The jars can be cleaned and repurposed for future experiments, while any leftover supplies like salt can easily go back into the kitchen pantry. Overall, finding ways to reduce waste is essential, and in this case, it can also be fun!
FAQs About Rainbow Crystal Growing Experiment
One common concern might be about the mess. The project is relatively tidy, but it’s smart to have a designated workspace to manage any spills. If you’re worried about the age suitability, keep in mind that adult supervision can make this project safe and enjoyable for younger kids. Substituting ingredients such as sugar for salt can also be a great way to adapt the experiment to what’s on hand. Finally, realistic expectations are key crystal growth can vary, and results may differ based on various factors.
A Final Helpful Note
As you dive into the Rainbow Crystal Growing Experiment, remember to be flexible and enjoy the process. This exciting project not only adds color to your day but also requires minimal setup, making it an easy choice amidst a busy schedule. Embrace the little surprises that come along the way, encouraging creativity and curiosity in everyone involved.
Conclusion
For those who are eager to expand this experience, you can explore additional activities like Grow Your Own Rainbow Crystals or take a look at the Rainbow Crystals Science Experiment for further inspiration. Both resources can provide helpful insights and new ideas that will keep the science fun going!
PrintRainbow Crystal Growing Experiment

A fun and educational experiment where kids can create their own colorful crystals using simple materials found at home.
- Prep Time: 30 minutes
- Cook Time: 4320 minutes
- Total Time: 4350 minutes
- Yield: 1 batch of crystals
- Category: Activity
- Method: DIY
- Cuisine: Educational
- Diet: N/A
Ingredients
- Water, clean and filtered if possible
- Table salt or borax
- Clear jar for each color
- Food coloring or liquid watercolors (optional)
- Wooden skewers or pipe cleaners
- Spoon for stirring, heat-safe
- Small pot or electric kettle
- Small mesh strainer or coffee filter (optional)
- Measuring cup and spoons
- Labels or masking tape and a marker
- A tray or towel to protect surfaces
- Adult supervision if children are involved
Instructions
- Prepare your workspace with a towel or tray.
- Heat the water until warm to hot, but not boiling.
- Measure the water and add the solute gradually while stirring.
- Add food coloring to each jar, gently stirring to mix it in.
- Shape a pipe cleaner or skewer to hang in the jar.
- Pour the warm solution into each jar slowly.
- Lower the hanger into the colored solution carefully.
- Cover each jar loosely with a paper towel.
- Place the jars in a quiet, stable spot away from sunlight.
- Observe the crystals daily without rushing the process.
- When crystals look substantial, remove the hanger gently.
- Let the finished crystals air dry on a towel.
- Consider a light spray of matte finish for preservation.
- Reflect on the process and encourage discussions.
Notes
This project is low-prep and uses common household materials, making it perfect for families. Be sure to have adult supervision for younger children.
Nutrition
- Serving Size: 1 experiment
- Calories: 0
- Sugar: 0g
- Sodium: 0mg
- Fat: 0g
- Saturated Fat: 0g
- Unsaturated Fat: 0g
- Trans Fat: 0g
- Carbohydrates: 0g
- Fiber: 0g
- Protein: 0g
- Cholesterol: 0mg