

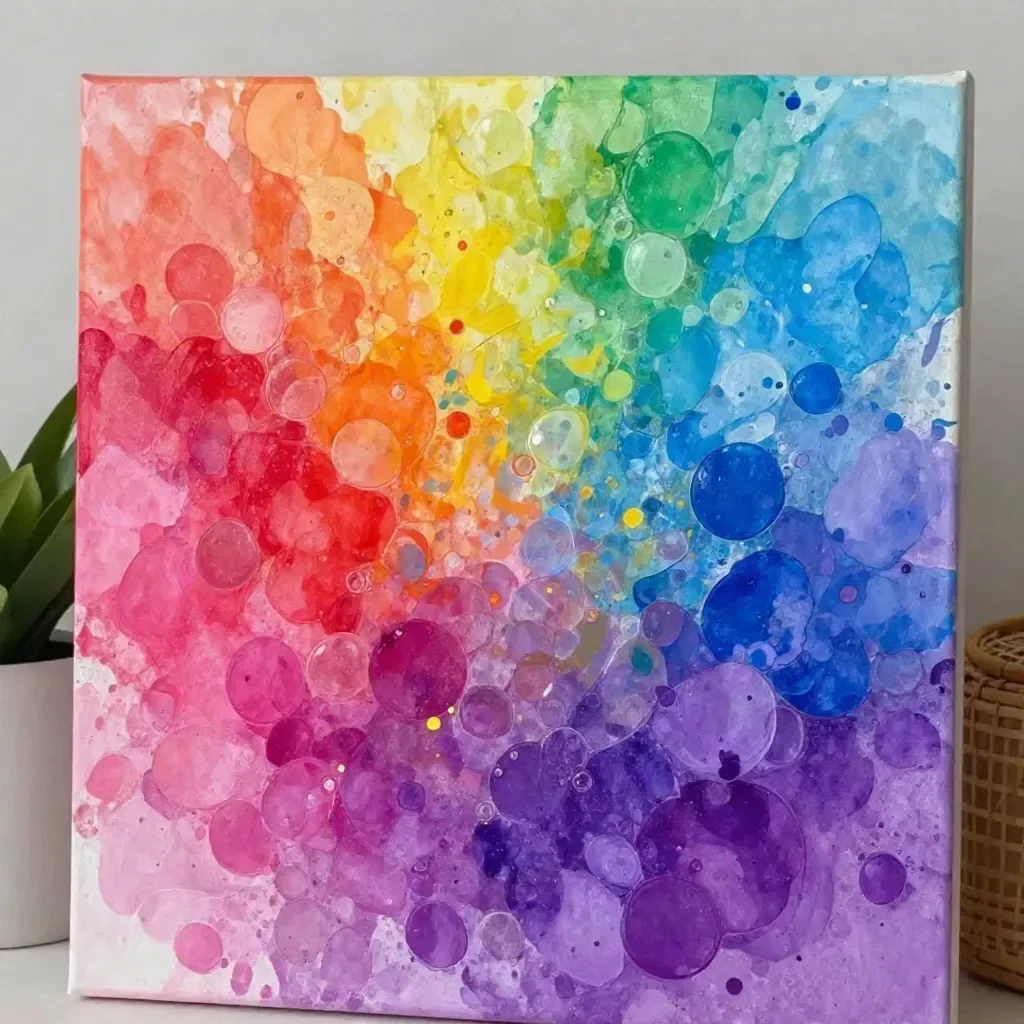
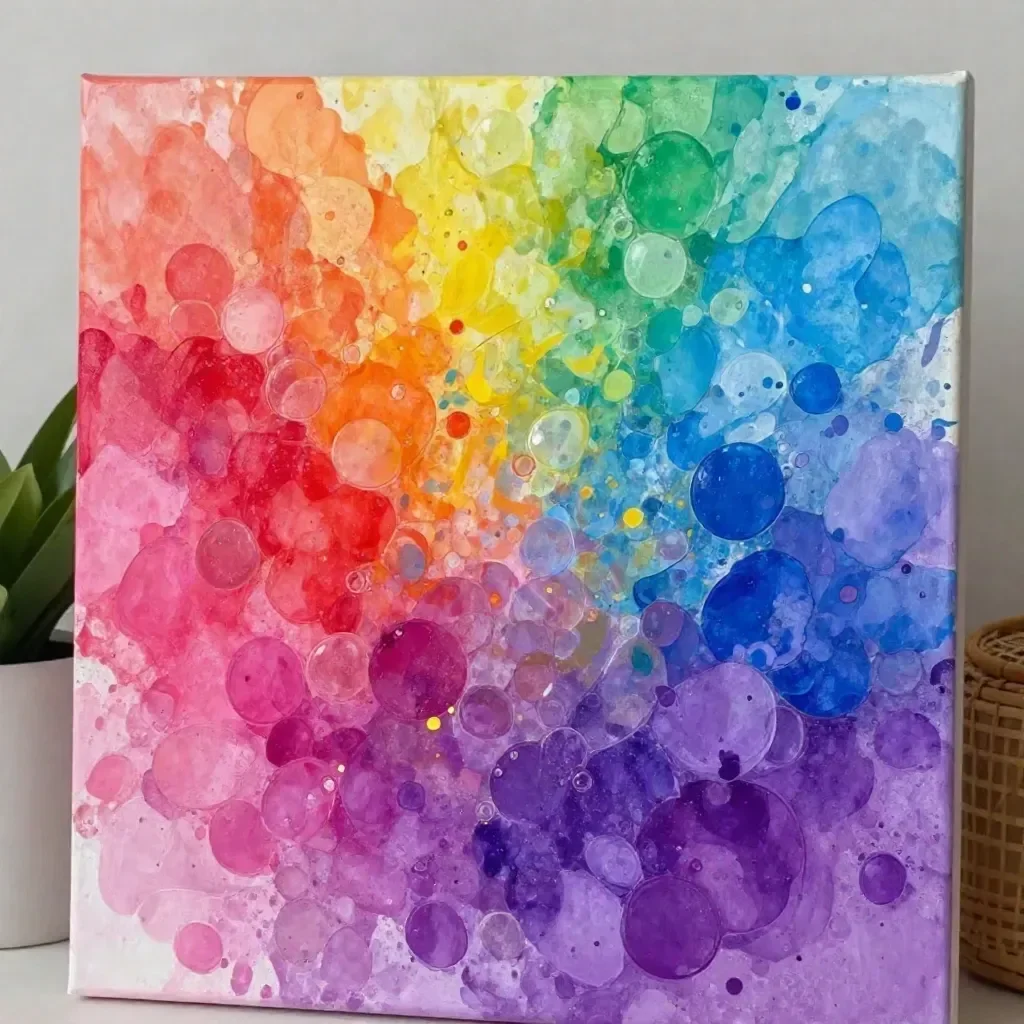
Color Splash Bubble Rainbow Canvas is a delightful DIY project that can turn a busy afternoon into a fun-filled creative session. Imagine your kids asking for something exciting to do while the clock ticks away. This project requires simple materials like bubble solution and food coloring, making it a perfect solution for parents needing a last-minute activity. By combining creativity and a bit of science, this hands-on experience promises to create vibrant artwork they will cherish. You may also find Baking Soda Rainbow Crystal Forest useful.
Why This Color Splash Bubble Rainbow Canvas Works So Well
This creative endeavor stands out because it requires minimal preparation while offering maximum fun. The materials are common household items, so you won’t need to make a special trip to the store. Kids can express themselves freely, layering colors to create unique abstract artwork. Not only is it engaging, but it also fosters a sense of achievement as they watch their bubble creations transform into beautiful designs. Plus, it provides an opportunity for a bit of scientific exploration as they experiment with mixing colors and observing how bubbles behave when they pop. You may also find Balloon Baking Soda Experiment Savory Splash useful.
A Quick Look Before You Begin
One of the best parts about this DIY project is how manageable it is within a real-life schedule. You can set it up in a small area such as your kitchen or backyard, and the clean-up is surprisingly easy. The whole process doesn’t take too long, making it perfect for those afternoons when kids need something engaging but not time-consuming. Depending on your kids’ interest, you might find them experimenting with bubbles for longer, elevating the fun. You may also find Bold Color Bioplastic Suncatchers useful.
Materials You’ll Need
- Bubble solution: Common household item, easily available.
- Food coloring: Optional colors can create even more fun.
- Cups: For mixing, any small cup will suffice.
- White cardstock: Budget-friendly and easy to find.
- Straw: Essential for blowing bubbles, any regular straw will do.
STEP-BY-STEP DIRECTIONS
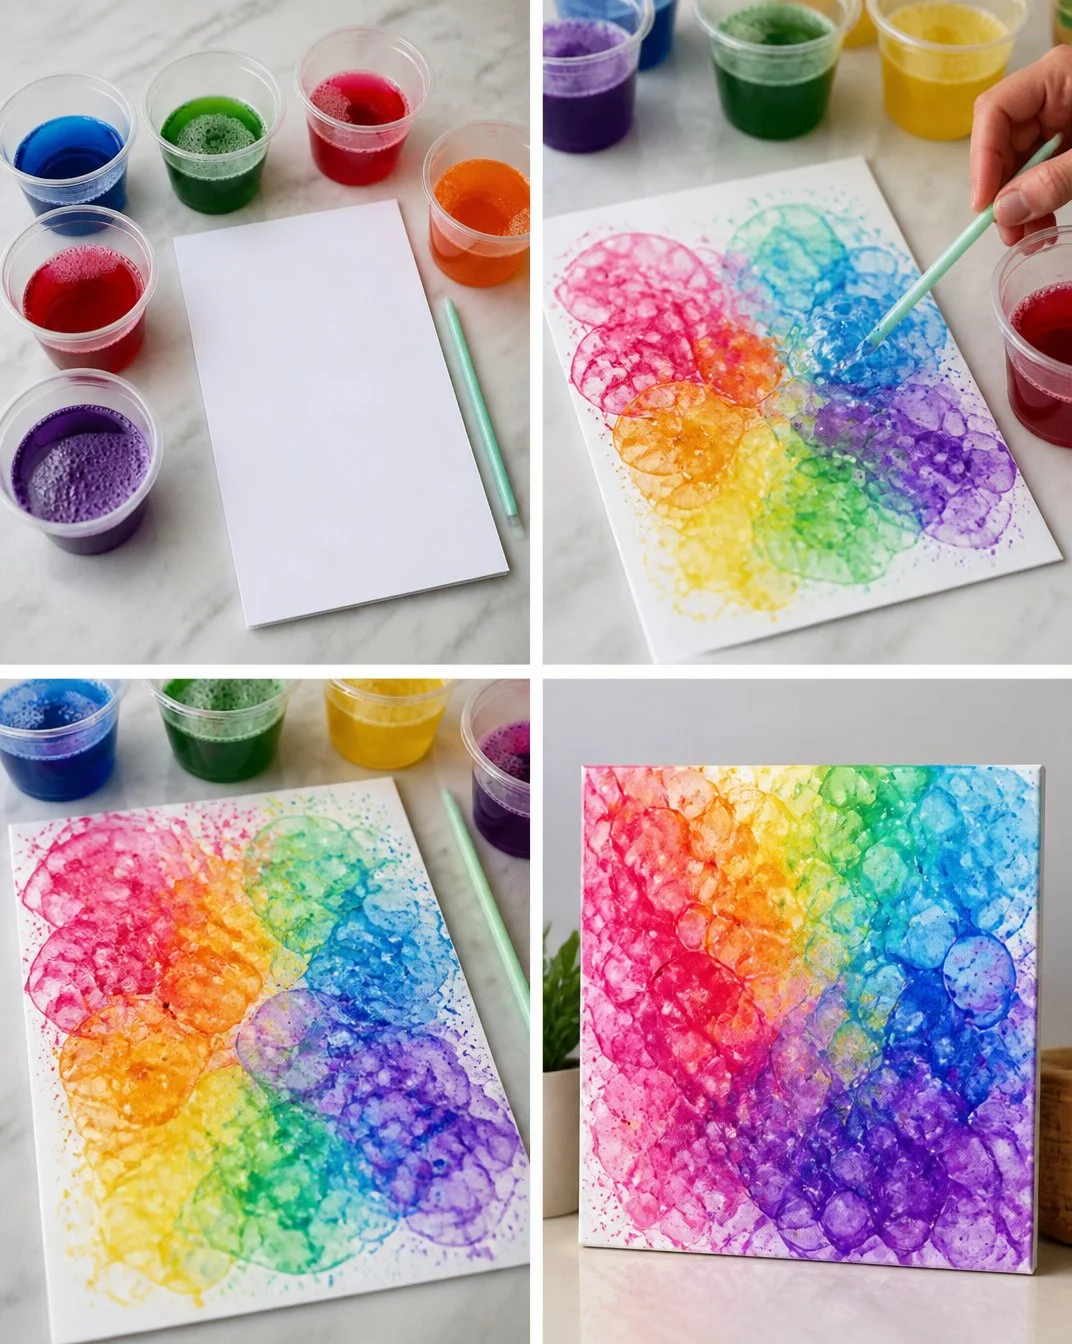
- In separate cups, mix bubble solution with a few drops of your favorite food coloring. This is where the fun begins. You can encourage your kids to create different shades, making the project even more colorful.
- Take your white cardstock and place it on a flat surface. Ensure it’s stable, so the bubbles have a solid foundation to land on.
- Use the straw to gently blow bubbles from each cup onto the cardstock, creating colorful bursts. This part is exciting and requires a bit of coordination, making it a great way to develop those fine motor skills.
- Layer multiple colors to design your unique abstract artwork! Encourage your children to try various methods, maybe even experimenting with different straw techniques or distances from the cardstock.
- Let the canvas dry and reveal your vibrant masterpiece. The waiting can be the hardest part, but it builds anticipation for their colorful artwork.
The Learning Behind This DIY

You may also find Bubble Firework Art useful.
Creating the Color Splash Bubble Rainbow Canvas isn’t just about the fun of making art; it also supports several learning opportunities. Kids practice fine motor skills when using the straw to blow the bubbles. They learn about cause and effect as they see how different actions create unique bubble shapes and patterns. Moreover, this project introduces basic science concepts like color mixing and air pressure, all while having fun.
Troubleshooting Common Issues
If something doesn’t go as planned, don’t worry! Here are a few common problems and their solutions. If the bubbles don’t pop when blown onto the cardstock, ensure that you’re using enough bubble solution and blowing gently. If the colors look too faint, add a little more food coloring to the mix. It may take a bit of experimentation to find the perfect balance, so be patient and keep trying.
Easy Variations to Try
Here are a few fun suggestions to modify the project for a new twist:
- Use various sizes of straws to create bubbles of different sizes, which adds texture to their artwork.
- Try layering the colors in different patterns or dotting them at different heights for a unique look.
- Incorporate a seasonal theme, such as using Halloween colors or wintery blues and whites for festive touchdowns.
- Use alternative surfaces like canvas or wood instead of cardstock to see how they change the end result.
Storing or Reusing This Project
To reduce waste, consider cleaning up your materials for reuse. The leftover bubble solution can be saved for future projects, as long as it’s stored in a sealed container. If there are any incomplete color mixtures, rinse the cups and save any unchanged solutions. As for your children’s masterpieces, once they’re dry, you can frame them or use them as colorful decorations for your home.
FAQs About Color Splash Bubble Rainbow Canvas
What if my kids are too young for this activity?
This project is great for various ages. Younger kids might need more help with blowing bubbles, so adult supervision is key. Alternatively, they can use their hands to create a hands-on bubbly experience.
How messy is this project?
It can get a bit messy, especially with food coloring involved. Lay down some newspaper or an old tablecloth to protect your surfaces. The cleanup is straightforward with just soap and water, but be prepared for some colorful fun!
Can we use alternative ingredients for the bubble solution?
Yes! You can explore using homemade bubble solution or recipes available online. The important thing is to get a solution that creates bubbles to achieve the desired effect.
Will the colors dry the way I expect them to?
The final colors might not look exactly as they do in the cup, as they blend on the paper. But this often leads to unexpected and vibrant outcomes!
Will this project last, or can we store the materials?
Once dry, the artwork can be kept for a while, but frame it for longevity. As for materials, they can be stored for future use, especially the bubble solution as long as it’s sealed.
Conclusion
Creating a Color Splash Bubble Rainbow Canvas is not just an engaging DIY project; it can also nurture your child’s creativity and learning. It combines fun, art, and science in one simple yet effective activity. With supplies like bubble solution and food coloring, you can embark on a colorful journey, right in your living room. For some vibrant inspiration beyond this project, check out the delightful JEUXUS Abstract Colorful Wall Art Rainbow Canvas Wall Decor. You can also explore the fun of crafting with coasters by visiting Rainbow Delight Coasters Plastic Canvas.
PrintColor Splash Bubble Rainbow Canvas
A fun DIY project that allows kids to create vibrant artwork using bubble solution and food coloring while learning about color mixing and air pressure.
- Prep Time: 10 minutes
- Cook Time: 0 minutes
- Total Time: 30 minutes
- Yield: 2 canvases
- Category: Craft
- Method: Crafting
- Cuisine: N/A
- Diet: N/A
Ingredients
- Bubble solution
- Food coloring
- Cups for mixing
- White cardstock
- Straw
Instructions
- In separate cups, mix bubble solution with a few drops of your favorite food coloring.
- Take your white cardstock and place it on a flat surface.
- Use the straw to gently blow bubbles from each cup onto the cardstock.
- Layer multiple colors to design your unique abstract artwork!
- Let the canvas dry and reveal your vibrant masterpiece.
Notes
Great for various ages, but younger kids may need adult supervision. Prepare for a bit of mess with food coloring involved.
Nutrition
- Serving Size: 1 canvas
- Calories: 0
- Sugar: 0g
- Sodium: 0mg
- Fat: 0g
- Saturated Fat: 0g
- Unsaturated Fat: 0g
- Trans Fat: 0g
- Carbohydrates: 0g
- Fiber: 0g
- Protein: 0g
- Cholesterol: 0mg