

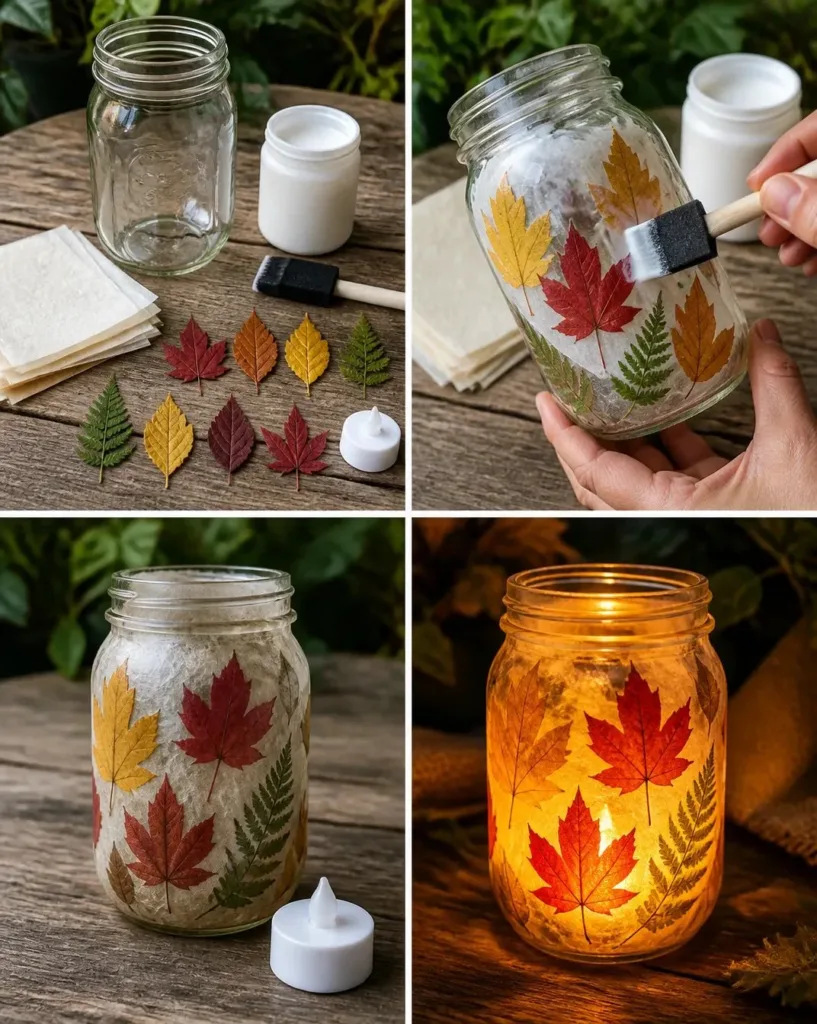
How often do you find yourself rushing to create a last-minute craft activity on a busy afternoon? Kids come home excited, asking to make something special, and you suddenly need a project that requires minimal setup and supplies. That’s where the idea of how to make a pressed-leaf mason jar lantern comes in. This charming DIY activity not only engages little hands creatively but also transforms simple materials into a glowing centerpiece that can brighten any room. Let’s take you through the process and discover how easy it can be to create beautiful pressed-leaf mason jar lanterns. You may also find How To Make Gradient Sand Art Jar Diy Tutorial useful.
Why You’ll Love Making How to Make a Pressed-Leaf Mason Jar Lantern – DIY Tutorial
You may also find How To Make A Lightning Storm In A Jar useful.
This project stands out as a fantastic option for families because it is low-prep, approachable, and gives reliable results. First, let’s talk about the prep level. You only need a few basic materials, making it easy for anyone to gather what’s needed without a trip to the craft store. Moreover, the steps are simple enough for kids to take charge with adult guidance, allowing for a fun, hands-on experience. You may also find How To Make A Rainbow Ocean Jar At Home useful.
One of the main appeals of this DIY is that it requires minimal time and effort while producing stunning results. You can make a lantern in about an hour, including the time for drying. You’ll love watching the excited faces of your children as they create something beautiful they can use to decorate their spaces or give as gifts. Plus, this lantern can light up a dark corner, enhancing your home’s ambiance without needing any complicated electrical setups. You may also find Diy Mason Jar Lanterns Glow Sticks useful.
This DIY is also a reliable choice for varying age groups. Younger children can practice their fine motor skills as they layer leaves, while older kids might enjoy the creative design aspect, choosing which leaves and tissue paper combinations to use. Everyone can get involved, making it a perfect family activity.
A Quick Look Before You Begin
If you’re feeling a bit hesitant about starting, let me reassure you. The process of making the pressed-leaf mason jar lantern is straightforward and manageable, even after a busy day. The overall time commitment is short, with only about 30 minutes of active crafting needed.
The setup is equally simple. You’ll need a clean workspace perhaps a table covered in newspaper or a craft mat to catch any spills. Expect some glue on fingers and a few stray leaves, but nothing too messy. This project is adaptable, so it can easily fit into your family’s schedule, whether you have an afternoon or just an hour before dinner.
Materials You’ll Need
Before diving in, gather the following supplies:
- 1 mason jar
- 8 pressed leaves
- Decoupage glue (common household item)
- Tissue paper (easy substitute)
- Battery tealight (budget-friendly)
Having these materials ready will help the crafting flow smoothly. Each item is likely something you already have at home, making this project both convenient and cost-effective.
Step-By-Step Directions
Now, let’s get started on making your beautiful pressed-leaf mason jar lantern.
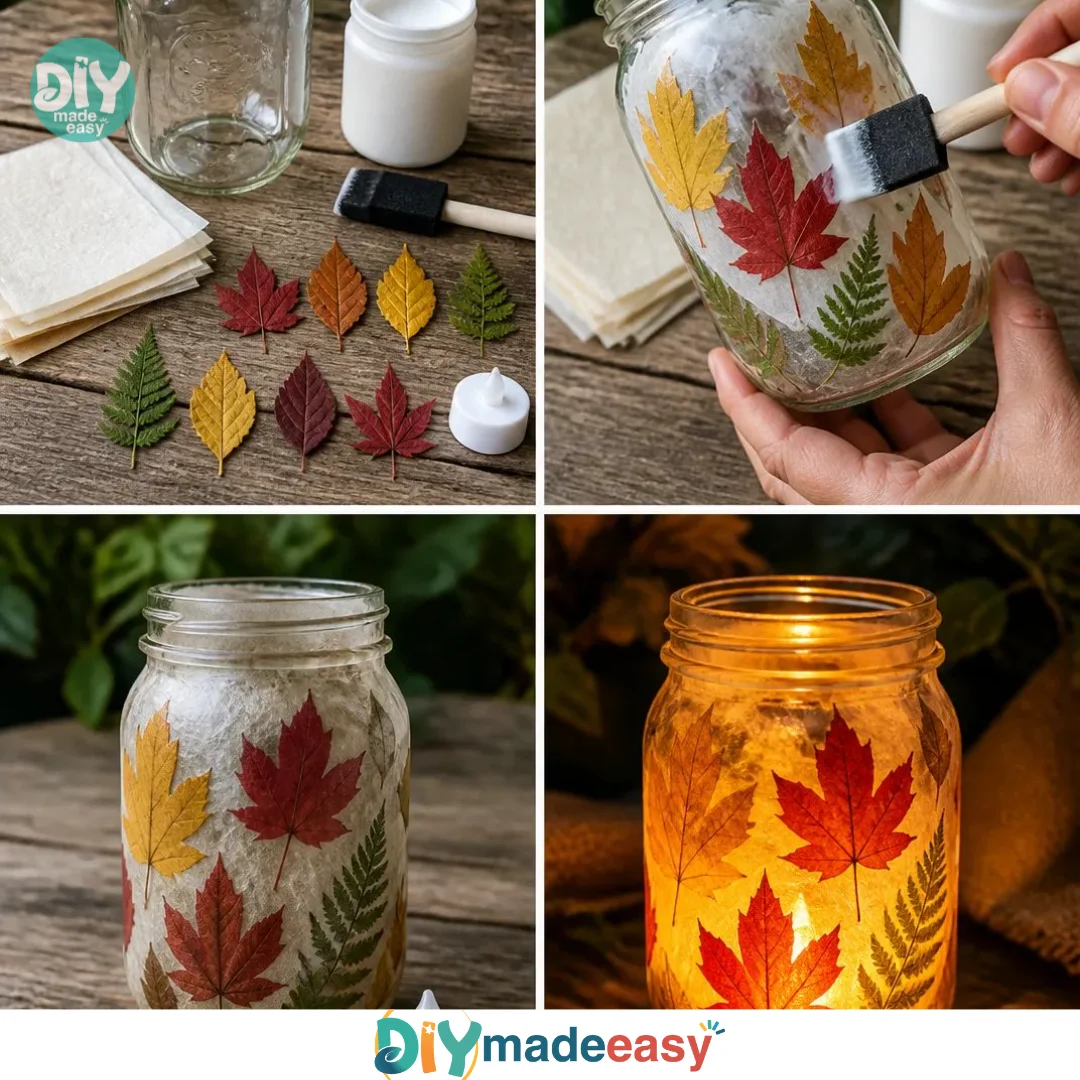
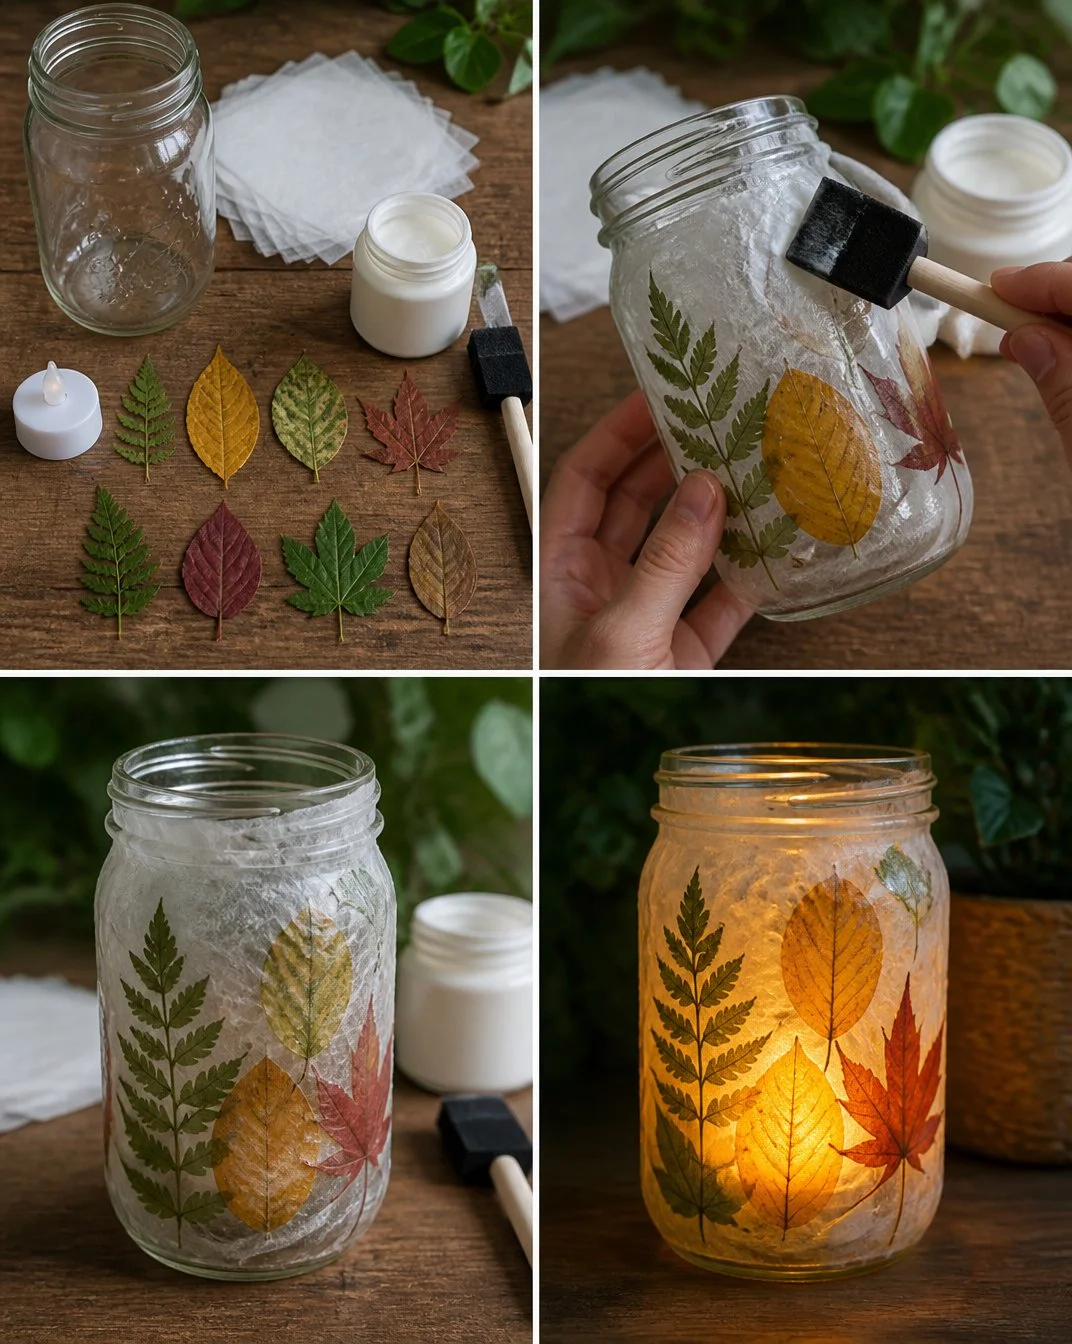
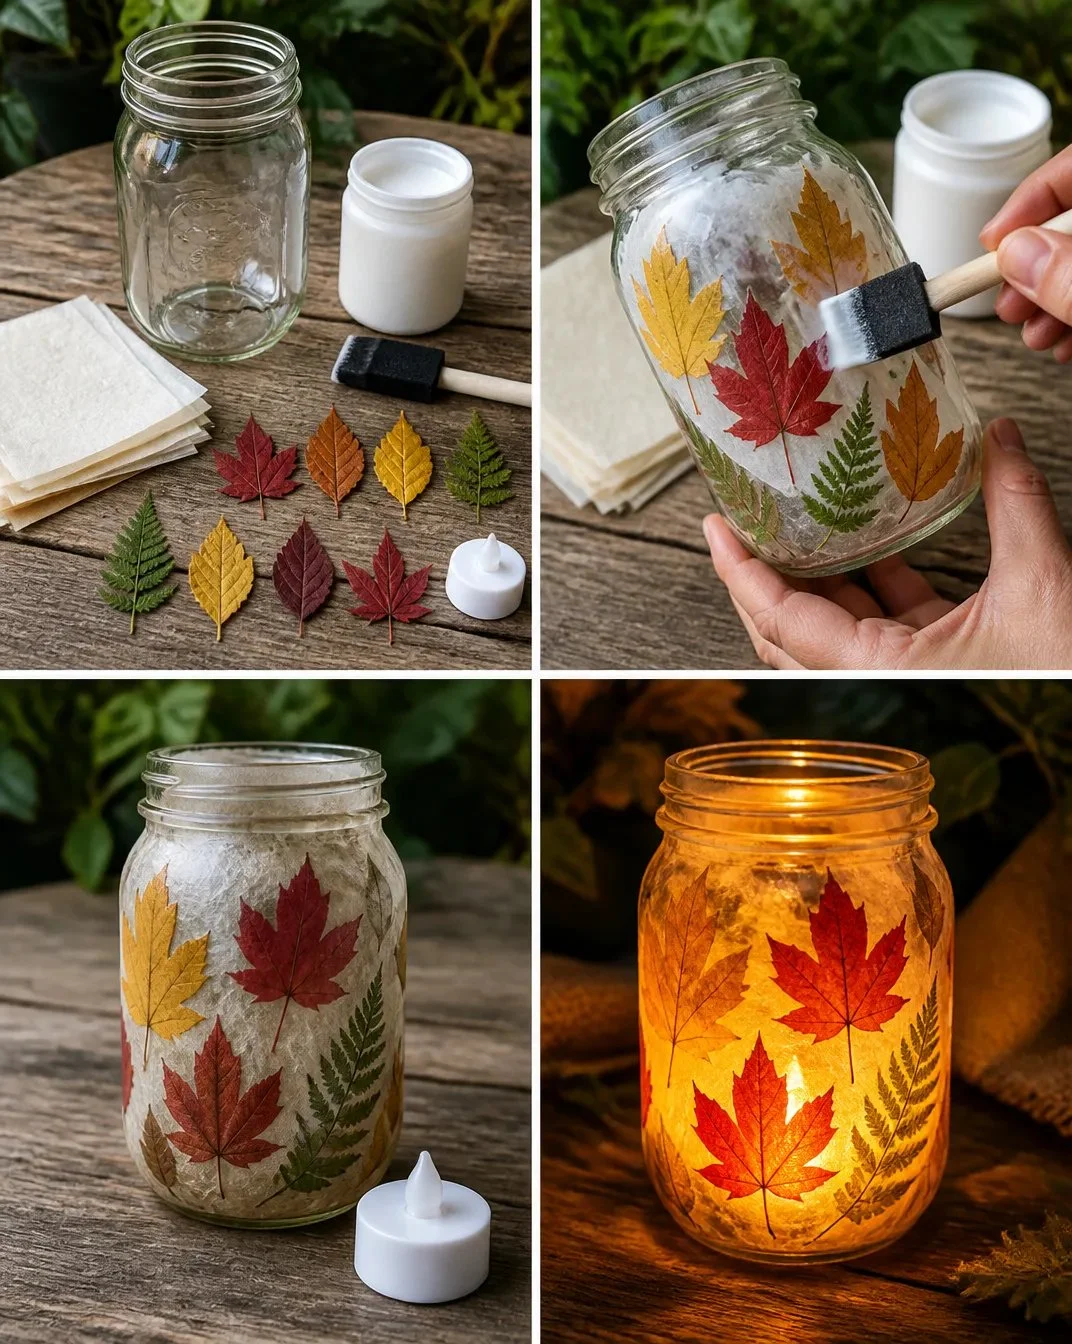
Prep the Jar: Start by brushing a thin layer of decoupage glue onto the outside of your mason jar. Be sure to cover the area where you plan to place your leaves and tissue paper.
Layer Tissue and Leaves: Carefully arrange the tissue paper and pressed leaves on the jar. You can place them in any design that appeals to you. Press the leaves gently to ensure they adhere well to the glue.
Seal the Design: Once you’re satisfied with the arrangement, apply another thin coat of decoupage glue over the top of the leaves and tissue. This seals everything in place and adds a glossy finish that enhances the look.
Dry and Light Up: Let the jar dry for at least 15 minutes. Once dry, place a battery tealight inside. Be careful not to use real candles, as they can pose a fire hazard.
Making this lantern not only results in a delightful project but also creates a lovely decorative piece that glows warmly.
The Learning Behind This DIY
As you work on this lantern with your children, they will practice several skills without even realizing it. For instance, manipulating the leaves and tissue paper helps enhance their fine motor skills and coordination. The hands-on activity promotes creativity as they decide where and how to place the leaves.
Additionally, children learn about the properties of materials. As they apply glue, they can observe how it dries, becoming clear and hard. This project also encourages a sense of cause and effect, as they see how layering the leaves creates a beautiful design that results in a lovely illuminated lantern.
Troubleshooting Common Issues
If something doesn’t go as planned, don’t worry it’s all part of the learning process. Sometimes leaves may peel off or not stick well. This could happen if too much glue is applied or if the leaves aren’t pressed enough. Simply add a little more glue to reattach them, ensuring they’re properly adhered.
Another common problem is the tissue paper tearing easily. Encourage gentle handling, and consider using thicker tissue paper for better durability. Remember, these small hiccups are normal, and the important part is to enjoy the creative process.
Easy Variations to Try
If you want to mix things up, consider these variations:
- Seasonal Themes: Use leaves or elements that reflect the seasons autumn leaves for fall, flowers for spring.
- Colorful Tissue Paper: Experiment with different colors and patterns of tissue paper to change the lantern’s look.
- Adding Glitter: Sprinkle a bit of glitter between layers for extra sparkle when the light shines through.
- Personalized Notes: Write a sweet message on the inside of the jar before layering to make it extra special.
These variations can keep the project fresh and exciting for multiple crafting sessions.
Storing or Reusing This Project
After making your lantern, you’ll want to think about storage or repurposing. These lanterns can be saved for holidays or even given as gifts. To store them, keep them in a cool, dry place. If they become dusty, a gentle wipe-down with a soft cloth will help keep them looking beautiful.
If you want to reuse supplies, consider breaking down older lanterns and replacing leaves or tissue with new ones for a fresh look. This not only encourages creativity but also reduces waste.
FAQs About How to Make a Pressed-Leaf Mason Jar Lantern – DIY Tutorial
How messy will this project be?
It’s pretty manageable. Expect some glue on your hands and perhaps a few stray leaves, but with a quick cleanup afterward, it won’t be too overwhelming.
Is it safe for younger children?
Yes, as long as an adult supervises. Using battery tealights eliminates fire risks associated with traditional candles.
Can I use fresh leaves instead of pressed ones?
While you can try fresh leaves, they won’t adhere well once the project dries. Pressed leaves work best for a clean, finished look.
How long will this lantern last?
With proper storage, these can last a long time. Just ensure they’re kept away from moisture and direct sunlight, which may fade the colors.
What if I don’t have decoupage glue?
You can use regular white glue mixed with water as a substitute; it will work similarly for this project.
Conclusion
Making a pressed-leaf mason jar lantern is a fantastic and simple crafting choice. It’s a project that promotes creativity and learning, perfect for engaging children and creating lasting memories. If you’re looking for new ideas, check out fantastic resources, such as Mason Jar Leaf Lanterns – One Little Project and explore unique variations available at Pretty glass jar lanterns with pressed flowers – How to make. Enjoy your crafting together!
PrintPressed-Leaf Mason Jar Lantern
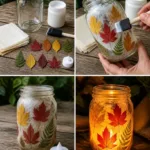
Create a charming pressed-leaf mason jar lantern that adds a warm glow to your home and engages kids in a creative craft activity.
- Prep Time: 10 minutes
- Cook Time: 0 minutes
- Total Time: 30 minutes
- Yield: 1 lantern 1x
- Category: Craft
- Method: Crafting
- Diet: N/A
Ingredients
- 1 mason jar
- 8 pressed leaves
- Decoupage glue
- Tissue paper
- Battery tealight
Instructions
- Prep the jar by brushing a thin layer of decoupage glue onto the outside.
- Layer the tissue paper and pressed leaves onto the jar in your chosen design.
- Seal the design with another coat of decoupage glue for a glossy finish.
- Dry the jar for at least 15 minutes, then place a battery tealight inside.
Notes
Encourage creativity with variations such as using seasonal themes or adding glitter for extra sparkle. Supervise children for safety with battery tealights.
Nutrition
- Serving Size: N/A
- Calories: 0
- Sugar: 0g
- Sodium: 0mg
- Fat: 0g
- Saturated Fat: 0g
- Unsaturated Fat: 0g
- Trans Fat: 0g
- Carbohydrates: 0g
- Fiber: 0g
- Protein: 0g
- Cholesterol: 0mg