

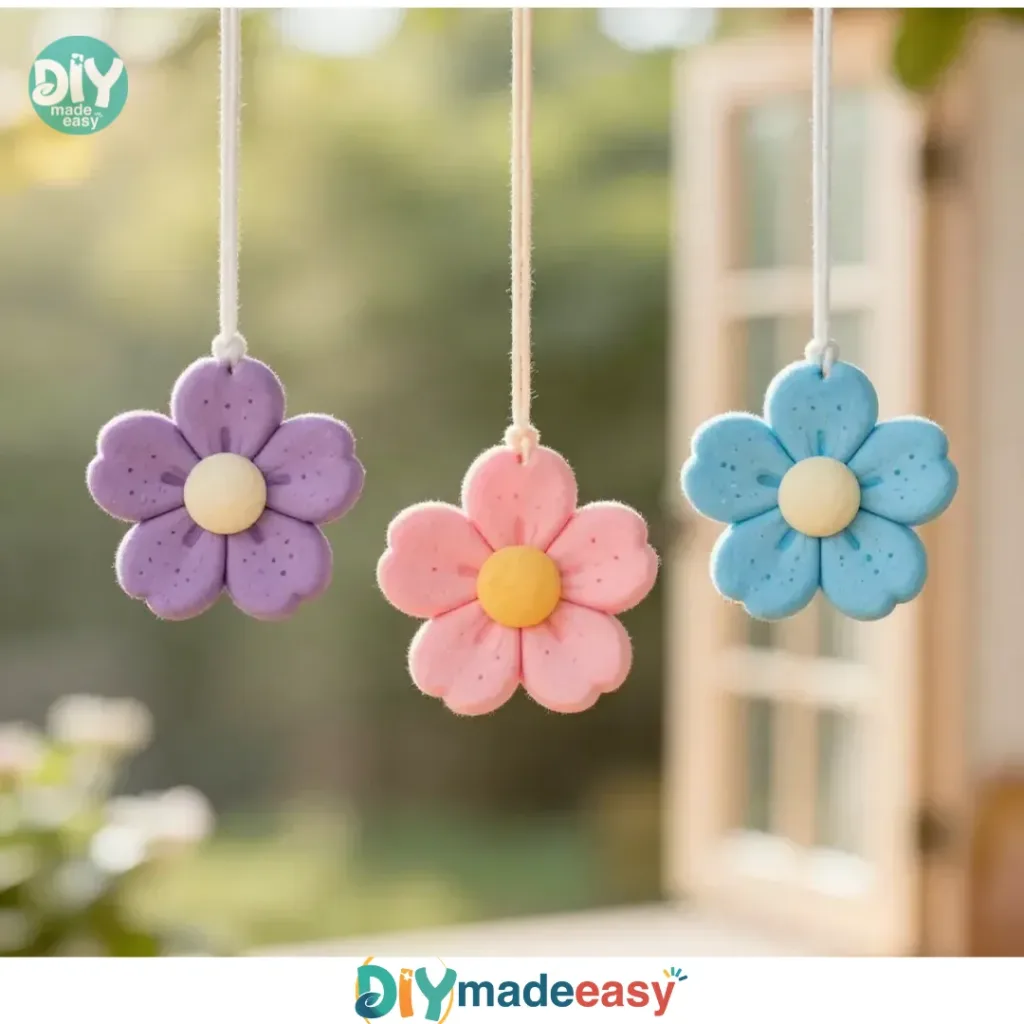
Plastic Bottle Flower Suncatchers can turn a busy afternoon into a colorful crafting session. Imagine a day when your kids are bursting with creativity and you need a last-minute activity that doesn’t require a lengthy setup or complicated materials. You can easily transform a clear plastic bottle into vibrant flowers that catch the sunlight, bringing smiles to your family and a pop of color to your home. This simple project is perfect for children eager to make something with their own hands while also keeping it low-prep for busy parents.

Why This Plastic Bottle Flower Suncatchers Works So Well

Plastic Bottle Flower Suncatchers are a brilliant way to repurpose household items into something beautiful. This project is low-prep, which means you can gather the supplies quickly, even when the clock is ticking. Most of the needed materials are likely already in your home, making it approachable for anyone. The clear plastic bottle becomes a canvas, and your little ones can dive into their imaginations, creating colorful blooms that need only a few steps to achieve.
What makes this project so reliable is the sense of accomplishment it brings. Children often feel proud of their creations, and this project allows them to see their artistic flair come alive. They can personalize each flower, allowing for endless variations. Plus, it requires minimal adult involvement, giving kids a sense of independence while being just nearby to guide them when necessary.
The Flow of Making Plastic Bottle Flower Suncatchers
Getting into this project is a straightforward and calming experience. The timing is flexible; the entire process can be completed in about 30 minutes to an hour, depending on your children’s attention spans. This means you can tackle this craft in between busy days or even as a weekend activity.
The setup is simple: you’ll need a clean space where the kids can spread out their materials. Expect some spills of marker ink — it’s part of the fun! But those accidents are easily cleaned up with a paper towel or a damp cloth. Just keep some wipes handy for quick cleanups. Adult involvement includes supervising the cutting of the bottle and perhaps assisting with the hole-punching for younger children.
Materials You’ll Need
1 clear plastic bottle
Permanent markers
Scissors
Hole punch
String for hanging
The beauty of these materials is their accessibility. Most households will have them on hand, making this a budget-friendly project. Permanent markers come in a variety of colors, which allows for creativity to flow. The scissors and hole punch help transform the bottle into beautiful flowers, and the string brings the finished product to life by letting you hang them indoors or outdoors.
Step-by-Step Directions
- Start by cutting the plastic bottle into flower shapes.
Begin by rinsing out the bottle and removing any labels. Then, using your scissors, cut the bottle into sections, shaping them like flower petals. You can create a variety of sizes and shapes, so let your creativity guide you as you snip away. Don’t worry if it’s not perfect; every flower has its unique charm! - Use permanent markers to decorate each flower with bright colors.
Unleash your imagination and decorate the petals using your array of permanent markers. Bright colors will really make the flowers pop, especially when the sunlight shines through. You can create patterns, solid colors, or even mix colors for a tie-dye effect. Just be mindful that alcohol-based markers can stain, so be cautious. - Punch a hole at the top of each flower and attach the string for hanging.
After decorating, take your hole punch and carefully make a hole at the top of each flower. This action is simple but critical for hanging. Cut a piece of string, thread it through the hole, and tie a knot to secure your flower. Now, they’re ready for display. Hang them in a sunny window, or outside where the sun can beam through.
What Kids Practice While Making This

While crafting Plastic Bottle Flower Suncatchers, kids practice various valuable skills without even realizing it. The act of cutting helps improve their fine motor skills, as they learn to control the scissors with precision. Decorating the flowers with markers enhances their creativity and hand-eye coordination, as they focus on staying within the lines and mastering different patterns.
The project also allows children to explore basic scientific concepts, such as light and color. Once these flowers capture sunlight, they bundle fun with learning. Observing how colors change in various lights can spark curiosity and conversations about nature. This simple craft transforms into an enjoyable learning experience, seamlessly blending art and science.
Explore Visual Creative Crafts
Get inspired by eye-catching projects. Browse our Visual DIY Creative Crafts and bring your creative ideas to life with simple, visual guides.
Troubleshooting Common Issues
Making crafts can sometimes lead to hiccups. If you find your scissors struggling to cut through the plastic or the shapes look lopsided, don’t fret. It’s common to make adjustments along the way. You can turn uneven reshapes into whimsical designs by cutting them differently, creating a unique flower.
When decorating, you may notice some markers don’t show up well against the plastic. If this happens, try testing them on a spare piece of plastic first or look for brighter colors. If some designs smear or smudge, consider letting the markers dry for a bit before handling them further. If something doesn’t seem to stick, applying another layer or adding additional details can always help.
Easy Variations to Try
Feeling adventurous? Here are some creative variations to enhance your Plastic Bottle Flower Suncatchers project.
- Theme Flowers: Create flowers based on different seasons or holidays. For instance, use red and green for Christmas-themed suncatchers or pastel colors for Easter.
- Pattern Play: Try different styles of decoration, such as stripes, polka dots, or even sponge painting with household sponges for a different effect.
- Layered Flowers: Cut different sizes of petals and layer them for a multi-dimensional look. This adds depth to your suncatchers.
- Glow in the Dark: Use glow-in-the-dark permanent markers for an enchanting twist. Your flowers will illuminate at night.
- Add Natural Elements: Incorporate stickers, leaves, or even glitter to create mixed-media suncatchers that further tap into imagination and exploration.
Storing or Reusing This Project
After your crafting session, you may wonder about the best way to store or reuse your Plastic Bottle Flower Suncatchers. If you’ve hung them in a window, you can leave them there to enjoy for as long as you like. Over time, they may fade, but that’s the nature of crafts and sunlight.
If you want to save them for later use, simply find a safe spot in a box or container where they won’t get crushed. If they become damaged, consider cutting them up again to create new shapes or integrate them into other crafts. This approach reduces waste and allows for limitless creativity.
FAQs About Plastic Bottle Flower Suncatchers
Is this going to make a mess when decorating with markers?
Yes, it can get a little messy, but that’s part of the fun! Keep some paper towels or wipes handy to quickly clean any ink spills. Be sure to have your working area covered or laid out with materials that you won’t mind getting colorful.
Are scissors safe for my young child to use?
It depends on their age and skill level. Younger kids might need assistance and supervision, especially with scissors. Consider using safety scissors that are designed for children if you are uneasy about them using regular ones.
What if we don’t have any of the permanent markers?
If you don’t have permanent markers on hand, you can try other types of markers or even paint. Just keep in mind that not all decorators will show up well on the plastic, so test before committing to a design.
Can we store these flowers for next year?
Absolutely! Keep them safe in a box or a container to prevent damage. While they may fade over time, they can still be a fun reminder of your crafting adventures.
What is the best way to clean up after this project?
Cleaning up is easy! Simply gather any used markers, string, and any cut plastic pieces. Use a damp cloth for any spills and put your scissors and hole punch away in a designated spot. Encourage the kids to help with clean-up; it’s a great way to teach responsibility!
A Final Helpful Note
In closing, creating Plastic Bottle Flower Suncatchers can easily turn an ordinary day into an extraordinary craft experience. The best part is knowing that through a few simple materials and steps, your family can produce something lovely and personal. Embrace the process, feel free to adapt it to your style, and have fun witnessing the joy these flowers bring to you and your family. You’re making memories while nurturing creativity. So gather those materials, find a clean workspace, and get ready for some crafting joy.
PrintPlastic Bottle Flower Suncatchers

Turn clear plastic bottles into vibrant flowers that catch sunlight with this fun and easy crafting project for kids.
- Prep Time: 5 minutes
- Cook Time: 30 minutes
- Total Time: 35 minutes
- Yield: Varies based on the number of flowers made
- Category: Craft
- Method: Crafting
- Cuisine: N/A
- Diet: N/A
Ingredients
- 1 clear plastic bottle
- Permanent markers
- Scissors
- Hole punch
- String for hanging
Instructions
- Start by cutting the plastic bottle into flower shapes.
- Use permanent markers to decorate each flower with bright colors.
- Punch a hole at the top of each flower and attach the string for hanging.
Notes
Keep some wipes handy for quick cleanups. Supervise children while using scissors and hole punch.
Nutrition
- Serving Size: 1 flower
- Calories: N/A
- Sugar: N/A
- Sodium: N/A
- Fat: N/A
- Saturated Fat: N/A
- Unsaturated Fat: N/A
- Trans Fat: N/A
- Carbohydrates: N/A
- Fiber: N/A
- Protein: N/A
- Cholesterol: N/A