

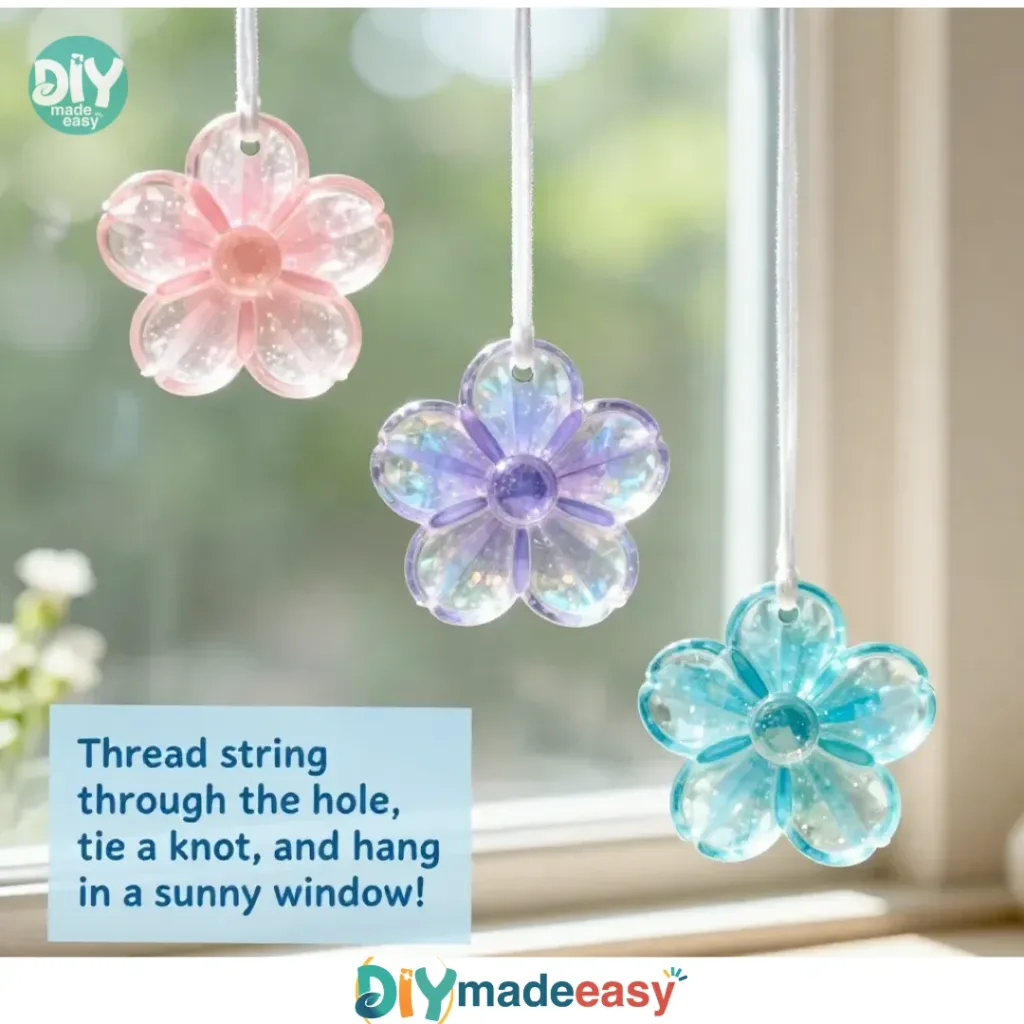
Plastic Bottle Flower Suncatchers Become Cozy on a busy afternoon, kids may come bounding into the kitchen with a desire to create something beautiful. A sudden urge to craft can spring from anywhere, whether it’s a rainy day or a quiet moment where inspiration strikes. You might find yourself looking for a simple, engaging activity to keep their hands busy while brightening your space. What’s perfect for these moments is the easy-to-make Plastic Bottle Flower Suncatchers. This project can turn a regular afternoon into a colorful experience, using common household items to create delightful decorations that bring warmth and cheer into your home.
Why This Plastic Bottle Flower Suncatchers Become Cozy Works So Well
Creating Plastic Bottle Flower Suncatchers is a wonderful weekend or after-school activity that requires little preparation and is accessible to all ages. First and foremost, the materials are items you likely have on hand, so no need for a last-minute trip to the store. You can dive right into your project without any complicated planning.
The appeal of this activity shines not only in how easy it is to start but also in the vibrancy of the finished product. Kids can unleash their creativity with colors and designs, allowing for individual expression. No two flowers will look alike, which makes the end result delightfully unique. It’s a reliable project that fits perfectly into real-life schedules, allowing parents to enjoy quality time with their kids without added stress.
A Quick Look Before You Begin
You can expect this project to take about an hour from start to finish, depending on how adventurous your kids are with colors and designs. If they want to take their time crafting, don’t rush them. Set up a comfortable workspace in your kitchen or living room. You’ll probably notice a bit of cleanup afterward, but it’s manageable and part of the fun.
Invite your little ones to gather around as you work together. Older kids can take the lead on certain tasks, while younger ones might need a bit more assistance. This collaborative effort makes it a delightful family bonding experience, fostering teamwork and creativity in a laid-back atmosphere.
Explore Visual Creative Crafts
Get inspired by eye-catching projects. Browse our Visual DIY Creative Crafts and bring your creative ideas to life with simple, visual guides.
Materials You’ll Need
- Plastic bottles (common household item)
- Permanent markers (easy to find)
- Scissors (adult supervision recommended)
- String or twine (optional)
- Hole punch (optional but helpful)
This list keeps things straightforward. Most of these materials will be sitting right in your recycling or craft drawer, making it simple to gather what you need. If you don’t have any string, this project can still work, just hang the flowers directly from a window if needed.
Step-by-Step Directions
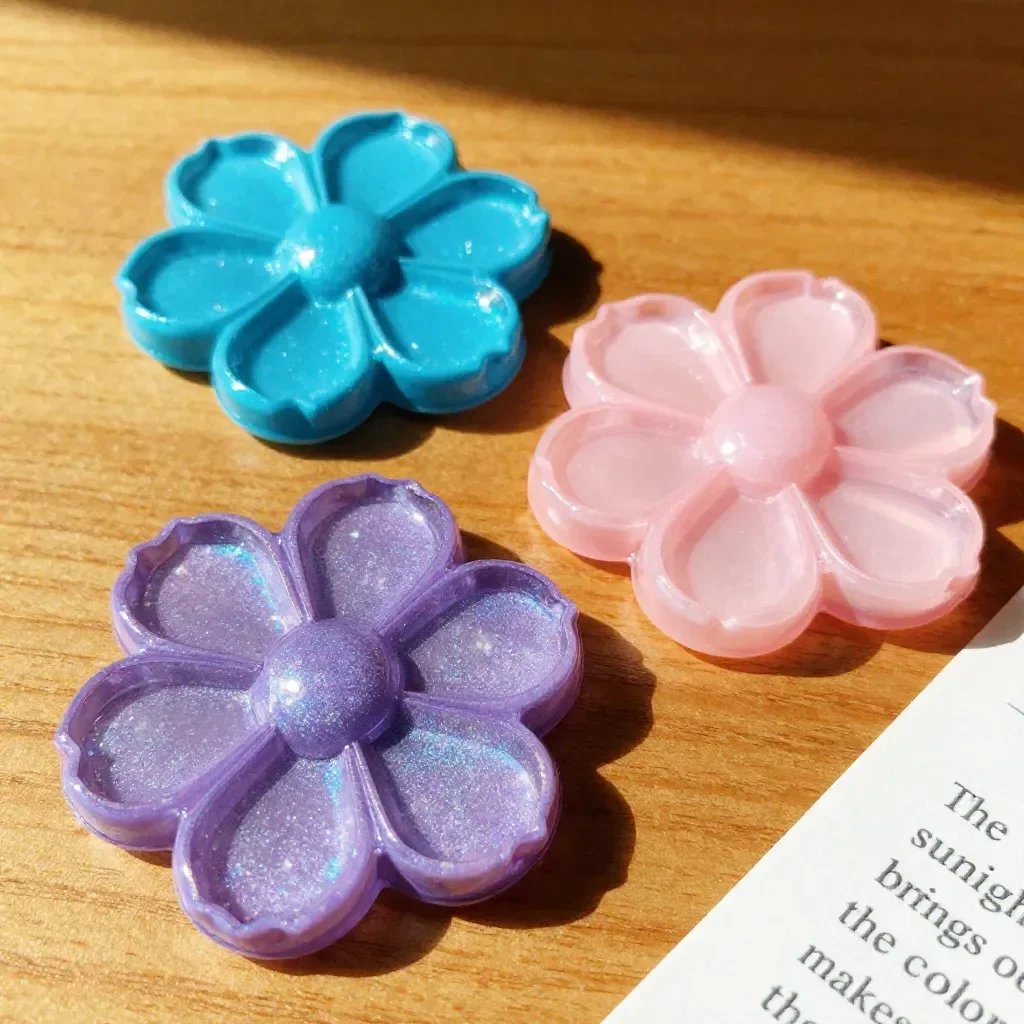
- Cut the bottom sections off the plastic bottle to create flower shapes. Use scissors to carefully cut through each bottle, aiming to create a flower shape with distinct petals. Be mindful of sharp edges; it helps to use a cutting mat if you have one.
- Trim the edges neatly so each flower petal looks smooth and even. After cutting, take a moment to round off any rough spots. The smoother the edges, the nicer the flowers will look when they catch the light.
- Use permanent markers to color the flowers with dots, lines, and fun designs. Encourage your kids to express themselves. They can make patterns or use their favorite colors. Don’t hesitate to remind them to color the back of the flower too, as the glow will come through all around.
- Punch a small hole near the top of each flower. This can be a fun moment too. Older kids might enjoy assisting with this part, but be sure to supervise.
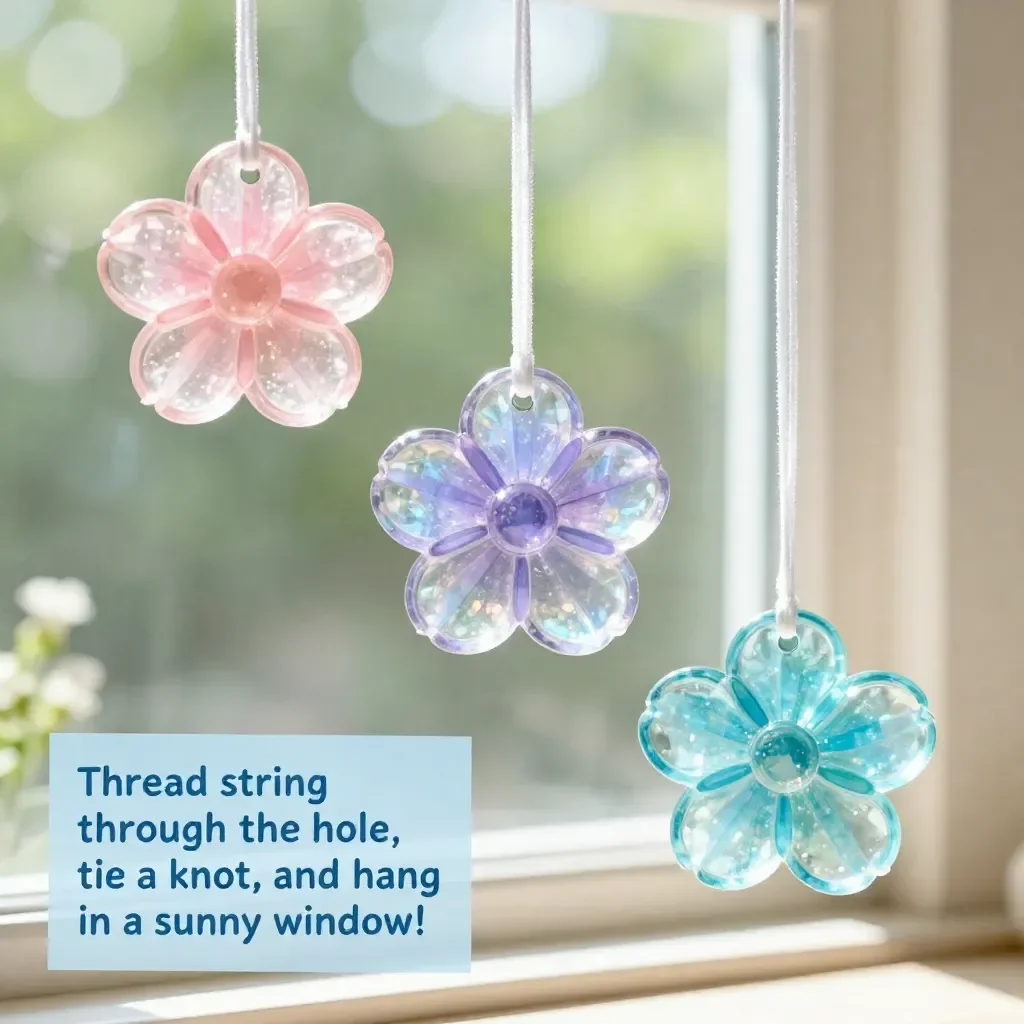
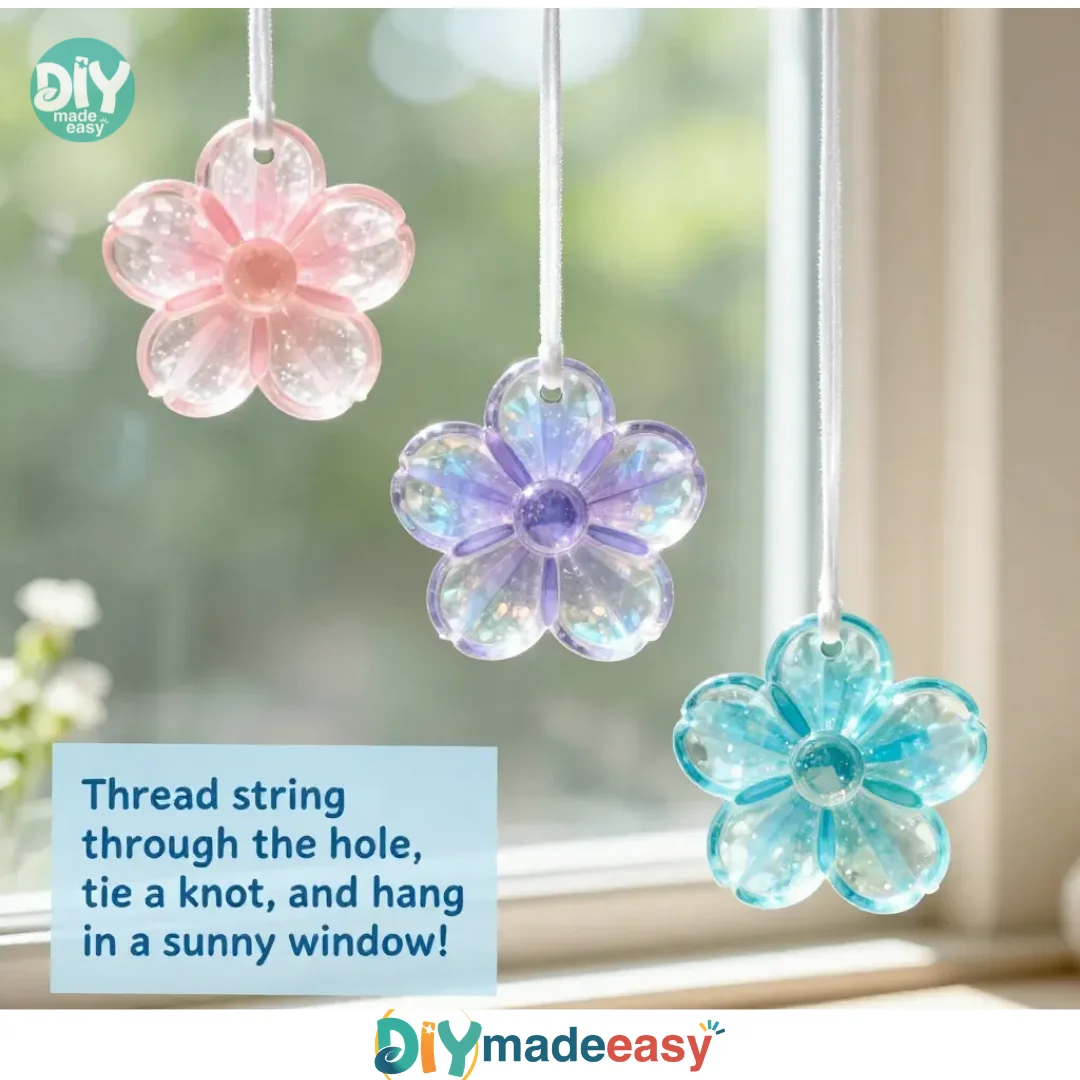
- Thread string through the hole and tie a knot securely. Grab a piece of string and help your little ones tie it off. This is their flower’s lifeline to the window.
- Hang the flowers in a sunny window where the light can shine through. Place the finished suncatchers where the sunlight can dance through the colors, creating glowing patterns.
The Simple Science or Skills at Work
While making these suncatchers, kids practice various skills. They develop fine motor skills through cutting and coloring, enhancing hand-eye coordination. This activity also introduces basic concepts of light and color. As the sun shines through the plastic, they can see how the design transforms the light, creating delightful effects on the walls and floor.
Beyond the science, there’s something wonderfully calming about creating something with your hands. This project allows for a few moments of focus, where kids can see the direct outcome of their efforts. Plus, it’s a soft way to introduce them to recycling, reminding them how to innovate using everyday materials.
Troubleshooting Common Issues
If Something Doesn’t Go as Planned
Sometimes, the edge cuts may not be as smooth as you’d hoped. If that happens, simply trim them a little more until they look good. The color may also not show up as boldly against the bottle. If that’s the case, remind your kids about layering colors or trying different designs to find a style that pops!
Should you find that the flowers aren’t hanging quite right, look at how the string was tied. A snug knot will prevent it from slipping and keep the flower in its intended spot until you’re ready to adjust.
Easy Variations to Try
Simple Ways to Change It Up
- Try different flower shapes. Look for bottles with unique curves or designs to create distinct flower looks.
- Experiment with different colors. Use seasonal themes, like reds and greens for Christmas or pastels for spring.
- Add embellishments. Introduce some extra materials, like beads or ribbons, to the flowers for added flair.
- Create a mobile. If you make several flowers, consider hanging them at different lengths for a blooming display.
Storing or Reusing This Project
What to Do With It After
After hanging, these flowers can brighten your home throughout the season. If you choose to take them down, store them in a safe box, preferably where they won’t get crushed. If they start to fade, don’t hesitate to break out the markers and bring those colors back to life.
Additionally, the use of recycled materials makes cleanup simpler. Help your children understand the idea of reusability; make a game out of coming up with new projects to use leftover materials.
FAQs About Plastic Bottle Flower Suncatchers Become Cozy
Are these suncatchers messy to make?
While some coloring may get onto hands and possibly surfaces, the cleanup is usually quick. Just have paper towels or wipes handy and let the kids know to be careful. Engaging in an art project means a few splashes, which are part of the fun.
What age is appropriate for this project?
This project is great for kids aged four and up. Younger ones might need more guidance, especially with scissors, so adult supervision is key. If you have older kids, they can definitely tackle more challenging aspects independently.
Can I substitute the markers?
If you don’t have permanent markers, you could try washable ones or acrylic paint; just know they may not be as vibrant in direct sunlight. Test them first if you can, to make sure they’ll hold up.
One Last Tip Before You Go
Making Plastic Bottle Flower Suncatchers should feel like a relaxed adventure into creativity. Encourage your kids to let go of perfection and embrace the joy of craft. Do not worry about getting the results just right; focus on the fun, the colors dancing in the sun, and the memories created along the way. Enjoy each step of the process, and remember that the love and effort put into these flowers turn them into something special. With just a few simple steps, your family can create a cozy and colorful atmosphere that enhances your home.
PrintPlastic Bottle Flower Suncatchers
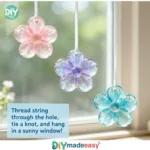
Create vibrant suncatchers from plastic bottles in a fun and engaging craft project suitable for kids of all ages.
- Prep Time: 15 minutes
- Cook Time: 45 minutes
- Total Time: 60 minutes
- Yield: 4-6 suncatchers
- Category: Crafts
- Method: Crafting
- Cuisine: N/A
- Diet: N/A
Ingredients
- Plastic bottles
- Permanents markers
- Scissors
- String or twine (optional)
- Hole punch (optional)
Instructions
- Cut the bottom sections off the plastic bottle to create flower shapes.
- Trim the edges neatly so each flower petal looks smooth and even.
- Use permanent markers to color the flowers with dots, lines, and fun designs.
- Punch a small hole near the top of each flower.
- Thread string through the hole and tie a knot securely.
- Hang the flowers in a sunny window where the light can shine through.
Notes
Encourage creativity and individual expression. Supervise children when using scissors or a hole punch.
Nutrition
- Serving Size: N/A
- Calories: 0
- Sugar: 0g
- Sodium: 0mg
- Fat: 0g
- Saturated Fat: 0g
- Unsaturated Fat: 0g
- Trans Fat: 0g
- Carbohydrates: 0g
- Fiber: 0g
- Protein: 0g
- Cholesterol: 0mg