

Creating a fun and whimsical moment in the backyard doesn’t have to be complicated. Imagine a busy afternoon when the kids are buzzing with energy, wanting to make something fun without all the fuss. You could easily get caught in the whirlwind of finding an activity everyone will enjoy. Here’s where the idea of painted wooden spoon garden chimes comes in. These delightful creations are easy to make and provide a perfect blend of creativity and play. In just a few steps, your family can transform simple wooden spoons into vibrant wind chimes that sing and sway in the breeze. It’s a fantastic project that not only captures your children’s imagination but also fills your garden with joyful sounds.

Why This Painted Wooden Spoon Garden Chimes Works So Well

The beauty of painted wooden spoon garden chimes lies in their simplicity. This project is incredibly low-prep, making it ideal for real-life schedules filled with busy afternoons and last-minute activity needs. You won’t spend hours gathering materials or stressing over complicated instructions. Instead, you will find that the resources needed are often already in your kitchen.
Making these chimes feels approachable, not intimidating. The process engages both kids and adults, allowing everyone to partake in the creativity while learning something new. As the kids paint and assemble, they practice fine motor skills and coordination, making this activity not only fun but educational.
Best of all, the results are reliable. Whether or not you aim for a specific outcome doesn’t matter. Each set of chimes tells its own quirky story through color and sound, bringing a personal touch to your garden. This ensures that every family member will take pride in creating something unique, no matter how the final product looks.
Discover Easy Kids Activities
Looking for simple, fun ideas for kids? Explore our Low Prep Kids Activities and find quick projects that spark creativity without long prep time.
The Flow of Making Painted Wooden Spoon Garden Chimes
Once you gather your materials, the flow of making painted wooden spoon garden chimes is uncomplicated. Set aside about an hour, depending on how detailed you want to get with the painting. You might want to prepare for a little mess, as paint might splatter or spill, so it’s wise to cover surfaces with newspaper or a plastic tablecloth.
Adult involvement can be minimal, particularly if kids are already comfortable with paint. They will take joy in expressing their creativity and seeing how the colors mix. The cleanup can be straightforward too. Just have some soap and water ready for the brushes, and you can even rinse the spoons after the paint dries. This activity makes it easy to be messy while keeping it contained and manageable.
Materials You’ll Need
For this project, you don’t need anything fancy. Here is a straightforward list of supplies to gather:
- Wooden spoons (common household item)
- Acrylic paint (budget-friendly; any color works well)
- Paintbrushes (easy to find at craft stores or use old ones)
- String or twine (optional; for hanging your creation)
- Scissors (common household item)
- Clear sealant spray (optional; helps protect your chimes outdoors)
These materials keep things simple and easy to find. The wooden spoons are versatile and inexpensive, and you likely have the other supplies handy.
Step-by-Step Directions
- Prepare your workspace. Clear a table or a flat area. Cover it with paper to catch drips, especially if it’s a space you don’t want painted.
- Gather your spoons. Select the number of wooden spoons you want to decorate. Each spoon adds a unique touch, and kids may want to personalize them.
- Paint the spoons. Use the acrylic paint to add color. Kids can experiment with patterns or blend colors together. Paint both sides for a fuller look.
- Let the paint dry. After painting, set the spoons aside to dry completely. This may take about 20 to 30 minutes, depending on the thickness of the paint.
- Cut string or twine. Once dry, cut a piece of string or twine to the desired length for hanging. Try different lengths for a varied appearance.
- Attach the spoons. Tie the spoon handles to the string. You can either tie each spoon separately or create a layered look by tying multiple spoons at different levels.
- Hang your chimes. Find a spot in your garden to hang the chimes. Ideally, choose a place where they can catch the breeze to make beautiful sounds.
- Enjoy your creation. Stand back and listen to the delightful melodies these charmers create when the wind blows.
What Kids Practice While Making This

This DIY project is not just about fun; it also provides children with engaging learning moments. As they paint, kids develop fine motor skills, which are crucial for tasks like writing and self-care. Each brush stroke helps improve their hand-eye coordination and dexterity.
There’s also the sensory experience of color mixing and the texture of the painted wooden spoons. As they feel the paint and manipulate the objects, they enhance their tactile awareness. Additionally, this activity introduces basic principles of sound and movement. Kids observe how the wind moves the spoons and creates new sounds, leading to an understanding of cause and effect.
Troubleshooting Common Issues
If something doesn’t go as planned, remember that creativity often involves a bit of trial and error. Here are some common concerns and how to navigate them.
If the paint begins to run or smudge during drying, that might mean the layers are too thick. Allowing each layer to dry completely before adding more can help. If there are unexpected paint spills, don’t panic. A damp cloth usually wipes away any excess paint from the table.
Perhaps the spoons don’t seem to be producing sound when hung. Double-check the way they’ve been attached. They should be able to move freely; sometimes adjusting the position of how they’re tied can make a difference.
Finally, if the finished product looks a bit rough or different than expected, remember that this is all part of the learning process. Each set of chimes is unique and tells its own story, so embrace the imperfections.
Easy Variations to Try
These painted wooden spoon garden chimes are a wonderful base for exploring creativity further. Here are some simple ideas to add variety:
- Themed chimes. Choose a specific theme, such as ocean colors with blues and greens for a calming look.
- Add beads. Incorporate colorful beads between the spoons for an extra pop of color and texture.
- Seasonal designs. Change the designs according to seasons: warm colors for autumn, bright pastels for spring.
- Use different materials. Try painting old spatulas or skewers for a new spin on garden chimes.
- Create wind catchers. Hang strips of fabric or ribbons from the bottom of the chimes for additional movement and sound.
Storing or Reusing This Project
Once your painted wooden spoon garden chimes are made, they can bring joy for seasons to come. If you ever decide to take them down, storing them is simple.
Try wrapping the string carefully to avoid tangles, and store them in a dry place. If the weather hasn’t been too harsh, these chimes can often withstand a good amount of outdoor exposure. You might consider reusing materials for future projects as well. Clean wooden spoons can be repainted, and string can always find a use in other crafts.
If the paint starts to chip over time, a quick touch-up can bring them back to life. It’s a wonderful opportunity to revisit the crafting process and perhaps even add new designs.
FAQs About Painted Wooden Spoon Garden Chimes
Is this project messy?
Absolutely, paint can be a bit tricky. Cover your workspace with paper to catch spills, and have wet wipes or paper towels handy for any quick cleanup moments. With a little care, you can contain the mess and enjoy the activity.
Can young kids participate?
Yes, this project suits various ages. Younger children may need a bit more supervision, especially when using scissors. With considerations in place, they can enjoy painting and assembly with adult help.
What if I don’t have all the materials?
No worries! This project is adaptable. For example, if you lack acrylic paint, watercolors or markers work in a pinch. Always explore what you have on hand before heading to the store.
How long do the chimes last?
With appropriate care, painted wooden spoon chimes can last through several seasons. The paint might need touch-ups, but you can continue to enjoy the charm they add to your outdoor space.
Can I hang these indoors?
Of course! While they make delightful outdoor additions, hanging them inside can also be fun. Just choose a place where they can sway and catch a gentle breeze for that lovely sound.
A Final Helpful Note
As you dive into making painted wooden spoon garden chimes, remember that the goal is to enjoy the process rather than stress over the end product. Encourage your children to express themselves freely, and embrace whatever results come from your time together.
Let this project serve as a springboard for creativity and connection within your family. Keep your approach flexible, and know that it’s all part of creating joyful moments in your home. You’ll end up with charming garden chimes that resonate with laughter and memories you’ve made together. Happy crafting!
PrintPainted Wooden Spoon Garden Chimes

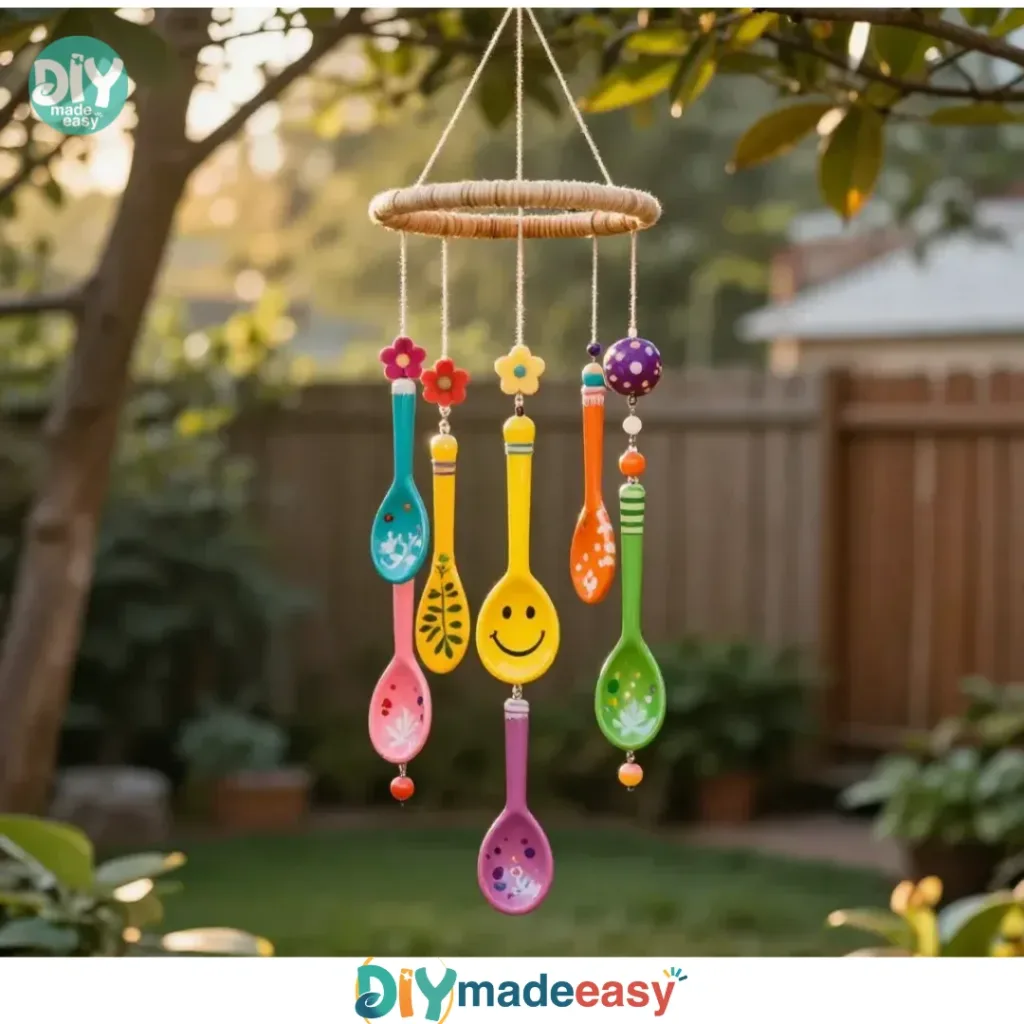
Transform simple wooden spoons into vibrant wind chimes that add charm to your garden while engaging the kids in a fun, creative project.
- Prep Time: 15 minutes
- Cook Time: 30 minutes
- Total Time: 45 minutes
- Yield: 4 unique wind chimes
- Category: Craft
- Method: Crafting
- Cuisine: N/A
- Diet: N/A
Ingredients
- Wooden spoons
- Acrylic paint
- Paintbrushes
- String or twine (optional)
- Scissors
- Clear sealant spray (optional)
Instructions
- Prepare your workspace. Clear a table or flat area and cover it with paper to catch drips.
- Gather your spoons. Select the number of wooden spoons you want to decorate.
- Paint the spoons using acrylic paint. Let kids experiment with patterns and colors.
- Let the paint dry completely, about 20 to 30 minutes.
- Cut string or twine for hanging your chimes.
- Attach the spoons by tying their handles to the string.
- Hang your chimes in a garden spot where they can catch the breeze.
- Enjoy the delightful melodies created when the wind blows.
Notes
This project promotes fine motor skills in children and enhances their creativity. Be prepared for mess but have fun in the process!
Nutrition
- Serving Size: 1 chime
- Calories: 10
- Sugar: 0g
- Sodium: 0mg
- Fat: 0g
- Saturated Fat: 0g
- Unsaturated Fat: 0g
- Trans Fat: 0g
- Carbohydrates: 0g
- Fiber: 0g
- Protein: 0g
- Cholesterol: 0mg