

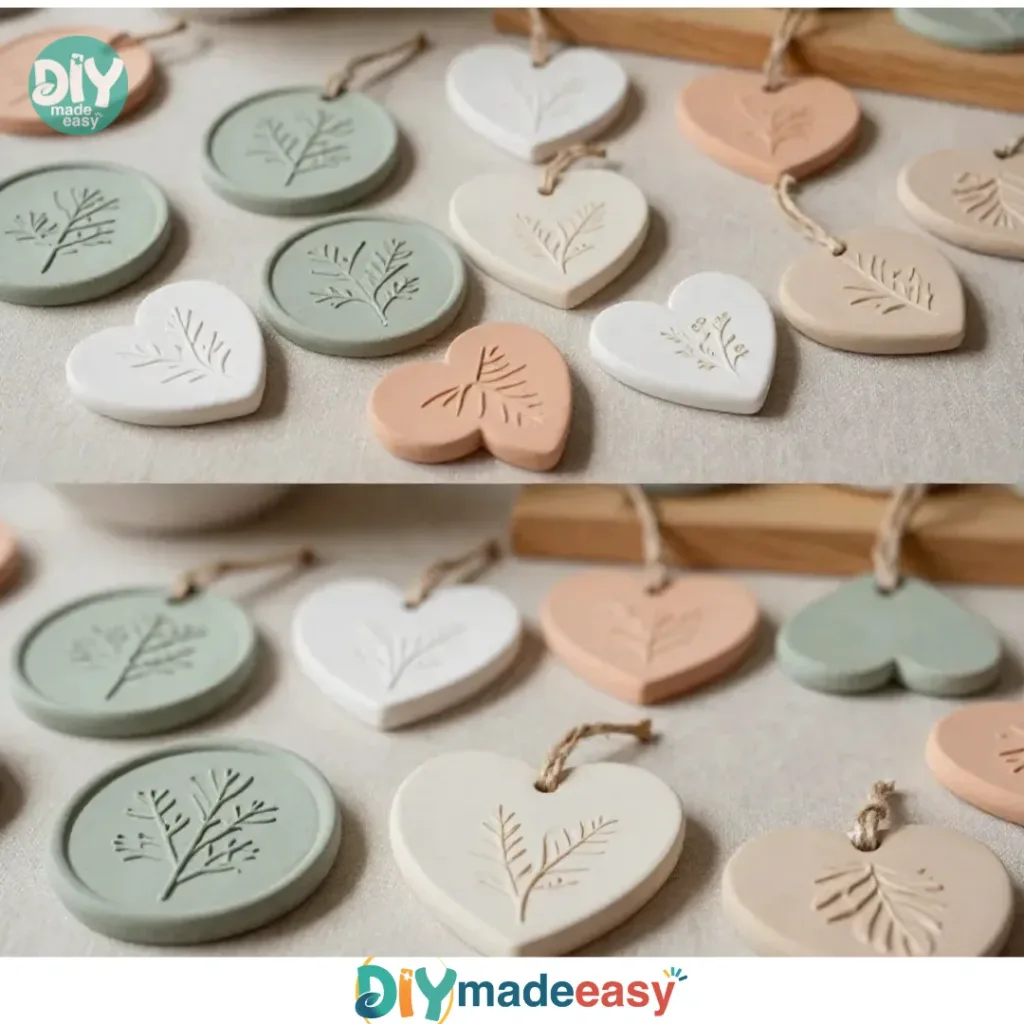
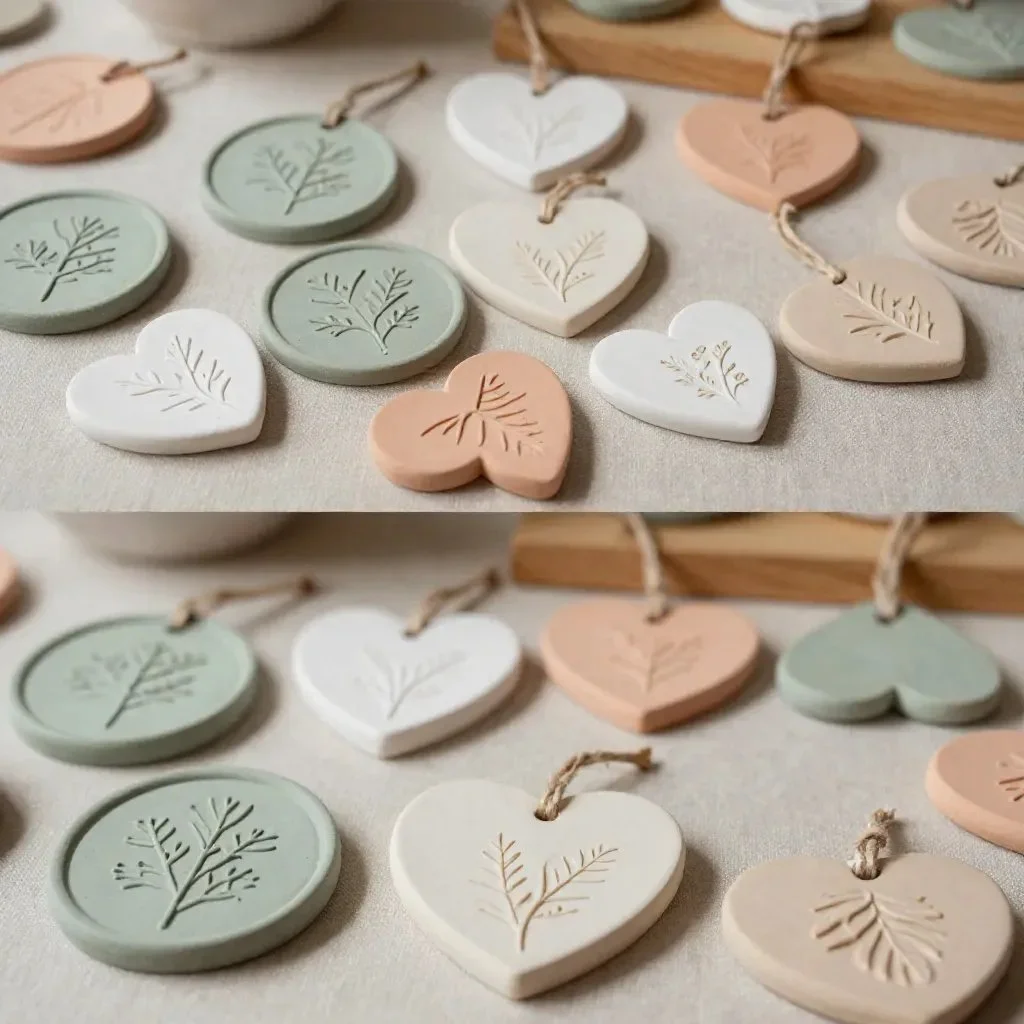
Creating Nature Clay Imprints is a wonderful way to spend a busy afternoon, especially when the kids are eager to make something special. This project requires just a few materials and can be completed in a short time, making it perfect for those last-minute activity needs. With simple steps, you can create beautiful impressions of leaves or flowers using air-dry clay, connecting art with nature. Let’s explore how this craft not only satisfies creative urges but also becomes a cherished keepsake or gift. You may also find Blog useful.
Why This Nature Clay Imprints Works So Well
You may also find Cute Egg Carton Baby Birds Craft useful.
The beauty of Nature Clay Imprints lies in its simplicity and the joy of using materials that are often at hand. This project is incredibly low-prep; you don’t need fancy tools or specialized knowledge to start. Even if you have a busy schedule, the straightforward nature of this craft allows for quick setup and cleanup, meaning you can squeeze it into a small block of time. You may also find Brighten Your Home Stained Glass Lantern useful.
Moreover, the reliable results make it a fantastic choice for family fun. Children get the opportunity to express their creativity while also learning about the materials they are using. The tactile nature of clay and natural items offers sensory engagement, which is beneficial for kids of all ages. For more inspiration, check out our blog for more creative and simple DIY projects that you can try at home. You may also find Rainbow Crystals Transform Overnight Cozy Wonder useful.
The Flow of Making Nature Clay Imprints
Before diving into the steps, let’s take a moment to consider how this project comes together. Making Nature Clay Imprints takes around 40 minutes to an hour of active time, depending on how detailed you go with your designs. Most importantly, there’s little cleanup—just some easy-to-wipe surfaces and a few tools to rinse off afterward.
You’ll want a flat surface where you can comfortably roll out your clay. While adult supervision is recommended for younger children, older kids can often handle most of the work themselves. They can enjoy choosing the natural items and pressing them into the clay, fostering independence as they create.
Materials You’ll Need
To make Nature Clay Imprints, gather the following materials:
- Air-dry clay
- Natural items for imprinting (leaves, flowers, or textured bark)
- Rolling pin or flat surface for rolling out the clay
- A small knife or cutter (optional)
- Paint or varnish (optional)
The beauty of this list is that many items are common household staples, making it budget-friendly. The optional items add versatility for those who wish to enhance their finished designs, whether that’s through shaping or adding color.
Step-by-Step Directions
Now, let’s get into the specifics of how to create your Nature Clay Imprints:
Prepare your workspace by laying down a cloth or wax paper. This will protect your table and make cleanup a breeze.
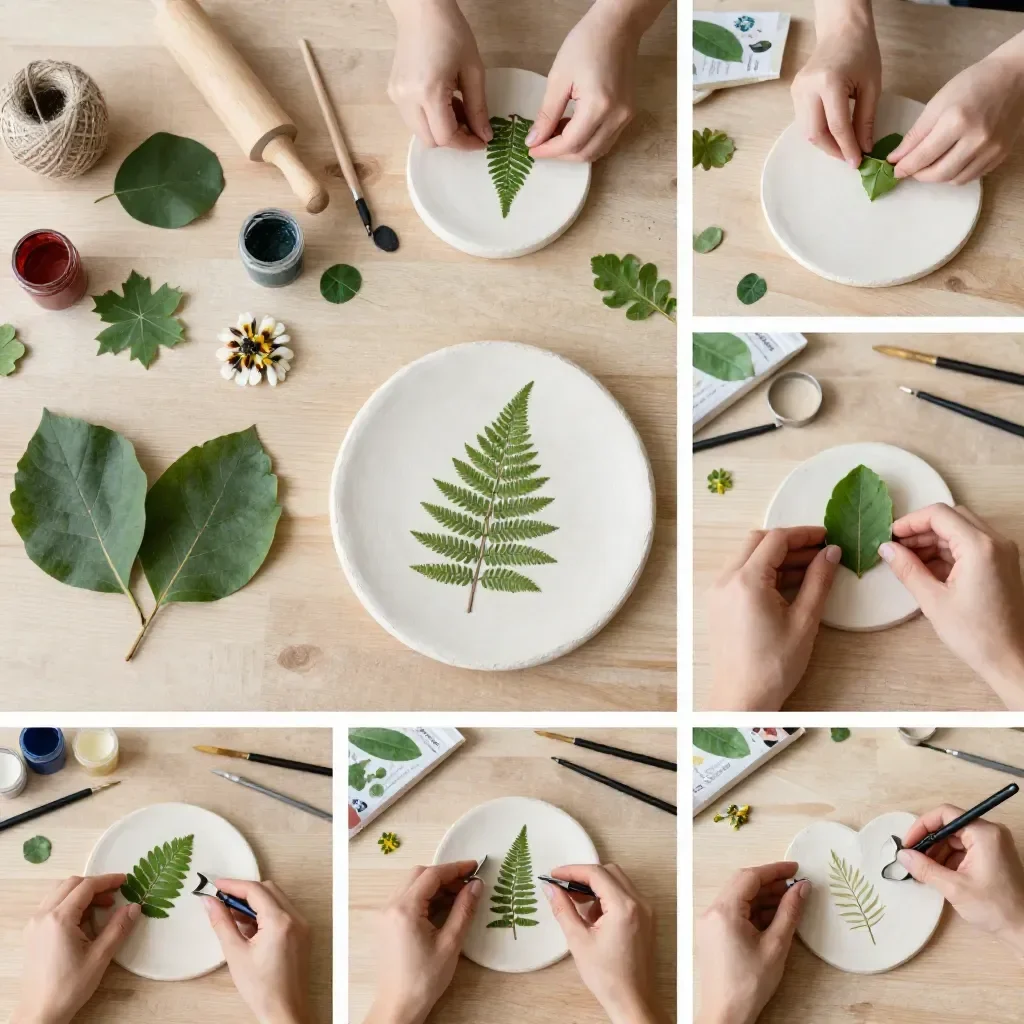
Roll out a portion of air-dry clay to about a quarter-inch thickness using a rolling pin. Make sure it’s evenly rolled to avoid inconsistencies in the imprints.
Select natural items (leaves or flowers) you want to imprint. Choose items that are relatively flat for the best results.
Press the natural items gently into the clay to create firm impressions. Take your time to ensure that each detail is captured nicely.
Optionally, shape the edges of your clay piece with a knife or cutter. This can give your imprints a cleaner look if desired.
Allow the imprints to air dry for 24-48 hours. The thickness of the clay will determine how long it needs to dry completely.
Optionally, paint or apply varnish to enhance the finished pieces. This step can really make your imprints stand out and offer protection as well.
These steps guide you through a fun and interactive experience. Be prepared for questions about what happens if the clay cracks or how to best select leaves; these moments lead to learning for both you and your kids.
Skills This Activity Supports
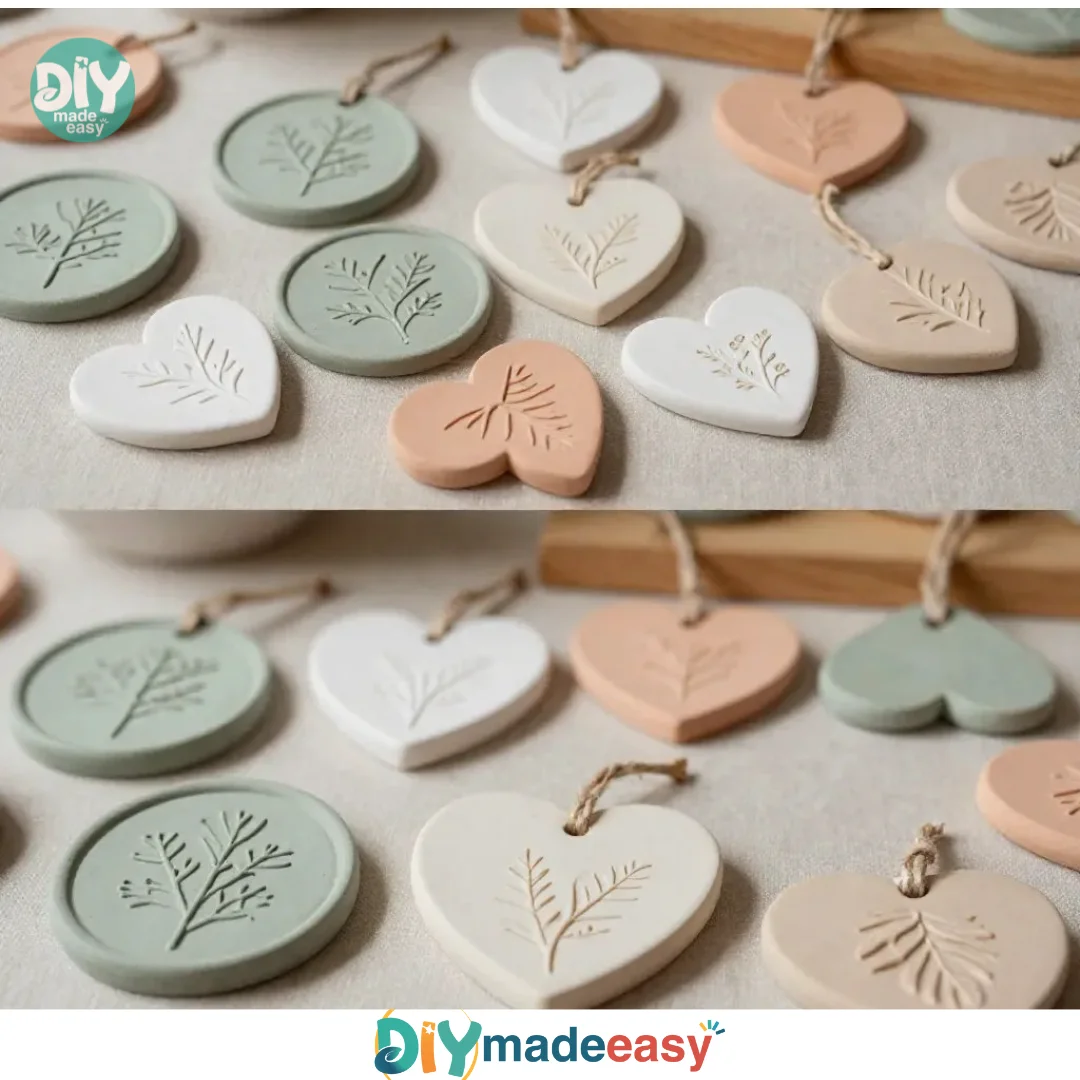
Making Nature Clay Imprints is not just a delightful craft; it inherently supports the development of various skills in children. Fine motor skills are exercised through the rolling of clay and pressing of natural items. This tactile engagement helps improve coordination and dexterity as kids manipulate and shape their creations.
On a broader scale, this project illustrates cause and effect. Children can observe how different pressures alter the imprint’s appearance and learn to communicate their intentions as they design. Emphasizing these everyday science concepts adds educational value to this crafty endeavor, making it a wonderfully rounded experience.
Troubleshooting Common Issues
Even with a straightforward project like this, things can sometimes go awry. If your clay dries too quickly and cracks, it could help to cover it lightly with a damp cloth while it dries, which will slow down the drying process.
Another common issue is if the impressions don’t come out as expected. If this happens, try pressing harder or choosing different leaves, as some may not transfer well. If your edges don’t look sharp when cutting, use a damp finger to smooth them out or redo them for a cleaner result.
Easy Variations to Try
To keep things fresh, here are a few optional ideas you can incorporate into your Nature Clay Imprints:
- Seasonal Designs: Use seasonal leaves or flowers to create themed pieces throughout the year.
- Mixing Colors: Introduce paint into the clay before rolling it out for a swirled, colorful effect.
- Functional Art: Think about creating holiday ornaments or functional coasters as you craft.
- Additional Textures: Incorporate textured fabrics or textiles for a unique look in your imprints.
These variations are simple ways to change up the creative process, and they allow for different levels of difficulty catering to various ages.
Storing or Reusing This Project
After you’ve created your Nature Clay Imprints, think about how best to store or display them. If they’re not decorated yet, you can store them safely in a cool, dry place to reuse later or continue working on them. If decorated or used as ornaments, consider hanging them or displaying them in a special spot to admire their beauty.
Be mindful of cleanup as well. Air-dry clay can leave small crumbs, so it’s best to do a quick sweep after your project is complete. Creating a routine for storage and cleanup minimizes waste and promotes a sense of responsibility in kids.
FAQs About Nature Clay Imprints
How messy will this project be?
This project is quite manageable in terms of mess. Laying down a cloth or wax paper will catch most of the stray clay. Just be prepared for a few crumbs and small bits to clean up.
What age is this project suitable for?
Nature Clay Imprints can be fun for a wide range of ages, particularly school-age children who can follow the steps and express their creativity. Younger kids may need more adult help.
Can I use other types of clay?
Air-dry clay is ideal for this project, but you can experiment with oven-bake clay too. Just note that you’ll need to cure it according to package instructions if you go that route.
What if my imprints don’t come out well?
Not every imprint will turn out perfect, and that’s okay! Each piece will have its character. If you’re concerned, take extra care in pressing and choose flatter items for better impressions.
Are the finished pieces safe for children?
Yes, once the clay is dried and, if desired, painted with non-toxic materials, these imprints can be safely enjoyed by kids. Always supervise any young ones, especially around painting materials.
Conclusion
Conclusion
Creating Nature Clay Imprints is a rewarding project that not only fosters creativity but also provides opportunities for learning and connection with nature. To gather more ideas for similar crafts and seasonal projects, you might enjoy exploring how to make clay nature print Christmas decorations. Another great resource can be found in examining tree spirits, seed bombs and nature imprints that can enhance your understanding and creativity with natural materials. Happy crafting!
PrintNature Clay Imprints
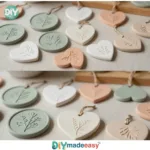
A fun and engaging craft that allows kids to create beautiful imprints of nature using air-dry clay.
- Prep Time: 10 minutes
- Cook Time: 0 minutes
- Total Time: 40 minutes
- Yield: Varies
- Category: Craft
- Method: Crafting
- Cuisine: N/A
- Diet: N/A
Ingredients
- Air-dry clay
- Natural items for imprinting (leaves, flowers, or textured bark)
- Rolling pin or flat surface for rolling out the clay
- A small knife or cutter (optional)
- Paint or varnish (optional)
Instructions
- Prepare your workspace by laying down a cloth or wax paper.
- Roll out a portion of air-dry clay to about a quarter-inch thickness.
- Select natural items (leaves or flowers) you want to imprint.
- Press the natural items gently into the clay.
- Optionally, shape the edges of your clay piece with a knife or cutter.
- Allow the imprints to air dry for 24-48 hours.
- Optionally, paint or apply varnish to enhance the finished pieces.
Notes
Supervise younger children and choose simpler designs for them.
Nutrition
- Serving Size: 1 imprint
- Calories: 0
- Sugar: 0g
- Sodium: 0mg
- Fat: 0g
- Saturated Fat: 0g
- Unsaturated Fat: 0g
- Trans Fat: 0g
- Carbohydrates: 0g
- Fiber: 0g
- Protein: 0g
- Cholesterol: 0mg