

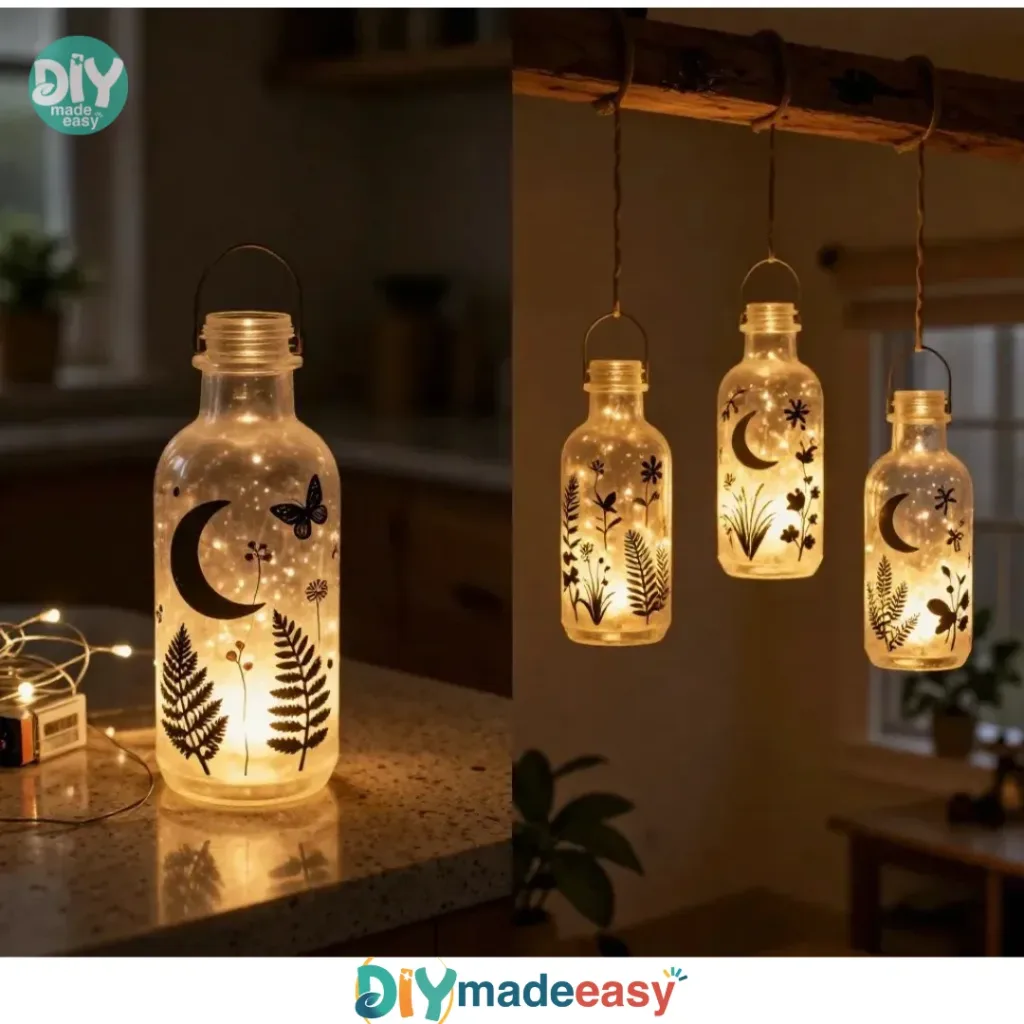
Milk Jug Fairy Lanterns are a delightful and easy craft project that can transform an ordinary afternoon into a moment of creativity and joy. Picture this: a busy day with kids, and they suddenly want to create something beautiful. Instead of feeling overwhelmed, you can turn to making these enchanting lanterns with just a clean milk jug and a few simple supplies. Not only do they add a warm glow to any space, but they also allow your kids to explore their artistic sides while spending precious time together. If you’re looking for another DIY project that adds a spark of magic, be sure to check out fairy dust bouncy balls!
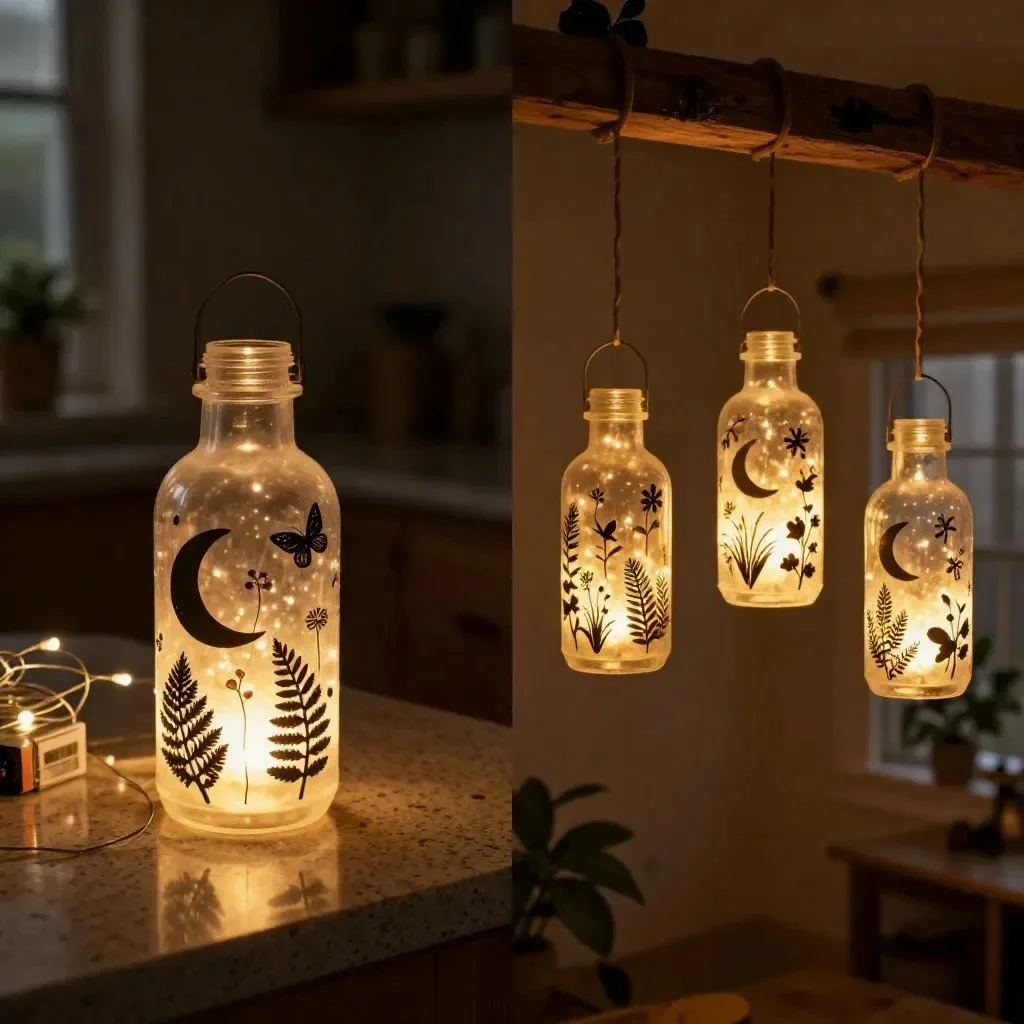
Why This Milk Jug Fairy Lanterns Works So Well
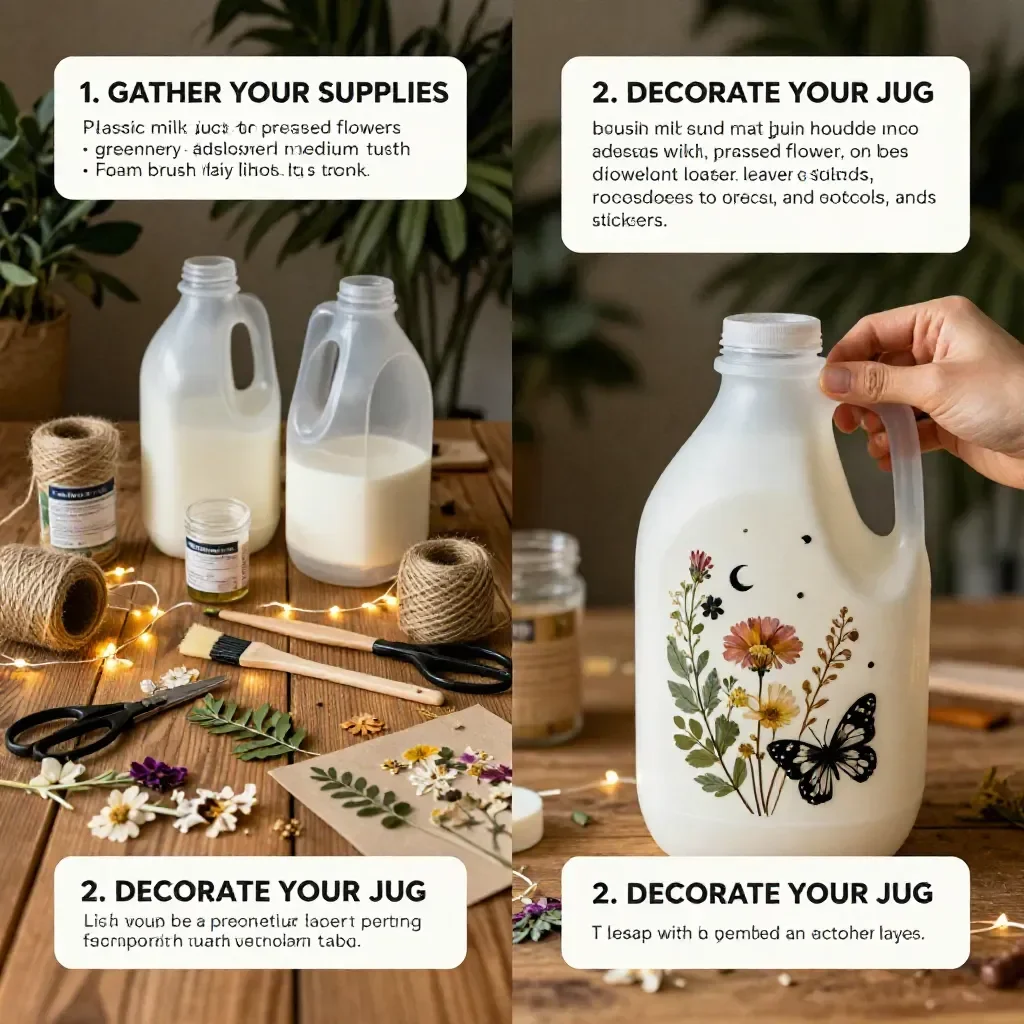
You may also find Magic Milk Experiment useful.
Making milk jug fairy lanterns is a simple and low-prep project that’s perfect for families. The materials are easily accessible, requiring only clean milk jugs, scissors, and some decorations. This project doesn’t demand elaborate planning or special tools—it’s all about using materials you already have at home. Additionally, the creative process is flexible, allowing children to express themselves through design and color choices. Whether they opt for vibrant hues or delicate patterns, each fairy lantern will be a unique representation of their imagination.
A Quick Look Before You Begin
Crafting these lanterns typically takes about an hour, depending on your child’s artistic style and how elaborate they wish to be. Set up your workspace with all materials laid out for easy access, reducing any potential mess. Don’t hesitate to get your hands a little dirty; crafting is all about the experience! While adults may want to assist with using scissors, the rest of the process can involve kids from beginning to end.
Materials You’ll Need
- Clean milk jugs (one for each lantern)
- Craft scissors
- Acrylic paint or markers
- Paintbrushes (if using paint)
- LED tea lights
- Twine or ribbon (for hanging)
- Optional: glitter or other decorative embellishments
These supplies are commonly found around the house, making it easy to start this project anytime. If you want to add a bit of sparkle, glitter can be a fun optional touch!
Step-by-Step Directions
Prepare Your Workspace: Lay out all your materials on a clean, flat surface. This will give you a comfortable area to work and minimize any mess.
Cut the Jug: Carefully cut off the top of the milk jug. Be sure to leave enough space for the LED tea light to fit comfortably inside. If younger children are involved, assist them in this step to ensure safety.
Create Your Design: Use acrylic paint or markers to design patterns on the outside of the jug. Encourage your kids to let their creativity flow—swirls, stars, or even handprint designs can look stunning!
Add Decorative Twine: Wrap twine or ribbon around the neck of the jug for a rustic touch. This step adds a cozy feel to your creations while making them more visually appealing.
Insert the LED Light: Once the paint has dried, place the LED light inside the jug. It will create a mesmerizing glow through the painted patterns.
Light Up Your Creation: Turn on the LED light to see your milk jug transform into a glowing fairy lantern, bringing a magical atmosphere to any evening.
What Kids Practice While Making This
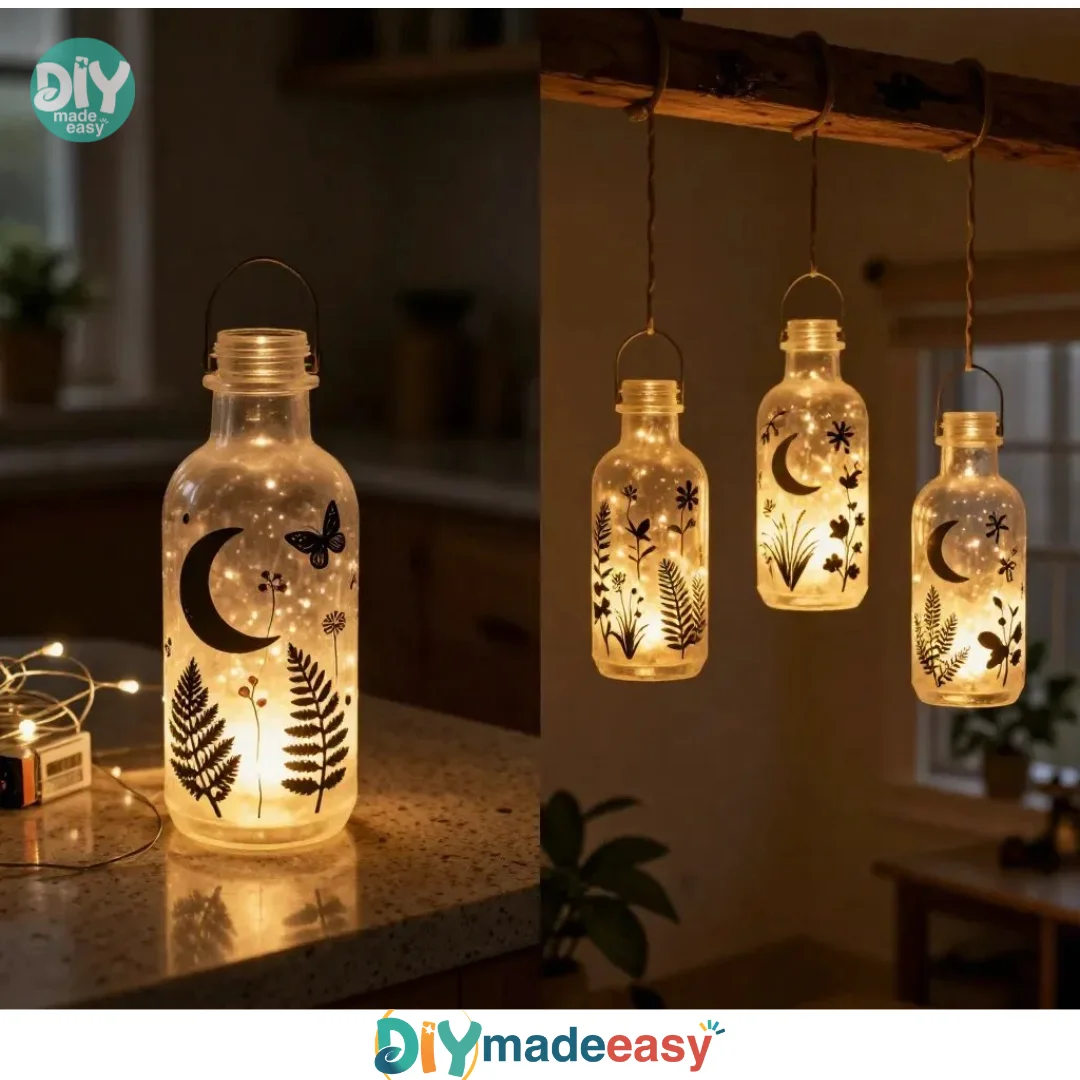
Making milk jug fairy lanterns helps children develop fine motor skills and coordination as they handle scissors, paint, and twine. They learn about cause and effect, especially when they see how their designs come to life when illuminated. Additionally, it’s an excellent way for them to practice patience, particularly while they wait for paint to dry or perfect their designs without rushing.
Troubleshooting Common Issues
If something doesn’t go as planned, here are a few common issues you might encounter:
- Painting Smudges: If the paint smudges or runs, touching up areas once it has dried can help. A soft cloth with a little water can also fix minor mistakes.
- LED Light Doesn’t Fit: If you find that the LED light doesn’t sit well inside the jug, make sure you cut the top large enough. An adult can re-slice it to accommodate the light better.
Easy Variations to Try
Here are some fun variations to consider:
- Seasonal Themes: Adapt your designs for different seasons or holidays—pumpkins for Halloween or flowers for spring.
- Glow-in-the-Dark Paint: Use glow-in-the-dark paint for a surprise effect when the sun goes down.
- Nature Elements: Incorporate items from nature, like leaves or flowers petal designs, which can be glued onto the jug.
Storing or Reusing This Project
After your fairy lanterns have served their purpose, consider using them to decorate your home or outside garden during the summer. They can also be washed out and stored for reuse next season, helping to reduce waste from crafting.
FAQs About Milk Jug Fairy Lanterns
How messy is this project?
While there might be some paint splatter, it’s manageable. A simple cleanup with a damp cloth after you’re done should suffice, and laying down old newspapers can catch any spills.
Can younger kids participate safely?
Absolutely! They can help with painting and decorating. Just ensure that an adult handles the cutting to keep things safe.
What if I don’t have some of the materials?
You can substitute similar materials you have on hand. For example, if you don’t have twine, an old shoelace or string will work just fine.
Will the light stay on all night?
Most LED tea lights have a long battery life but check the packaging for specifics.
How do I store the lanterns?
Store them in a dry place, and they should last for many uses. If you feel crafty, you could even refresh their looks for special occasions!
A Final Helpful Note
Crafting milk jug fairy lanterns is about having fun and enjoying the creative process. Encourage your kids to take their time and experiment with different designs. Most importantly, remember that there’s no right or wrong way to create. Whether they become dazzling nighttime decor or whimsical crafts for playtime, these lanterns are bound to be a success.
Conclusion
In conclusion, making milk jug fairy lanterns offers a fun and easy way to spend time with your children while creating something beautiful. For additional inspiration, you might enjoy reading about the tutorial on milk jug flower lights or exploring the exciting possibilities of your creativity with the Lightning Cloud project. Each of these projects can light up your days, just like your fairy lanterns!
PrintMilk Jug Fairy Lanterns
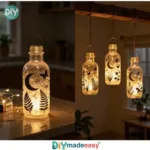
Transform ordinary milk jugs into enchanting fairy lanterns with this fun and easy craft project, perfect for families and kids.
- Prep Time: 15 minutes
- Cook Time: 45 minutes
- Total Time: 60 minutes
- Yield: 1 lantern per jug
- Category: Crafts
- Method: Crafting
- Cuisine: N/A
- Diet: N/A
Ingredients
- Clean milk jugs (one for each lantern)
- Craft scissors
- Acrylic paint or markers
- Paintbrushes (if using paint)
- LED tea lights
- Twine or ribbon (for hanging)
- Optional: glitter or other decorative embellishments
Instructions
- Prepare your workspace: Lay out all your materials on a clean, flat surface.
- Cut the jug: Carefully cut off the top of the milk jug, leaving enough space for the LED light.
- Create your design: Use acrylic paint or markers to design patterns on the outside of the jug.
- Add decorative twine: Wrap twine or ribbon around the neck of the jug.
- Insert the LED light: Once the paint has dried, place the LED light inside the jug.
- Light up your creation: Turn on the LED light to see your milk jug transform into a glowing fairy lantern.
Notes
Encourage creativity and experimentation with designs. Cleanup is manageable, and kids can engage in various parts of the process safely.
Nutrition
- Serving Size: 1 lantern
- Calories: 0
- Sugar: 0g
- Sodium: 0mg
- Fat: 0g
- Saturated Fat: 0g
- Unsaturated Fat: 0g
- Trans Fat: 0g
- Carbohydrates: 0g
- Fiber: 0g
- Protein: 0g
- Cholesterol: 0mg