

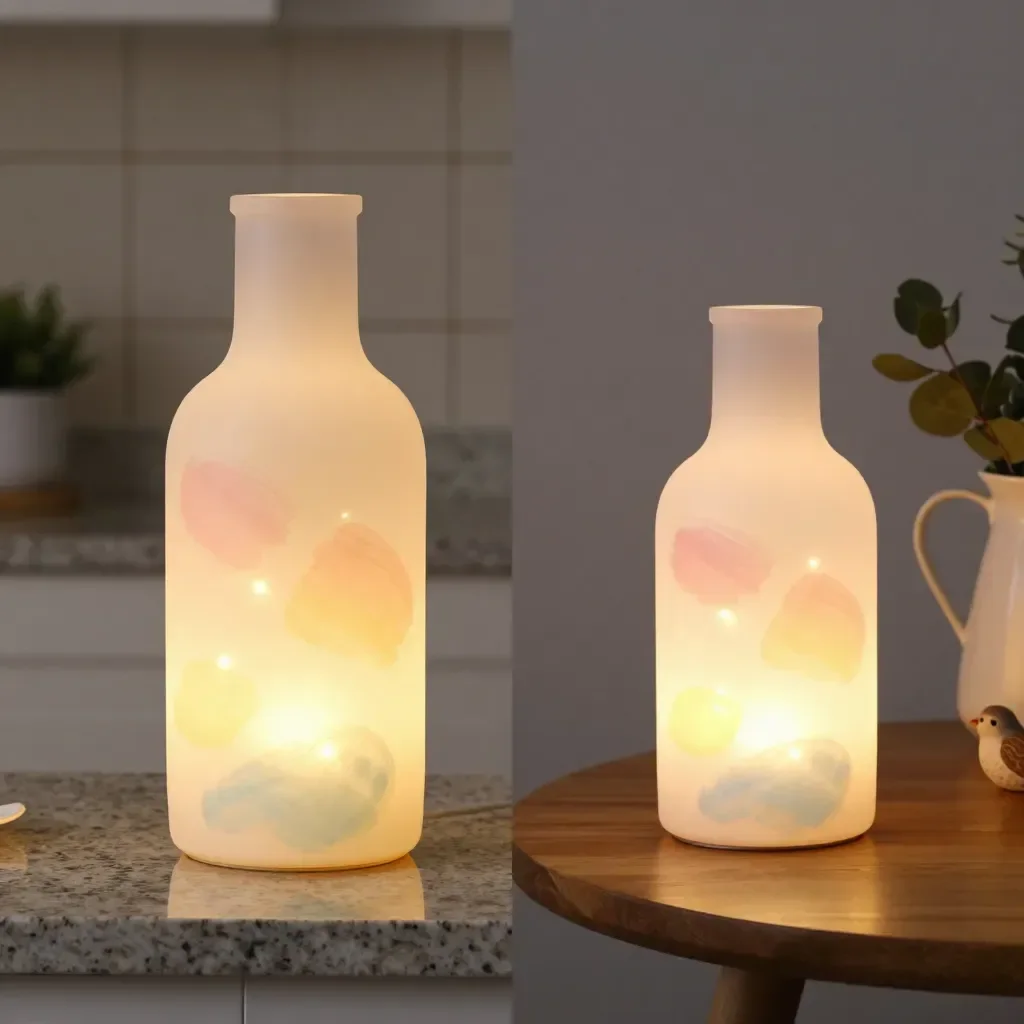
Creating a fun and magical atmosphere at home often requires just a dash of creativity. Imagine the delight on your kids’ faces as they craft their own illuminating Milk Jug Fairy Lanterns on a busy afternoon. It’s a simple, yet enchanting project that can easily brighten up a dark corner when evening falls. This activity is ideal when they want to make something right away. With just a few materials on hand, you can embark on this easy DIY project that promises charming results. If your family enjoys exploring hands-on activities, this Milk Jug Fairy Lantern project is a fantastic fit, allowing your kids to experiment and express their creativity while making something beautiful. You may also find Magic Milk Experiment useful.
Why This Milk Jug Fairy Lantern Works So Well
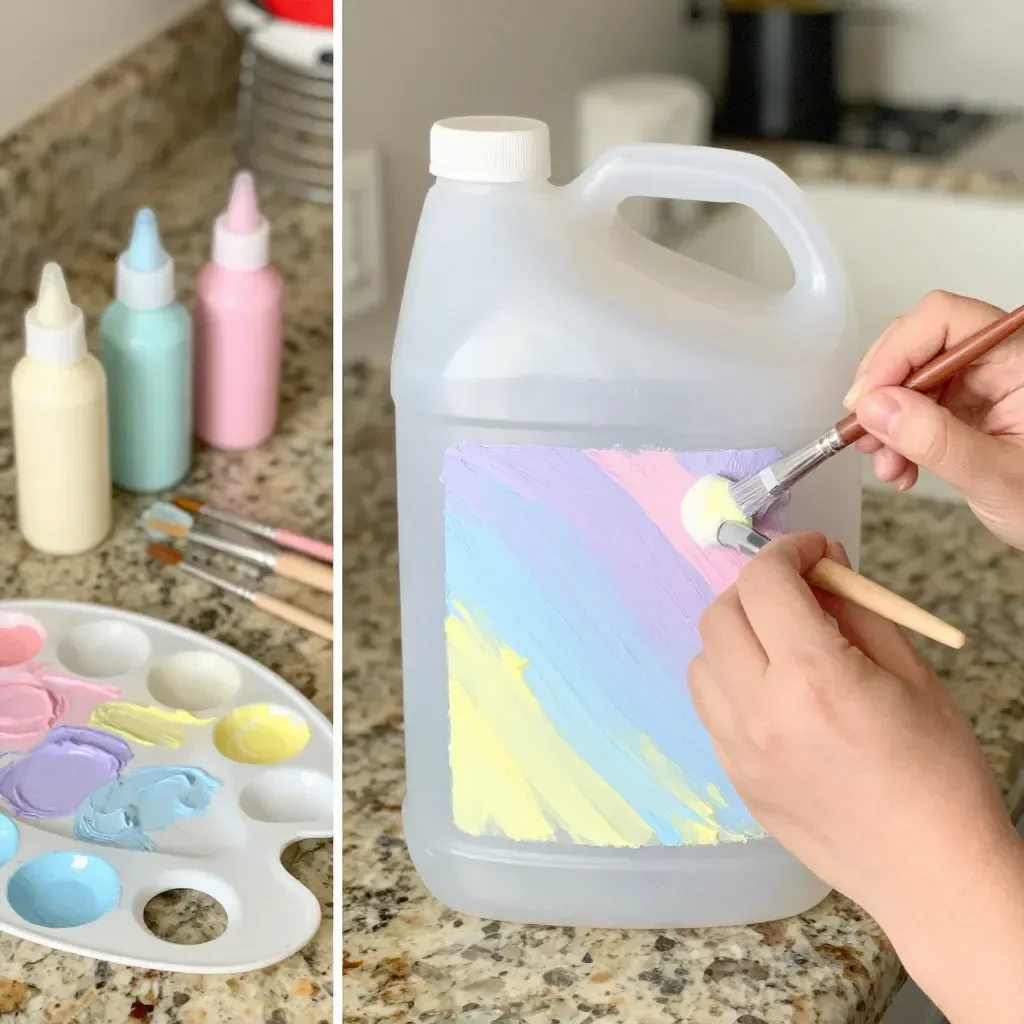
The appeal of the Milk Jug Fairy Lantern lies in its simplicity and low-prep nature. With just an empty milk jug, some fairy lights, acrylic paint, and a marker, it’s a project that requires minimal setup. You don’t need fancy tools or complex materials, making it accessible for families on a busy schedule. This project won’t require hours of commitment. Instead, you can complete it in under an hour, depending on the drying time for the paint. You can even do it together as a team, complementing each other’s ideas.
Another reason this project works so well in real-life settings is that it engages children of various ages. Younger ones can decorate while the older ones take on more advanced tasks. Additionally, the final product—a glowing lantern—offers instant gratification that will have your children bubbling with joy and pride in their creation.
A Quick Look Before You Begin
As you prepare to dive into this delightful DIY experience, it’s reassuring to know that the setup is quite straightforward. Expect to spend about 30 minutes on the project, with additional time for paint to dry completely. The mess level is low, especially if you lay down some newspaper or an old tablecloth to catch any stray paint. Adult involvement is a good idea, especially for helping younger kids handle materials or supervise the insertion of fairy lights into the jug. The process is designed to be relaxing, allowing creativity to flow while keeping chaos at bay.
Materials You’ll Need
- Empty milk jug
- Fairy lights
- Acrylic paint
- Marker
All these items are common household items, so chances are you already have most if not all of them. The fairy lights can be found at local stores or online, adding a magical touch. The acrylic paint can also be easily substituted with whatever colors you have handy. This project is truly budget-friendly, making it suitable for families who want to explore creativity without breaking the bank.
Step-by-Step Directions
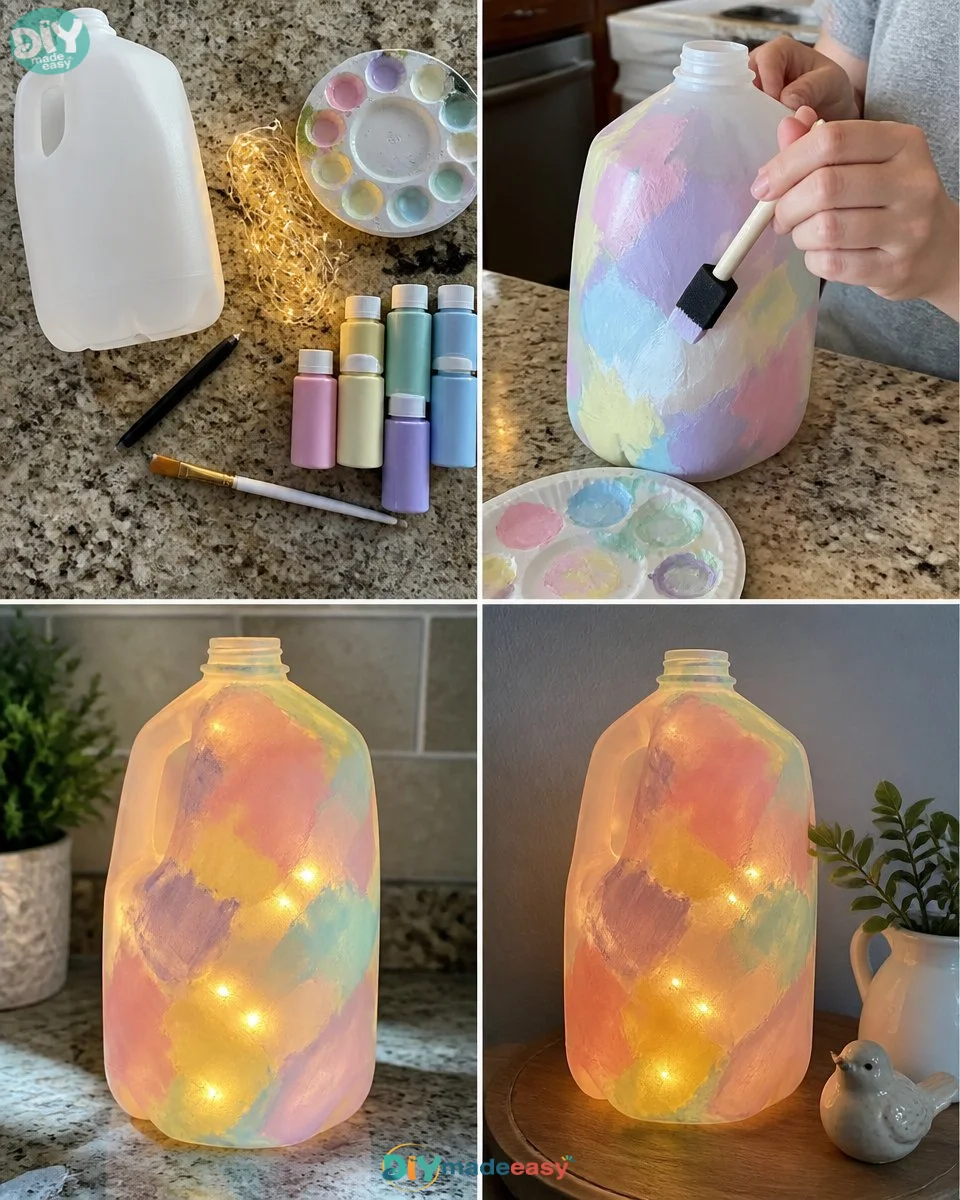
Start by cleaning and drying your milk jug. This little step ensures your fairy lantern shines brightly. The cleaner your jug, the better the paint will adhere.
With the acrylic paint, give your jug a gentle hue that brings to mind the softest twilight. This step is an opportunity for your child’s creativity to shine. Let it dry completely before moving on.
Once the paint is dry, use a marker to draw a little face, adding a touch of whimsy and personality to your creation. Make sure your child feels free to express themselves. The face can be simple or intricate—whatever suits their style!
Carefully stuff the jug with fairy lights, arranging them so they twinkle just right. This is where the magic happens! Experiment with different arrangements of lights to see what looks best.
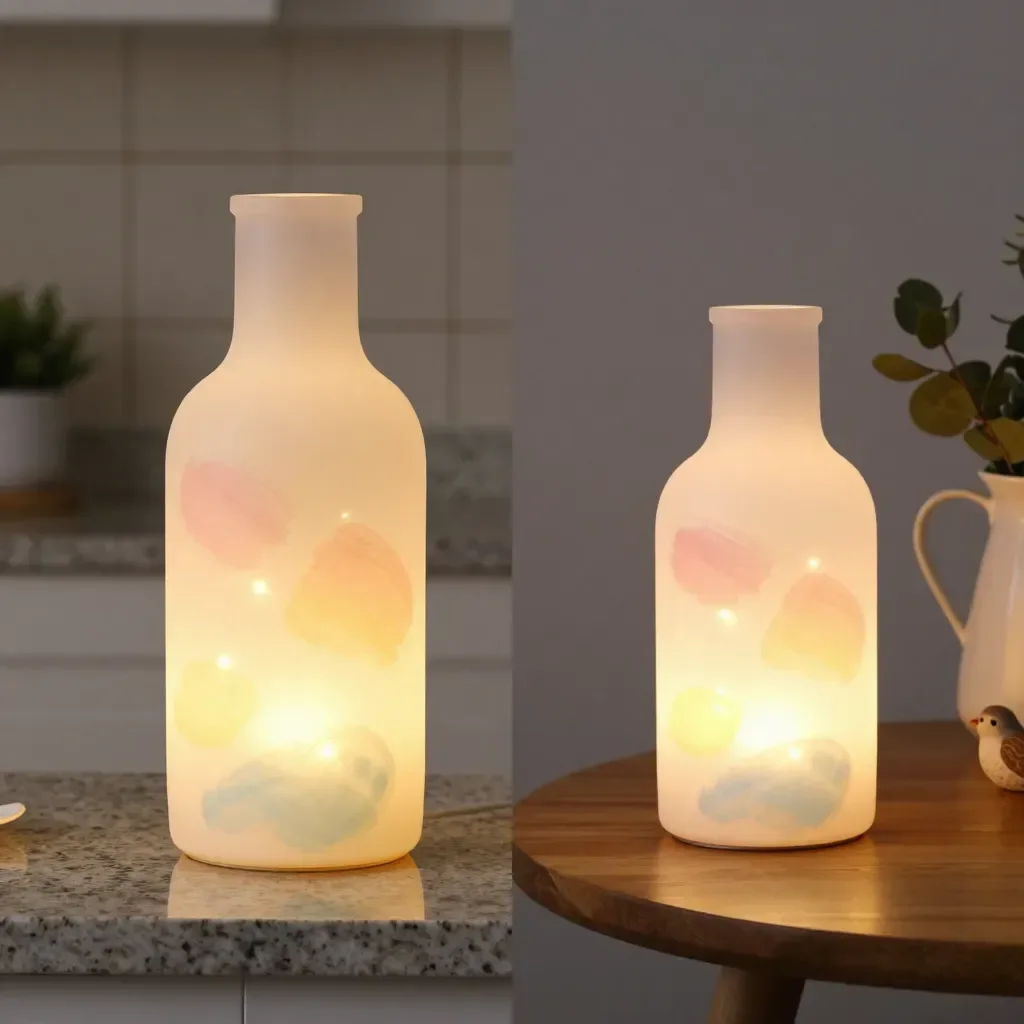
Finally, when dusk falls, light up your lovely creation and enjoy the warm glow it brings to your space. Watching the lantern light up is the perfect way to conclude this project, creating a lovely atmosphere for family gatherings or quiet evenings.
The Learning Behind This DIY
While crafting the Milk Jug Fairy Lantern, kids engage in various learning experiences. First, they practice fine motor skills while painting and drawing. This project also enhances coordination as they maneuver the fairy lights inside the jug. Furthermore, the activity introduces fundamental science concepts such as light and transparency. It shows how materials interact with light, offering a playful way to learn about cause and effect. In essence, kids don’t just create a lantern—they gain invaluable skills through a simple yet captivating activity.
Troubleshooting Common Issues
If something doesn’t go as planned while making your fairy lantern, don’t worry! One common problem is the paint not adhering well to the jug. If this happens, it might be due to residue left on the jug; make sure to clean it thoroughly first. If your paint is smudging or running, it might be too thick—dilute it slightly with water for a smoother application. Should the fairy lights fail to illuminate, double-check to ensure the batteries are fresh. Often, simple troubleshooting can save the day, allowing your kids to enjoy their beautiful creations without frustration.
Easy Variations to Try
Adding creative twists to the Milk Jug Fairy Lantern can keep the fun ongoing. Here are a few ideas to consider:
- Seasonal Themes: Paint the jugs in different colors and designs for various holidays or seasons—think orange for Halloween or pastel for Spring.
- Stickers and Decals: Use stickers or decals instead of drawing for a simpler approach, especially for younger kids.
- Layering Effects: Use more than one color of paint to achieve a layered effect by sponging it on or using a flicking technique to mix colors.
- Glow-in-the-Dark: Incorporate glow-in-the-dark paint for an enchanting addition that keeps the magic going even after the lights go out.
- Personalized Gifts: Create individual lanterns for family members, complete with names or special messages.
Storing or Reusing This Project
Once the magic of the Milk Jug Fairy Lantern has faded, consider how to store or reuse the materials. The jug can be cleaned and redecorated for future use. If the fairy lights remain in good condition, store them safely for another project or season. Encourage your kids to think creatively about how they can repurpose items rather than throwing them away. Keeping materials organized and reused also helps reduce waste, instilling sustainability practices in your little ones.
FAQs About Milk Jug Fairy Lantern
Q: Is this project messy?
A: While real-life crafting tends to have some mess involved, this project is relatively clean. Just make sure to cover your workspace. A few spills can happen, but I recommend using acrylic paint, which is easy to clean with soap and water.
Q: What age group is this project suitable for?
A: The Milk Jug Fairy Lantern is ideal for kids ages five and up. Younger children may need help with certain tasks, such as using scissors or inserting lights, but they’ll still enjoy decorating!
Q: Can we use different materials if we don’t have these on hand?
A: While the recommended materials work best, you can certainly be creative! Consider using glass jars instead of milk jugs or other types of lights if fairy lights aren’t available. Just keep safety in mind with sharp or heavy materials.
Q: How can we make the lantern more durable?
A: To enhance durability, consider sealing the painted jug with a clear sealer once it’s dry. This helps protect it from wear and tear, especially if it will be outside.
Q: How can we store leftover materials?
A: After making your lantern, make sure to store leftover paint and lights in a cool, dry place. Proper storage keeps them in good condition for future projects.
Conclusion
Creating a Milk Jug Fairy Lantern is a wonderful way to spark creativity in your home. It’s a project that’s easy to start and enjoyable for the whole family. If you’re looking for inspiration beyond this project, check out Sparkle Craft: Milk Jug Lanterns for more exciting ideas. For a ready-made option, consider the Pinwheel Crafts Fairy Lantern Toy available for various age groups. Embrace the glow your lantern creates and let your family’s creativity shine!
PrintMilk Jug Fairy Lantern
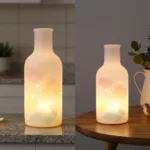
Create enchanting Milk Jug Fairy Lanterns with your kids using simple materials for a magical touch to your home.
- Prep Time: 30 minutes
- Cook Time: 0 minutes
- Total Time: 30 minutes
- Yield: 1 lantern
- Category: Craft
- Method: DIY
- Cuisine: N/A
- Diet: N/A
Ingredients
- Empty milk jug
- Fairy lights
- Acrylic paint
- Marker
Instructions
- Start by cleaning and drying your milk jug.
- With the acrylic paint, give your jug a gentle hue.
- Once the paint is dry, use a marker to draw a face.
- Carefully stuff the jug with fairy lights.
- Finally, light up your lovely creation at dusk.
Notes
Adult supervision is recommended, especially for younger children when handling materials.
Nutrition
- Serving Size: 1 lantern
- Calories: N/A
- Sugar: N/A
- Sodium: N/A
- Fat: N/A
- Saturated Fat: N/A
- Unsaturated Fat: N/A
- Trans Fat: N/A
- Carbohydrates: N/A
- Fiber: N/A
- Protein: N/A
- Cholesterol: N/A