

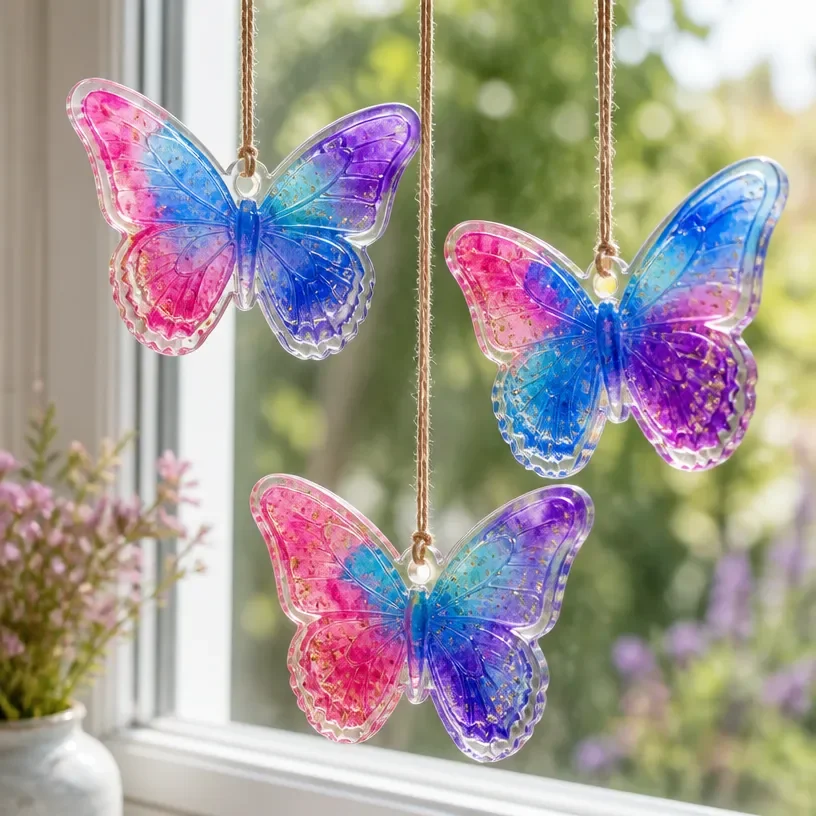
The kitchen is filled with the sounds of children enjoying a busy afternoon, their eyes lighting up at the idea of creating something special. Instantly, the perfect solution comes to mind: DIY Marble-Effect Glue Butterfly Suncatchers for Window Decor. This simple yet delightful project invites kids to get creative and make vibrant decorations that brighten up any room. With just a few materials, you can keep the little ones engaged while producing beautiful art to hang on your windows. You may also find Diy Glue Suncatchers Easy Window Decor useful.
Why This DIY Marble-Effect Glue Butterfly Suncatchers for Window Decor Works So Well
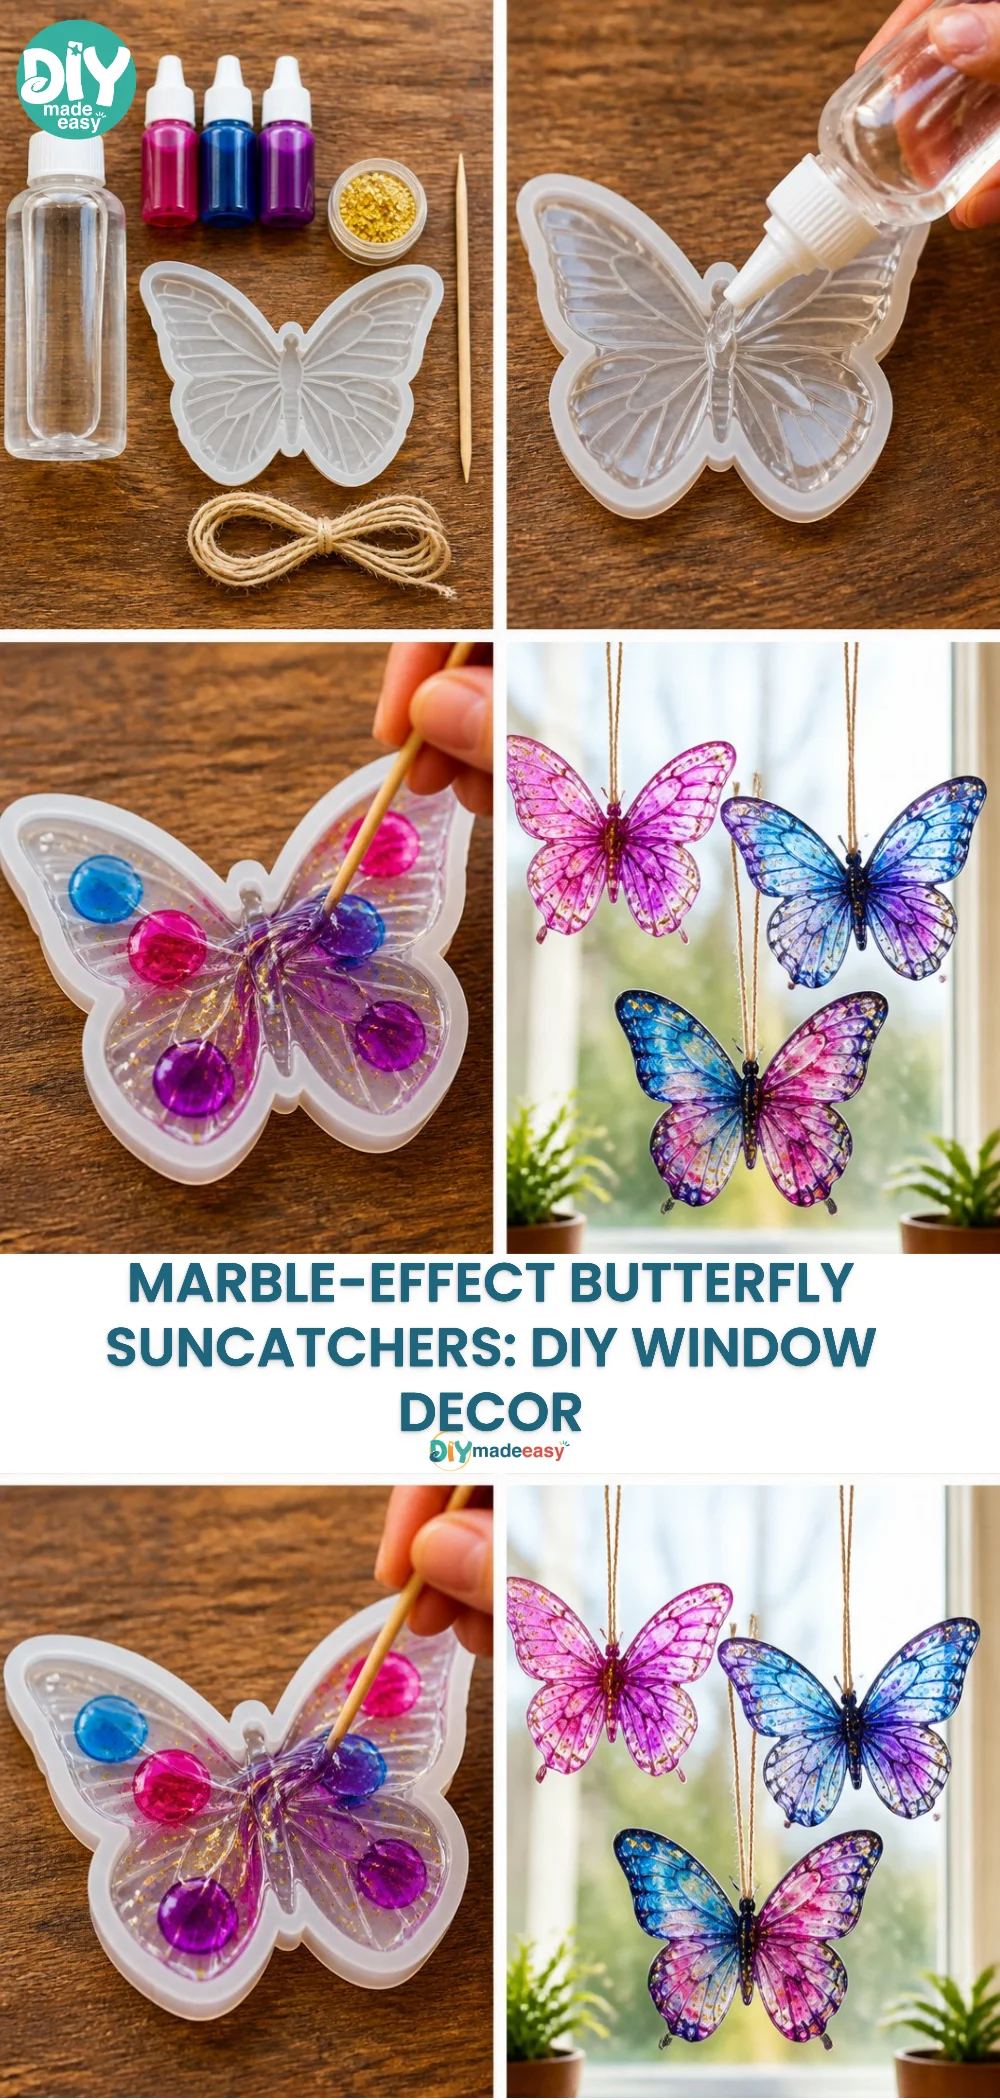
This project is the epitome of low-prep fun for families. It requires minimal setup and can be done using common household items, making it a go-to option for spur-of-the-moment crafting. The beauty of DIY Marble-Effect Glue Butterfly Suncatchers lies in its reliability; even if things don’t go as planned, there’s always room for creativity. Happy accidents often lead to the most memorable pieces! Plus, kids can express their individuality through color and shape, enhancing their creative skills and leaving parents with eye-catching window displays. You may also find Colorful Yarn Wrapped Butterfly Mobile Diy Nursery Decor useful.
A Quick Look Before You Begin
To ensure a stress-free experience, it’s helpful to know what to expect. Making these suncatchers generally takes an hour or two, depending on drying time and the children’s engagement level. The mess level is manageable, especially if you lay down some newspaper or an old tablecloth before starting. An adult’s help may be necessary for some steps, like handling the glue and scissors, but kids will largely take the lead. You may also find Diy Butterfly Mobile Recycled Bottles Eco Friendly Decor useful.
Materials You’ll Need
- Clear glue (school glue or craft glue works well)
- Food coloring (various colors)
- Wax paper (makes removing the suncatchers easier)
- Sturdy scissors (for cutting out the butterflies)
- Paintbrush (for spreading glue)
- Bowls or containers (for mixing colors)
- Optional: Additional decorations like glitter or sequins
Each of these items is easy to find at home or at a local store, making your preparation not only swift but also budget-friendly. Assembling the required materials ahead of time can help streamline the creative process. You may also find Diy Glue Suncatchers useful.
Step-by-Step Directions
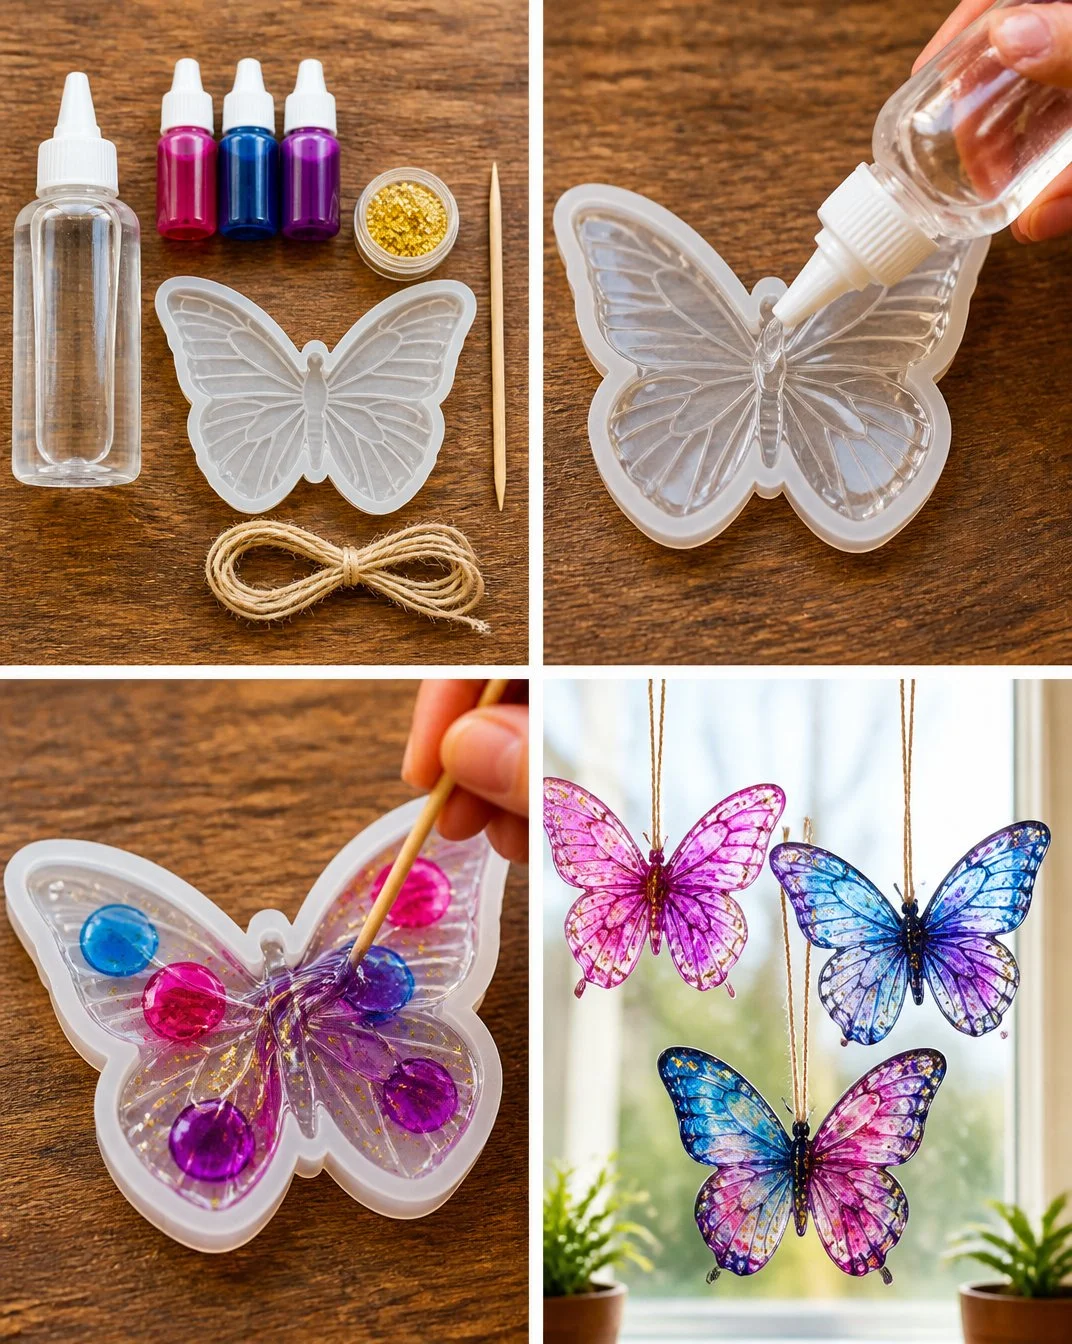
Prepare Your Workspace: Lay down newspaper or a vinyl tablecloth to catch any spills. Ensure you have everything you need within reach for a smooth crafting session.
Create the Butterfly Template: Draw or print a butterfly shape on a piece of paper. Cut it out to use as a template for tracing onto the wax paper.
Trace the Butterfly: Place the butterfly template under your wax paper and trace it with a pencil. A good tip is to make several butterflies to use as a base for your suncatchers.
Mix Your Colors: In your bowls, combine the clear glue and drops of food coloring. Swirl each mixture to create a marbled effect. You can experiment with different color combinations; remember that less is more to avoid muddy results.
Apply the Glue Mixture: Using a paintbrush, dab or spread the colored glue onto the butterfly outline. Encourage the kids to mix colors directly on the wax paper to enhance the marbled look.
Add Extra Decorations: If desired, sprinkle some glitter or sequins on top of the wet glue for added sparkle. Your suncatcher is taking shape beautifully!
Let It Dry: Allow the butterflies to dry thoroughly. Depending on the glue and room temperature, this could take several hours. Be patient, as this is a crucial step for them to hold their shape.
Cut Out the Butterflies: Once dry, carefully cut out the butterflies along the traced lines. They should peel away from the wax paper easily, revealing a stunning, colorful design.
Display Your Artwork: Use tape or string to hang your new creations in windows where sunlight can shine through. Watch as the light transforms the colors!
Admire Your Work!: Step back and enjoy the fruits of your crafting session. Kids will take pride in their personalized arts and crafts.
The Learning Behind This DIY
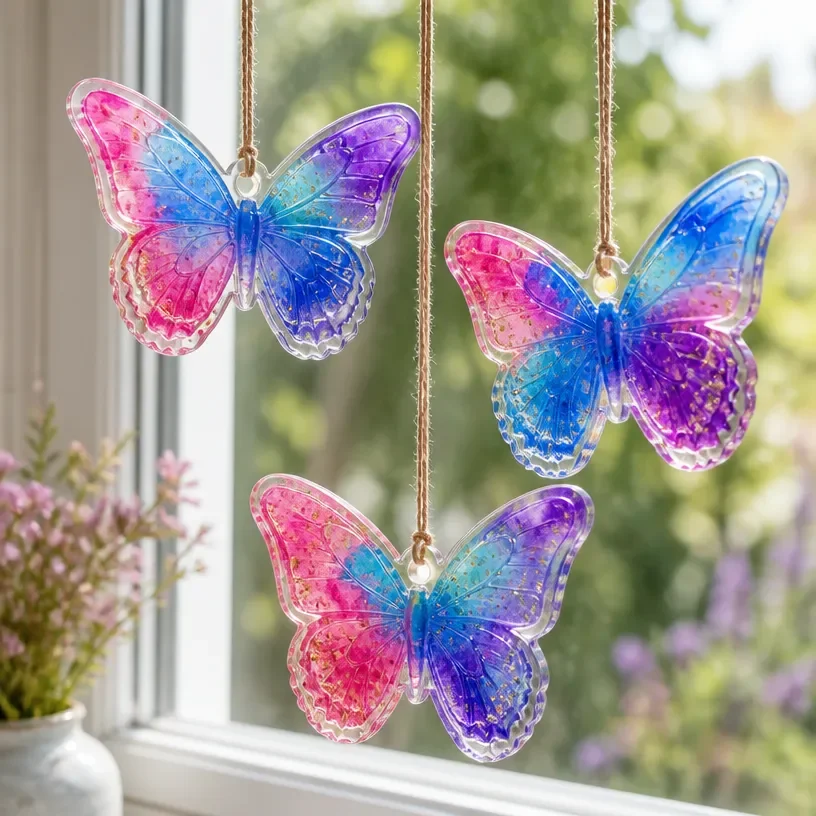
Engaging in DIY Marble-Effect Glue Butterfly Suncatchers introduces various scientific concepts to children. They learn about color mixing as they experiment with different food colorings. This hands-on activity also supports fine motor skills as they pour, mix, and brush the glue. Each movement aids in developing hand-eye coordination, which is crucial at this age. The project also encourages patience, as the drying phase teaches them that some things take time to reach their full potential.
Troubleshooting Common Issues
If challenges arise during your crafting, here are some common issues and their solutions:
- Glue Spills: Inevitably, some glue may spill on the table. Keep a cloth or paper towel nearby for quick cleanups. Children may also create a mess but that’s part of the fun!
- Colors Turn Brown: If kids add too much food coloring, the mixture may muddy. Encourage them to start with one drop and gradually add more until they achieve the desired shade.
- Butterflies Stick to the Wax Paper: If they don’t come off easily, allow them to dry a little longer or use gentle pressure while peeling them.
Easy Variations to Try
To keep the activity fresh with each attempt, consider these creative twists:
- Seasonal Themes: For specific holidays, guide children to create butterflies with seasonal colors—think pastels for spring or red and green for Christmas.
- Incorporate Nature: Use leaves, flowers, or other natural elements in the glue mixtures for added interest and texture.
- Mixed Media: Incorporate paper cutouts or fabric to create 3D suncatchers. This could encourage even more creative expression.
Storing or Reusing This Project
After your crafting session, consider these tips for storage and reuse. If there are leftover supplies, store the glue and food coloring in sealed containers for future activities. You can also keep the dried butterflies safe in a flat box or between layers of wax paper to prevent them from getting crushed. Reuse any colorful paper or decorations for future art projects, reducing waste and encouraging creativity.
FAQs About DIY Marble-Effect Glue Butterfly Suncatchers for Window Decor
What’s the clean-up like?
The cleanup is manageable with a little prep. Lay down newspaper or a tablecloth, and have cleaning supplies on hand for any glue mishaps.
How safe is this project for younger kids?
This activity is generally safe for older toddlers and up with adult supervision. Always monitor glue use and handle scissors.
Can I substitute any materials?
Absolutely! If you don’t have food coloring, you can use liquid watercolors or even paint. Just ensure any substitute is safe for kids.
What if the suncatchers don’t turn out right?
Not every project goes perfectly, and that’s okay! Use any mishaps as an opportunity to enhance creativity or try again with different color combinations.
How long will the suncatchers last?
With proper care, they can last several weeks. However, prolonged exposure to sunlight may fade the colors over time.
Conclusion
Conclusion
Creating DIY Marble-Effect Glue Butterfly Suncatchers is a delightful way to foster creativity in children while producing beautiful decorations for your home. If you’re looking for pre-made options, check out this craft kit for rocket suncatchers that can also provide hours of enjoyment. For additional artistic ideas, the black glue stained glass art project is a fantastic way to explore more artistic avenues. Enjoy crafting these lovely suncatchers with your little ones and cherish the memories created along the way!
PrintDIY Marble-Effect Glue Butterfly Suncatchers for Window Decor
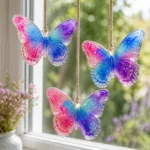
A fun and easy craft project for kids to create vibrant butterfly suncatchers using glue and food coloring.
- Prep Time: 15 minutes
- Cook Time: 120 minutes
- Total Time: 135 minutes
- Yield: Varies by number of butterflies created
- Category: Craft
- Method: Crafting
- Cuisine: N/A
- Diet: N/A
Ingredients
- Clear glue (school glue or craft glue)
- Food coloring (various colors)
- Wax paper
- Sturdy scissors
- Paintbrush
- Bowls or containers
- Optional: Glitter or sequins
Instructions
- Prepare your workspace: Lay down newspaper or a tablecloth.
- Create the butterfly template: Draw or print a butterfly shape and cut it out.
- Trace the butterfly: Place the template under the wax paper and trace.
- Mix your colors: Combine clear glue and food coloring in bowls.
- Apply the glue mixture: Use a paintbrush to dab the mixture onto the butterfly outline.
- Add extra decorations: Sprinkle glitter or sequins on top of the wet glue.
- Let it dry: Allow the butterflies to dry thoroughly.
- Cut out the butterflies: Carefully cut along the traced lines.
- Display your artwork: Use tape or string to hang suncatchers in windows.
- Admire your work: Enjoy the colorful creations!
Notes
Ensure adult supervision for younger children when handling scissors and glue. Clean any spills immediately.
Nutrition
- Serving Size: 1 suncatcher
- Calories: 0
- Sugar: 0g
- Sodium: 0mg
- Fat: 0g
- Saturated Fat: 0g
- Unsaturated Fat: 0g
- Trans Fat: 0g
- Carbohydrates: 0g
- Fiber: 0g
- Protein: 0g
- Cholesterol: 0mg