

A busy afternoon can flip into a small, joyful project with almost no fuss. Maybe the kids barge in after school, or you need a quiet activity while dinner simmers. Kinetic Sand is a perfect fit for those moments. It feels like sand but molds like soft clay, and you can make a reliable batch with things already in the kitchen. This version uses play sand, cornstarch, and vegetable oil, so you spend minutes mixing and then get hands-on play that keeps kids occupied and curious.
Why You’ll Love Making Kinetic Sand

This recipe keeps things simple and friendly. You do not need special tools or long prep time. Mix a few pantry items, knead a bit, and the sand becomes soft, squeezable, and oddly calming.
It works well on real-life schedules because you can set it up while a pot boils or right after school. The texture shows progress quickly. That helps kids stick with it and feel proud fast.
It feels low-prep because the ingredients are common and easy to measure. It feels approachable because the steps follow natural actions: stir, add, knead. You do not need exact chemistry skills to get good results.
Finally, it stays reliable. Small texture tweaks work fast. A tiny bit more oil makes it smoother. A little extra cornstarch firms it up. Those are simple adjustments anyone can try.
A Quick Look Before You Begin
This project takes about 10 to 20 minutes, depending on how much kneading you do. The real time sinks come from playing afterward, not from making the sand.
Setup is minimal. Use a large bowl on a counter or tray to keep stray grains contained. Lay down a mat or an old towel if you worry about cleanup.
Mess level stays low if you plan for it. Sand can travel, so keeping it on a shallow tray or a table with edges helps. Most spills shake off or sweep up easily once the mix dries a little.
Adult involvement depends on age. Young children will need help measuring and mixing. Older kids can do the steps themselves with a quick demo. Stay nearby the first time to guide texture tweaks and to reassure.
Discover Easy Kids Activities
Looking for simple, fun ideas for kids? Explore our Low Prep Kids Activities and find quick projects that spark creativity without long prep time.
Materials You’ll Need
2 1/2 cups fine play sand
- common play sand you can find at a hardware store or toy section
1 1/2 cups cornstarch
- pantry staple, helps make the sand moldable
1/2 cup vegetable oil
- regular cooking oil works fine; this adds softness
Food coloring (optional)
- optional if you want color; mix into oil for even color
Unscented dish soap (optional)
- optional for a faint scent and slight softness
STEP-BY-STEP DIRECTIONS

- Find a cozy spot and gather your ingredients.
Lay an old towel or tray to catch stray grains.
Measure the sand, cornstarch, and oil so everything is ready. - In a large mixing bowl, combine the sand and cornstarch, stirring until blended.
Stir gently until the two look evenly mixed and there are no white cornstarch pockets.
The mixture might feel powdery at first; that is normal. - Slowly add the vegetable oil, mixing gently with your hands.
Pour the oil in a thin stream or in small splashes so you can control texture.
Use your fingers to fold and press the mix together as you add oil. - Knead the mixture until it feels soft and moldable. Adjust as needed for texture.
Press, fold, and squash the mix in your hands for a few minutes.
If it feels too dry, add a touch more oil; if too greasy, add a pinch of cornstarch. - If desired, mix food coloring into the oil before adding it for a splash of color, and consider adding unscented dish soap for a lovely scent.
Mix the dye into the oil first so the color spreads evenly through the sand.
A few drops of unscented soap make it lightly fragrant without sticky residue.
What Kids Practice While Making This
Children learn a lot while they mix. They practice fine motor skills through scooping, stirring, and kneading. Those repeated hand movements strengthen fingers and coordination in a way that transfers to writing and daily tasks.
They also get basic measurement practice. Pouring cups and comparing amounts builds a simple understanding of quantity. You can ask questions while you work, such as which pile looks bigger or how many scoops it takes to fill a cup.
Mixing and observing teach cause and effect. Kids see how adding oil changes the feel. They learn to test the mix with their hands and make small changes. That builds confidence in making decisions and solving small problems.
Finally, sensory play calms many children. The soft squeeze of kinetic sand soothes, and building small shapes helps focus attention. You get a hands-on learning moment while they play.
Troubleshooting Common Issues
If the sand feels too crumbly after kneading, you probably need more oil. Add a teaspoon at a time, knead, and check again. It will come together if you are patient with small adjustments.
If it feels greasy or wet, sprinkle in a little more cornstarch. Work it in a tablespoon at a time until the texture returns to soft and moldable. Avoid dumping large amounts at once because that can make the mix chalky.
If the color looks uneven, you likely added dye directly into the sand. Next time mix food coloring into the oil before adding. If you already made the batch, knead thoroughly and give it a few minutes; hands and heat help spread the color.
If sand sticks to skin, wash hands with warm water and a touch of soap. The oil rinses off easily. If the sand clumps on clothing, brush gently and then launder as usual. A lint roller works well on small grains.
If you worry about dust, choose fine play sand and mix slowly. Stirring gently reduces airborne powder. Work in a well-ventilated area and wipe surfaces afterward to keep cleanup simple.
Easy Variations to Try
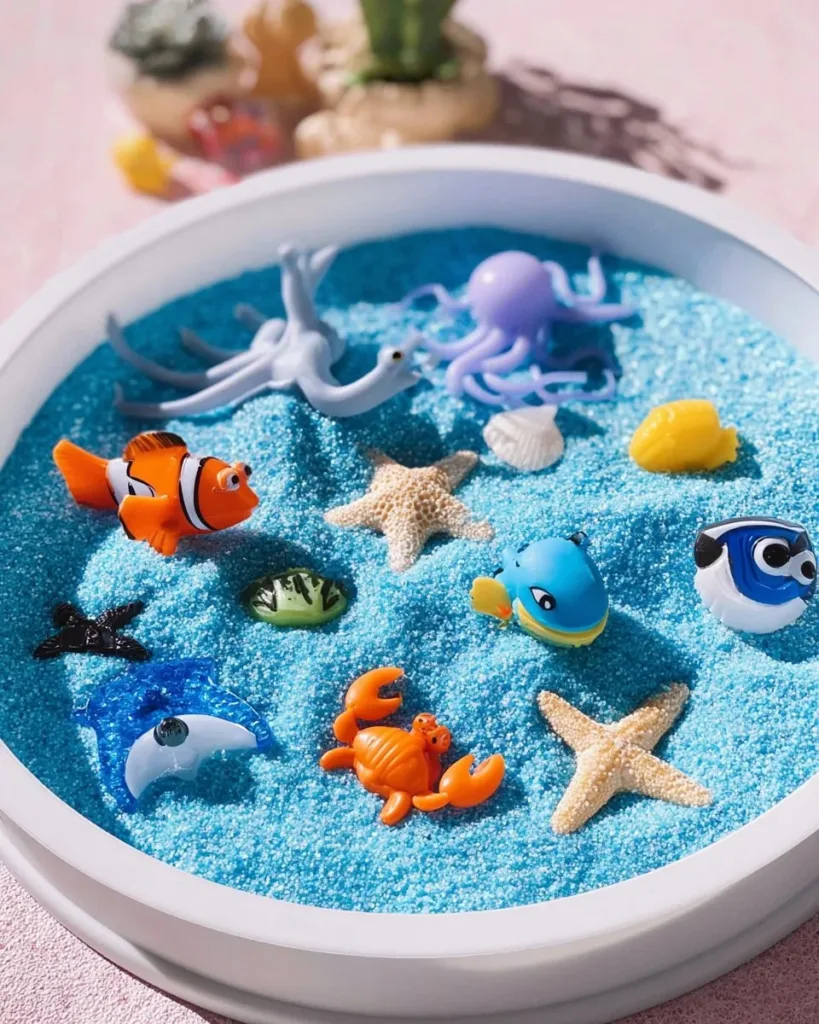
Add a small jar of dry glitter or a little extra color for festive batches. Sprinkle glitter into the mix after kneading so it stays on the surface and does not clump.
Make small molds with cookie cutters or the bottom of a cup. Kids love pressing shapes and popping them out. This keeps the play tidy and gives a quick goal for short attention spans.
Create sensory bins by layering the kinetic sand with small toys or scoops. Hide tiny plastic animals or small cars for a treasure hunt that adds a gentle challenge.
Adjust texture by small amounts. For younger children, make the mix a touch wetter and softer so it holds shapes easily. For older kids who like sculpting, make it slightly firmer with more cornstarch so details hold better.
Try a scent variation by adding a drop of unscented dish soap or a tiny dab of vanilla extract mixed into the oil. Keep scents mild to avoid irritation and to make sure the mix stays pleasant.
Storing or Reusing This Project
Store your kinetic sand in an airtight container or zip bag to keep it soft and fresh. Press out air before sealing so the mix does not dry out.
If it dries a little over time, knead in a teaspoon of oil and that will usually revive the texture. Add very small amounts and test to avoid making it greasy.
To clean up, scoop loose bits back into the container if they are dry. Sweep stray grains from the table with a dry cloth or small handheld broom. Avoid washing lots of sand down the sink.
If the batch gets dirty or sandy from outdoor play, you can sift it through a fine strainer to remove debris. If it looks too worn or contaminated, compost the natural parts where allowed and start a fresh small batch.
When sharing with friends, put small portions into tiny containers. This keeps each child’s play separate and reduces cross-contamination. Label containers with a date if you keep them for repeated use.
FAQs About Kinetic Sand
Is this safe for toddlers who still put things in their mouths?
I would keep close watch with toddlers. This recipe uses food-safe ingredients like cornstarch and vegetable oil, but it is not food. If your child mouths things often, use this only under direct supervision and in small amounts. For very young children, consider alternative sensory play that does not go near the mouth.
How messy will this be and how do I make cleanup easier?
It can be tidy if you plan a little. Work over a tray or a towel. Most sand stays where you put it because the oil helps it clump. If grains escape, sweep them up quickly. Wipe hands with a damp cloth before moving to another room to keep it from traveling.
Can I substitute ingredients if I do not have cornstarch or play sand?
I recommend using the listed ingredients for best texture. Cornstarch and fine play sand give the right balance. If you try other starches or coarser sand, the feel will change. If you must substitute, test a very small batch first so you do not waste materials.
How long will a batch last in storage?
Stored in an airtight container, it can last for many weeks. Check it before reuse. If it smells off, has visible dirt, or feels slimy, discard it. You can usually refresh slightly dry sand by kneading in a small amount of oil.
What if the batch looks different from a store-bought kinetic sand?
It will not be identical to commercial products, and that is okay. Homemade kinetic sand feels very close and gives the same playful experience. Commercial varieties sometimes contain binders that change longevity and feel. Accept small differences and enjoy the hands-on making and quick fixes.
A Final Helpful Note
Trust small adjustments. This recipe responds well to tiny changes in oil and cornstarch, so add slowly and test as you go. That takes the guesswork out and keeps the process calm.
Keep expectations friendly. The goal is play and learning, not perfection. Even imperfect batches teach kids to observe, adapt, and be creative.
If you want a quick win, make a small test batch first. That gives a reference for texture and keeps the main ingredients ready to tweak. Enjoy the moment of making something together and the simple calm that follows.
Conclusion
If you want to see how professional options compare while you plan ingredients, check the official product page at Kinetic Sand | One Pile of Sand, Endless Possibilities to learn more about store-bought textures and colors. For an easy way to pick up fine play sand that matches this recipe, take a look at a reliable option on Amazon: Kinetic Sand, 3.25lbs Beach Play Sand, Amazon Exclusive, Easter ….
PrintHomemade Kinetic Sand

Create your own kinetic sand with simple kitchen ingredients that is soft, moldable, and provides endless fun for kids.
- Prep Time: 10 minutes
- Cook Time: 10 minutes
- Total Time: 20 minutes
- Yield: 4 servings 1x
- Category: Crafts
- Method: Mixing
- Cuisine: N/A
- Diet: N/A
Ingredients
- 2 1/2 cups fine play sand
- 1 1/2 cups cornstarch
- 1/2 cup vegetable oil
- Food coloring (optional)
- Unscented dish soap (optional)
Instructions
- Find a cozy spot and gather your ingredients.
- Lay an old towel or tray to catch stray grains.
- Measure the sand, cornstarch, and oil so everything is ready.
- In a large mixing bowl, combine the sand and cornstarch, stirring until blended.
- Stir gently until the two look evenly mixed.
- Slowly add the vegetable oil, mixing gently with your hands.
- Knead the mixture until it feels soft and moldable.
- If desired, mix food coloring into the oil before adding it.
Notes
Adjust the texture by adding more oil if too dry or more cornstarch if too greasy. Store in an airtight container to keep it soft.
Nutrition
- Serving Size: 1 serving
- Calories: 150
- Sugar: 0g
- Sodium: 2mg
- Fat: 14g
- Saturated Fat: 1.5g
- Unsaturated Fat: 12g
- Trans Fat: 0g
- Carbohydrates: 10g
- Fiber: 0g
- Protein: 2g
- Cholesterol: 0mg