

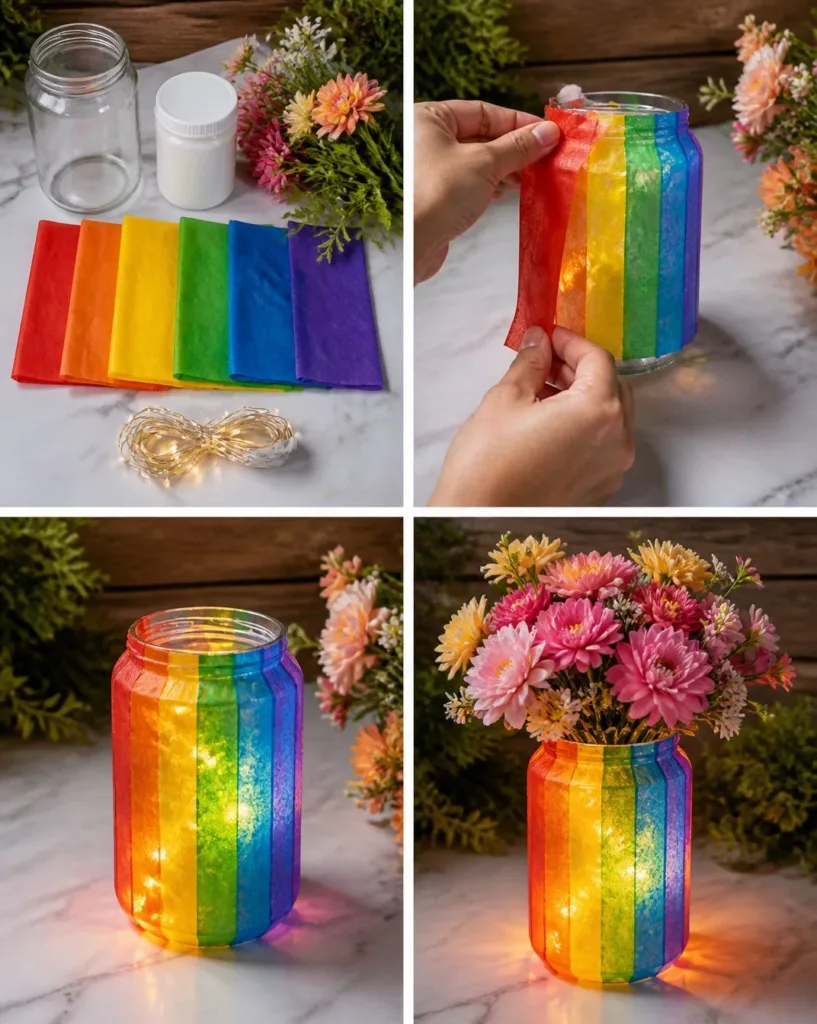
Creating a fun and creative atmosphere can often feel like an impossible task, especially on a busy afternoon when kids are clamoring for a new project. If you’re in need of a quick and engaging activity to spark imagination and brighten up your space, why not try your hand at making a Glowing Rainbow Flower Vase? This colorful craft is not only visually delightful, but it also offers a wonderful opportunity for hands-on creativity. With just a few common household materials, you’ll be able to create a charming, illuminated centerpiece that can transform any room. You may also find Diy Tropical Flower Bouquet Rainbow Cupcake Liners useful.
Why This Glowing Rainbow Flower Vase Works So Well
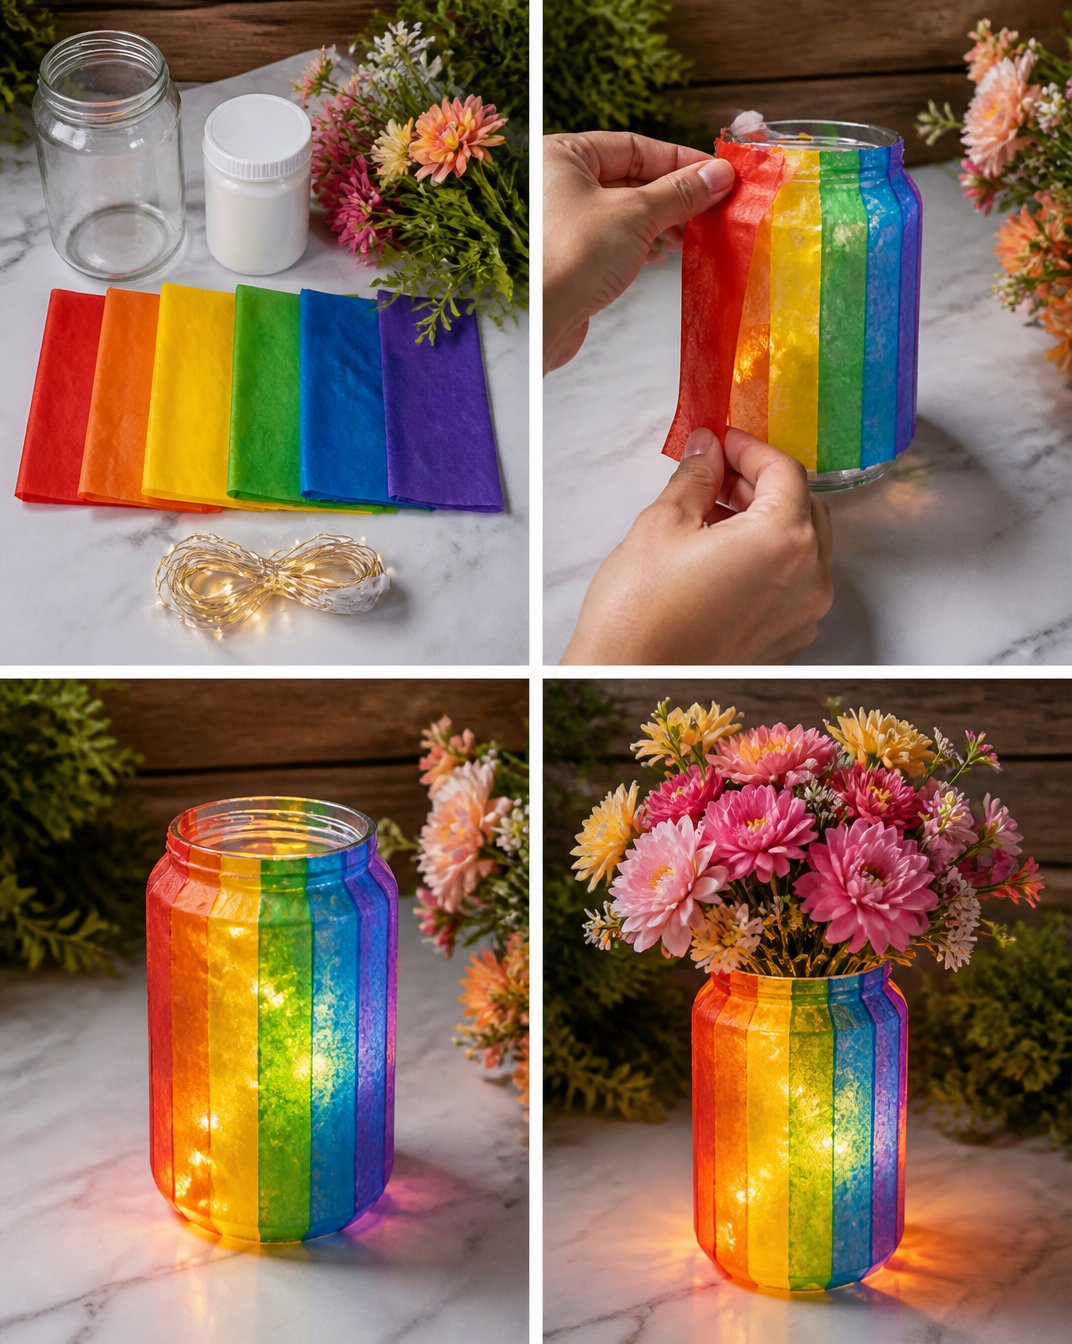
The appeal of the Glowing Rainbow Flower Vase lies in its simplicity and versatility. It’s a low-prep project that welcomes everyone, regardless of age or crafting experience. With materials you likely already have at home, this project eliminates the stress that often accompanies more complicated DIY endeavors. The colorful tissue paper adds charm, while the fairy lights bring an enchanting glow, making it not just a decoration, but an experience to behold. You may also find Rainbow Heart Wall Art Pressed Flowers useful.
Working on this project can also serve as a stress-reliever. There’s something therapeutic about tearing tissue paper and gluing it down—both tactile and fulfilling. Plus, this project brings about teamwork, making it ideal for family bonding or a fun afternoon with friends. If you’re looking for creative ways to enjoy your time together, consider incorporating this DIY into your weekend plans. You may also find Rainbow Wool Flowers Embrace Light useful.
How This DIY Comes Together
The process of creating the Glowing Rainbow Flower Vase unfolds in a sequence that’s easy to follow. Expect to carve out about an hour for the entire project, although this can vary depending on the decorative flair you choose to embody. It helps to do a quick setup, laying out all materials beforehand, which not only minimizes mess but also keeps everyone on track. You may also find Wind Inspired Rainbow Flower Spiral Artwork useful.
This project is friendly for adults and kids alike. Parents can easily join in to assist, or simply supervise, while kids explore their creativity. Set expectations for a contained environment; some glue drips and tissue paper shavings are likely, but they can be managed with a simple cleanup afterward. Crafting should be fun, and the flowing colors and bright lights will leave everyone feeling accomplished and happy.
Materials You’ll Need
1 clear jar
Tissue paper in 6 colors
Decoupage glue
Fairy lights
Artificial flowers
This list covers everything you’ll need for the Glowing Rainbow Flower Vase. The jar is a common household item that can be reused and repurposed, allowing you to maintain your budget. The tissue paper adds vivid colors that can spark joy in any setup, while decoupage glue provides the necessary adhesive for this fun project. The fairy lights give your creation that magical glow, and the artificial flowers add the final touch of beauty.
Step-by-Step Directions
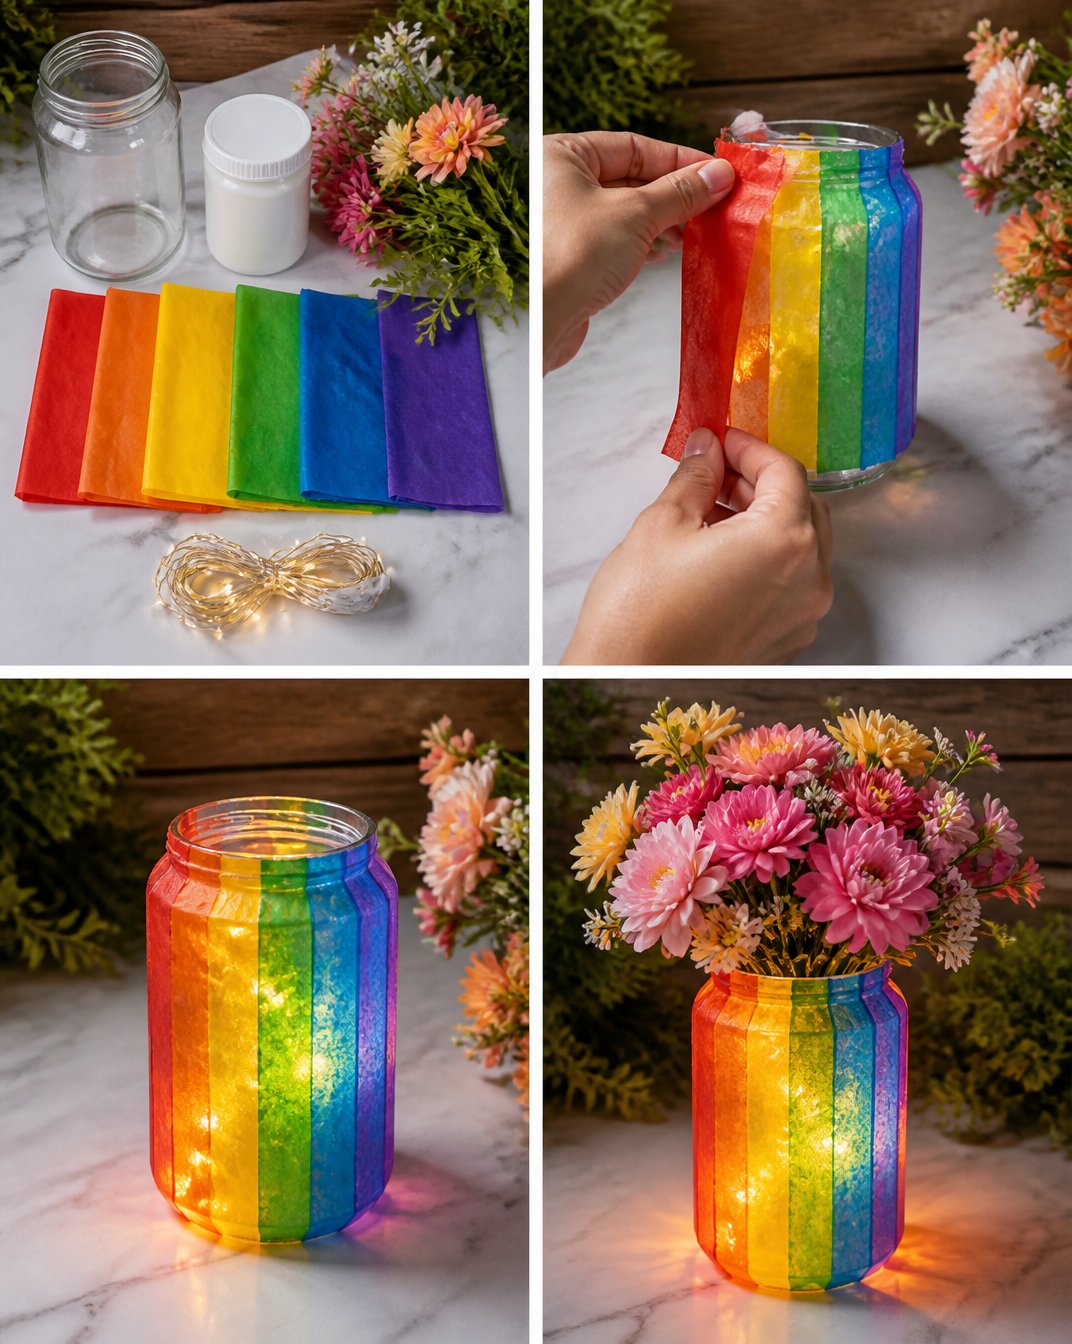
Start by tearing the tissue paper into strips. Use vertical layers to cover the jar completely. Choose an assortment of colors to create a vibrant effect that will shine through when the lights are added.
Once you’re satisfied with the placement, seal the tissue paper with a layer of decoupage glue. This not only secures the paper but also gives it a polished look. Don’t rush—take your time to smooth out any lumps or bubbles for a clean finish.
Now, carefully add the fairy lights inside the jar for a magical glow. Make sure the battery pack is accessible for turning the lights on and off. Position the lights in a way that makes the colors appear vibrant and exciting.
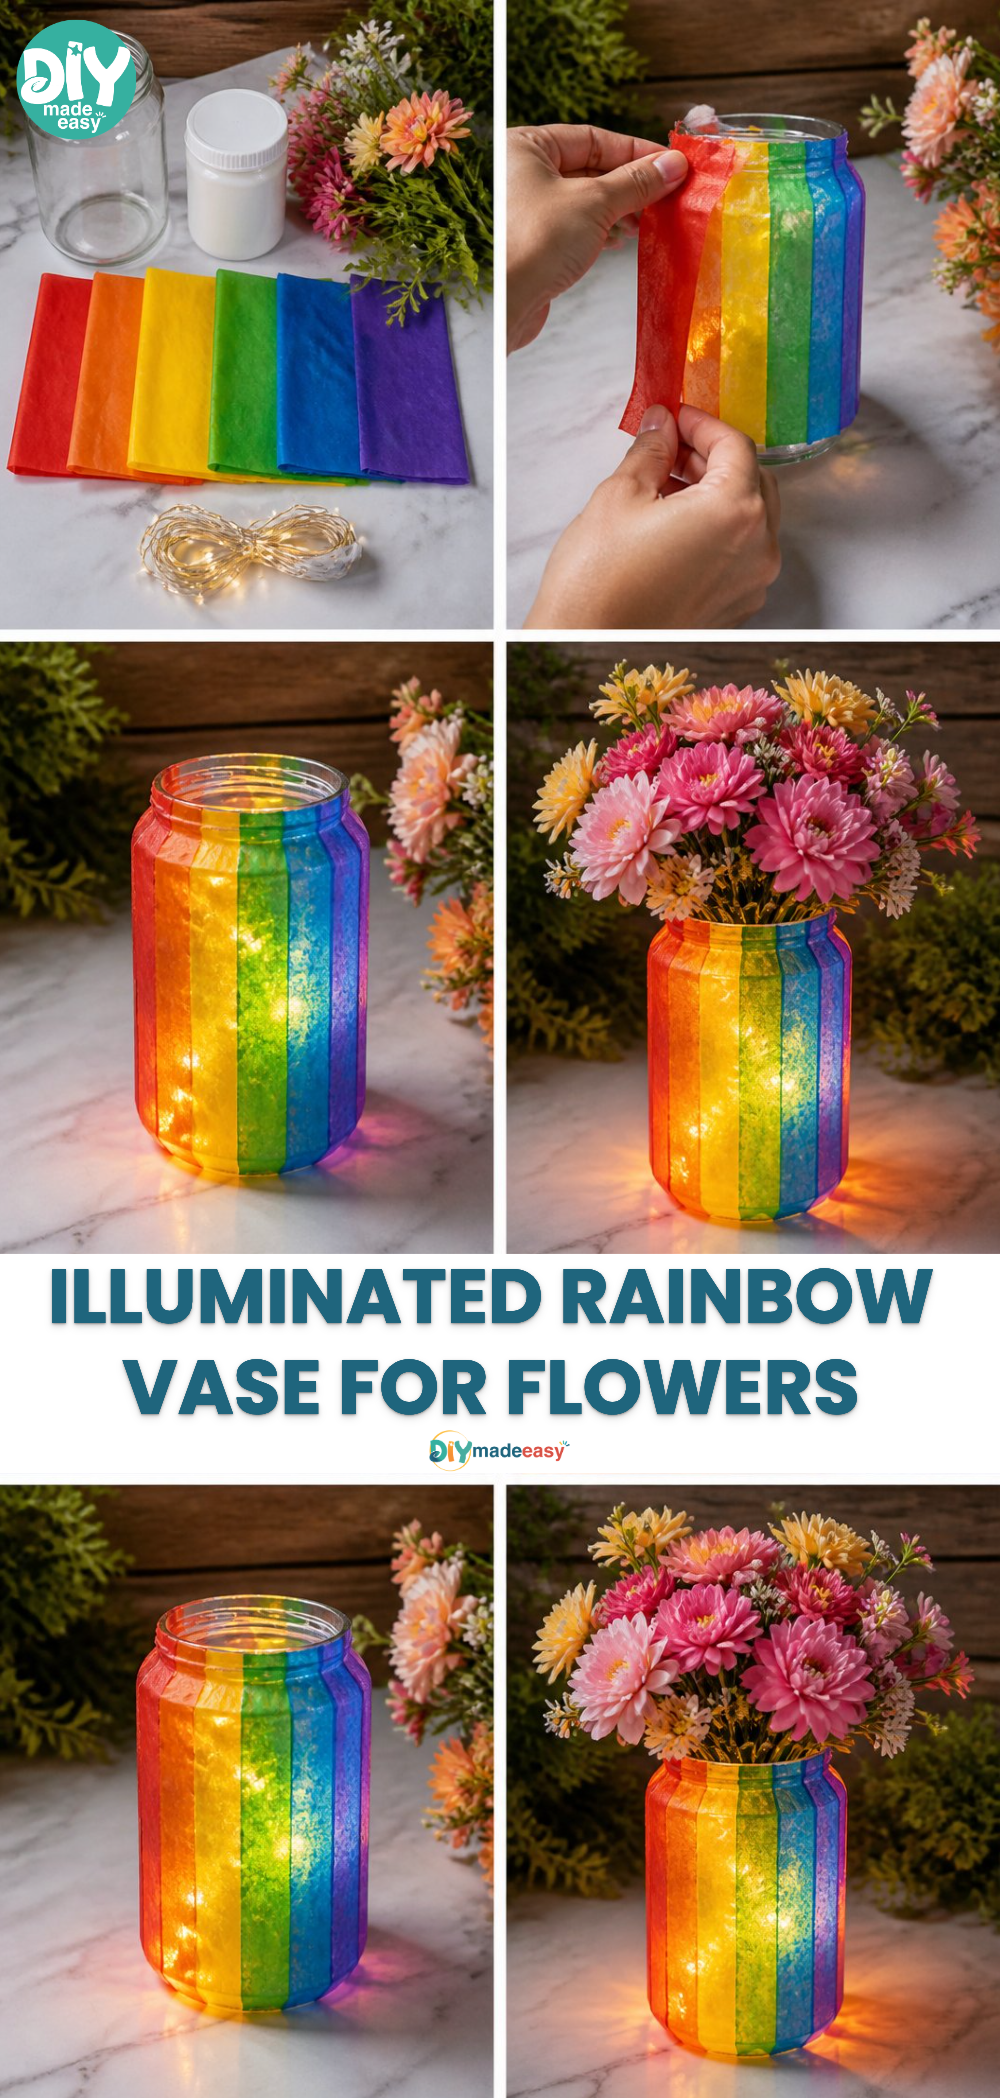
Finish by adding some beautiful artificial flowers on top. Arrange them in a way that pleases your eye; this is the finishing touch that will really make your vase shine.
The Learning Behind This DIY
While creating the Glowing Rainbow Flower Vase, kids can practice numerous skills, from fine motor skills to coordination. Tearing paper, using scissors, and applying glue enhance dexterity. The project also functions as a lesson in color theory. Kids can experiment with color combinations to see how they mix and match, enriching their understanding of aesthetics.
This DIY encourages creativity and sparks imagination. As children uncover cause and effect, they witness how their artistic choices directly influence the final outcome—visual feedback that’s invaluable for their development.
Troubleshooting Common Issues
Sometimes, things don’t go as planned, and that’s perfectly okay. If the tissue paper doesn’t lay down smoothly, it might be too thick or the glue wasn’t applied evenly. Take a moment to smooth it out, or consider cutting the paper into smaller pieces. If spills occur, a damp cloth can wipe up glue quickly, ensuring the cleanup is hassle-free.
It’s also possible that the fairy lights might not illuminate as desired. Checking the batteries before starting can save frustration. If they’re dim, try rearranging the lights inside the jar for better exposure. Remember that crafting is a learning experience, and with every mistake comes growth.
Easy Variations to Try
Change things up by incorporating different themes or seasons. Perhaps pastel colors for spring or warm shades for fall—there are no limits to how you can customize your vase. You might also consider adding embellishments like glitter or stickers to the tissue paper for a fun twist.
For an extra layer of creativity, ask kids to write little notes or draw on the tissue paper before applying it, making the vase even more personal. Alternatively, use fresh flowers for a more traditional arrangement if you prefer a more natural aesthetic.
Storing or Reusing This Project
After you’ve enjoyed the glowing beauty of your flower vase, think about how it can fit into your home decor. Consider storing it safely in a dry place to preserve the colors for future use. You could also use it as a gift for loved ones or as a unique centerpiece for a gathering.
Cleaning up should be a simple process, especially if you utilize common materials that don’t create too much waste. If you have leftover tissue paper or glue, store them for the next creative adventure.
FAQs About Glowing Rainbow Flower Vase
What do I do if I make a mess during the project?
Mess can happen, and it’s all part of the creative experience. A damp cloth easily wipes up decoupage glue before it dries. Make cleanup a team event, and it won’t feel overwhelming.
Is this project safe for young children?
Yes! Just keep an eye on small items, like the fairy lights and any loose pieces of tissue paper, which might be a choking hazard. Supervision is key to ensuring a fun experience without complications.
Can I use different materials for this project?
Absolutely! While tissue paper works brilliantly for this DIY, you can experiment with other materials like wrapping paper or fabric. Abandoning expectations allows for even more innovative results.
Will the lights get too hot?
The battery-operated fairy lights typically remain cool, making them safe for use in the jar. It’s always good practice to check your light set for safety instructions, ensuring peace of mind while you create.
Conclusion
Conclusion
Creating a Glowing Rainbow Flower Vase can brighten your home, bringing warmth and color to even the dullest days. Use this opportunity to explore local flower options, such as those found at this selection in Florence, or opt for a special centerpiece via Fozia’s Flowers to enhance your vase further. Enjoy the experience of crafting together and let your creativity flow freely!
PrintGlowing Rainbow Flower Vase
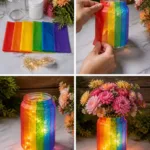
A fun and engaging DIY project to create a colorful, illuminated flower vase using household materials.
- Prep Time: 15 minutes
- Cook Time: 45 minutes
- Total Time: 60 minutes
- Yield: 1 vase 1x
- Category: Craft
- Method: DIY
- Cuisine: N/A
- Diet: N/A
Ingredients
- 1 clear jar
- Tissue paper in 6 colors
- Decoupage glue
- Fairy lights
- Artificial flowers
Instructions
- Start by tearing the tissue paper into strips. Use vertical layers to cover the jar completely.
- Once you’re satisfied with the placement, seal the tissue paper with a layer of decoupage glue.
- Now, carefully add the fairy lights inside the jar for a magical glow.
- Finish by adding some beautiful artificial flowers on top, arranging them in a pleasing manner.
Notes
Customize your vase with themes or embellishments. Kids can express themselves creatively by drawing on the tissue paper.
Nutrition
- Serving Size: 1 vase
- Calories: 0
- Sugar: 0g
- Sodium: 0mg
- Fat: 0g
- Saturated Fat: 0g
- Unsaturated Fat: 0g
- Trans Fat: 0g
- Carbohydrates: 0g
- Fiber: 0g
- Protein: 0g
- Cholesterol: 0mg