

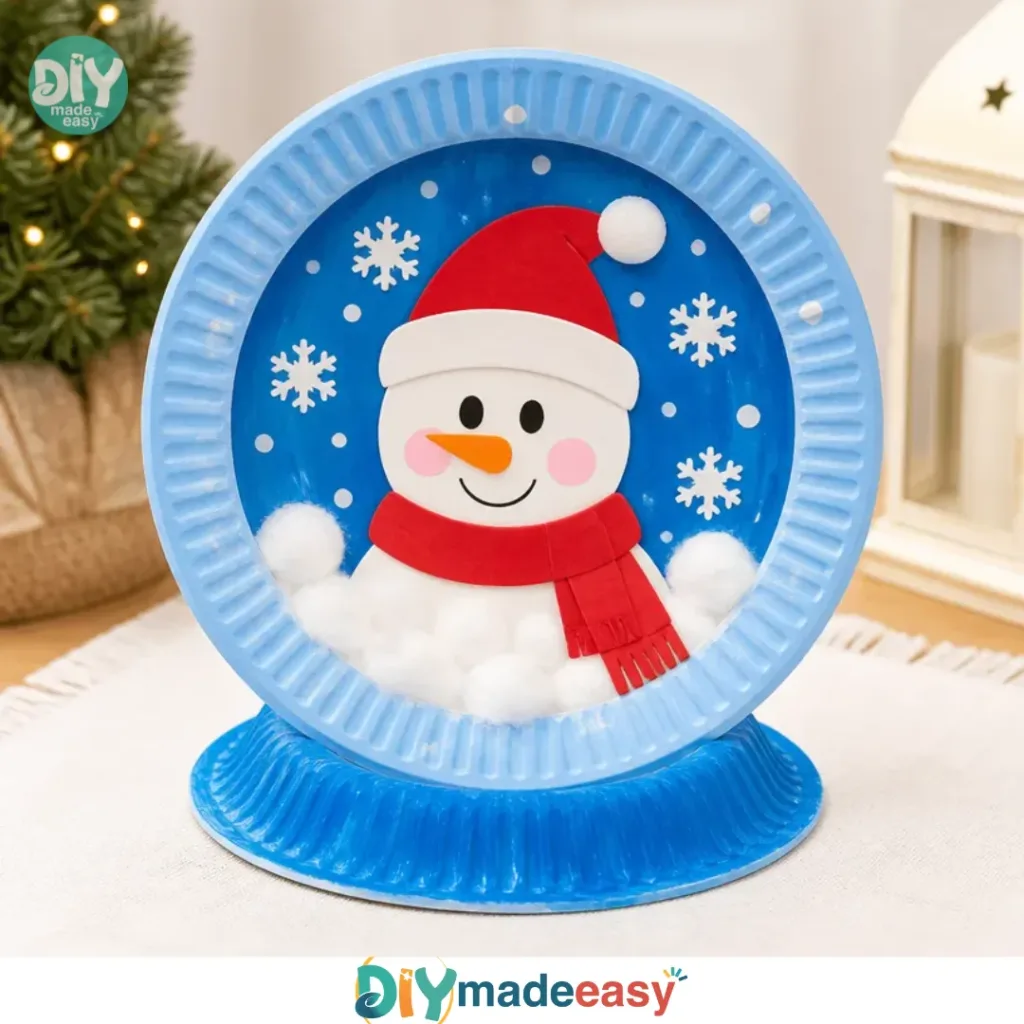
Creating a cozy afternoon with some hands-on fun can be a delightful way to engage your kids. Picture this: the weather is chilly, and your little ones are eager to craft something that will spark their creativity and brighten up their space. The Paper Plate Snow Globe Craft is the perfect solution for this moment. It’s simple, requires only a few materials, and results in a charming decor piece that can be cherished for the upcoming winter season. Imagine them watching the glitter and faux snow swirl around their unique creations, filling the space with joy and laughter. You may also find Easy Paper Plate Pumpkin Craft Halloween useful.
Why This Paper Plate Snow Globe Craft Works So Well
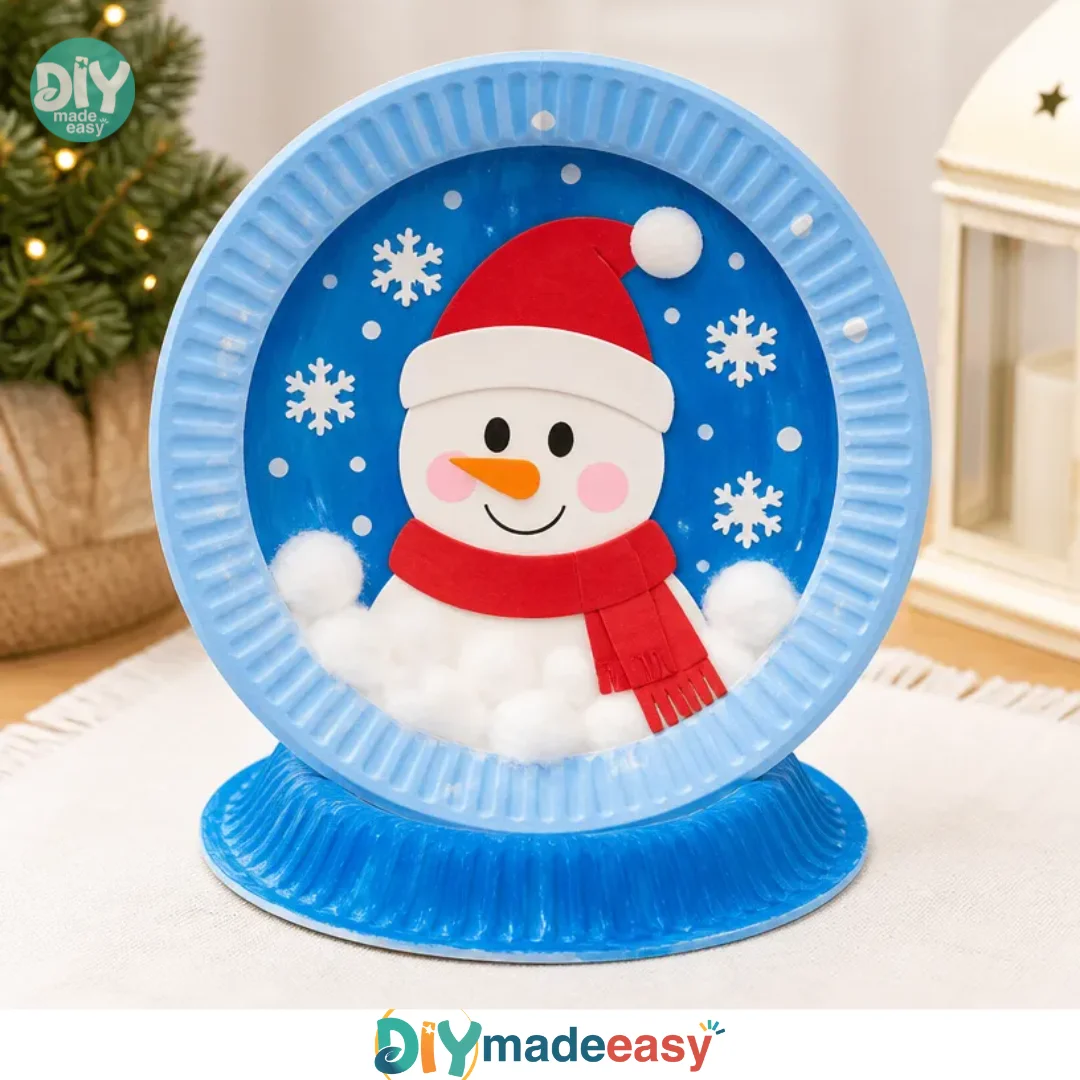
You may also find How To Make A Butterfly Craft From Paper Plates useful.
The beauty of the Paper Plate Snow Globe Craft lies in its low-prep nature and the ease of execution. You don’t need to gather a mountain of supplies; most of what you’ll use can likely be found around your home. This DIY project is approachable for kids of various ages, fostering creativity and personal expression without the fuss. Plus, the satisfaction of each unique globe is rewarding, making it a reliable choice for any afternoon when you need to engage your kids in something constructive. It fits seamlessly into your busy schedule, offering a straightforward way to create lasting memories together. You may also find Rainbow Paper Plate Sun Craft For Kids useful.
A Quick Look Before You Begin
Getting started with your Paper Plate Snow Globe Craft doesn’t require much time or setup. You’ll want to allocate around 30 to 45 minutes from start to finish. Prepare a dedicated workspace, preferably an easy-to-clean table or surface, to minimize any mess. Trust me, kids can get excited with glitter and glue! It’s always helpful to have some paper towels handy for any spills. Parental involvement can help, but kids can take the lead under guidance. This project allows them to explore creativity at their own pace while still having fun. You may also find Diy Fidget Paper Clip Craft For Kids Fidget Craft useful.
Materials You’ll Need
To create your charming snow globe, gather the following supplies:
- Two paper plates
- Scissors
- Cotton balls or fake snow
- Glitter (optional)
- Markers or paint
- Tape or glue
- Small figurines or pictures for inside the globe
These items are common household items, making this project budget-friendly and accessible. The cotton balls create fluffy snow, while glitter offers a magical touch. For the rest, let your kids’ imaginations drive their design choices!
Step-by-Step Directions
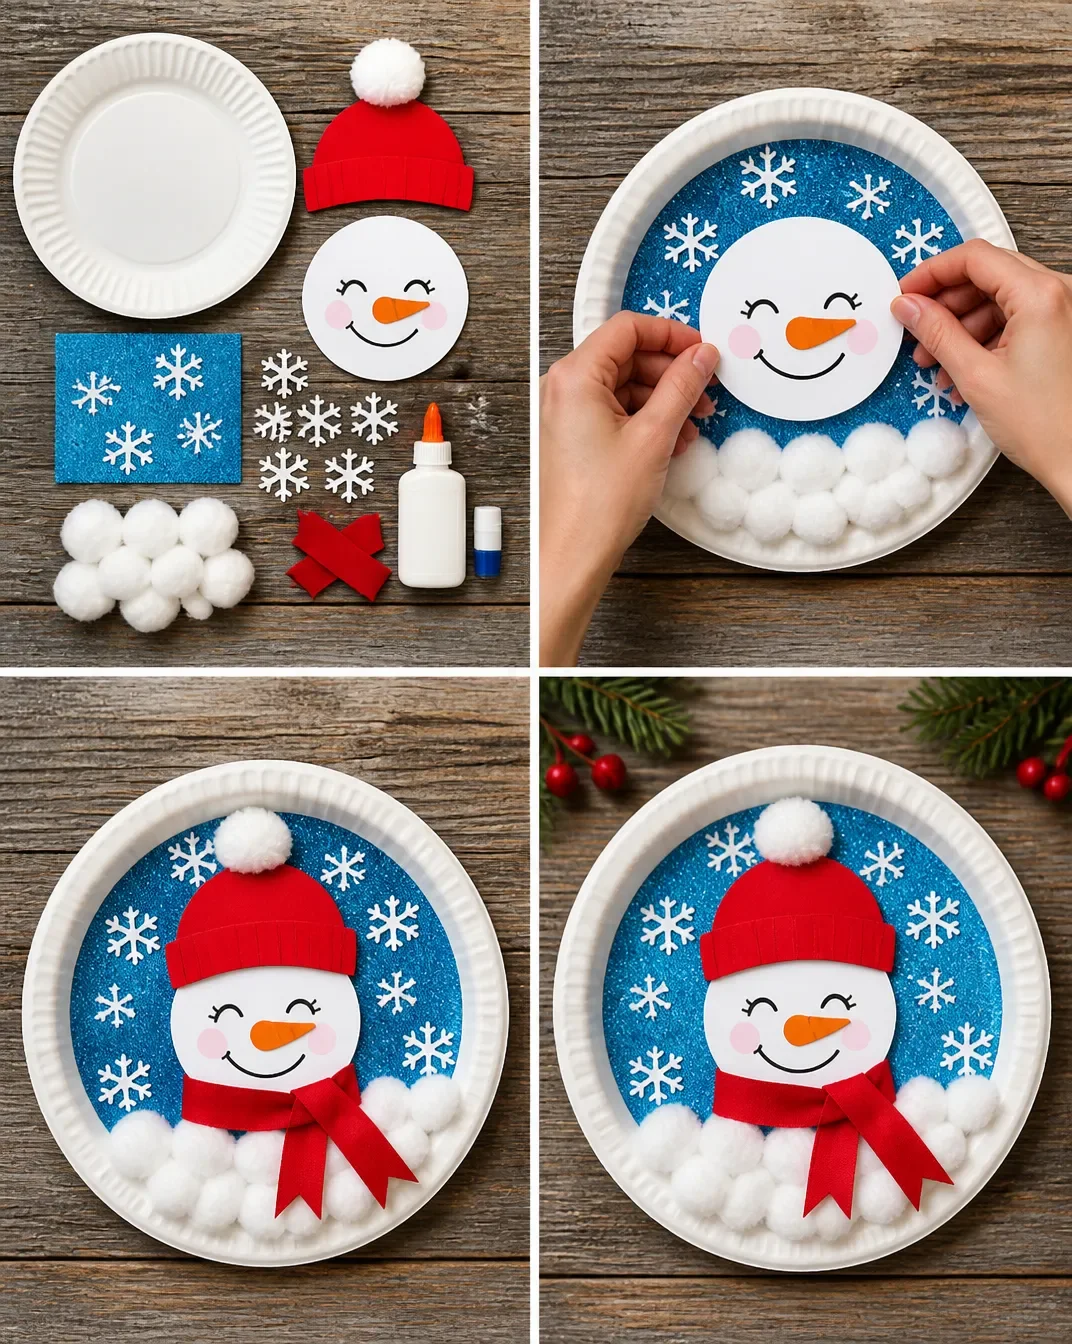
Follow these engaging steps to create your very own Paper Plate Snow Globe:
Prepare the Base: Start with one of the paper plates. Decorate it using markers or paint to create a festive base for your globe. Get creative with colors and patterns to make it truly unique!
Create the Dome: Take the second paper plate and cut a circle out of the center, creating a rim that will eventually cover the decorated plate. This frame will be where your snow and decorations reside.
Add the Snow: Now, it’s time to fill the dome! Place cotton balls or fake snow inside, and if you like, sprinkle a little glitter on top for that extra sparkle.
Insert Your Decor: Choose small figurines or pictures and secure them in the center of the snow. This could be anything from holiday characters to favorite toys. It’s a perfect way to personalize each globe.
Seal the Globe: Carefully position the dome over the base plate and tape or glue the rim onto the decorated plate. Make sure it’s secure, as you don’t want any mess when your kids shake it to see the snow swirl!
Let It Dry: Allow your snow globe to dry completely before displaying it. This ensures your creation stays intact and beautiful.
The Learning Behind This DIY
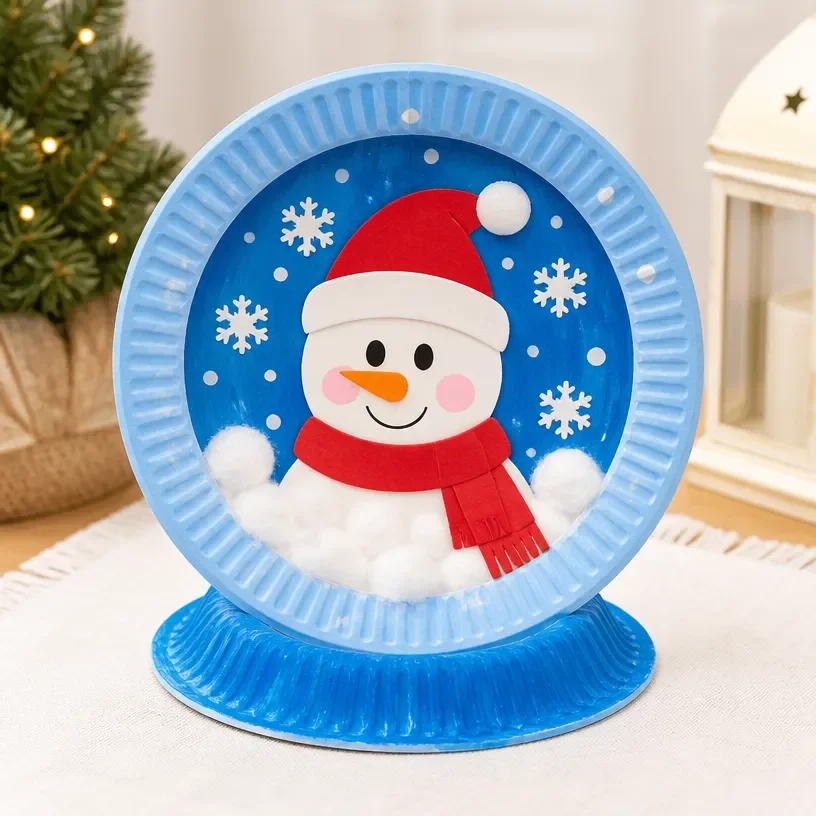
Making this paper plate snow globe isn’t just an enjoyable way to spend an afternoon; it also offers practical learning opportunities for kids. As they cut and glue, they practice fine motor skills and coordination, which are essential at any age. Understanding how the components come together fosters a sense of cause and effect when they shake the globe, they will see the snow fall. Moreover, the creative process encourages problem-solving as they figure out how to best secure their décor and manage any mess.
Troubleshooting Common Issues
Inevitably, things may not always go perfectly. If you notice your snow globe isn’t sealing correctly or you see some spills, don’t worry. Common problems can often be solved easily. For instance, if cotton balls are spilling out, check the tape or glue you used. Make sure the rim is well adhered to the base. If kids get a bit too adventurous with glue, just use a damp cloth to clean up any extra easily. Remember, this is all about creativity and fun, so embrace the small hiccups along the way!
Easy Variations to Try
If you want to change it up a bit, here are some fun ideas:
Seasonal Themes: Make a snow globe for different seasons! Think flowers for spring, beach scenes for summer, or vibrant fall leaves.
Different Sizes: Use larger or smaller plates to create various globe sizes. This can lead to interesting designs and experimentation.
Texture Additions: Consider adding rice, beads, or colored paper confetti along with the cotton for more dynamic textures.
Light Up: Use an LED tea light beneath the globe to add extra visual appeal during darker evenings.
Storing or Reusing This Project
After crafting, think about how to best store or display the snowglobes. They can be wonderful decorations around the house during winter. If you’re short on storage, opting for a smaller size can be more space-efficient. Cleanup is also straightforward; simply gather and recycle the materials if you decide to make a new one later on.
FAQs About Paper Plate Snow Globe Craft
What if my kids make a mess during the project?
Mess is part of the fun! Use an easy-to-clean space and have towels nearby. It makes cleanup quicker and keeps the stress levels down.
Is this project safe for younger children?
Absolutely! Supervise younger kids, especially when using scissors or glue. You can handle the cutting while they do the decorating.
How can I incorporate different themes into these snow globes?
You can use different figurines or even seasonal colors to personalize them. Kids can turn them into unique gifts too!
Can we use materials other than paper plates?
Of course! Plastic bowls or containers can be fun alternatives. Just ensure they can be secured well and aren’t too difficult for kids to handle.
What if the globe doesn’t hold water?
Since this project doesn’t typically involve water, you can let them shake and swirl the “snow” without worries about leaks!
Conclusion
Creating a Paper Plate Snow Globe is a delightful activity that blends fun with creativity. This craft encourages children to express themselves and develop their skills. If you’re looking to enhance this project further, consider checking out resources like Paper Plate Winter Snow Globe | Crayola DIY Crafts for Kids or Paper Plate Snow Globe craft activity guide | Baker Ross for additional inspiration and ideas. Enjoy making memories that sparkle!
PrintPaper Plate Snow Globe Craft
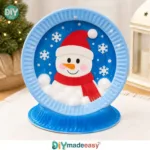
Engage your kids in a delightful winter-themed craft by creating charming paper plate snow globes that sparkle with creativity.
- Prep Time: 10 minutes
- Cook Time: 0 minutes
- Total Time: 40 minutes
- Yield: 1 snow globe 1x
- Category: Craft
- Method: Crafting
- Cuisine: N/A
- Diet: N/A
Ingredients
- 2 paper plates
- Scissors
- Cotton balls or faux snow
- Glitter (optional)
- Markers or paint
- Tape or glue
- Small figurines or pictures
Instructions
- Prepare the base: Start with one of the paper plates. Decorate it using markers or paint to create a festive base.
- Create the dome: Take the second paper plate and cut a circle out of the center.
- Add the snow: Fill the dome with cotton balls or fake snow and sprinkle with glitter if desired.
- Insert your decor: Secure small figurines or pictures in the center.
- Seal the globe: Tape or glue the rim onto the decorated plate to secure it.
- Let it dry: Allow your snow globe to dry completely before displaying it.
Notes
Keep some paper towels handy for any spills during the crafting process.
Nutrition
- Serving Size: 1 craft
- Calories: 0
- Sugar: 0g
- Sodium: 0mg
- Fat: 0g
- Saturated Fat: 0g
- Unsaturated Fat: 0g
- Trans Fat: 0g
- Carbohydrates: 0g
- Fiber: 0g
- Protein: 0g
- Cholesterol: 0mg