

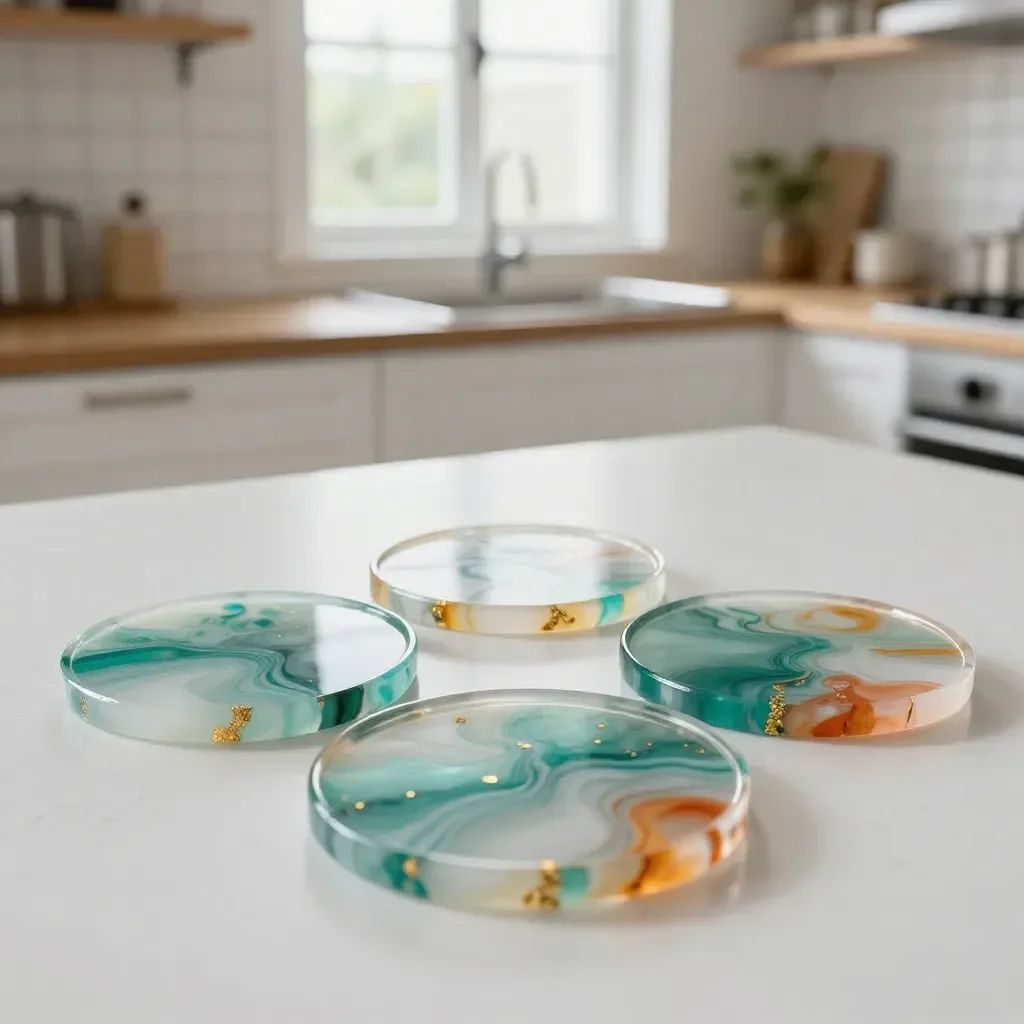
A rainy Saturday afternoon often leads to a flurry of creative activities with the kids. While rummaging through supplies, the idea of making some stunning Metallic Resin Coasters emerges. These coasters promise not only a fun crafting experience but also a chance to create beautiful, functional art pieces. The simple process makes it an excellent choice for families wanting to dive into a hands-on project without a hefty time commitment. As you gather your supplies, consider the creative potential of crafting items like these coasters, which can ultimately enhance your living space. You may also find Teal Moon Unicorn Resin Suncatcher useful.
Why You’ll Love Making Metallic Resin Coaster
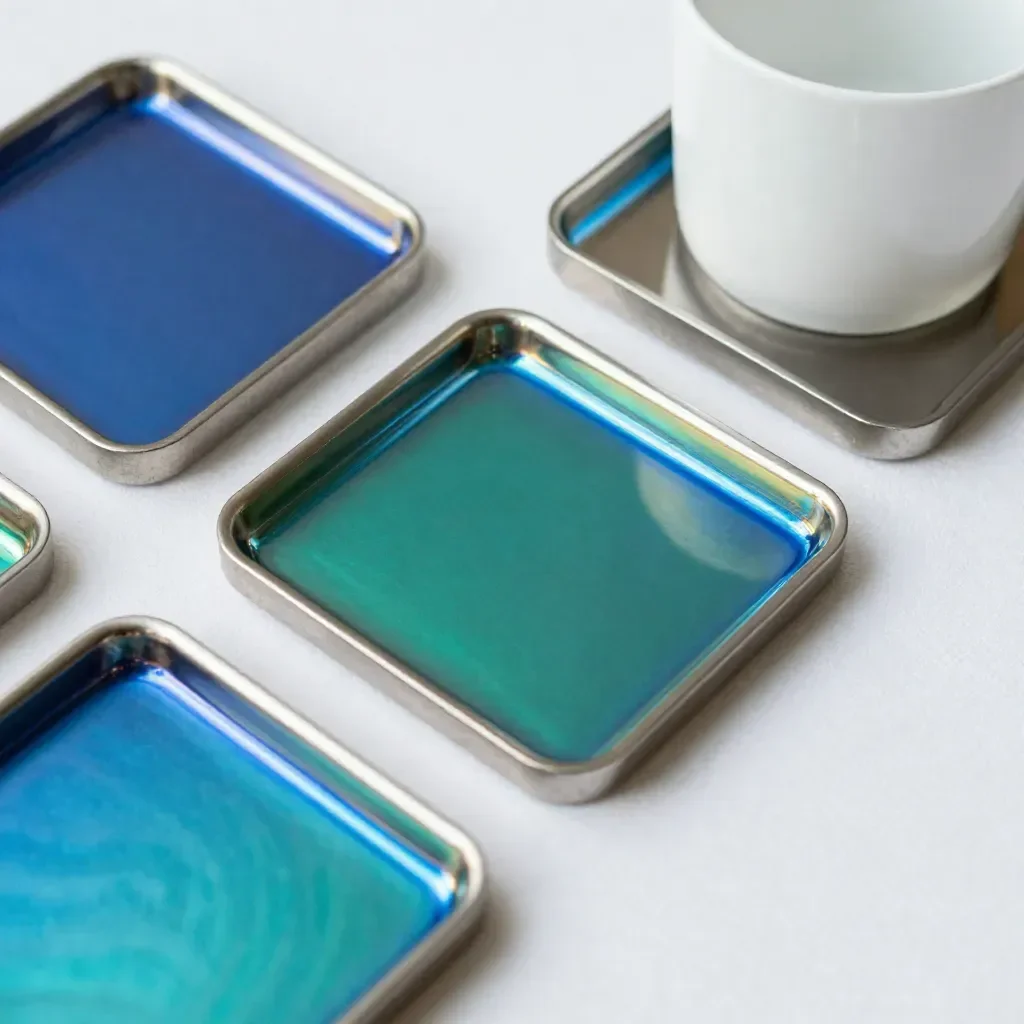
Diving into the world of art with resin can feel overwhelming at first, but to make coasters, the task becomes much more manageable. One of the key reasons this project is appealing is its low-prep nature. You don’t need an extensive list of specialized materials; most can be found around the house or at your nearest craft store. This means less time spent shopping and more time engaging in the creative process.
Crafting metallic resin coasters gives an instant sense of satisfaction. You can see immediate results, making it perfect for little ones eager to see their hard work pay off. This project is reliable; following simple steps means you’ll likely create coasters without the usual hiccups that might accompany more complicated crafts. Whether it’s a last-minute gift or a family bonding activity, making these coasters fits seamlessly into real-life schedules.
The Flow of Making Metallic Resin Coaster
If you’re wondering about the flow of crafting these coasters, it’s a delightful process that can unfold smoothly with the right mindset. The entire crafting session typically takes a couple of hours, depending on your drying time, and it’s a clean activity that requires just a few drop cloths or newspapers to catch any drips. Involving kids can make the experience even better, as they can help mix colors and pour resin, turning it into a playful and educational activity.
While it might seem involved, the steps are straightforward. You don’t need a degree in art; the focus is on enjoying the moment together. It’s all about giving yourself the freedom to make mistakes and learn as you go along. By embracing this spirit, you and your family can create something truly special that reflects your personalities.
Materials You’ll Need
For your metallic resin coasters, here’s a straightforward list of materials you’ll want to gather before you start the crafting process:
- Epoxy resin kit — common at craft stores, includes both resin and hardener.
- Silicone molds — these can come in various shapes; round or square molds work best for coasters.
- Mixing cups — use clear disposable cups for easy measuring and mixing.
- Stir sticks — wooden or plastic sticks for thoroughly combining your resin and colorants.
- Metallic pigments — these add that eye-catching shimmer, but you can also explore DIY color options.
- Gloves — to protect your hands from sticky resin.
- Drop cloths/newspapers — to minimize cleanup jobs.
Make sure to read through all the instructions on the resin kit you purchase, as each product can have slightly different requirements. It helps to set everything up in a well-ventilated area to avoid inhaling any fumes during the mixing process. Now that you have your materials ready, you’re one step closer to making something beautiful!
STEP-BY-STEP DIRECTIONS
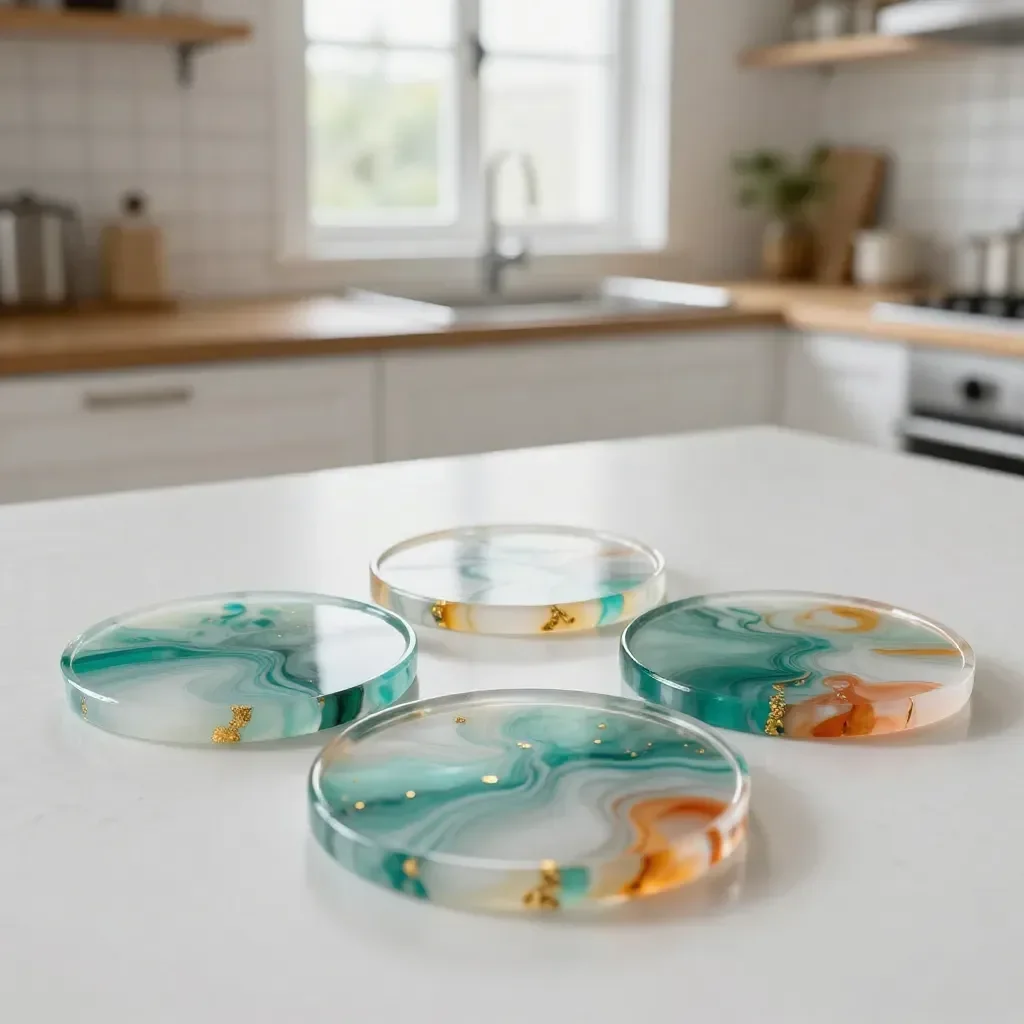
- Prepare Your Workspace: Lay out your drop cloths or newspapers on a flat surface. Ensure you have adequate ventilation if possible, and put on your gloves to protect your skin from the resin.
- Measure the Resin Components: Using the mixing cups, carefully measure equal parts of the epoxy resin and hardener according to your kit’s instructions.
- Mix Thoroughly: Stir the mixture with your stick for about 3 to 5 minutes, ensuring that it is combined thoroughly to prevent any tackiness in the final piece.
- Add Pigments: Once your resin is mixed, pour a small amount into separate cups if you want different colors. Add your metallic pigments here and stir until the colors are uniform.
- Pour Into Molds: Slowly pour the colored resin mixture into your silicone molds. Be careful to avoid spilling over the edges.
- Finishing Touches: If you’d like to create patterns or swirls, use a stick to gently mix colors within the molds. This fun technique can yield some fabulous results.
- Let It Cure: Follow the instructions on your resin kit for curing times, which usually ranges from 24–72 hours. Keep the molds in a safe place to prevent any disturbances while they set.
- Demold and Finishing: Once fully cured, gently peel the coasters from the silicone molds. Use sandpaper to smooth out any rough edges if needed.
This activities not only lead to functional coasters but also nurture creativity among children. They can experiment with colors and design, enabling them to take ownership of their creations. The excitement builds as they await their unique coasters to cure fully!
The Learning Behind This DIY

Crafting these coasters provides a fun opportunity for children to practice several skills during the creative process. Mixing the resin introduces principles of chemistry, as kids learn about how the two-part mixture transforms when combined. The careful measuring and pouring enhance their fine motor skills and coordination as they navigate working with a liquid that can be messy if not handled carefully. Additionally, observing changes as the resin cures reinforces the concept of cause and effect.
This project encourages patience and concentration, as creating art isn’t always instantaneous. Children experience the thrill of anticipation as they wait for their coasters to set. Reflecting on these moments can help them understand the importance of dedication and effort in achieving satisfactory results.
Troubleshooting Common Issues
Crafting is a joyful experience but sometimes things don’t go as planned. Below are some common issues you might encounter and simple solutions to keep your experience smooth.
If your resin feels sticky after curing, it might be due to an incorrect mixing ratio or insufficient mixing time. Ensure to measure accurately next time and mix thoroughly. Should you notice bubbles in your finished coasters, a simple solution is to lightly torch the surface with a heat source to help them rise and pop.
If the colors pool too much on one side of the mold, gently tapping the mold can help redistribute the resin. However, it’s essential to work deliberately and avoid sudden movements to maintain the intended aesthetics. Common pitfalls occur, but with a little patience and a focus on fun, you can usually find a way to enhance the look of your coaster.
Easy Variations to Try
There are numerous ways to put a creative spin on your metallic resin coasters. Here are a few suggestions to spark your imagination:
- Layered Designs: Pour different layers of resin in varying colors to create a beautiful striated effect.
- Inclusions: Experiment by adding small embellishments like dried flowers, glitter, or even small photographs within your coasters for personalized touches.
- Seasonal Themes: Change up the pigments based on seasons or holidays; autumn colors for fall, bright cheerful shades for summer, etc.
- Functional Enhancements: Consider adding a cork backing for extra grip and to protect furniture surfaces.
Feel free to try these variations as they can add an exciting twist to your project, making it an adaptable activity for various occasions.
Storing or Reusing This Project
Once you’ve completed your coasters and they’ve found their place in your home, you might wonder what to do with leftover materials or how to store any excess.
If you have leftover resin, ensure to store it correctly according to the manufacturer’s recommendations. The resin usually cannot be reused once it has been mixed, but any uncombined materials can often be saved for future projects. Aim to keep your workspace tidy to reduce waste; ensure everything has a place so that next crafting session runs smoothly.
For cleanup, make sure to read the resin instructions on how to dispose of any waste responsibly. Always avoid pouring resin down the drain; check for local disposal guidelines to ensure you’re following the safest practices.
FAQs About Metallic Resin Coaster
What if I make a mess during the process?
Don’t worry about the mess too much! It happens to the best of us. Using drop cloths makes cleanup easier, and any spills can usually be cleaned up quickly with rubbing alcohol. Keeping some paper towels handy is always a good idea.
Are these safe for children to make?
Yes, but always supervise young children closely during this project due to the nature of resin. Discuss safety rules, such as not touching the resin directly until fully cured and wearing gloves.
Can I use different materials?
Definitely! If you want to experiment, you can use different molds or even try varying thicknesses. Just make sure the materials you choose are compatible with resin.
What happens if they don’t come out of the mold?
Sometimes it can take a little extra coaxing to get coasters out of silicone molds. If they seem stuck, try gently twisting the mold or putting it in the freezer for a short time, which can help release them.
What’s the best way to store my coasters?
You can keep your coasters stacked in a dry, cool place. Using felt or fabric between them helps to prevent any scratching on the surface.
A Final Helpful Note
As you take on this crafting adventure, remember to embrace the process. Making metallic resin coasters is not just about the finished product but enjoying the experience with your family. Allow room for creativity and the inevitable surprises that crafting may bring. Each unique coaster reflects both your personality and the fun journey you shared. Most importantly, give yourself permission to enjoy every moment!
Conclusion
Exploring resin art can be a thrilling experience. If you’re looking for additional ideas that integrate techniques similar to those used in simple coasters, this guide on the Coaster Effect Gold is a valuable resource. For a fun twist, consider making a skull metal coaster, offering a unique take on resin creativity. Let your imagination lead the way as you embark on this artistic journey!
PrintMetallic Resin Coasters
A fun and creative family project to make stunning metallic resin coasters at home.
- Prep Time: 10 minutes
- Cook Time: 0 minutes
- Total Time: 120 minutes
- Yield: 4 coasters
- Category: Craft
- Method: Crafting
- Cuisine: N/A
- Diet: N/A
Ingredients
- Epoxy resin kit
- Silicone molds
- Mixing cups
- Stir sticks
- Metallic pigments
- Gloves
- Drop cloths/newspapers
Instructions
- Prepare your workspace: Lay out your drop cloths or newspapers on a flat surface and ensure good ventilation.
- Measure the resin components: Measure equal parts of resin and hardener using mixing cups.
- Mix thoroughly: Stir the mixture for about 3 to 5 minutes until combined.
- Add pigments: Pour some resin into cups and add metallic pigments, stirring until uniform.
- Pour into molds: Slowly pour the colored resin into silicone molds, avoiding spills.
- Finishing touches: Use a stick to mix colors within the molds for patterns.
- Let it cure: Follow the curing instructions for 24–72 hours, keeping molds undisturbed.
- Demold and finish: Once cured, gently peel out the coasters and smooth rough edges if necessary.
Notes
Ensure to follow the manufacturer’s instructions for the resin kit and work in a well-ventilated area.
Nutrition
- Serving Size: 1 coaster
- Calories: 0
- Sugar: 0g
- Sodium: 0mg
- Fat: 0g
- Saturated Fat: 0g
- Unsaturated Fat: 0g
- Trans Fat: 0g
- Carbohydrates: 0g
- Fiber: 0g
- Protein: 0g
- Cholesterol: 0mg