

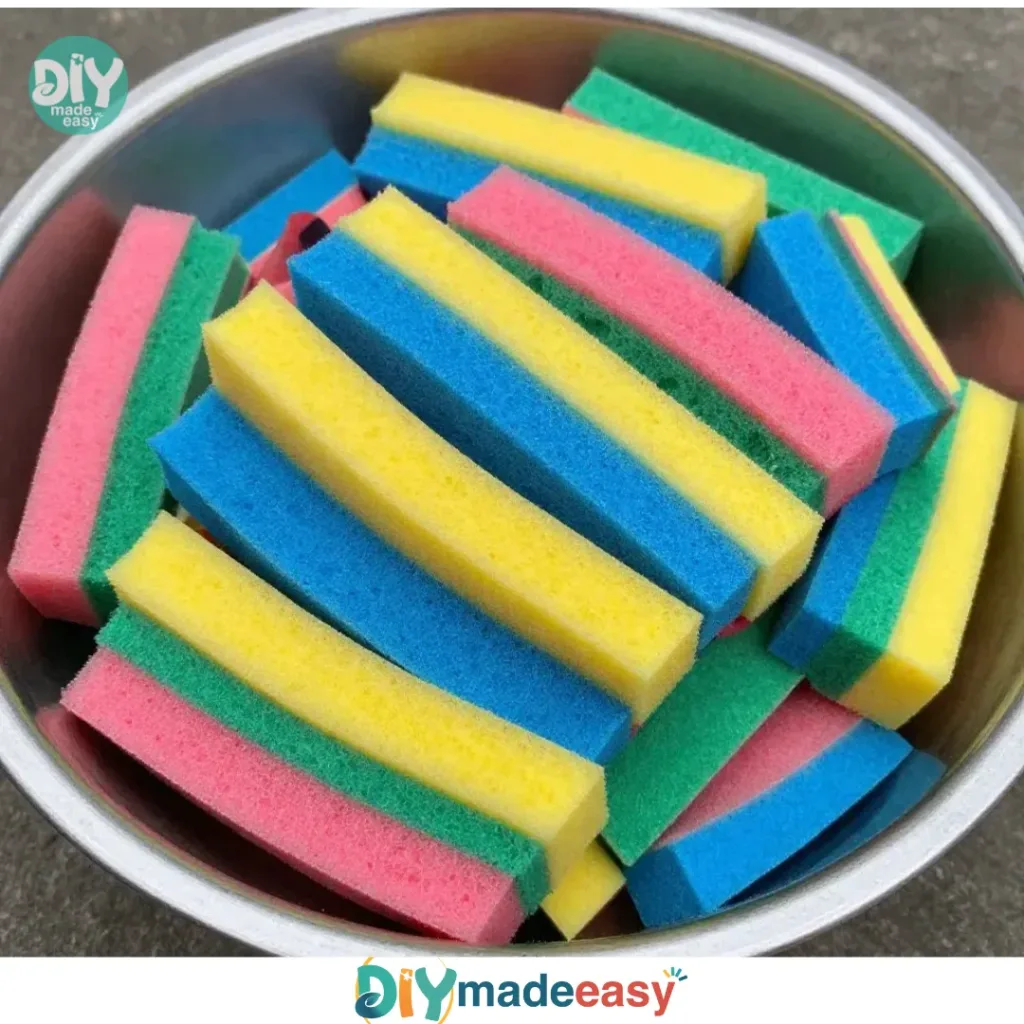
Frozen afternoons with kids often lead to a flurry of energy and creative ideas. When they eagerly shout for a fun activity but there’s no time for elaborate planning, Frozen Sponge Water Bomb Targets become the perfect solution. This simple DIY project transforms ordinary sponges into colorful, icy water bombs that promise hours of play. Not only is it an enjoyable way to cool down during warmer days, but it also offers a fascinating glimpse into the wonders of water retention and the magic of freezing. With just a few household items and a bit of prep, you can create these frozen delights that are sure to excite your little ones. You may also find Colored Sugar Water Treats useful.
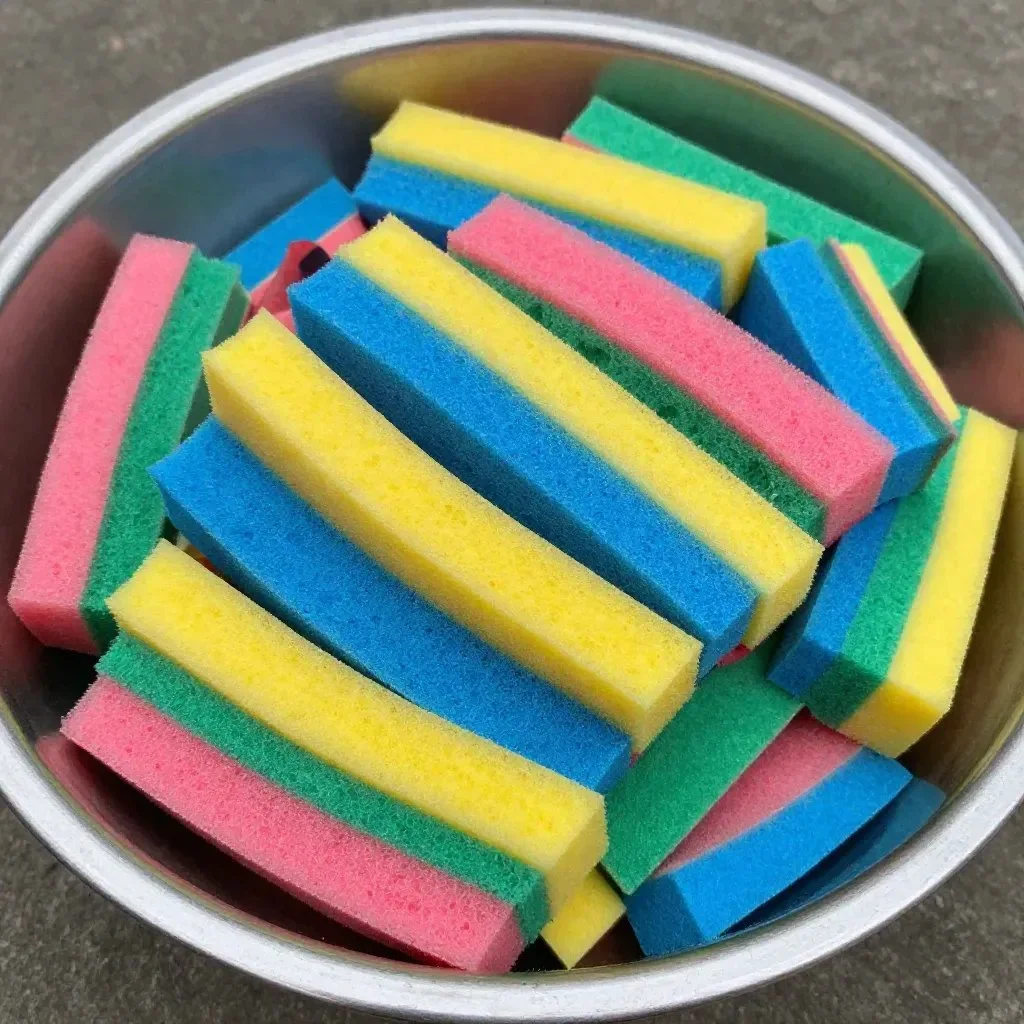
Why This Frozen Sponge Water Bomb Targets Works So Well
You may also find Cotton Ball Water Bead Squishies useful.
What makes Frozen Sponge Water Bomb Targets so appealing is their low-prep nature and the accessible materials needed. This project doesn’t demand special tools or ingredients, making it approachable for everyone. On a busy day, you can pull it together quickly, even with kids buzzing about in the background. The excitement of tossing around frozen sponges offers real-world play, connecting kids with the natural world through water play. Adaptability is another strength; while you can stick to the classic sponge and water combo, a few drops of food coloring can make the experience even more visually engaging and fun. You may also find Diy Self Watering Planters Recycled Bottles useful.
A Quick Look Before You Begin
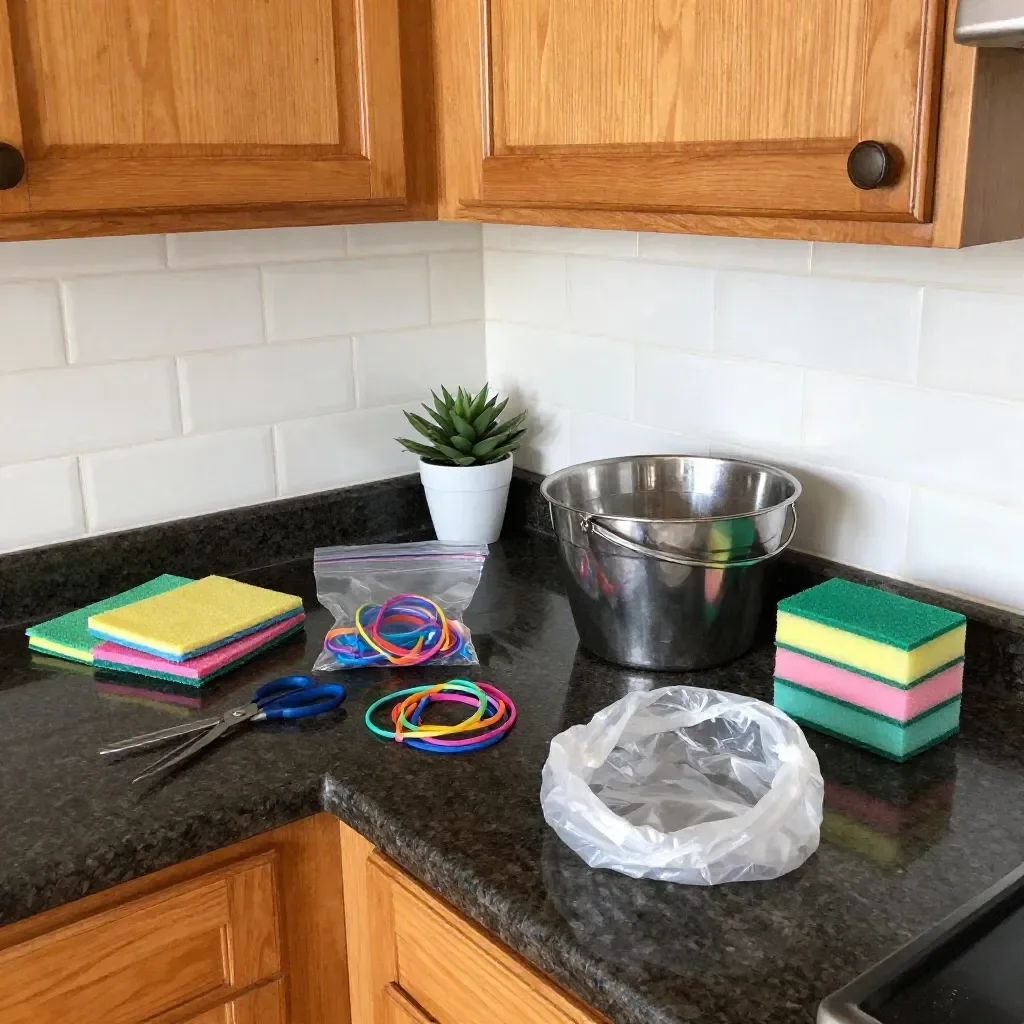
Creating Frozen Sponge Water Bomb Targets is straightforward and requires only a bit of setup. Start by gathering your materials, which can usually be found at home. The process involves soaking and freezing, so you’ll want to allow some time for the freezing stage—typically a few hours. Expect some splashes and giggles during playtime, but the cleanup can be minimal since sponges absorb most of the water. You’ll find this activity requires little involvement from adults after the initial prep, allowing kids to take charge and enjoy their play. You may also find Frozen Bubbles useful.
Materials You’ll Need
- Sponges (vibrant colors)
- Bucket or large bowl (for soaking)
- Water
- Ziplock bags (for freezing)
- Optional: food coloring
Most of these items are common household staples, making this a budget-friendly and easy project to start. Remember that food coloring is optional, but it can enrich the experience by adding a fun visual element to your sponge bombs.
Step-by-Step Directions
Prepare the Sponges: Begin by cutting sponges into smaller pieces if desired. This step can be a fun activity itself as kids can choose their preferred sizes.
Soak the Sponges: Place the sponge pieces in a bucket filled with water. Ensure they soak until fully saturated. You’ll notice them swelling and becoming heavier at this stage.
Optional Coloring: If you want to add some flair to your sponge bombs, add a few drops of food coloring to the water before soaking. It’s a simple step that makes them more visually appealing.
Pack for Freezing: Once the sponges are fully soaked, carefully place them into Ziplock bags. Remove as much excess air as you can to help with freezing.
Freeze: Place the sealed bags in the freezer. This is where the magic happens—wait for a few hours until they are fully frozen and solid.
Time to Play!: Take out the frozen sponge bombs and enjoy water play or friendly battles! Get ready for some laughs and splashes as kids throw these icy wonders at each other.
The Learning Behind This DIY
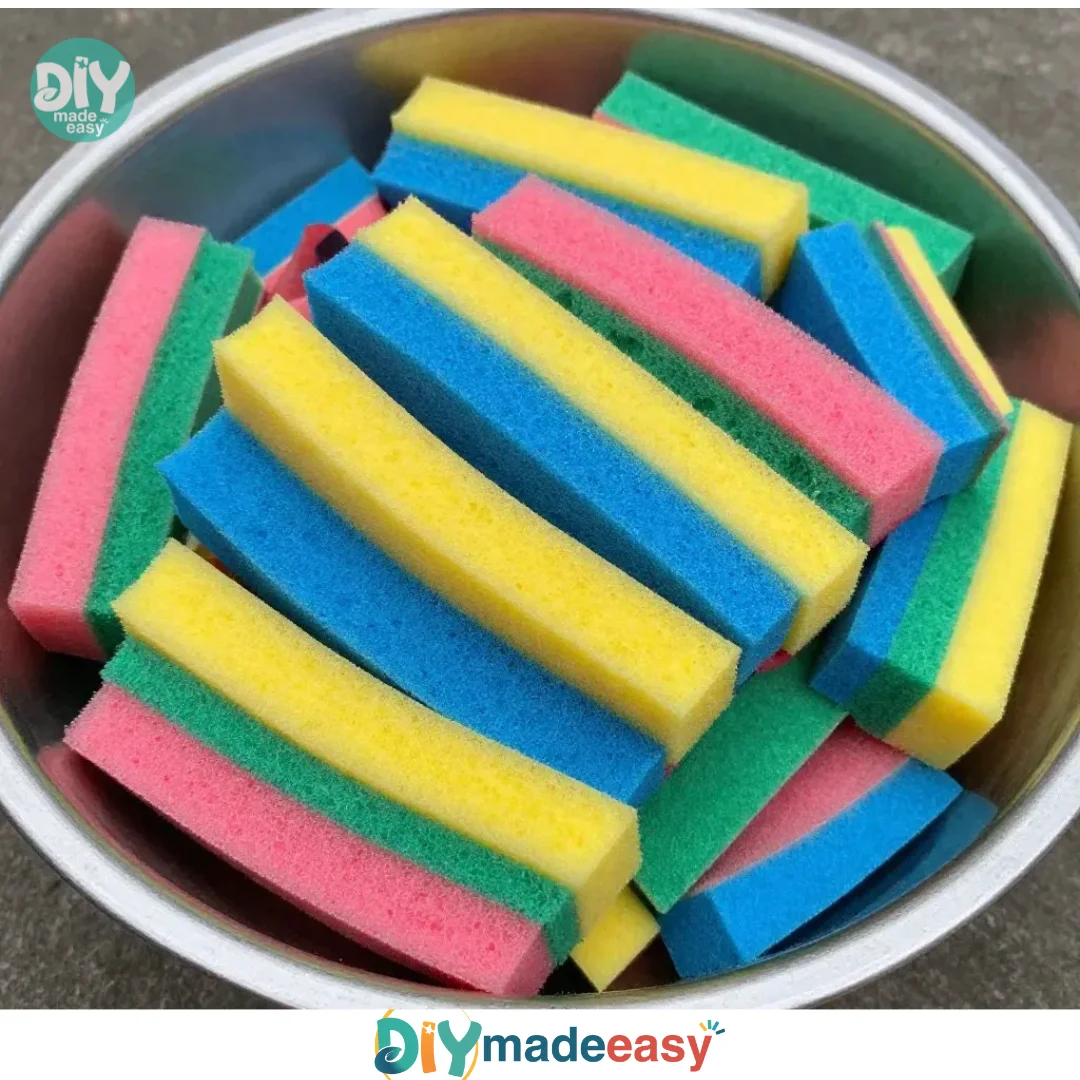
While the primary goal of making Frozen Sponge Water Bomb Targets is fun, there’s also an opportunity for learning. Kids can explore simple science concepts, such as how water expands when it freezes. This project develops fine motor skills and enhances coordination too, as children handle the sponges and engage in playful throwing. The cause-and-effect relationship of tossing a sponge and the subsequent splash showcases basic physics—although the main aim is simply to have fun!
Troubleshooting Common Issues
If something doesn’t go as planned, don’t worry; problems are often easy to fix. If your sponges are not freezing well, ensure the Ziplock bags are sealed properly to prevent leaks. Sometimes kids will want to use larger sponges, which might take longer to freeze. If you notice a big puddle forming during play, just have some towels ready to catch the drips—cleanup is usually as easy as that. These common concerns are manageable so that you can focus on the joy of creation and play.
Easy Variations to Try
There are plenty of ways to adapt this project for different ages and preferences. Try using sponges of various shapes for added excitement, or turn the activity into a color-matching game by having kids identify colors after they’re thrown. For a seasonal twist, use Halloween-themed sponges or festive colors for holidays. You could also experiment with different liquids—like colored juice or scented water—if you want to create a multi-sensory experience.
Storing or Reusing This Project
When it comes to storage, keeping the sponge bombs is as easy as returning the frozen sponges to their Ziplock bags and placing them back in the freezer. This way, you can reuse them for future fun! If any sponges have started to fall apart, remember you can simply use new ones. Cleanup is straightforward, as most of the mess will be contained within the sponges once they thaw.
FAQs About Frozen Sponge Water Bomb Targets
What if the sponges turn into mush?
It’s normal for some sponges to lose their shape after multiple uses. If they become too soft, simply replace them with new ones.
Are these safe for younger kids?
Yes, Frozen Sponge Water Bomb Targets are generally safe for kids. However, supervise younger children to avoid slipping on any water spillage and encourage safe play.
What’s the best way to clean up afterwards?
Have some towels handy to quickly absorb any excess water. The sponges will contain most of the liquid, so the cleanup should be quick and easy.
Can I use regular sponges?
Absolutely! Regular sponges work well, but vibrant-colored sponges add a fun element to the experience.
How long do they last?
The frozen sponge bombs will last for several hours, depending on the temperature outside and how quickly kids are playing with them.
Conclusion
Conclusion
Frozen Sponge Water Bomb Targets are not just a fun activity but a captivating experience that merges play with science. With the right materials, your kids can dive into a world of splashing fun while exploring how freezing transforms water. As a bonus, don’t miss checking out products like Da Bomb Bath Fizzers Frozen Bath Bomb for some creative bath time fun that matches the whimsy of this project. For more engaging activities that integrate learning and play, visit resources such as Water Balloon Game from Learning After School. Enjoy making magical memories with your young explorers!
PrintFrozen Sponge Water Bomb Targets
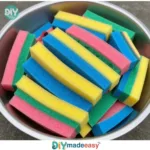
A fun and easy DIY project turning ordinary sponges into colorful, icy water bombs for hours of play and learning.
- Prep Time: 15 minutes
- Cook Time: 180 minutes
- Total Time: 195 minutes
- Yield: Varies by sponge size
- Category: DIY
- Method: Freezing
- Cuisine: N/A
- Diet: N/A
Ingredients
- Sponges (vibrant colors)
- Bucket or large bowl (for soaking)
- Water
- Ziplock bags (for freezing)
- Optional: food coloring
Instructions
- Prepare the sponges: Begin by cutting sponges into smaller pieces if desired.
- Soak the sponges: Place the sponge pieces in a bucket filled with water until fully saturated.
- Optional coloring: Add a few drops of food coloring to the water before soaking.
- Pack for freezing: Place the soaked sponges into Ziplock bags and remove excess air.
- Freeze: Place the sealed bags in the freezer for a few hours.
- Time to play!: Enjoy water play or friendly battles with the frozen sponge bombs!
Notes
Supervise younger children to avoid slipping on water spillage. Keeping towels handy for cleanup is advised.
Nutrition
- Serving Size: 1 sponge bomb
- Calories: N/A
- Sugar: N/A
- Sodium: N/A
- Fat: N/A
- Saturated Fat: N/A
- Unsaturated Fat: N/A
- Trans Fat: N/A
- Carbohydrates: N/A
- Fiber: N/A
- Protein: N/A
- Cholesterol: N/A