

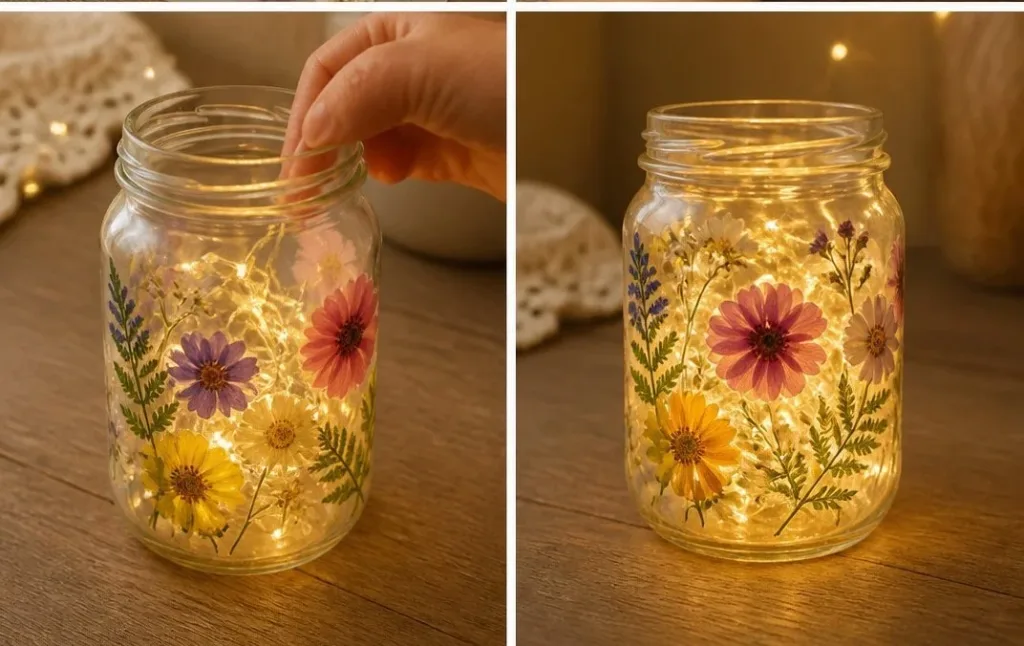
Creating a Floral Fairy Jar can be the perfect solution for an impromptu craft session, especially on those busy afternoons when the kids are bursting with energy and creativity. Picture the scene: your little ones are eagerly asking for an engaging activity, and you want something they can create without much fuss. The Floral Fairy Jar is not only simple to make but also allows each child to explore their artistic side while creating a beautiful keepsake. By decorating jars with pressed flowers and twinkling fairy lights, you can easily bring a touch of magic into your home. You may also find Diy Lightning Storm In A Jar useful.
What Makes Floral Fairy Jar Easy to Start
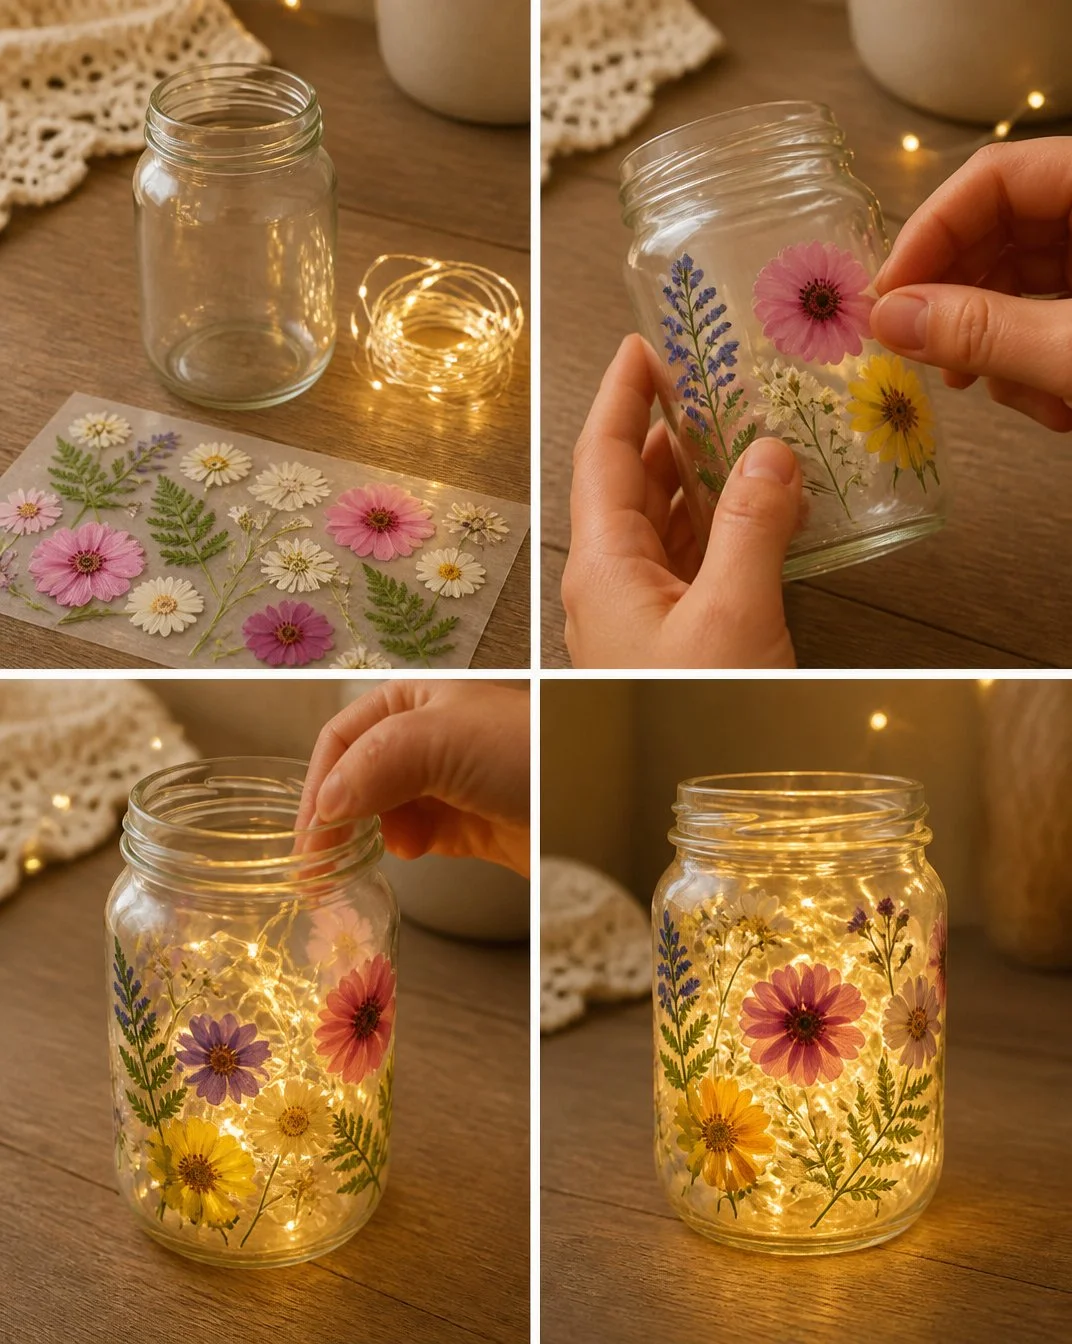
The Floral Fairy Jar stands out as a low-prep activity that seamlessly integrates into real-life schedules. You don’t need to spend hours gathering materials or preparing complex instructions. This craft is approachable yet produces impressive results, making it ideal for both kids and adults. The flexibility of being able to choose preserved flowers gives each jar a unique charm, while the fairy lights add a magical glow that brightens any space. You may also find Glowing Glitter Jar useful.
Moreover, with just a simple gathering of materials from around your home, you can turn an ordinary afternoon into a creative adventure. This project is realistic; perfect for ages ranging from toddlers to teens. The instant satisfaction of seeing their creations light up will surely boost your child’s confidence, making them excited to show off their work to family and friends. You may also find Magic Glitter Jar useful.
How This DIY Comes Together
Before diving into this floral fun, let’s look at what you’ll need. The setting for making the Floral Fairy Jar is comforting and simple. You can set aside about 30 minutes for this activity. This includes decorating the jar and arranging the fairy lights, making it manageable even on a busy day. The cleanup is minimal since you only need to deal with glue and flowers. Most items can be easily wiped clean. You may also find Magical Snowstorm In A Jar Diy Winter Craft useful.
It’s a good idea to involve an adult for the glueing step to ensure safety and help manage the materials. Children can have fun choosing the colors and arranging the flowers once the adhesive is prepped. You’ll be pleasantly surprised by how quickly kids can assemble these jars once everything is ready.
Materials You’ll Need
For this delightful Floral Fairy Jar, you’ll require the following items:
- Jar: Use any glass or plastic jar you have at home.
- Pressed flowers: These can be collected from your garden or purchased from craft stores.
- Fairy lights: Battery-operated lights work best and create a gentle glow.
When gathering these materials, remember that jars are common household items. Pressed flowers can be an optional choice if you want to play with colors or patterns. The fairy lights, essential for the enchanting touch, can be budget-friendly if you look for sales.
Step-by-Step Directions
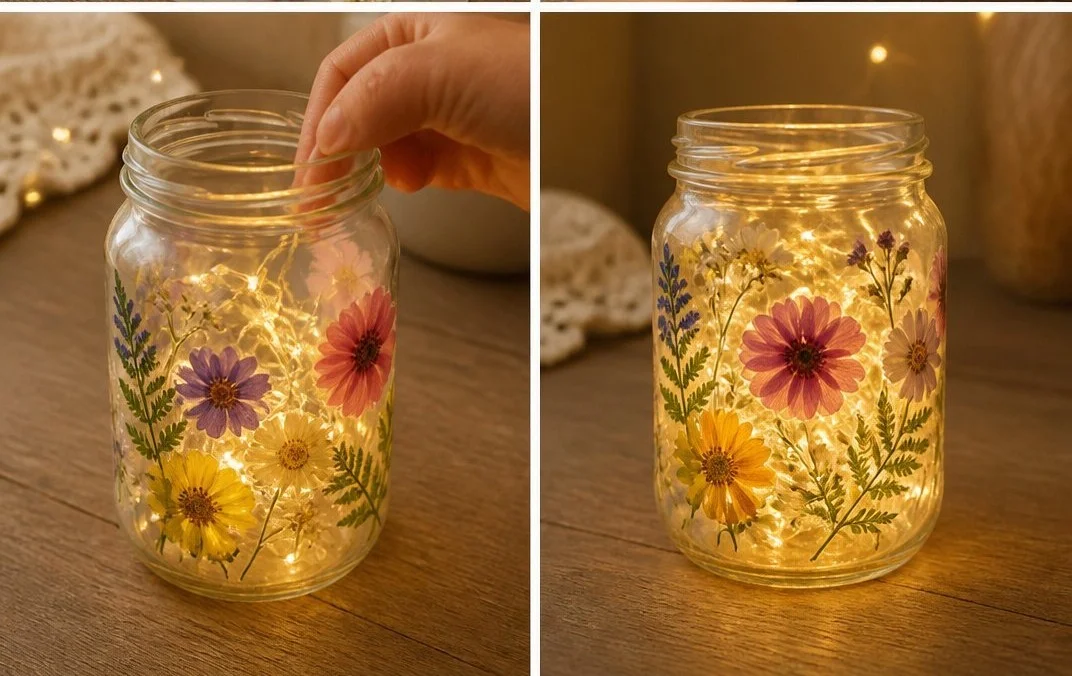
Begin by decorating your jar. Use glue to attach the pressed flowers to the outside or tuck them inside for a surprise. Enjoy the process and let your creativity shine. The tactile nature of gluing can be quite satisfying, allowing children to express themselves in their designs.
Gently add the fairy lights inside once your jar looks just the way you like it. Spread the lights out for an even, lovely glow. Make sure that the battery pack is easily accessible for turning the lights on or off, so the kids can enjoy their work whenever they want.
The Simple Science or Skills at Work

Creating a Floral Fairy Jar engages various skills and concepts, making it not just a craft but a valuable learning experience. As children arrange the flowers and handle the lights, they practice fine motor skills. The process of gluing and positioning flowers enhances their hand-eye coordination, allowing them to become more adept at manipulating small items.
Additionally, this activity introduces basic concepts of cause and effect. For example, placing the fairy lights inside the jar makes the flowers visible in a new way. Kids can observe how ambient light can change their perception of color and structure, sparking curiosity about lighting and aesthetics.
Troubleshooting Common Issues
Sometimes things don’t go as planned, and that’s perfectly alright! If the glue doesn’t hold, ensure that the surfaces are clean and dry before applying it. If the fairy lights seem too bright, try positioning them deeper in the jar for a softer glow. If spills occur, it helps to have a damp cloth handy to clean up quickly. Kids usually learn best through these little mishaps, so embracing the messiness can transform frustrations into lessons.
Easy Variations to Try
To keep the magic alive, you can easily introduce variations to this project. Here are some ideas:
- Seasonal Themes: Use seasonal flowers or embellishments, like autumn leaves or spring blossoms, to match the time of year.
- Colorful Layers: Try layering different colors of flowers to create a stunning visual effect.
- Different Jars: Use variously sized jars to create a collection with varying heights, which can add to the overall décor.
- Personalized Touches: Include photographs or small notes inside the jar for a personal touch.
Storing or Reusing This Project
After enjoying the beauty of your Floral Fairy Jar, consider ways to store or reuse your materials. You can keep the jar as a decorative item on a shelf or even switch the flowers out seasonally. Cleanup is easy; simply wipe down the workspace with a damp cloth, and recycle or save any unused materials for future projects. You’ll be amazed at how this can spark a journey into eco-friendly crafting, minimizing waste while maximizing creativity.
FAQs About Floral Fairy Jar
What if my kids get glue all over the place?
It’s not uncommon for kids to get a bit messy during art projects. Providing aprons can help, and you can use a damp cloth for quick cleanup.
Are the materials safe for young children?
Yes, all materials used in making the Fairy Jar are safe. If using glue, supervise younger kids to ensure they don’t ingest any materials.
Can we use fresh flowers instead of pressed flowers?
While fresh flowers aren’t ideal, considering they wilt, pressed flowers are a great alternative that preserves the beauty for a longer time.
What if I don’t have fairy lights?
If you lack fairy lights, you can substitute with battery-operated candles that provide a gentle flicker.
How can we make this more interactive?
Encourage your kids to share stories or themes related to each flower they choose, adding a storytelling element to the craft.
Conclusion
Creating a Floral Fairy Jar is a magical experience that truly shines in its simplicity. Engaging with pressed flowers and fairy lights fosters creativity and imaginative play. If you’re looking for additional floral-themed crafts, you might explore this Flower Fairy Jar or dive into a more hands-on experience like DIY Floral Fairy Lights from Upcycled Plastic Bottles. Embrace the creativity and let your family’s imagination flourish!
PrintFloral Fairy Jar
A delightful craft project that combines pressed flowers and fairy lights to create a magical keepsake jar.
- Prep Time: 10 minutes
- Cook Time: 20 minutes
- Total Time: 30 minutes
- Yield: 1 jar
- Category: Craft
- Method: Crafting
- Cuisine: N/A
- Diet: N/A
Ingredients
- Glass or plastic jar
- Pressed flowers
- Battery-operated fairy lights
Instructions
- Begin by decorating your jar. Use glue to attach the pressed flowers to the outside or tuck them inside.
- Gently add the fairy lights inside once your jar looks just the way you like it.
Notes
Feel free to get creative with themes and seasonal decorations, and ensure the workspace is cleaned up quickly to manage any glue spills.
Nutrition
- Serving Size: 1 completed jar
- Calories: 100
- Sugar: 0g
- Sodium: 0mg
- Fat: 0g
- Saturated Fat: 0g
- Unsaturated Fat: 0g
- Trans Fat: 0g
- Carbohydrates: 0g
- Fiber: 0g
- Protein: 0g
- Cholesterol: 0mg