

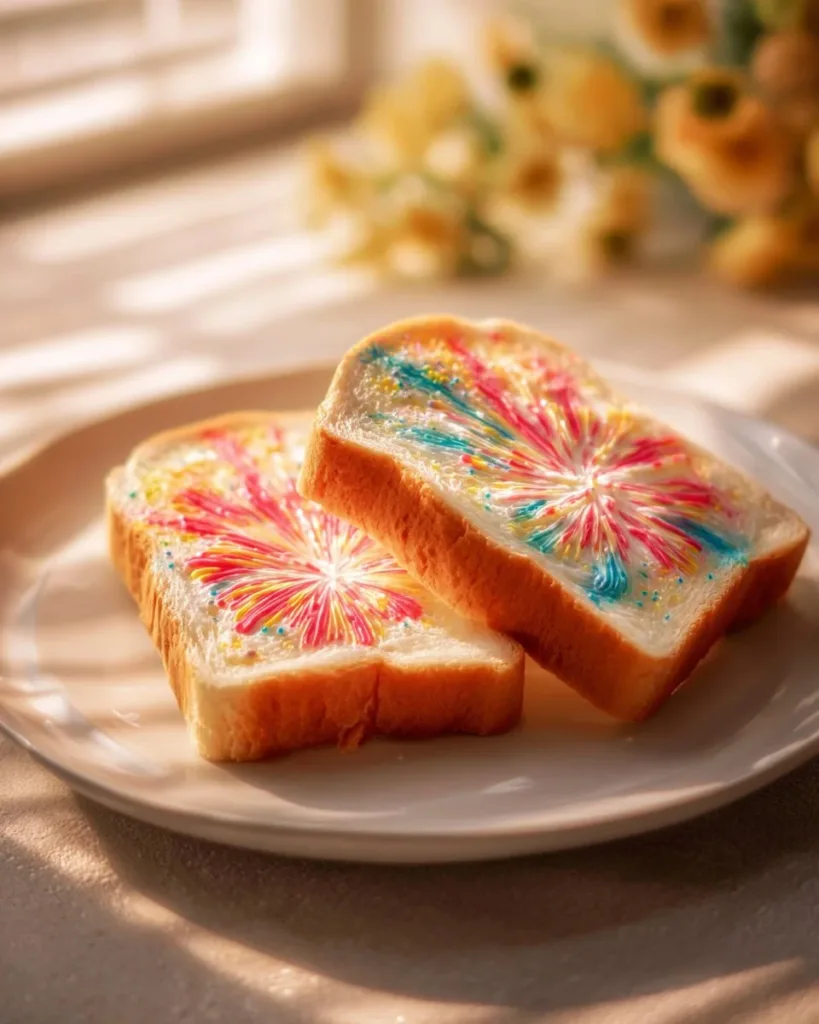
A busy afternoon, kids buzzing with energy, and you want a quick, cheerful activity that ends with something tasty. Edible Paint Fireworks Toast fits that moment perfectly. It takes only a few things from the kitchen, sets up fast, and gives kids a creative way to paint and then eat their work.
I like to pull this out when plans change or when we need a calm, hands-on project before dinner. If you have a slice of bread, a little milk, and gel food coloring, you already have the main ingredients. If you want a slightly fizzier craft to follow, try our playful foam experiment with baking soda and vinegar fireworks later it keeps the creative momentum going and uses the same sense of wonder that makes this toast so fun.
Why You’ll Love Making Edible Paint Fireworks Toast
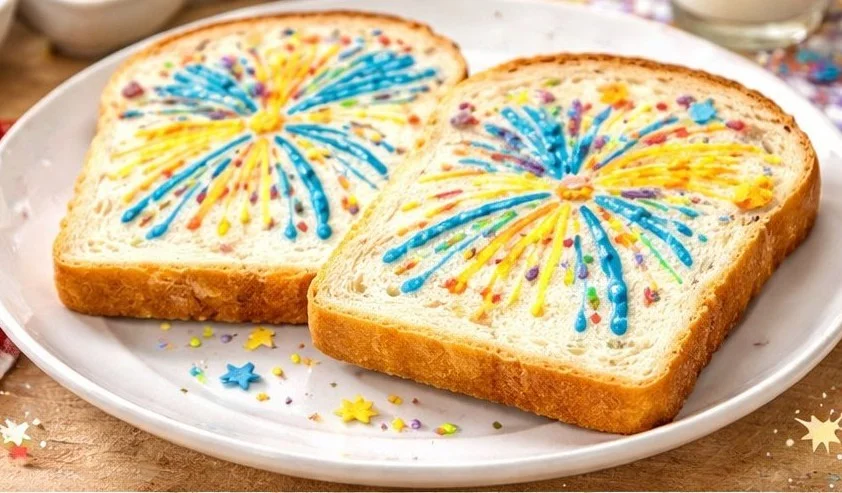
This project works for busy days because it needs almost no prep and uses things you likely keep on hand. The paints come together in a single bowl, and kids can switch colors without waiting for anything to dry. It feels like art and snack time at once, which makes it easy to sell to picky eaters and busy families.
It stays approachable because the steps stay simple. You do not need special tools or long recipes. The results look bright and cheerful without perfection. The toast gives a clear finish point too when the bread is golden, you’re done and ready to eat.
This activity also fits different schedules. You can set it up in 10 minutes, let kids paint for as long as they want, and then finish in a few minutes of toasting. Clean up is small because most of the mess comes from a few bowls and a brush, not the whole kitchen. That low commitment makes it reliable for afternoons when plans change.
A Quick Look Before You Begin
This DIY usually takes about 20 to 30 minutes total, including setup and cleanup. Plan for a brief adult presence for the toasting step and to keep things tidy with younger kids. Older kids can do most of the painting on their own.
Setup takes only a few minutes. Lay out the bread, measure the milk, and put small dots of gel color into separate little bowls or sections. A brush or a clean spoon works for painting. You can use the sink for quick rinses, which keeps the counter tidy.
Expect low to medium mess. Gel color can stain hands or counters if it sits, so keep paper towels handy. A damp cloth will clean up most spots right away. Paint bowls wash easily with warm water and soap.
Materials You’ll Need
4 slices white sandwich bread
1/4 cup milk
Gel food coloring: red, blue, yellow, purple
Optional: star sprinkles
Optional: edible glitter
Optional: whipped cream cheese for topping
Notes: The bread and milk are common household items. Gel food coloring gives bright colors without watering everything down. Star sprinkles and edible glitter are optional extras for sparkle. Whipped cream cheese makes a creamy topping and helps sprinkles stick.
STEP-BY-STEP DIRECTIONS
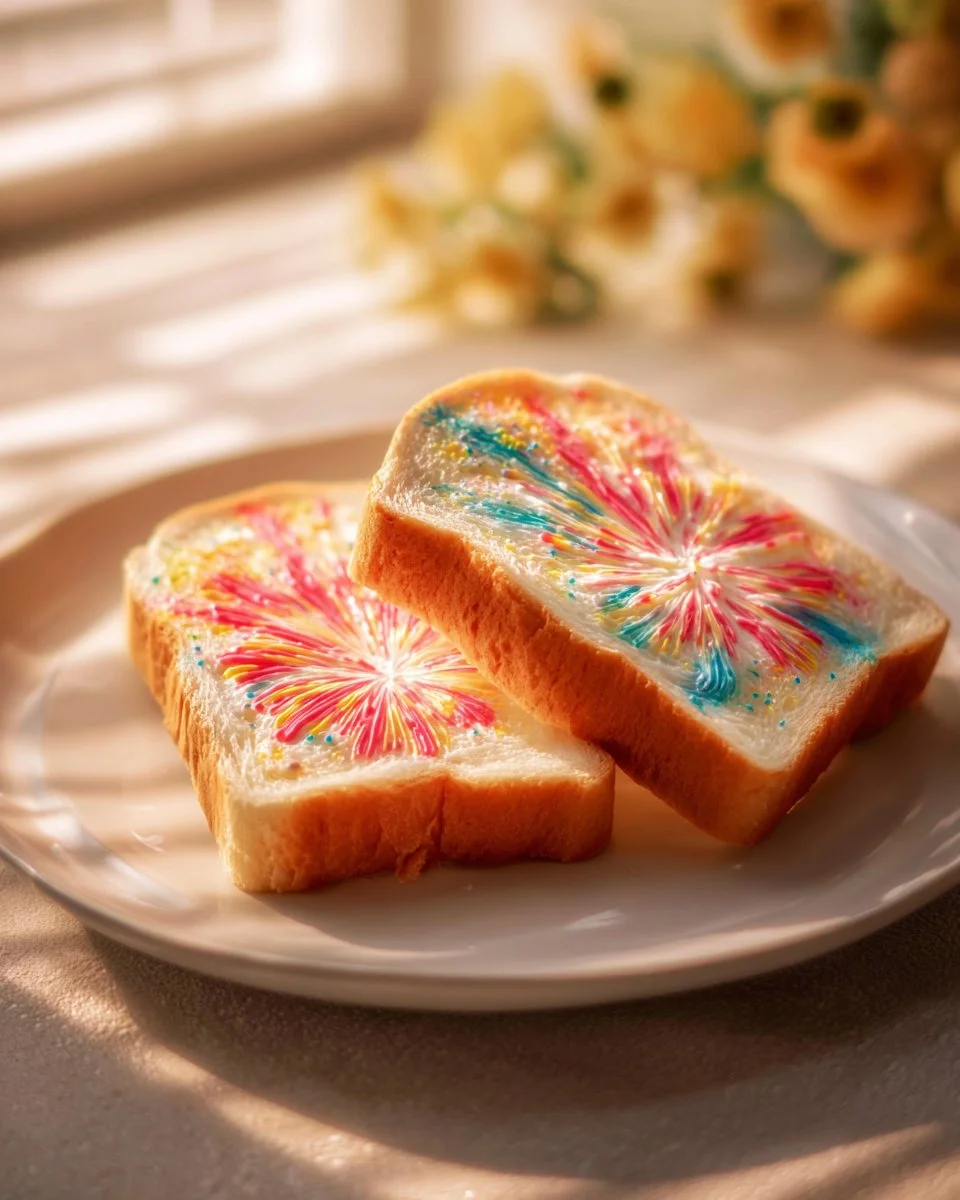
- In a bowl, mix the milk with gel food coloring to create bright colors.
Keep each color in a separate small bowl or shallow dish.
Stir until the gel blends and you see vibrant, even shades.
A little gel goes a long way, so start small and add more if needed. - Use a brush or spoon to paint colorful designs on each slice of bread.
Let kids make fireworks, stars, or swirls with the paint.
Paint gently so the bread does not tear; the milk soaks in and softens the surface.
If a color puddles, blot gently with a paper towel and keep going. - Heat a skillet over medium heat and toast the painted bread until golden.
Place the painted bread paint-side up or down based on how you like the finish.
Toast until you see a light golden color and the bread firms slightly.
Watch closely paint can caramelize if the heat is too high. - If you’d like, add star sprinkles, edible glitter, or whipped cream cheese on top.
Spread a thin layer of whipped cream cheese for a smooth finish before sprinkles.
Sprinkle stars or glitter right after toasting so toppings stick.
Serve warm and enjoy the painted designs before they fade.
Skills This Activity Supports
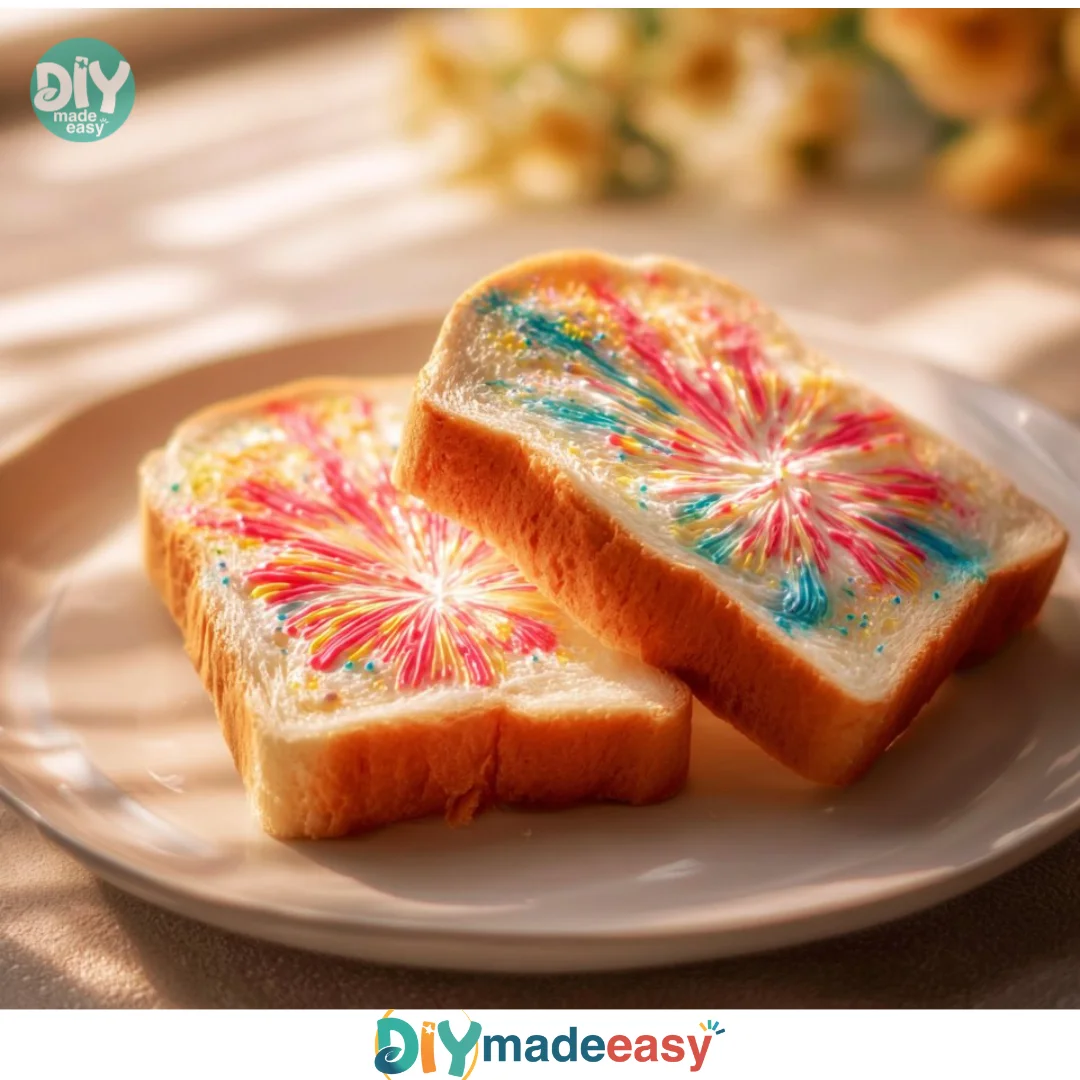
This simple activity supports a lot of early skills. Painting on bread helps fine motor control because kids use small wrist and finger movements to guide a brush or spoon. That gentle, repeated motion builds coordination useful for writing and cutting later.
Mixing the milk and gel coloring teaches cause and effect. Kids see how a small dot of gel changes a whole bowl of milk and how colors blend when they mix paints. That visual feedback keeps them curious and engaged.
Measuring the milk and scooping color introduces basic kitchen habits. They learn to pour, stir, and judge consistency. Those tiny, practical steps build confidence for bigger kitchen tasks later.
Troubleshooting Common Issues
If the color looks too faint, it usually means not enough gel or too much milk. Add a tiny bit more gel and stir; gel colors concentrate easily. If the paint turns the bread soggy, you probably used too much liquid. Dab the paint with a paper towel and use less next time.
If the bread tears while painting, the brush pressure is too hard or the bread is very fresh and soft. Let the bread sit for a few minutes to firm up, or use a spoon to spread color more gently. A light touch works best.
If the skillet browns the paint unevenly, the heat is too high or the skillet surface is uneven. Lower the heat slightly and give the pan a minute to settle. Use a clean spatula and flip carefully if you toast paint-side down.
If colors look muddy after painting, they overlapped while wet. Encourage kids to let one area dry a little before adding another bright color, or paint distinct shapes without blending the wet edges. The toast still tastes the same, even if the look mixes.
Easy Variations to Try
Use whipped cream cheese as a base layer before painting for a softer, spreadable canvas.
Try painting simple shapes like stars or stripes for younger kids; older kids can do layered fireworks.
Add a thin drizzle of honey or a dusting of cinnamon after toasting for a sweet twist.
Create themed toasts for holidays by choosing color schemes and matching sprinkle shapes.
Let older kids paint both sides of the toast and press them together for a colorful sandwich.
These ideas keep the core steps the same but let you tailor the project to ages and tastes. They stay low-prep and use the listed optional items if you want a little extra sparkle.
Storing or Reusing This Project
Toast tastes best fresh, so plan to eat it within a few hours. If you must store, place cooled toast in an airtight container and refrigerate for up to 24 hours. The colors will likely fade and the bread will soften, so reheating in a skillet for a minute can help regain some texture.
Leftover painted milk mixes do not keep well because they can sit at room temperature. Use any leftover colored milk quickly by stirring it into a small pancake batter or discarding safely. Wash bowls and brushes right away to avoid stains.
To reduce waste, paint only what you plan to eat. Let younger kids paint one slice at a time. Save extra sprinkles in small containers for future use. Reuse the small bowls for other kitchen crafts once they are clean.
FAQs About Edible Paint Fireworks Toast
Will the gel food coloring stain hands or clothes?
Yes, gel colors can stain skin and fabric if they sit, so I suggest an old shirt or apron for kids and paper towels nearby. In my kitchen, I keep wet wipes ready and a small bowl of soapy water for quick hand rinses. A little color on the fingers usually washes off well with soap, but act quickly on clothes.
Is this safe for toddlers and young kids?
This activity works well for preschoolers with close adult supervision. Keep an eye on the skillet step and use a low to medium heat. Let younger children do the painting while an adult handles the toasting. If you have a child with food allergies, check the ingredients in the sprinkles and gel dye.
What if I do not have gel food coloring?
Gel gives richer color without too much liquid, but liquid food coloring can work in a pinch. Use less liquid dye and stir well to avoid soaking the bread. The color will likely look softer and may take a little longer to appear bright after toasting.
How messy will this be and how do I clean up?
It will make a small mess, mostly bowls and a brush. Wipe up spills quickly with a damp cloth to prevent stains. Soak paint bowls in warm soapy water after use and they will clean easily. Expect colorful counters if kids go wild; that is part of the fun, but keep cleanup quick to keep stress low.
Can I save the painted designs or use them as a craft rather than food?
The bread will bake and crisp, so the painted design stays visible but temporary. If you want to keep a sample design, take a photo. The food nature of the project means pieces do not preserve well, and saving them is not recommended.
A Final Helpful Note
This project asks for a light touch and lots of patience. Let kids lead with their designs, and stay nearby for the toasting. Expect imperfect art, and celebrate the bright colors and laughter more than a perfect pattern. The joy comes from making and then eating something together.
Conclusion
If you want to see a classic version of painted toast for inspiration, check out this great writeup at Painted Firework Toast – Messy Little Monster for ideas on shapes and presentation. For more craft ideas that pair well with this activity, browse these fun project lists at More firework crafts for kids! – HodgePodgeCraft.
PrintEdible Paint Fireworks Toast
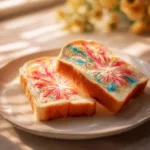
A fun, creative activity for kids that combines painting and snack time, using basic ingredients to create colorful edible art on toast.
- Prep Time: 10 minutes
- Cook Time: 5 minutes
- Total Time: 15 minutes
- Yield: 4 servings 1x
- Category: Snack
- Method: Toasting
- Cuisine: American
- Diet: Vegetarian
Ingredients
- 4 slices white sandwich bread
- 1/4 cup milk
- Gel food coloring: red, blue, yellow, purple
- Optional: star sprinkles
- Optional: edible glitter
- Optional: whipped cream cheese for topping
Instructions
- In a bowl, mix the milk with gel food coloring to create bright colors.
- Keep each color in a separate small bowl or shallow dish.
- Stir until the gel blends and you see vibrant, even shades.
- Use a brush or spoon to paint colorful designs on each slice of bread.
- Let kids make fireworks, stars, or swirls with the paint.
- Heat a skillet over medium heat and toast the painted bread until golden.
- Place the painted bread paint-side up or down based on how you like the finish.
- If you’d like, add star sprinkles, edible glitter, or whipped cream cheese on top.
- Serve warm and enjoy the painted designs before they fade.
Notes
This activity supports fine motor control and teaches kitchen skills like measuring and mixing. Keep paper towels handy for any spills.
Nutrition
- Serving Size: 1 slice
- Calories: 200
- Sugar: 5g
- Sodium: 150mg
- Fat: 3g
- Saturated Fat: 1g
- Unsaturated Fat: 1g
- Trans Fat: 0g
- Carbohydrates: 38g
- Fiber: 1g
- Protein: 6g
- Cholesterol: 5mg