

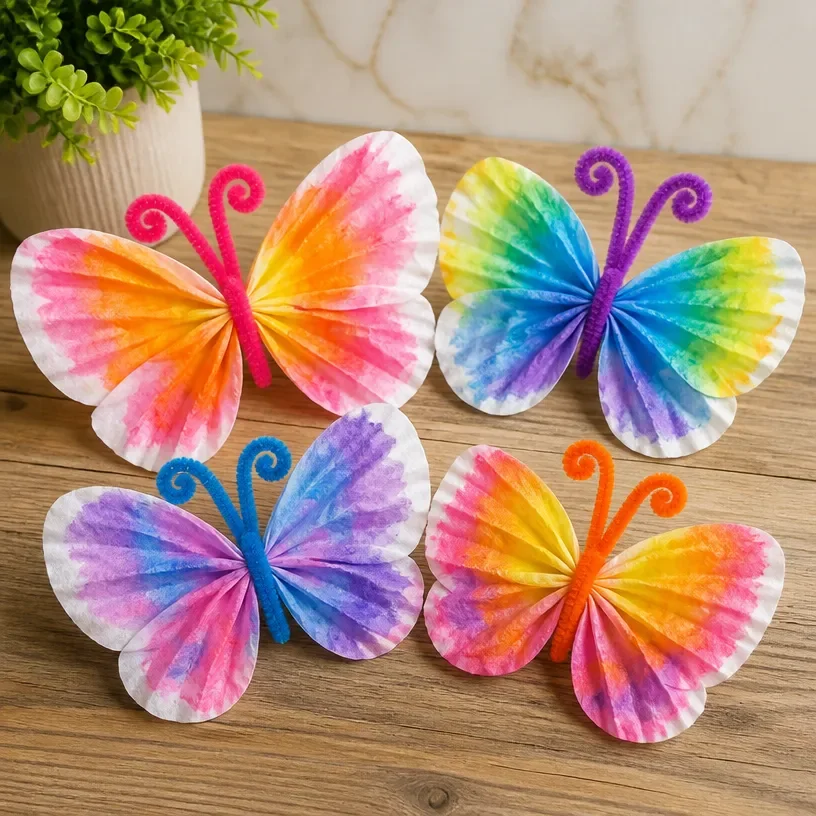
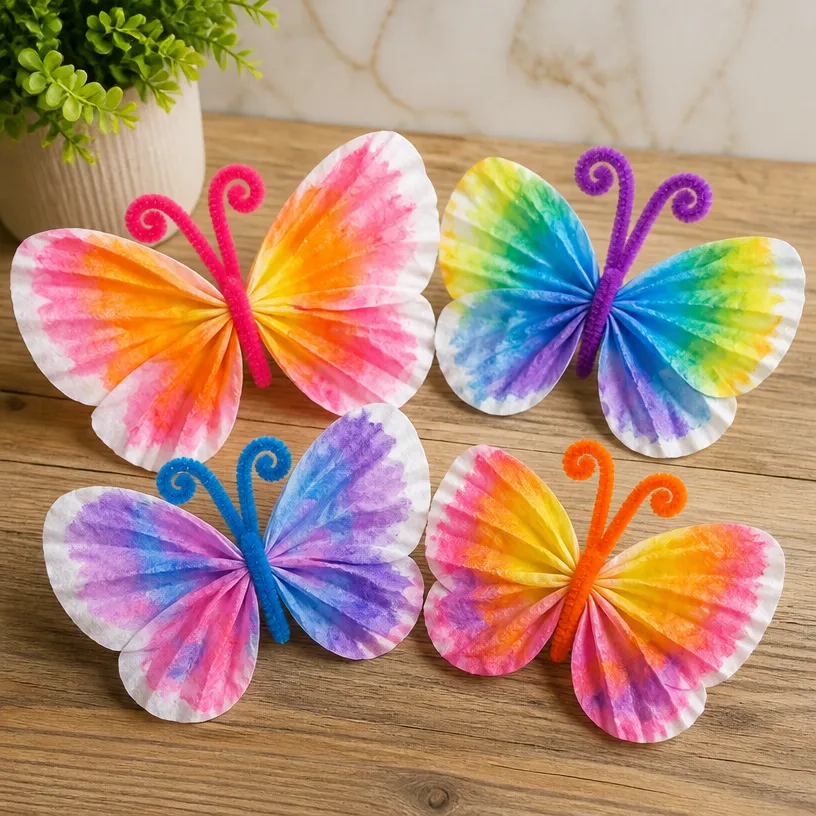
Creating something fun and engaging with the kids doesn’t have to be complicated. Just imagine it’s a busy afternoon and the kids are looking to make something creative right now. A perfect solution for those moments is making Watercolor Coffee Filter Butterflies. They are not only simple to prepare but also provide an enjoyable hands-on activity that brightens up your day. This project turns a few household items into beautiful and colorful butterflies, ready to flutter around the room. You may also find Diy Watercolor Butterflies Coffee Filters useful.
Why You’ll Love Making Watercolor Coffee Filter Butterflies
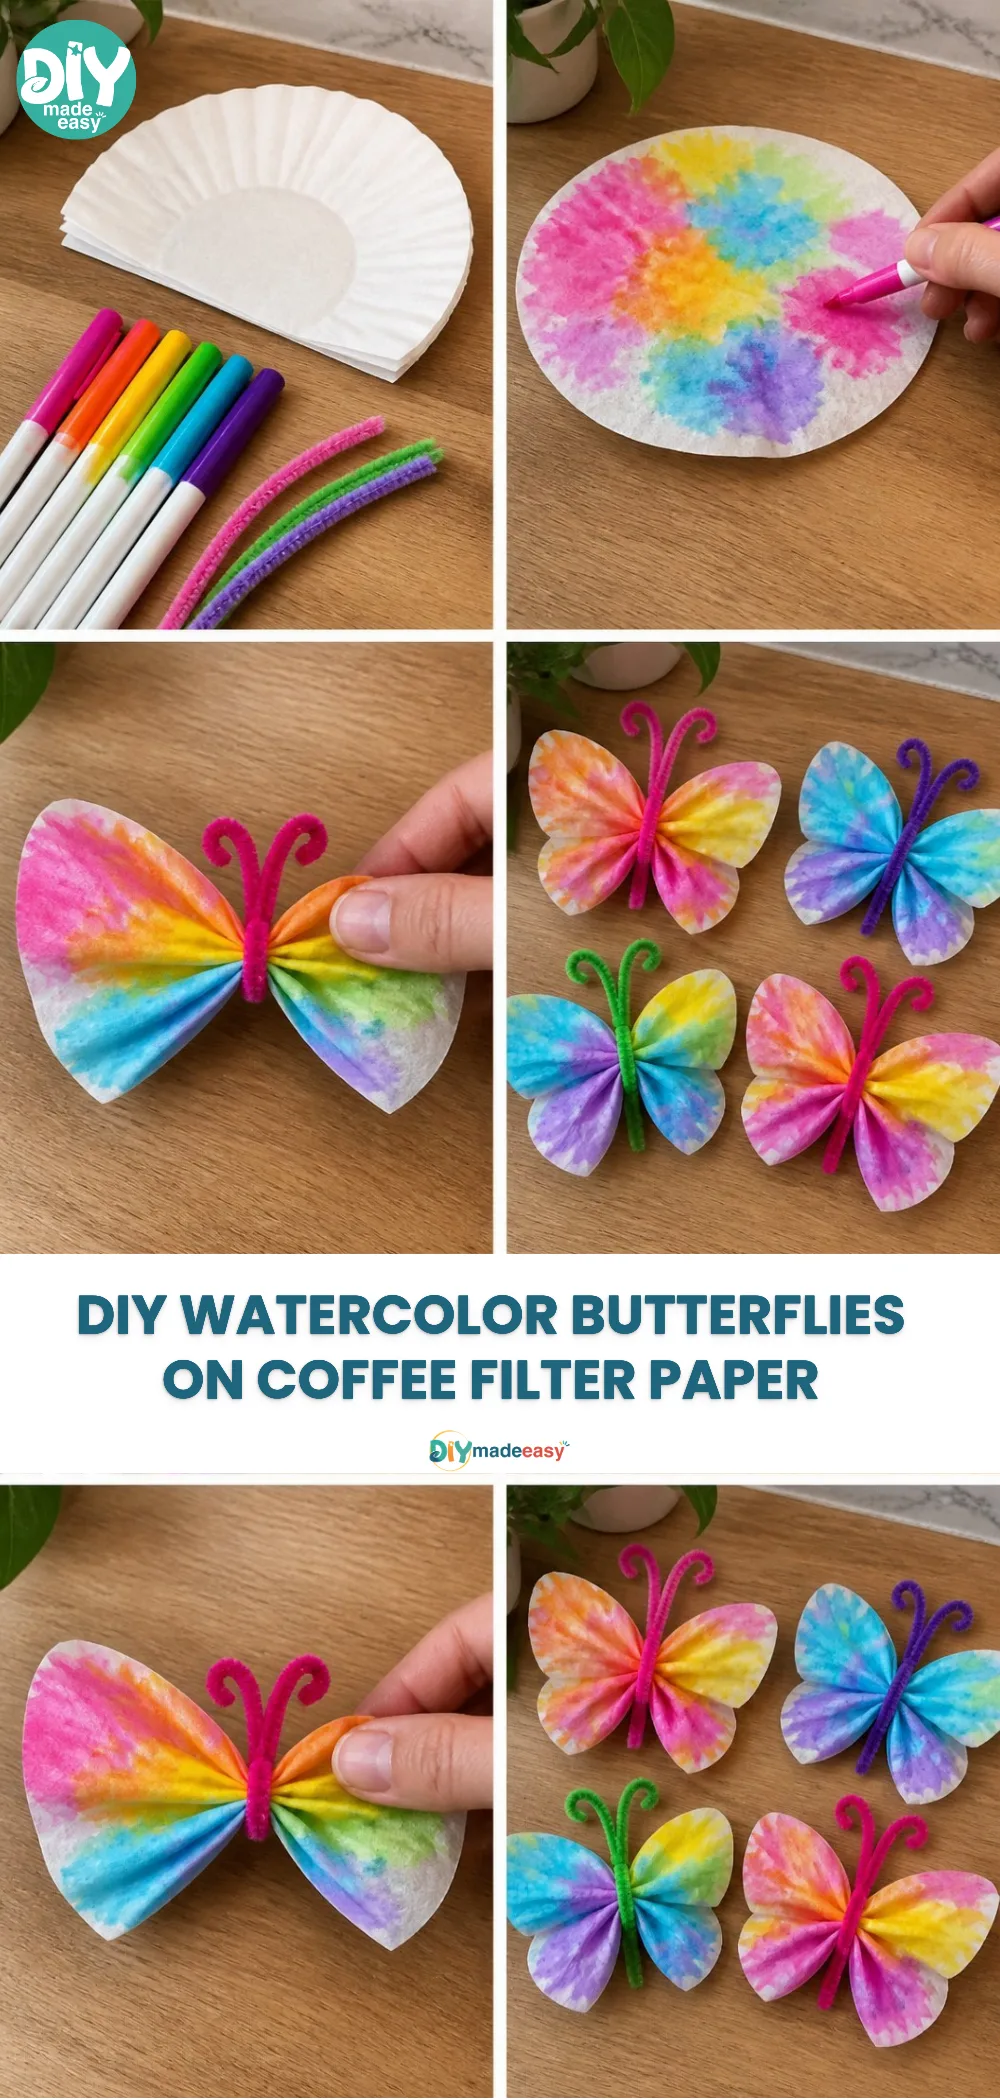
This activity is ideal for families due to its low-prep and approachable nature. First, there aren’t many materials to gather just some coffee filters and washable markers. This means you won’t have to spend hours gathering eclectic supplies. Second, kids can easily engage with the process since it involves drawing and creating colors, making it both fun and educational. Another great benefit is that it’s highly reliable; you can expect vivid results each time, ensuring that the children see their creativity come to life. Plus, with simple cleanup, it fits well into even the tightest schedules. You may also find Chromatography Coffee Filter Butterflies Bloom useful.
A Quick Look Before You Begin
Before diving in, let’s take a moment to consider how this DIY project comes together. The entire activity can be completed in about 30 minutes to an hour, depending on how much decoration you want to do. The setup is clean and straightforward, requiring minimal adult involvement until it’s time to help with the final assembly. You should anticipate a small mess especially with colors involved so prepare some newspapers or old cloths on your workspace. Rest assured, though, the mess can be tackled easily with a simple wipe down. You may also find Coffee Filter Fireworks useful.
Materials You’ll Need
- Coffee filters (common household item)
- Washable markers (easy to find)
- Water in a spray bottle (easy substitute)
- Pipe cleaners (for antennae, optional)
- Small cup or plate for mixing colors (budget-friendly)
These materials are essential for creating your butterflies. The colors will burst with creativity on the coffee filters, giving you that vibrant artwork that brings smiles to faces. You may also find Colorful Chromatography Coffee Butterflies useful.
Step-by-Step Directions
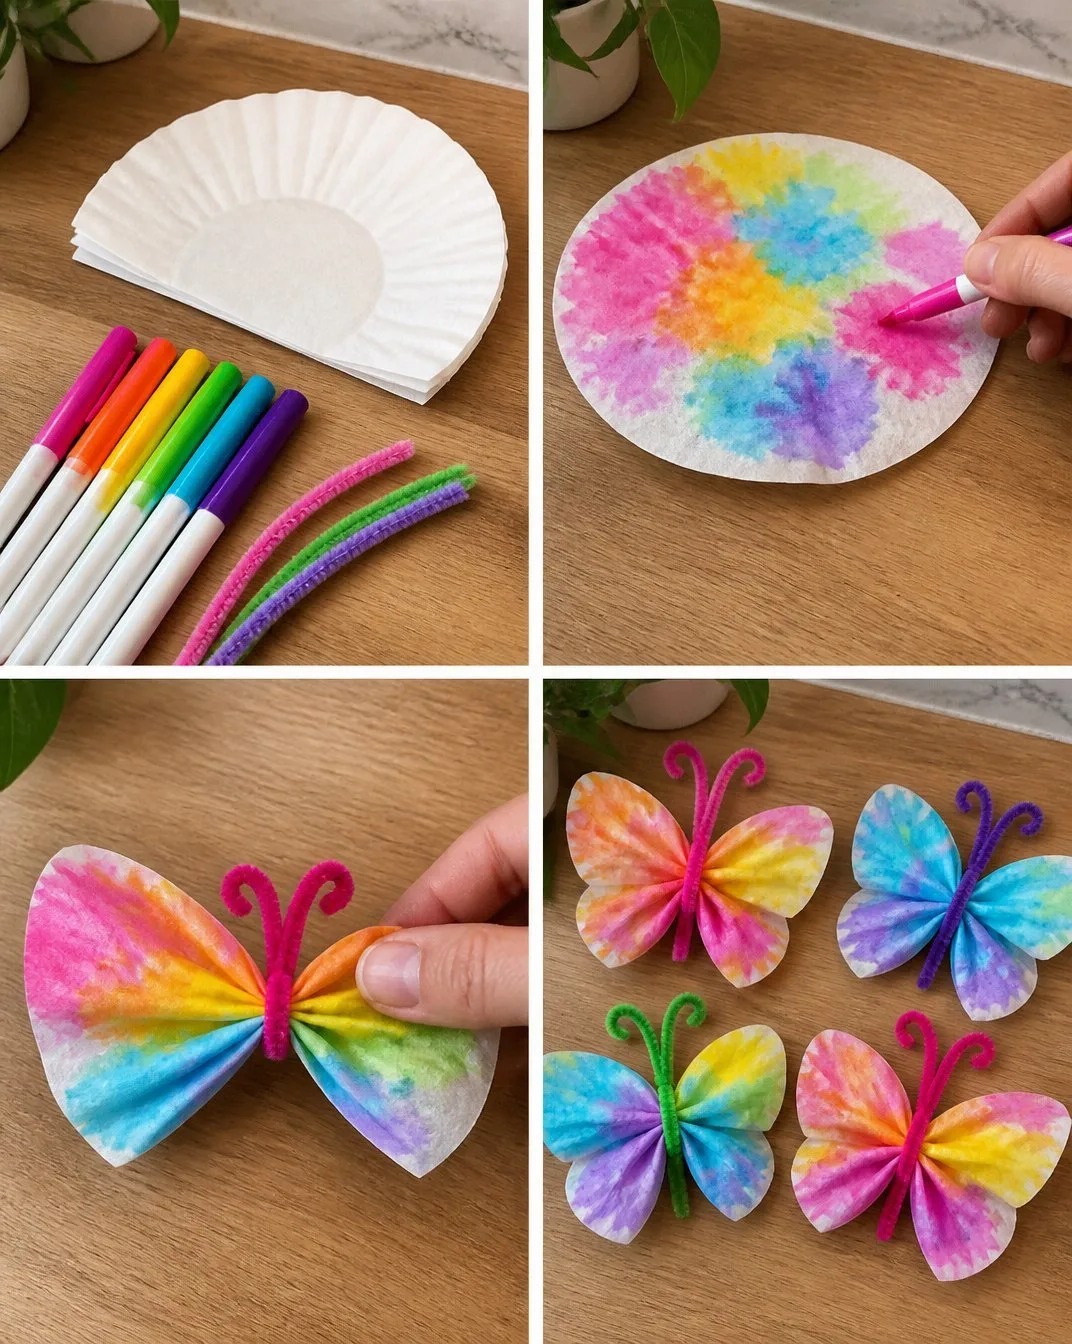
Lay Out Your Coffee Filters: Start by placing a few coffee filters flat on your workspace. You can experiment with different shapes and sizes.
Draw Your Design: Use the washable markers to draw designs and patterns on the filters. The colors can be bright or pastels, depending on what you have on hand.
Spray with Water: Lightly mist the filters with water from a spray bottle. Watch as the colors start to blend and spread, creating beautiful watercolor effects.
Let It Dry: Carefully set the filters aside to dry completely. This usually takes about 10-15 minutes.
Shape the Butterflies: Once dry, fold the coffee filter in half and pinch the middle. This creates the body of the butterfly.
Add Antennae: Take a pipe cleaner and wrap it around the pinch to secure it. Curl the ends for the antennae.
Display Your Creation: Enjoy your colorful flutterers! You can hang them up or use them as cards.
This project not only results in a delightful display of butterflies but also allows for creativity, making it a perfect weekend or afternoon activity.
The Learning Behind This DIY
While this project is filled with fun, it also provides educational opportunities. Children practice fine motor skills as they control the markers and manipulate the filters. Additionally, this activity introduces basic concepts of color mixing; kids can see firsthand how colors blend when sprayed with water. This aligns with understanding cause and effect, as they can observe how their actions influence the final look of the butterflies.
Troubleshooting Common Issues
Sometimes things don’t go as planned, and that’s okay. If you notice the colors are too light, try adding more marker ink or spraying a little extra water. If the filter tears when folding, be gentle and consider adjusting how much pressure you use. Do not worry if the butterflies don’t turn out exactly as intended; art is all about expression and every design is unique!
Easy Variations to Try
Mix things up a bit with these easy variations:
- Seasonal Colors: Use colors associated with different seasons think pastels for spring or warm reds and oranges for autumn.
- Patterns and Prints: Instead of free-drawing, use stamps to create patterns on the filters.
- Layering: Combine multiple coffee filters for a thicker butterfly with more color.
- Make It a Family Challenge: Have each family member create their own design and see who can make the most colorful butterfly.
Storing or Reusing This Project
After you’ve enjoyed your butterflies, the cleanup and storage of materials can be straightforward. If anyone desires to keep their butterflies intact, find a safe place to store them, such as a box. Otherwise, make sure to recycle the coffee filters to minimize waste. They can easily be rinsed and reused for ongoing creative projects.
FAQs About Watercolor Coffee Filter Butterflies
How messy is this project?
While using markers and water can lead to some mess, it’s manageable. Lay down newspapers or cloth for easy cleanup afterward.
What are the safest materials to use?
All materials are generally safe for children. Washable markers are a priority to ensure easy cleanup and reduced staining.
Can I substitute materials?
Yes! If you don’t have pipe cleaners, you can use string or even small sticks to hold the butterfly together.
What if my child doesn’t like the results?
Art isn’t about perfection; encourage them to keep trying or start over. Every attempt brings new skills.
How can we store our butterflies?
Once fully dried, they can be displayed for a while, but eventually, storing them in a box will keep them safe.
Conclusion
Making Watercolor Coffee Filter Butterflies is not just an engaging craft; it’s a wonderful way for kids to express themselves and learn about colors. If you’re looking for more inspiration, check out this link to learn about the classic craft using washable markers at Coffee Filter Butterflies. Additionally, you can explore another fun take on the project with specific crafts designed for children at Coffee Filter Butterfly – Crafts by Amanda. Enjoy the creative process!
PrintWatercolor Coffee Filter Butterflies
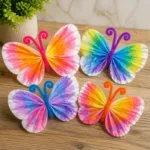
A fun and engaging DIY project for kids to create colorful watercolor butterflies using simple household items.
- Prep Time: 10 minutes
- Cook Time: 15 minutes
- Total Time: 25 minutes
- Yield: Multi-color butterflies as desired
- Category: Craft
- Method: Crafting
- Cuisine: N/A
- Diet: N/A
Ingredients
- Coffee filters
- Washable markers
- Water in a spray bottle
- Pipe cleaners (optional)
- Small cup or plate for mixing colors
Instructions
- Lay out your coffee filters on your workspace.
- Draw designs and patterns using washable markers.
- Spray lightly with water to blend colors.
- Let filters dry completely, about 10-15 minutes.
- Shape the filters by folding in half and pinching the middle.
- Add a pipe cleaner to secure and create antennae.
- Display your colorful butterflies and enjoy!
Notes
Use seasonal colors or stamps for patterns to make variations. Ensure a clean workspace for minimum mess.
Nutrition
- Serving Size: 1 butterfly
- Calories: 0
- Sugar: 0g
- Sodium: 0mg
- Fat: 0g
- Saturated Fat: 0g
- Unsaturated Fat: 0g
- Trans Fat: 0g
- Carbohydrates: 0g
- Fiber: 0g
- Protein: 0g
- Cholesterol: 0mg